Big, naturally lit locations help make food pop in Nordstrom restaurant recruiting video
Nordstrom has released a restaurant recruiting video that I had the pleasure of shooting for director Kent Worthington a few months back in Seattle and LA.
For this project we shot documentary style, moving quickly. Almost all of the shots used available lighting, which in our LA locations was absolutely beautiful, north-facing window light. Whoever designed the two LA restaurants was obviously thinking about light, and it shows in the clips.
I used a Sony FS5 with Atomos Inferno to shoot in SLOG-2 at 4K DCI.
Lenses were vintage Zeiss primes, with the 100mm Planar Makro seeing a lot of action.
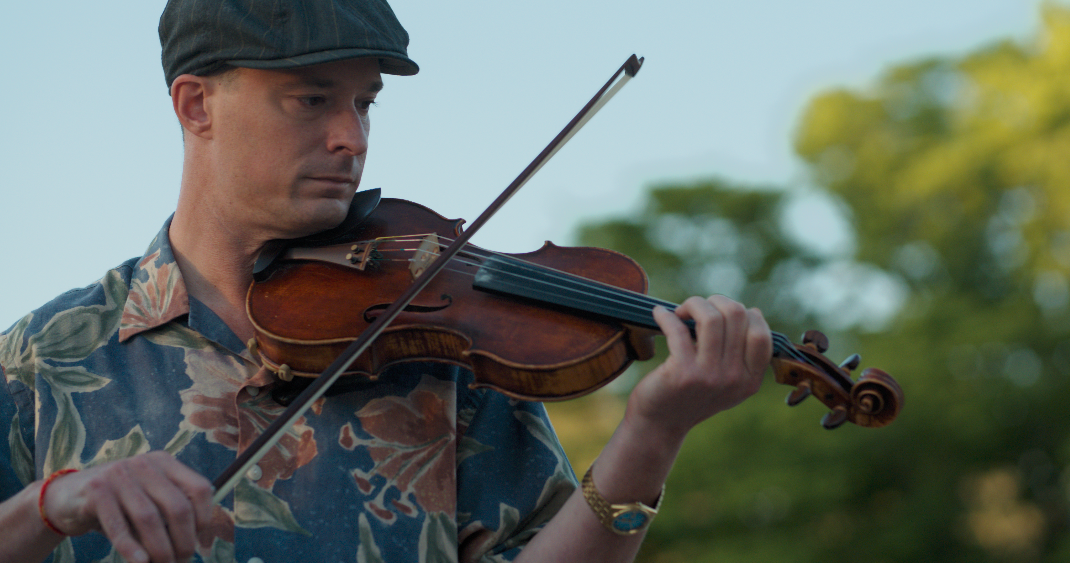
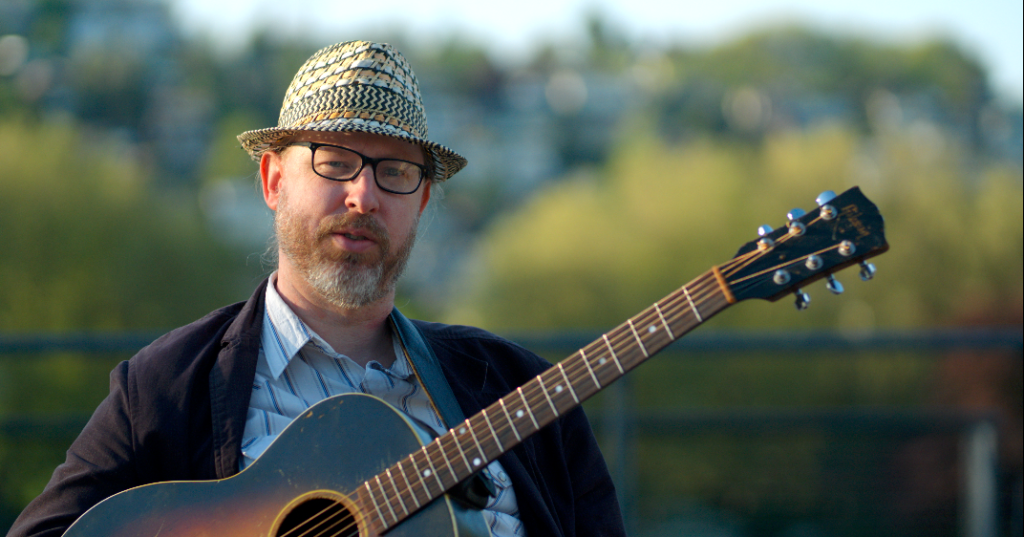
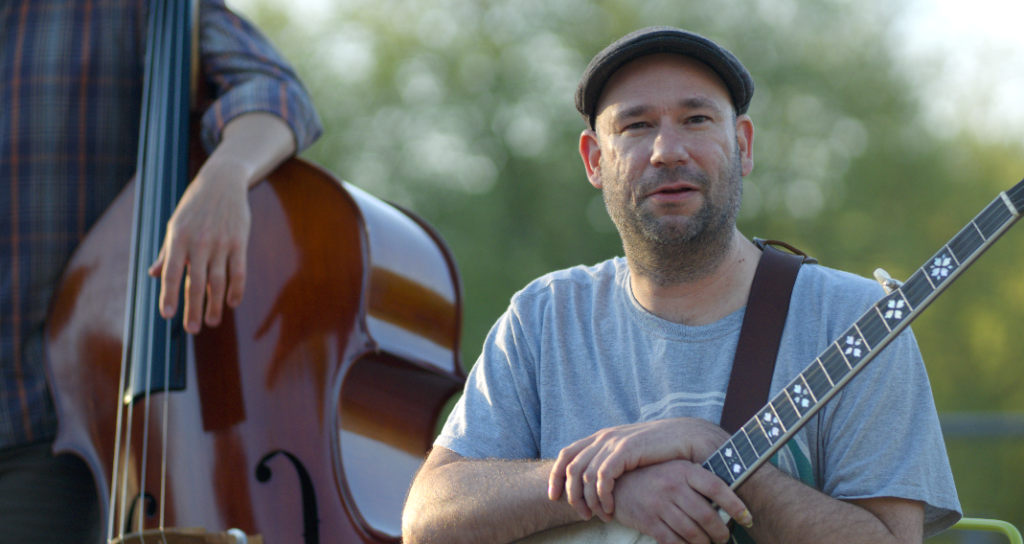
When Seattle Cancer Care Alliance asked me to make a film about their third year of sponsoring Northwest Folklife, I knew immediately what I needed to find: a performer who could speak from personal experience about the healing power of music.
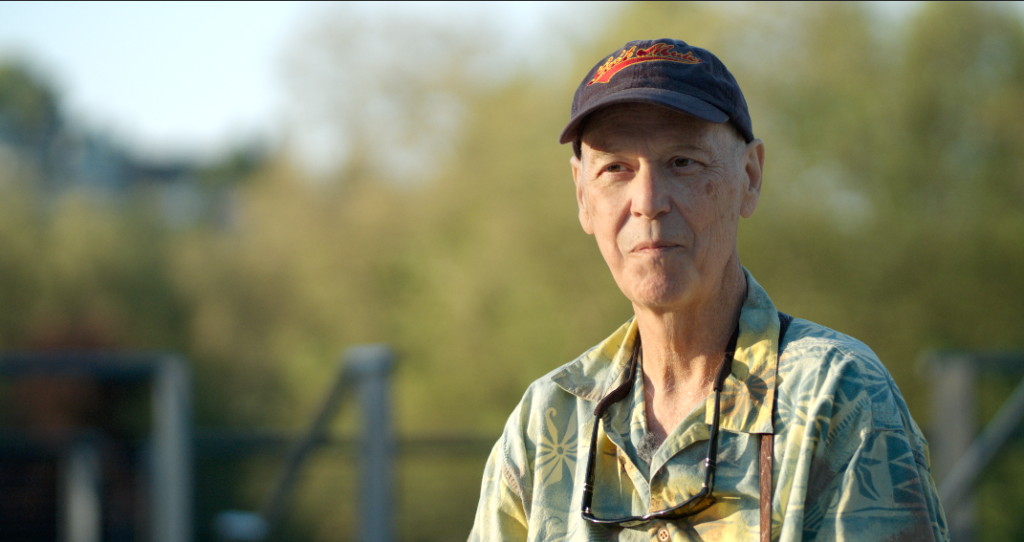
With some help from Folklife staff, I found someone who knew someone who ultimately put me in touch with Ricky Gene Powell. As fate had it, he had been diagnosed with cancer last December and was being treated by Seattle Cancer Care Alliance. When I interviewed him at his home, he spoke very eloquently about his experience, and I knew we had our guy.
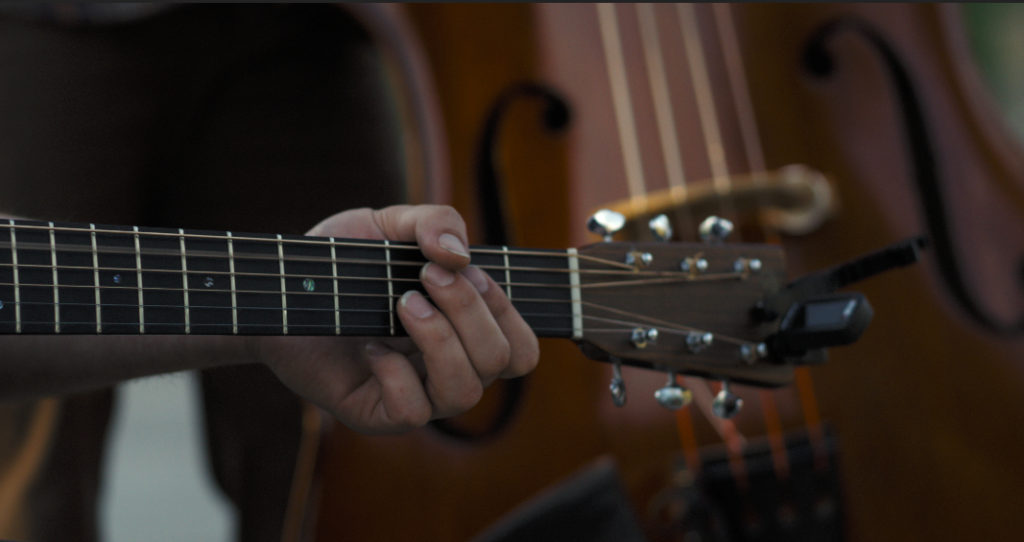
Next I set up a rehearsal at Seattle Center, where we shot the piece. He hadn’t told me anything about his band mates, but I thought I’d ask them all one question: Can music heal? So after they’d played a couple of songs, I paused them and popped the question.
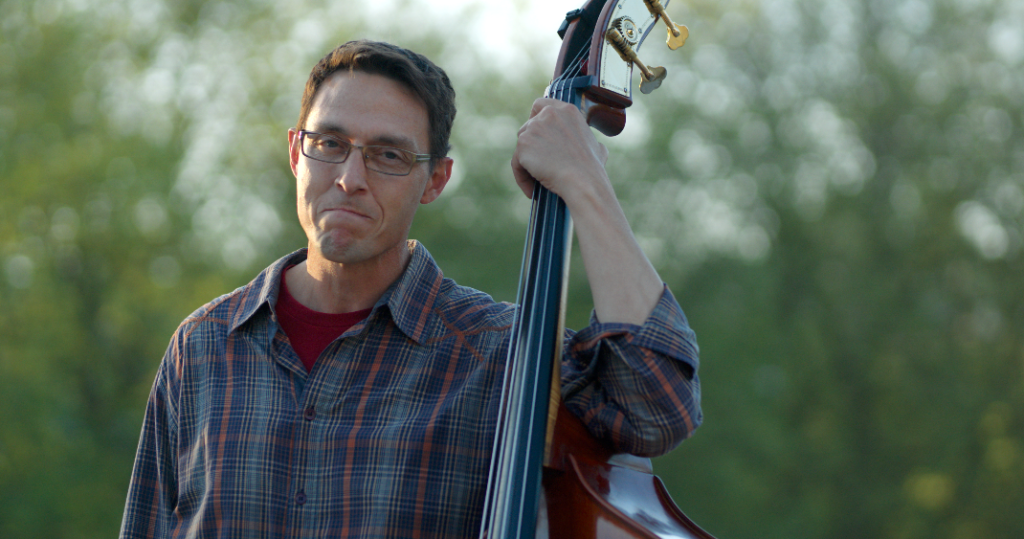
Imagine my surprise when Jim Marsh told told me the story about his father, and his own story.
This project was the first I’ve shot with Apple ProRes Raw (although the A cam angle was shot in v-log on a GH5). I didn’t grade in 12-bit, however. I exported out ProRes 4444 files and sent them to my colorist, Kollin O’Dannel, who graded in Resolve.
I am planning to spend some more time with this project in FCPX, to dial in the basics of grading ProRes RAW in 12-bit. Stay tuned for another post on how that turns out.
Meanwhile, I hope to see both Jim and Ricky on the road to full health soon. And I look forward to more healing, powerful music from them both.
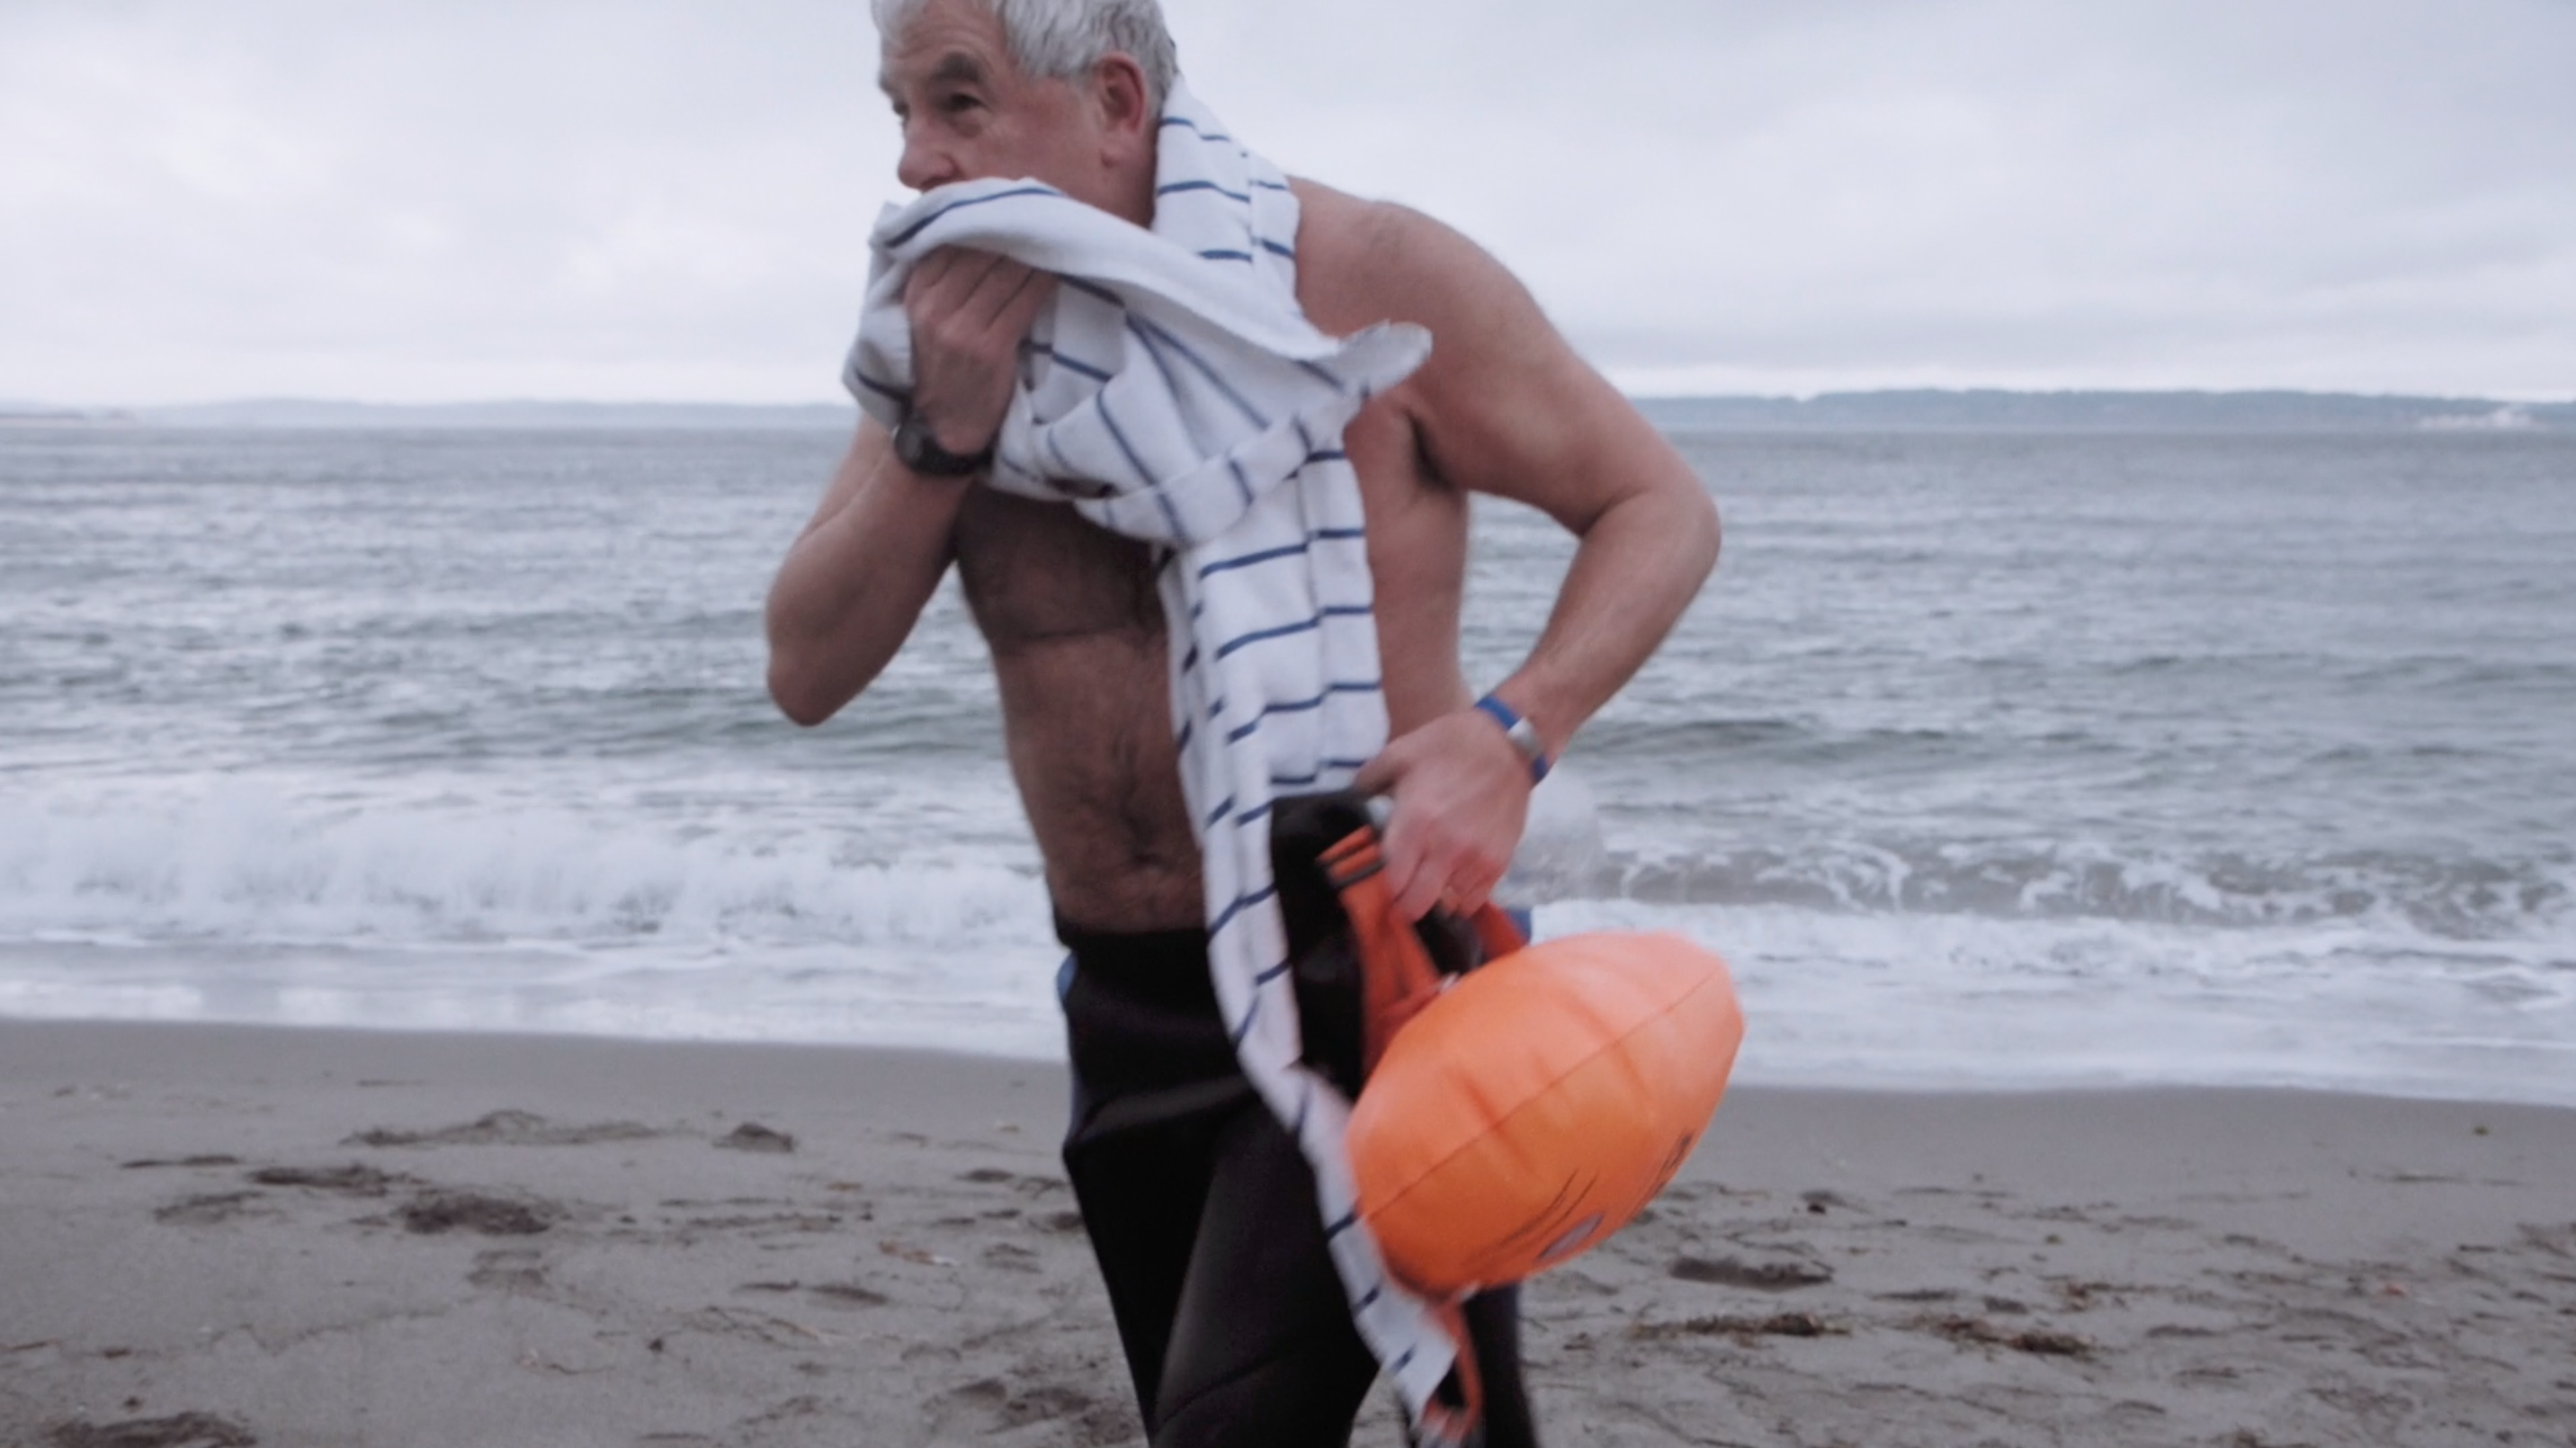
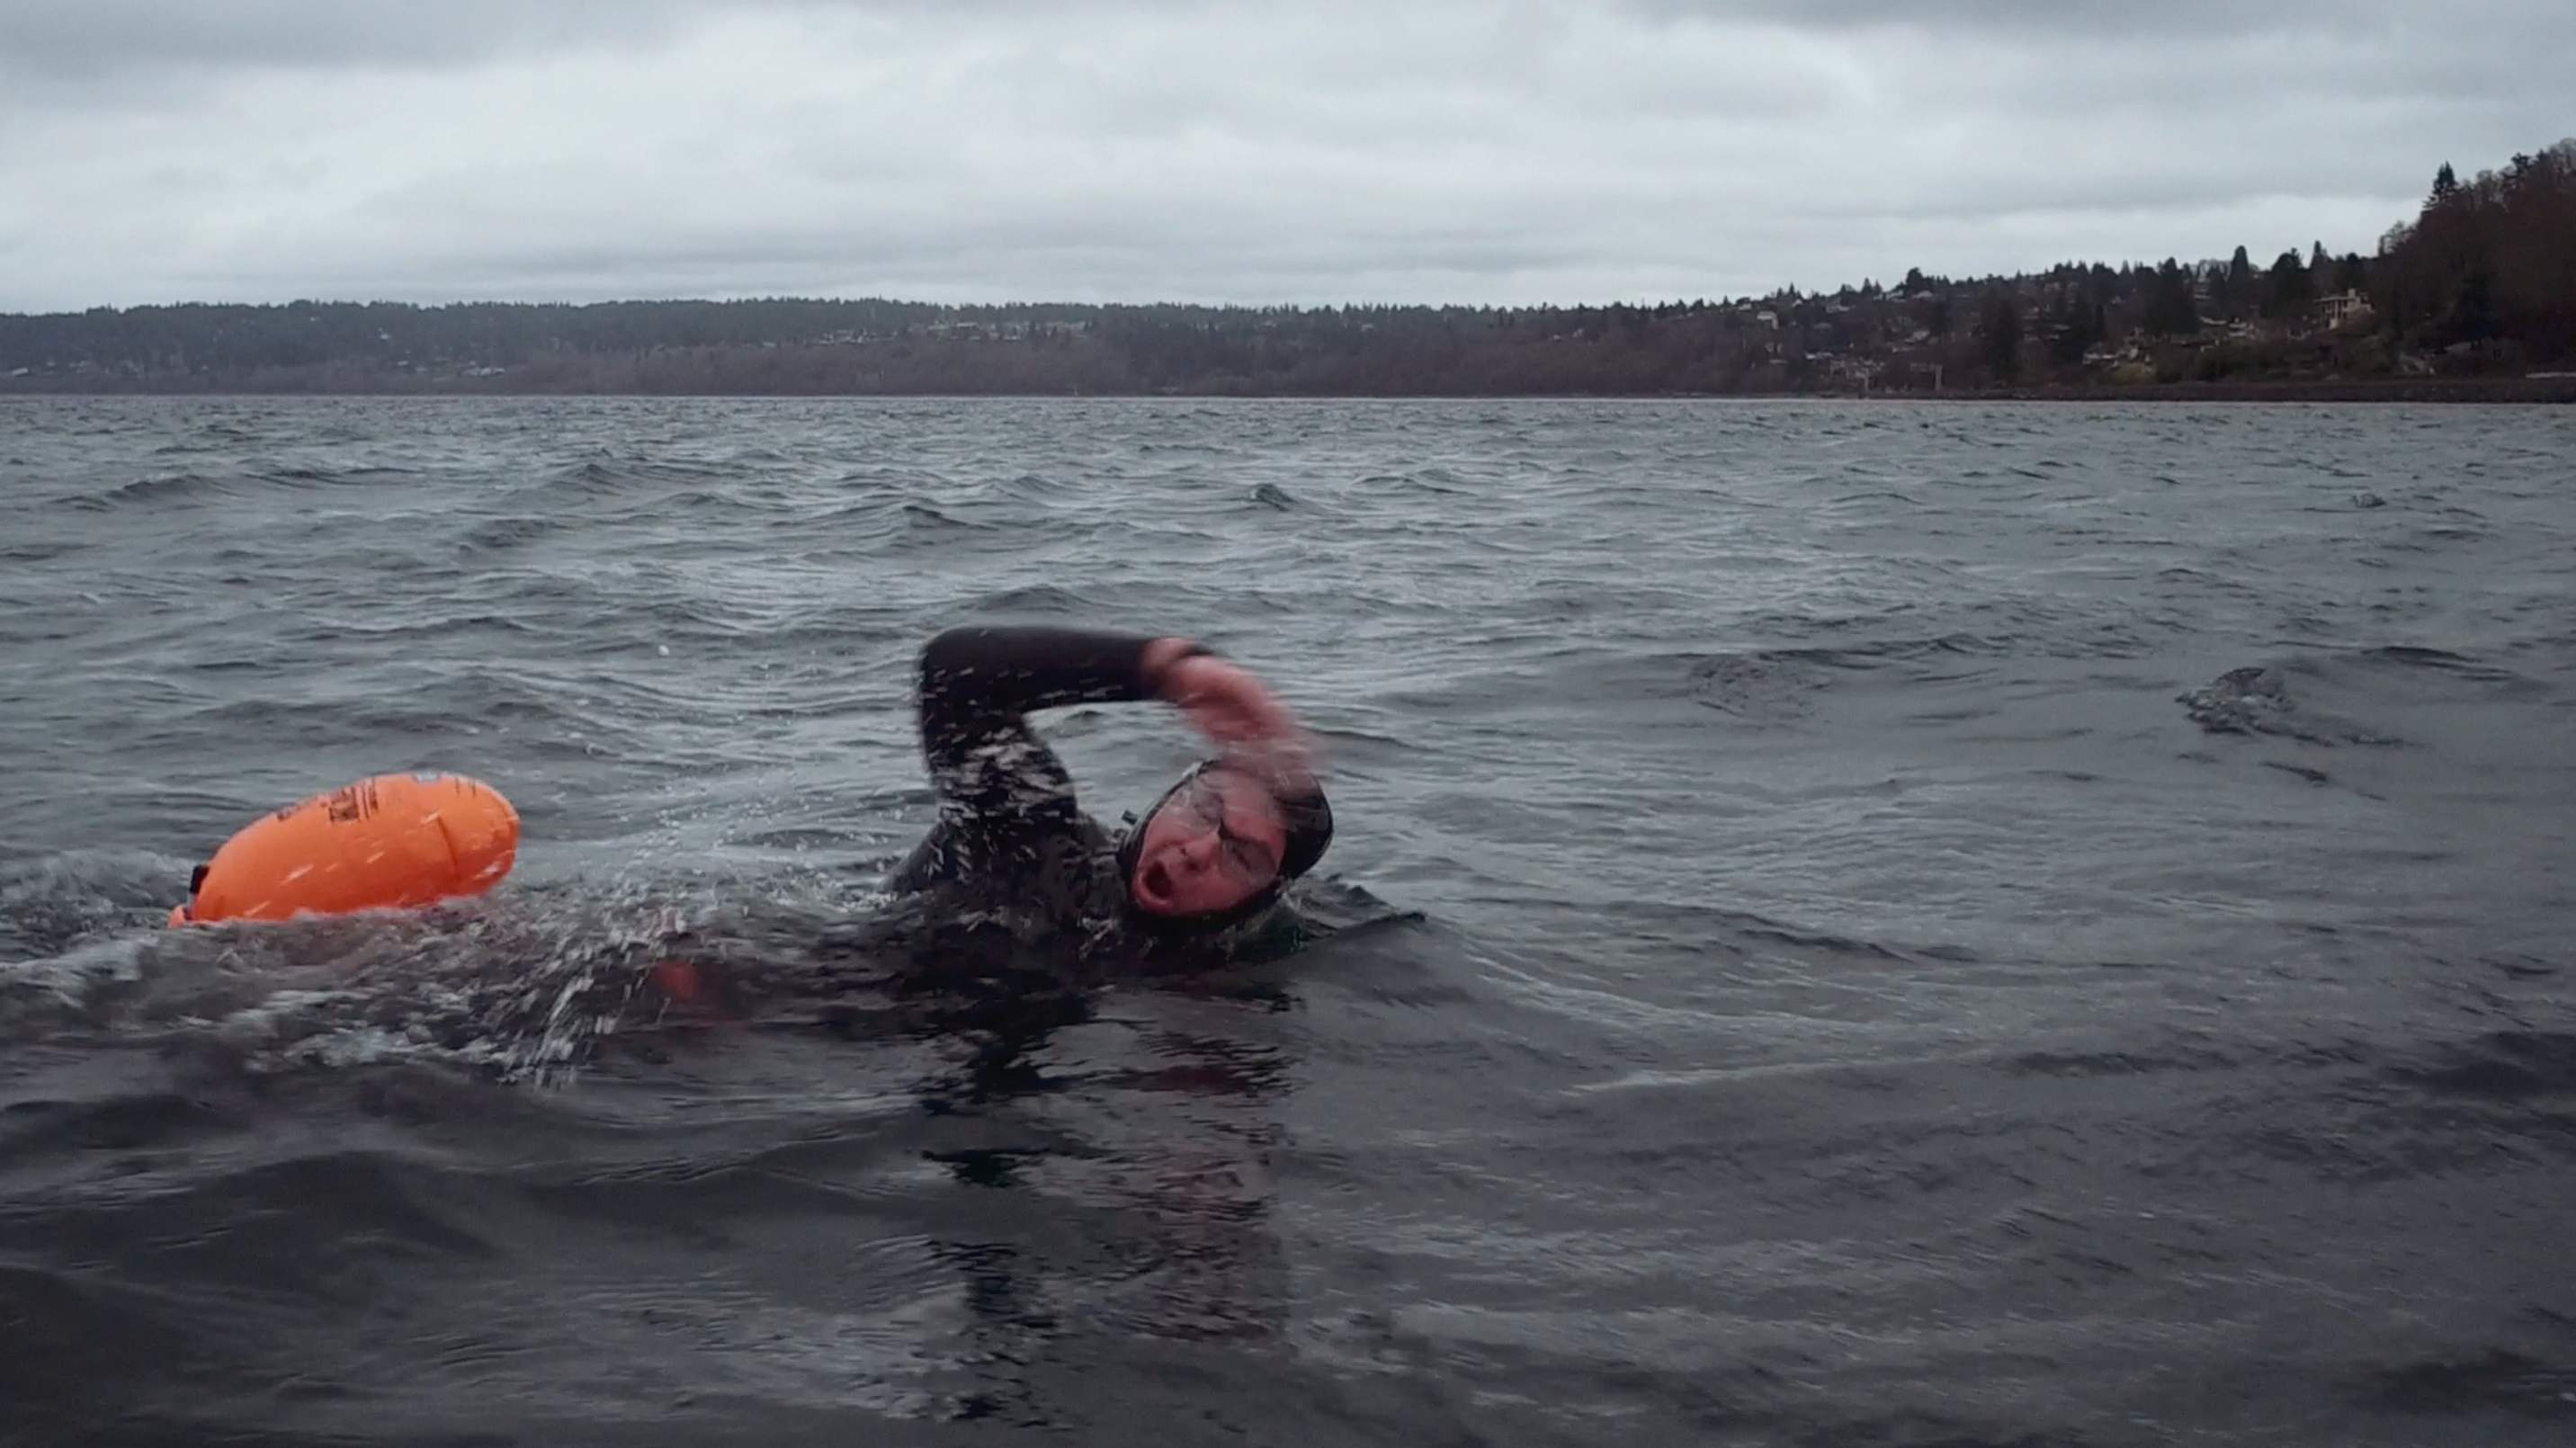
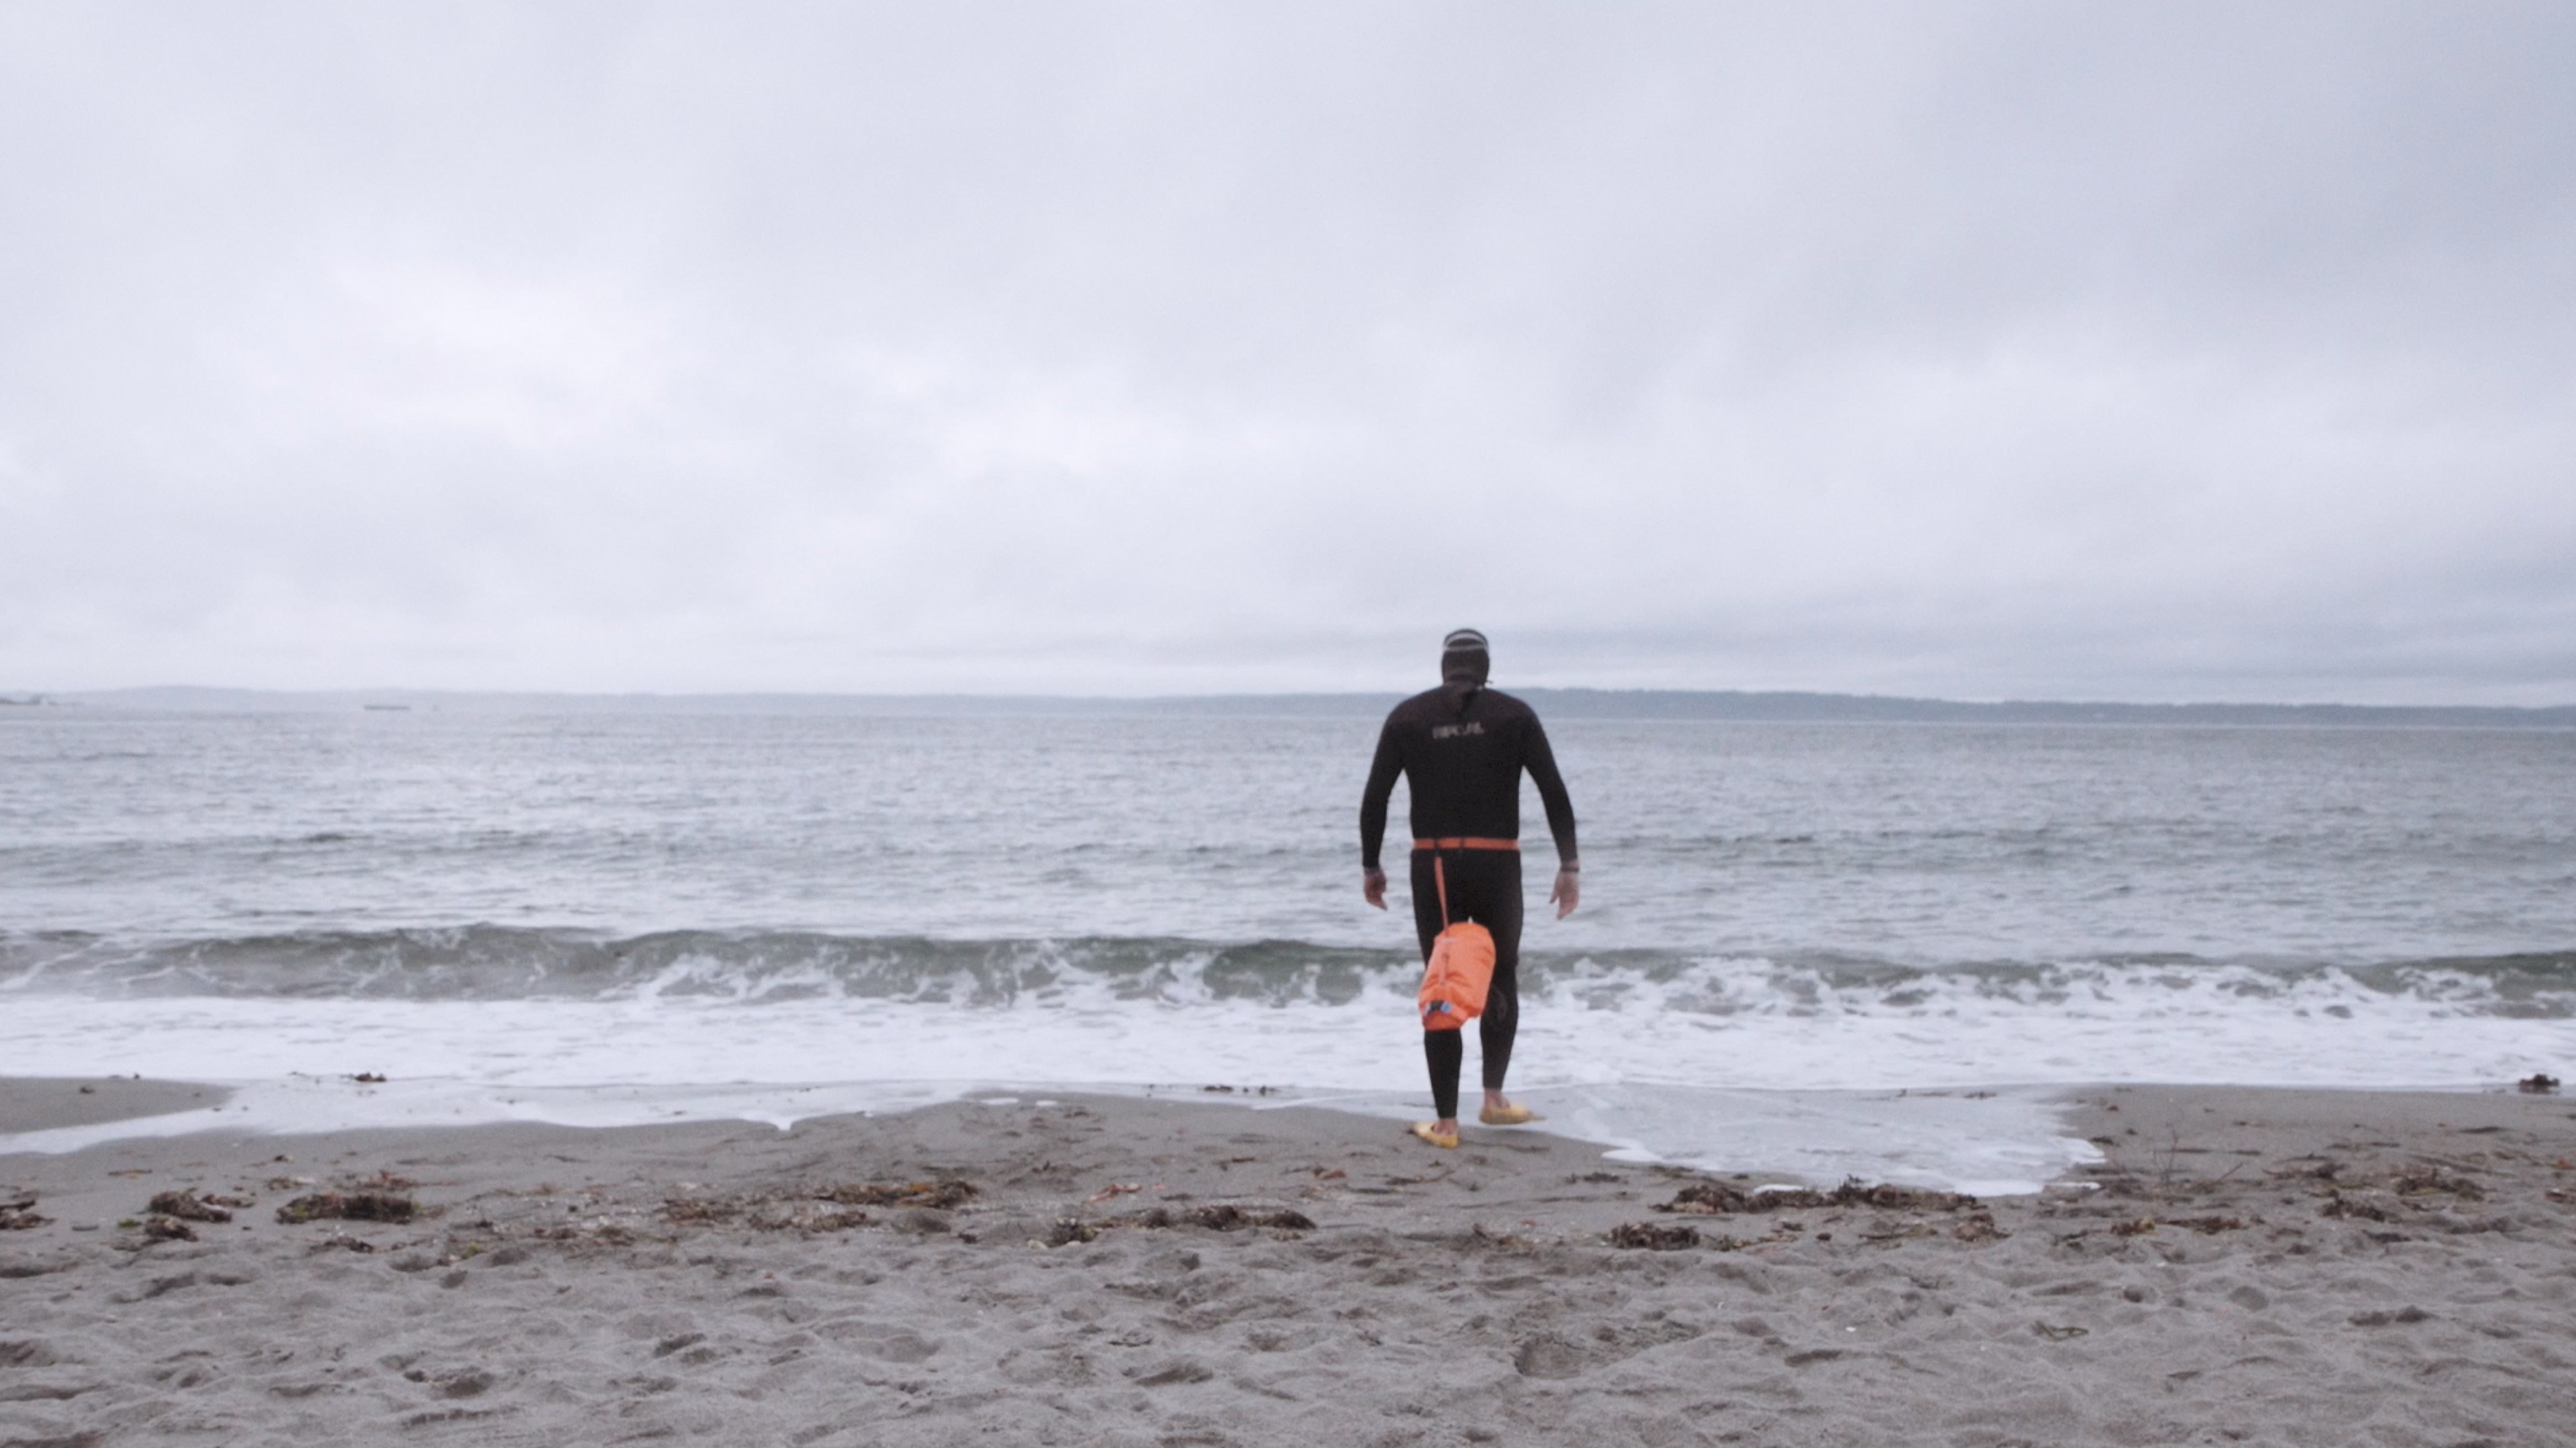
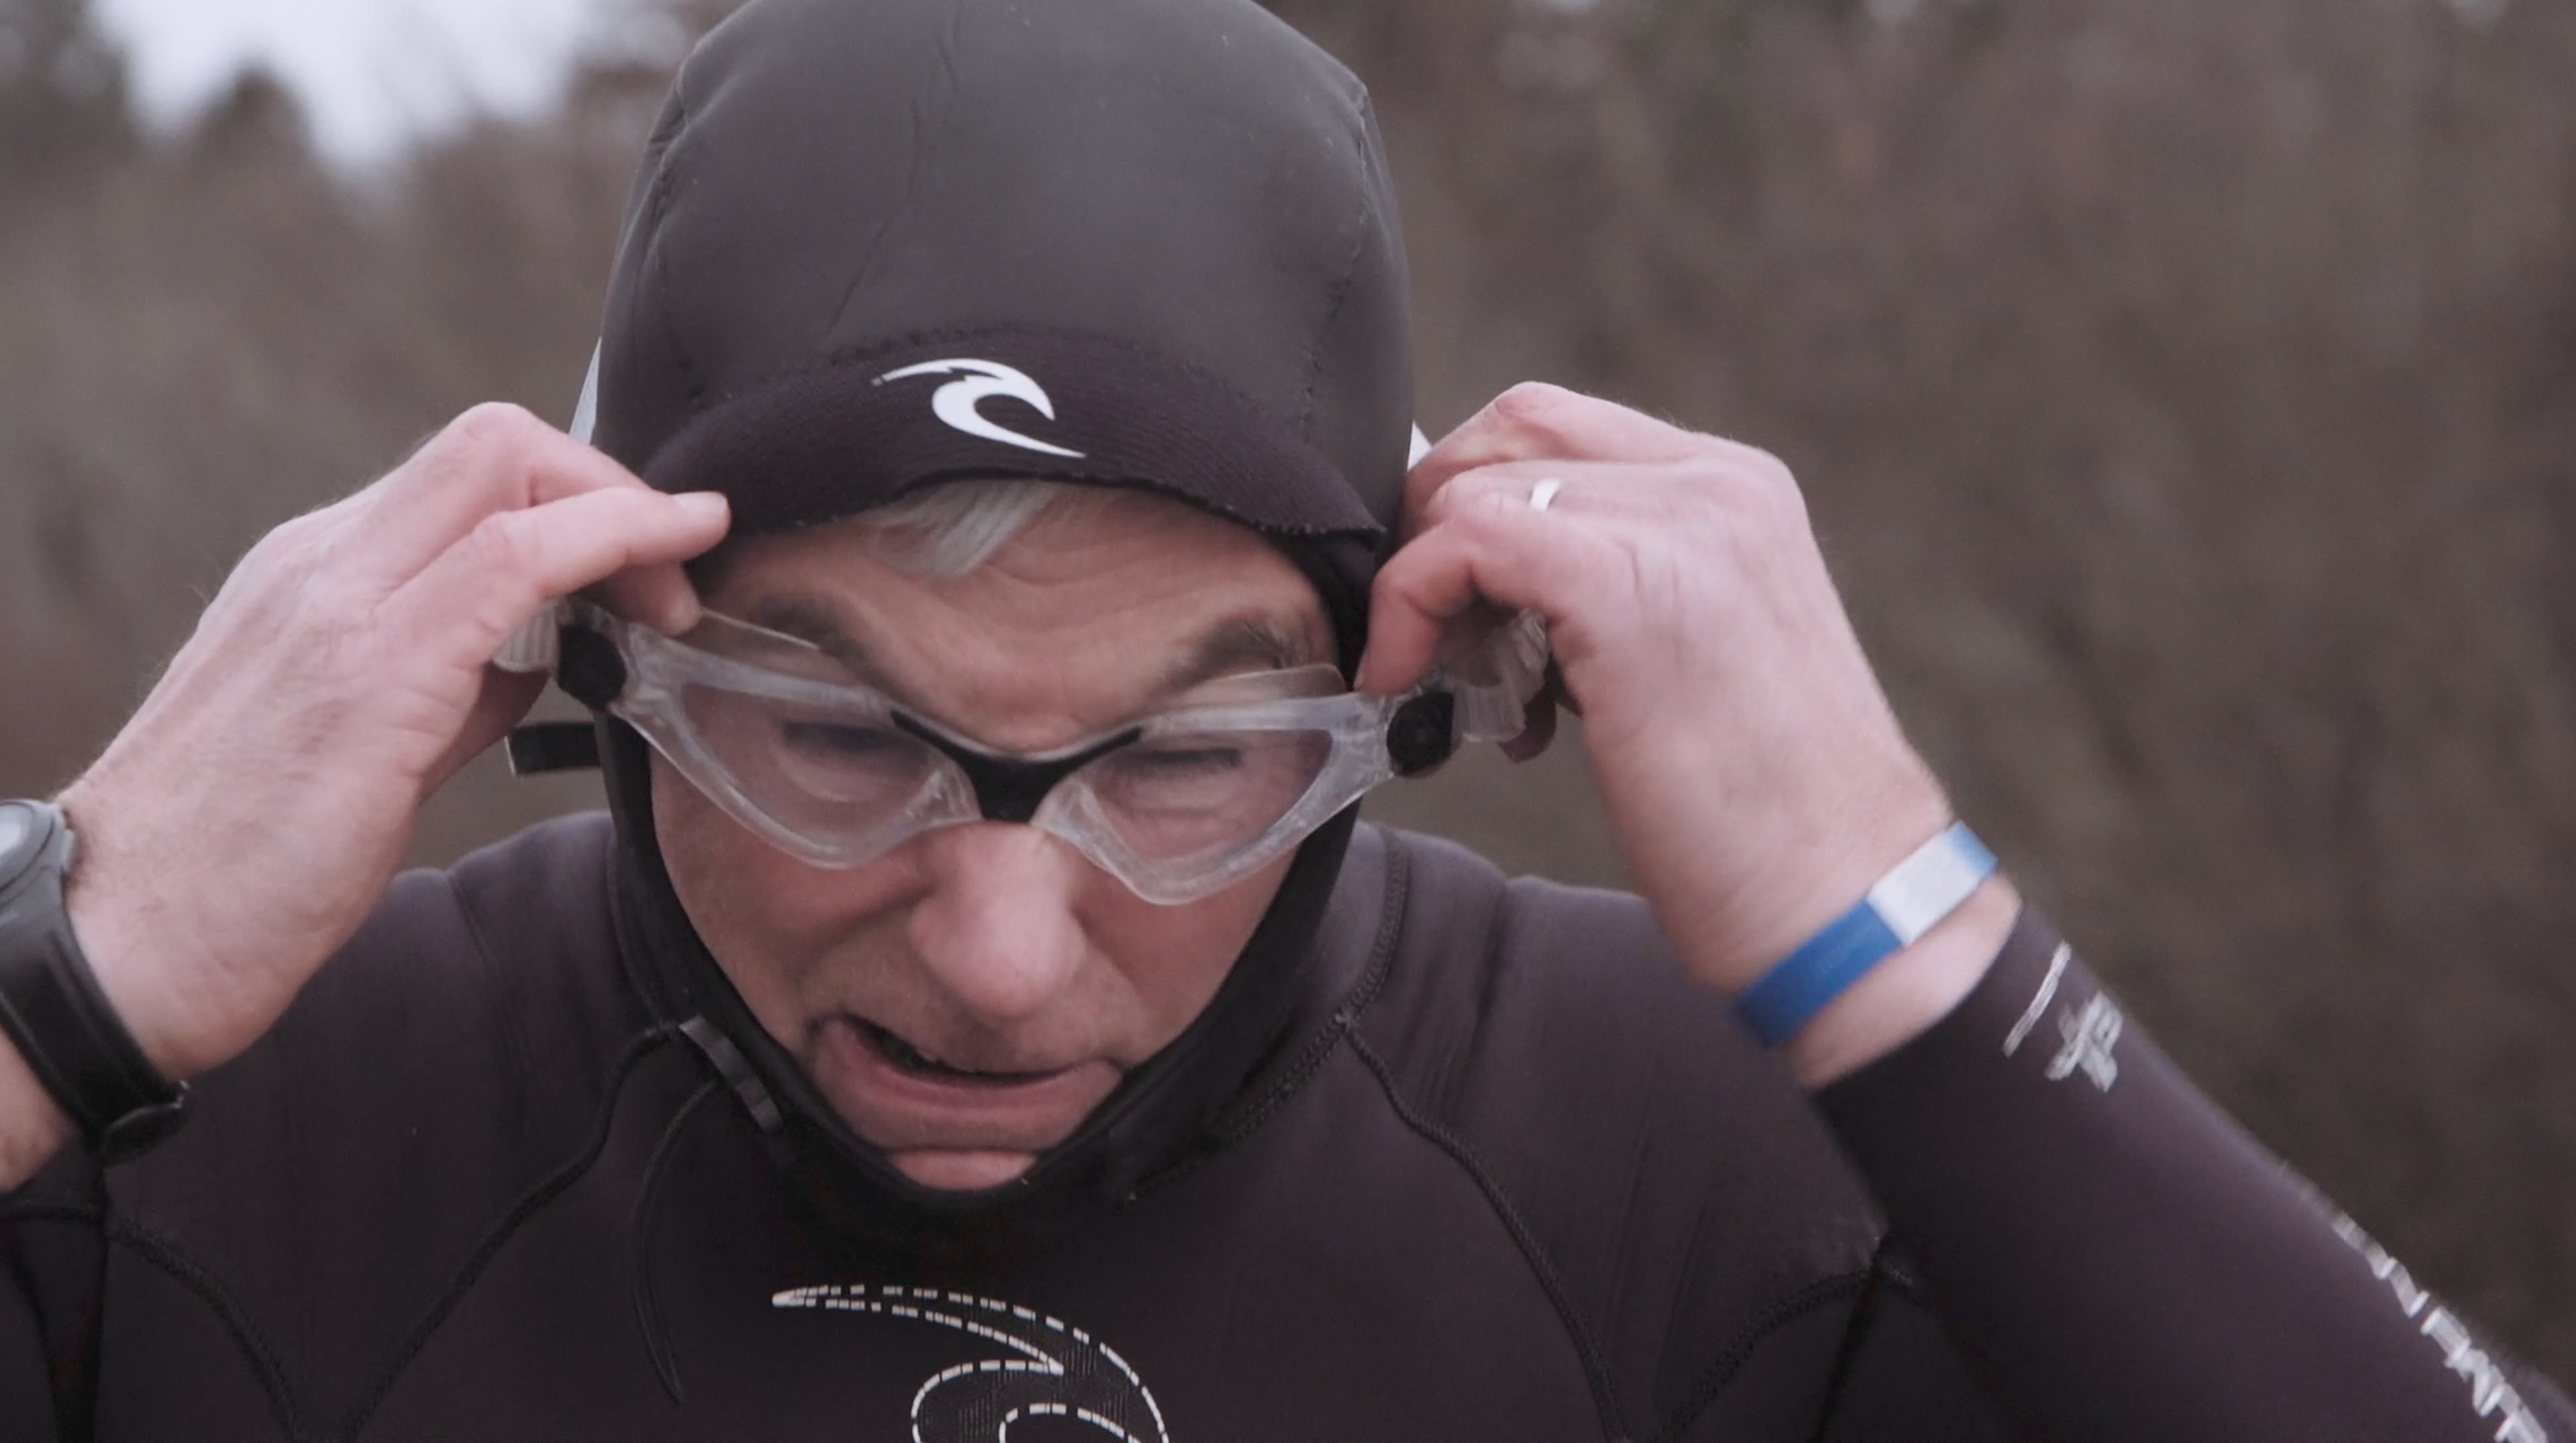
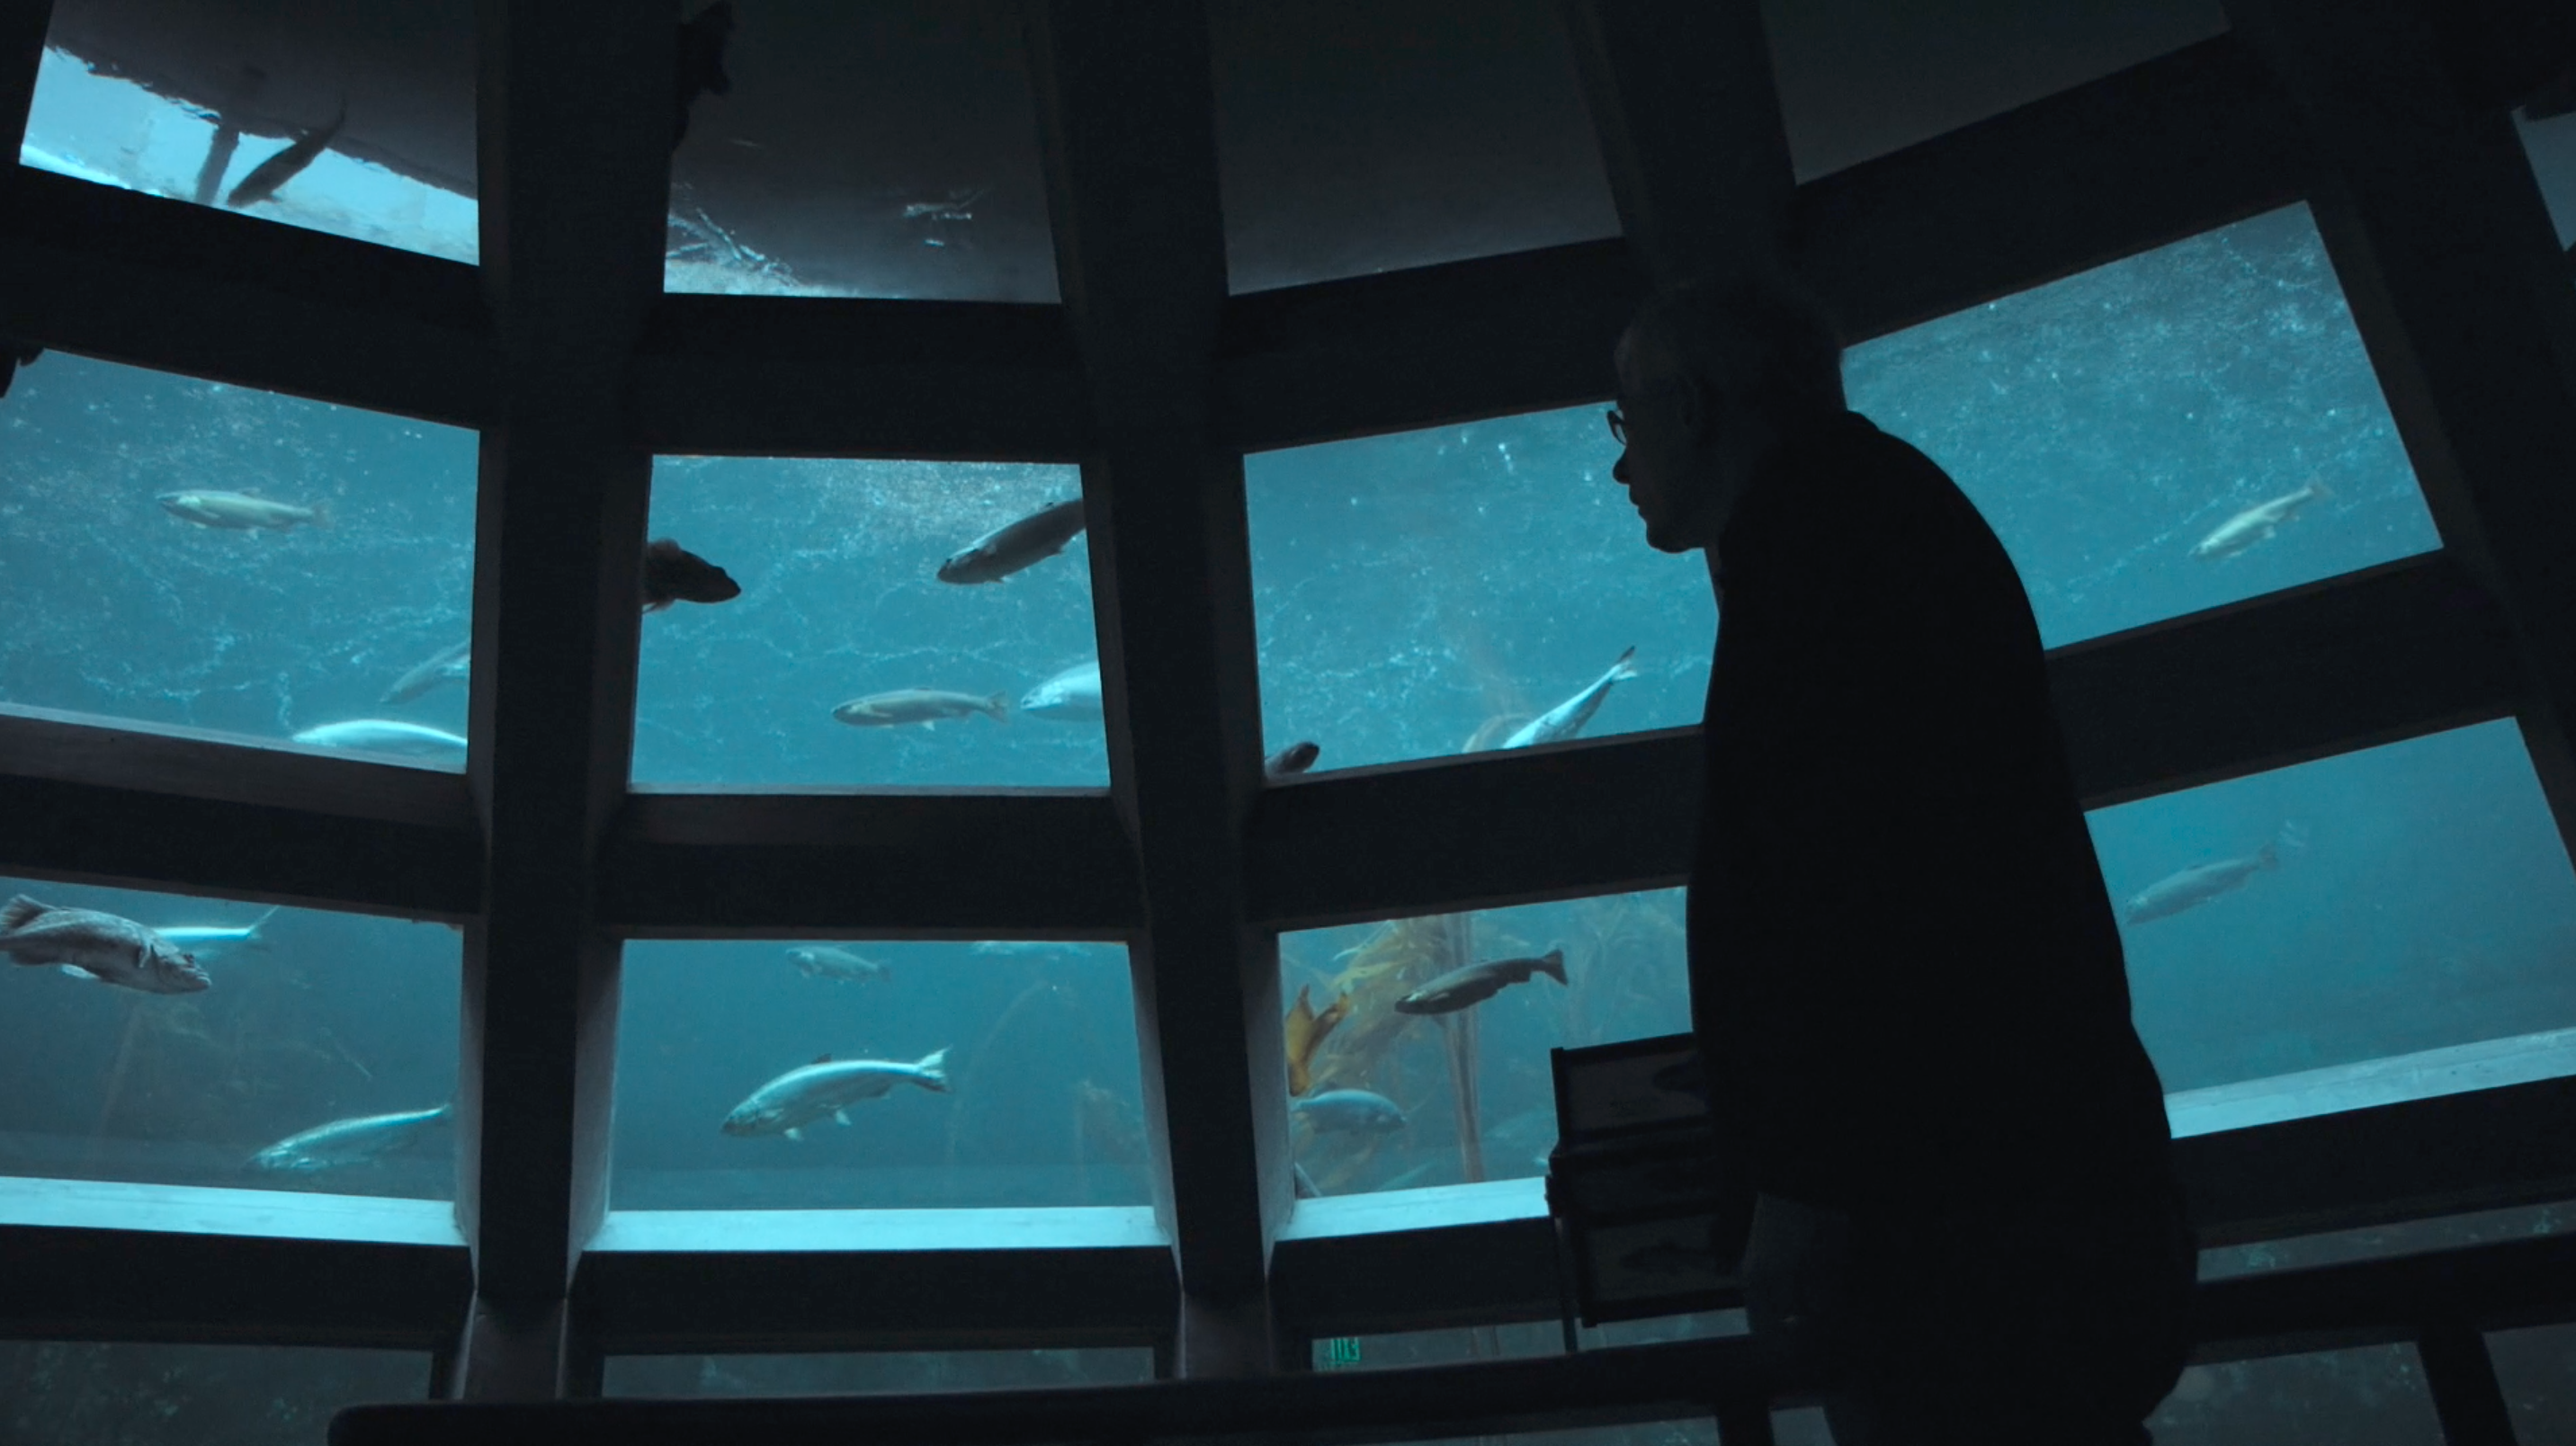
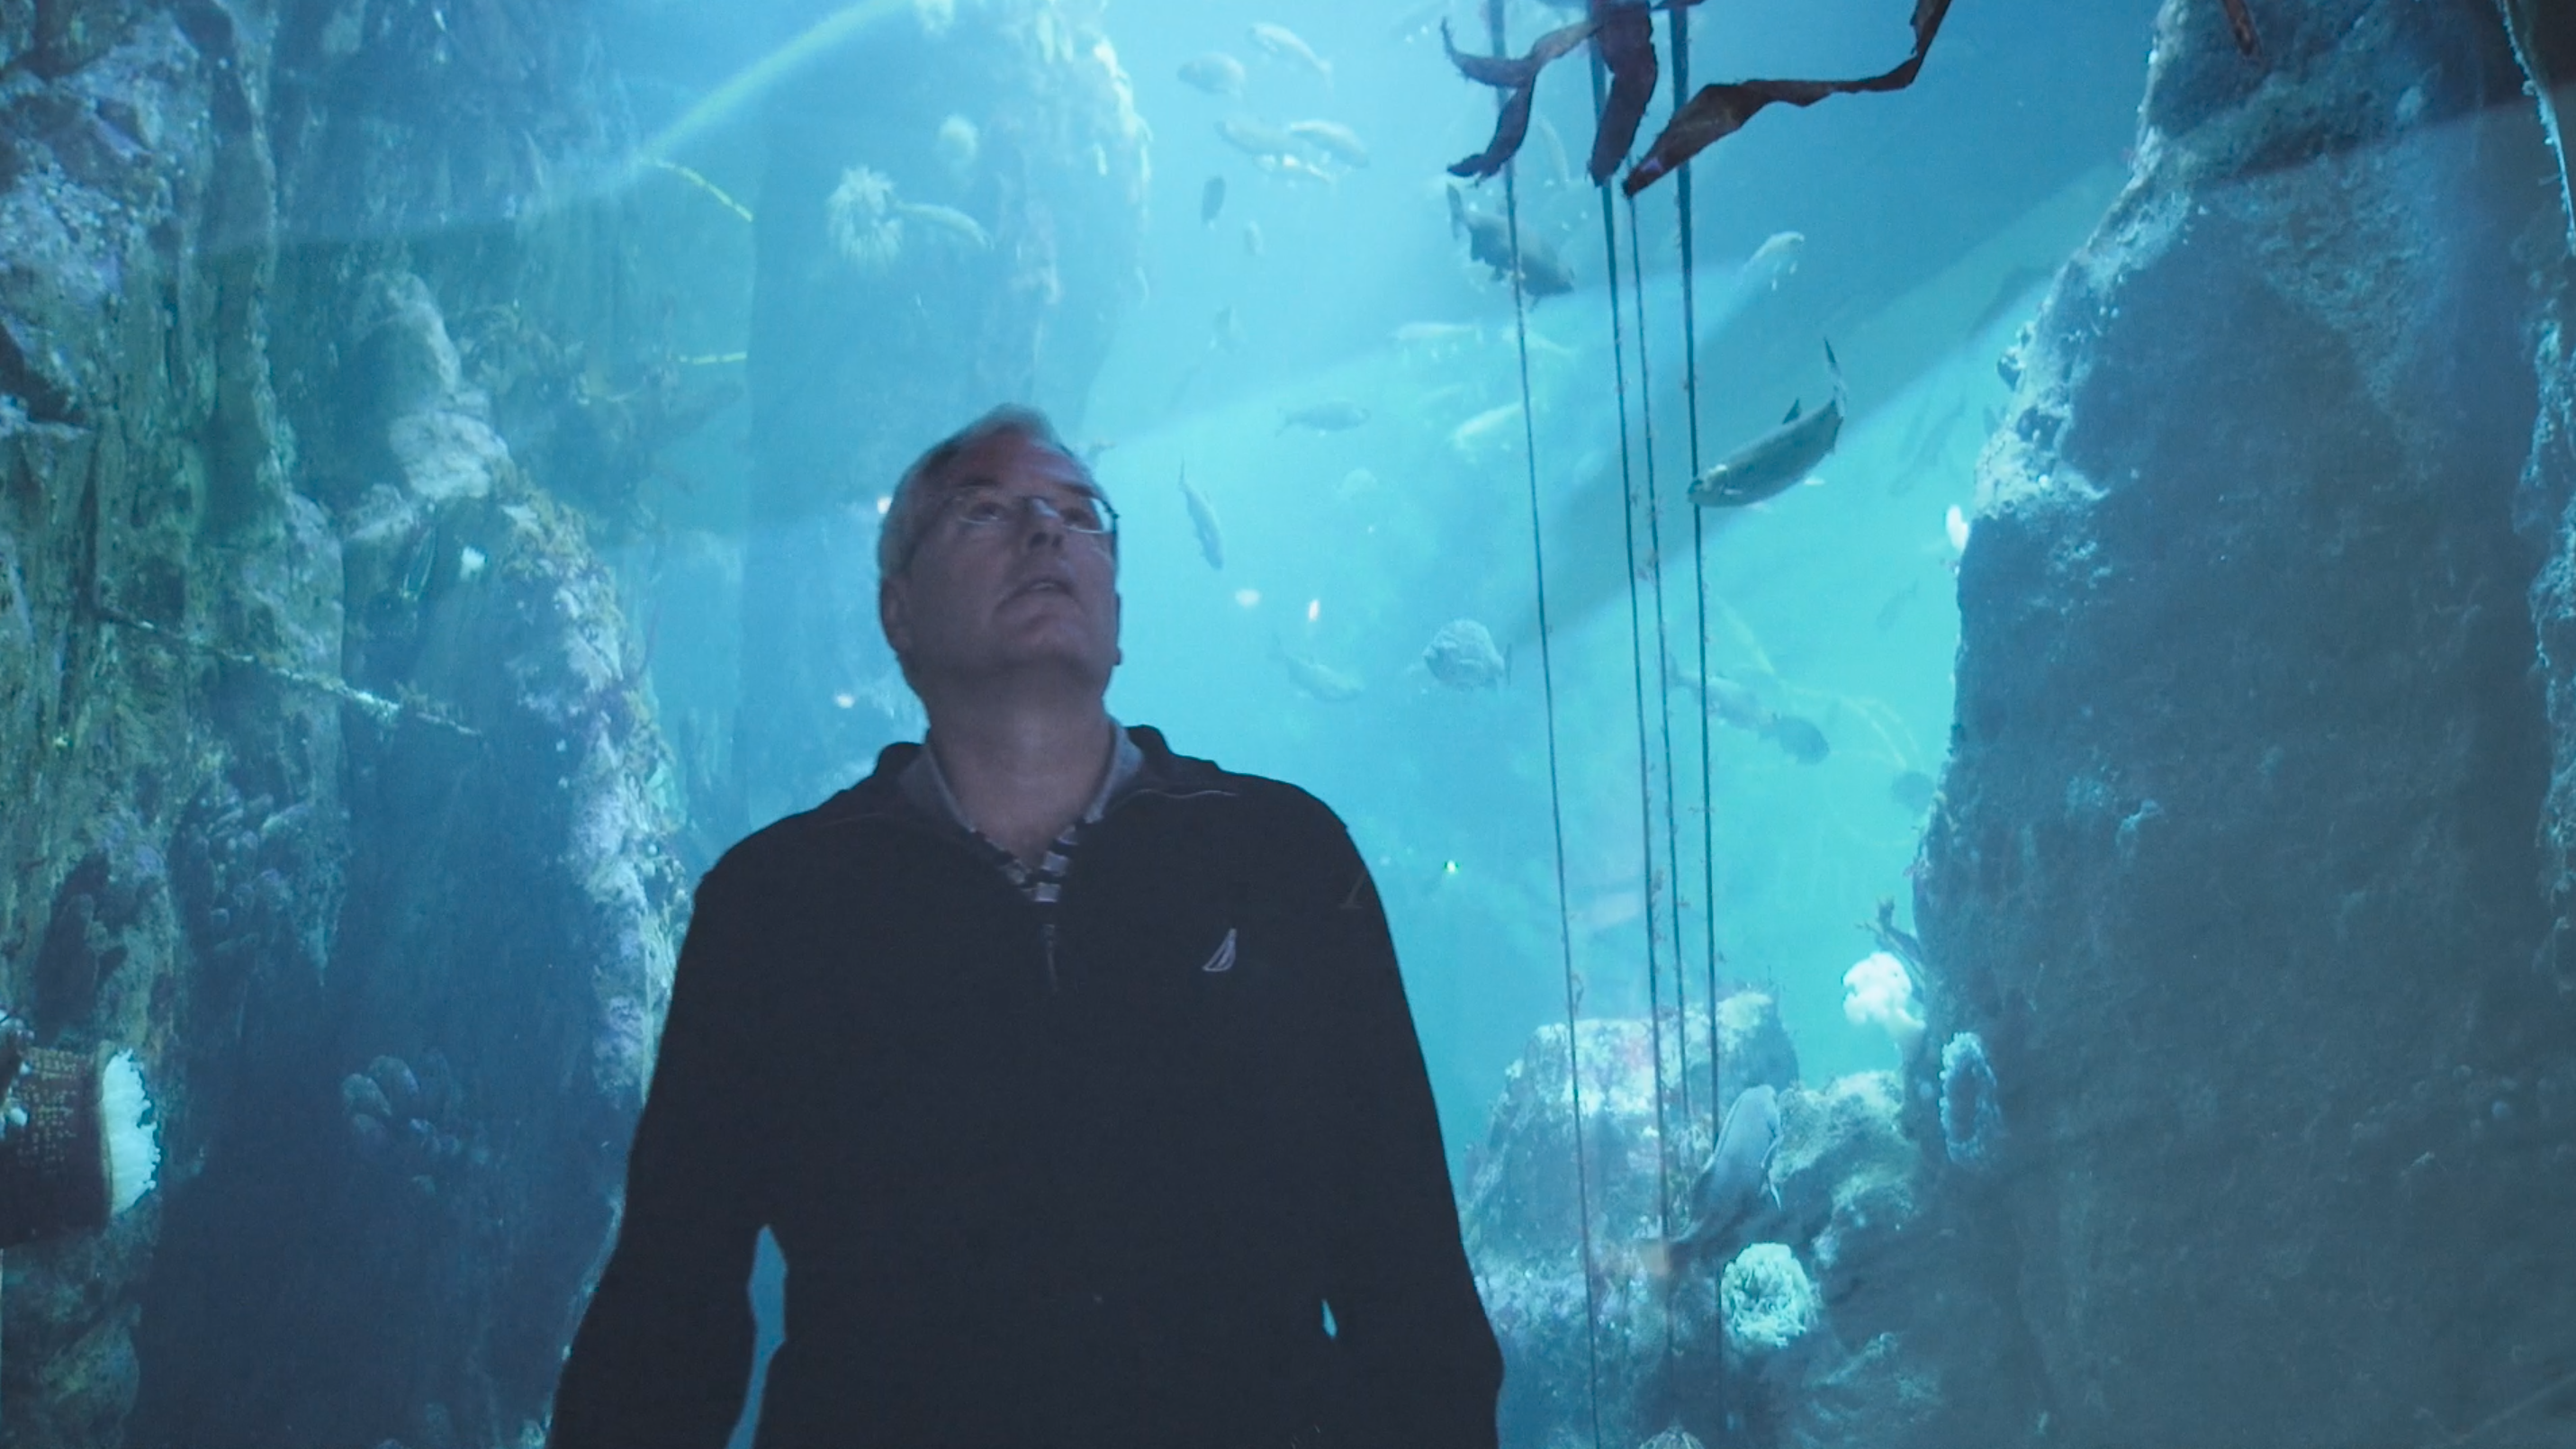
UW Medicine just published a project I shot last December, which features one of their physicians, Dr. Stephen Dudley, who has an unusual exercise routine: he swims year-around in Elliott Bay.
When I landed this project, I knew right away that I wanted to take the camera under water with him. I’m licensed to dive, but I’ve only ever done that in warm tropical waters. I have neither the equipment or the inclination to get my feet wet in the frigid waters of Puget Sound in December.
Laura James, underwater cinematographer
So I started Googling for underwater camera people in Seattle, and I found a lot of guys and one woman named Laura James. She has a ton of experience shooting underwater, and was instantly excited about working on this project when I reached out to her. She was awesome to work with!
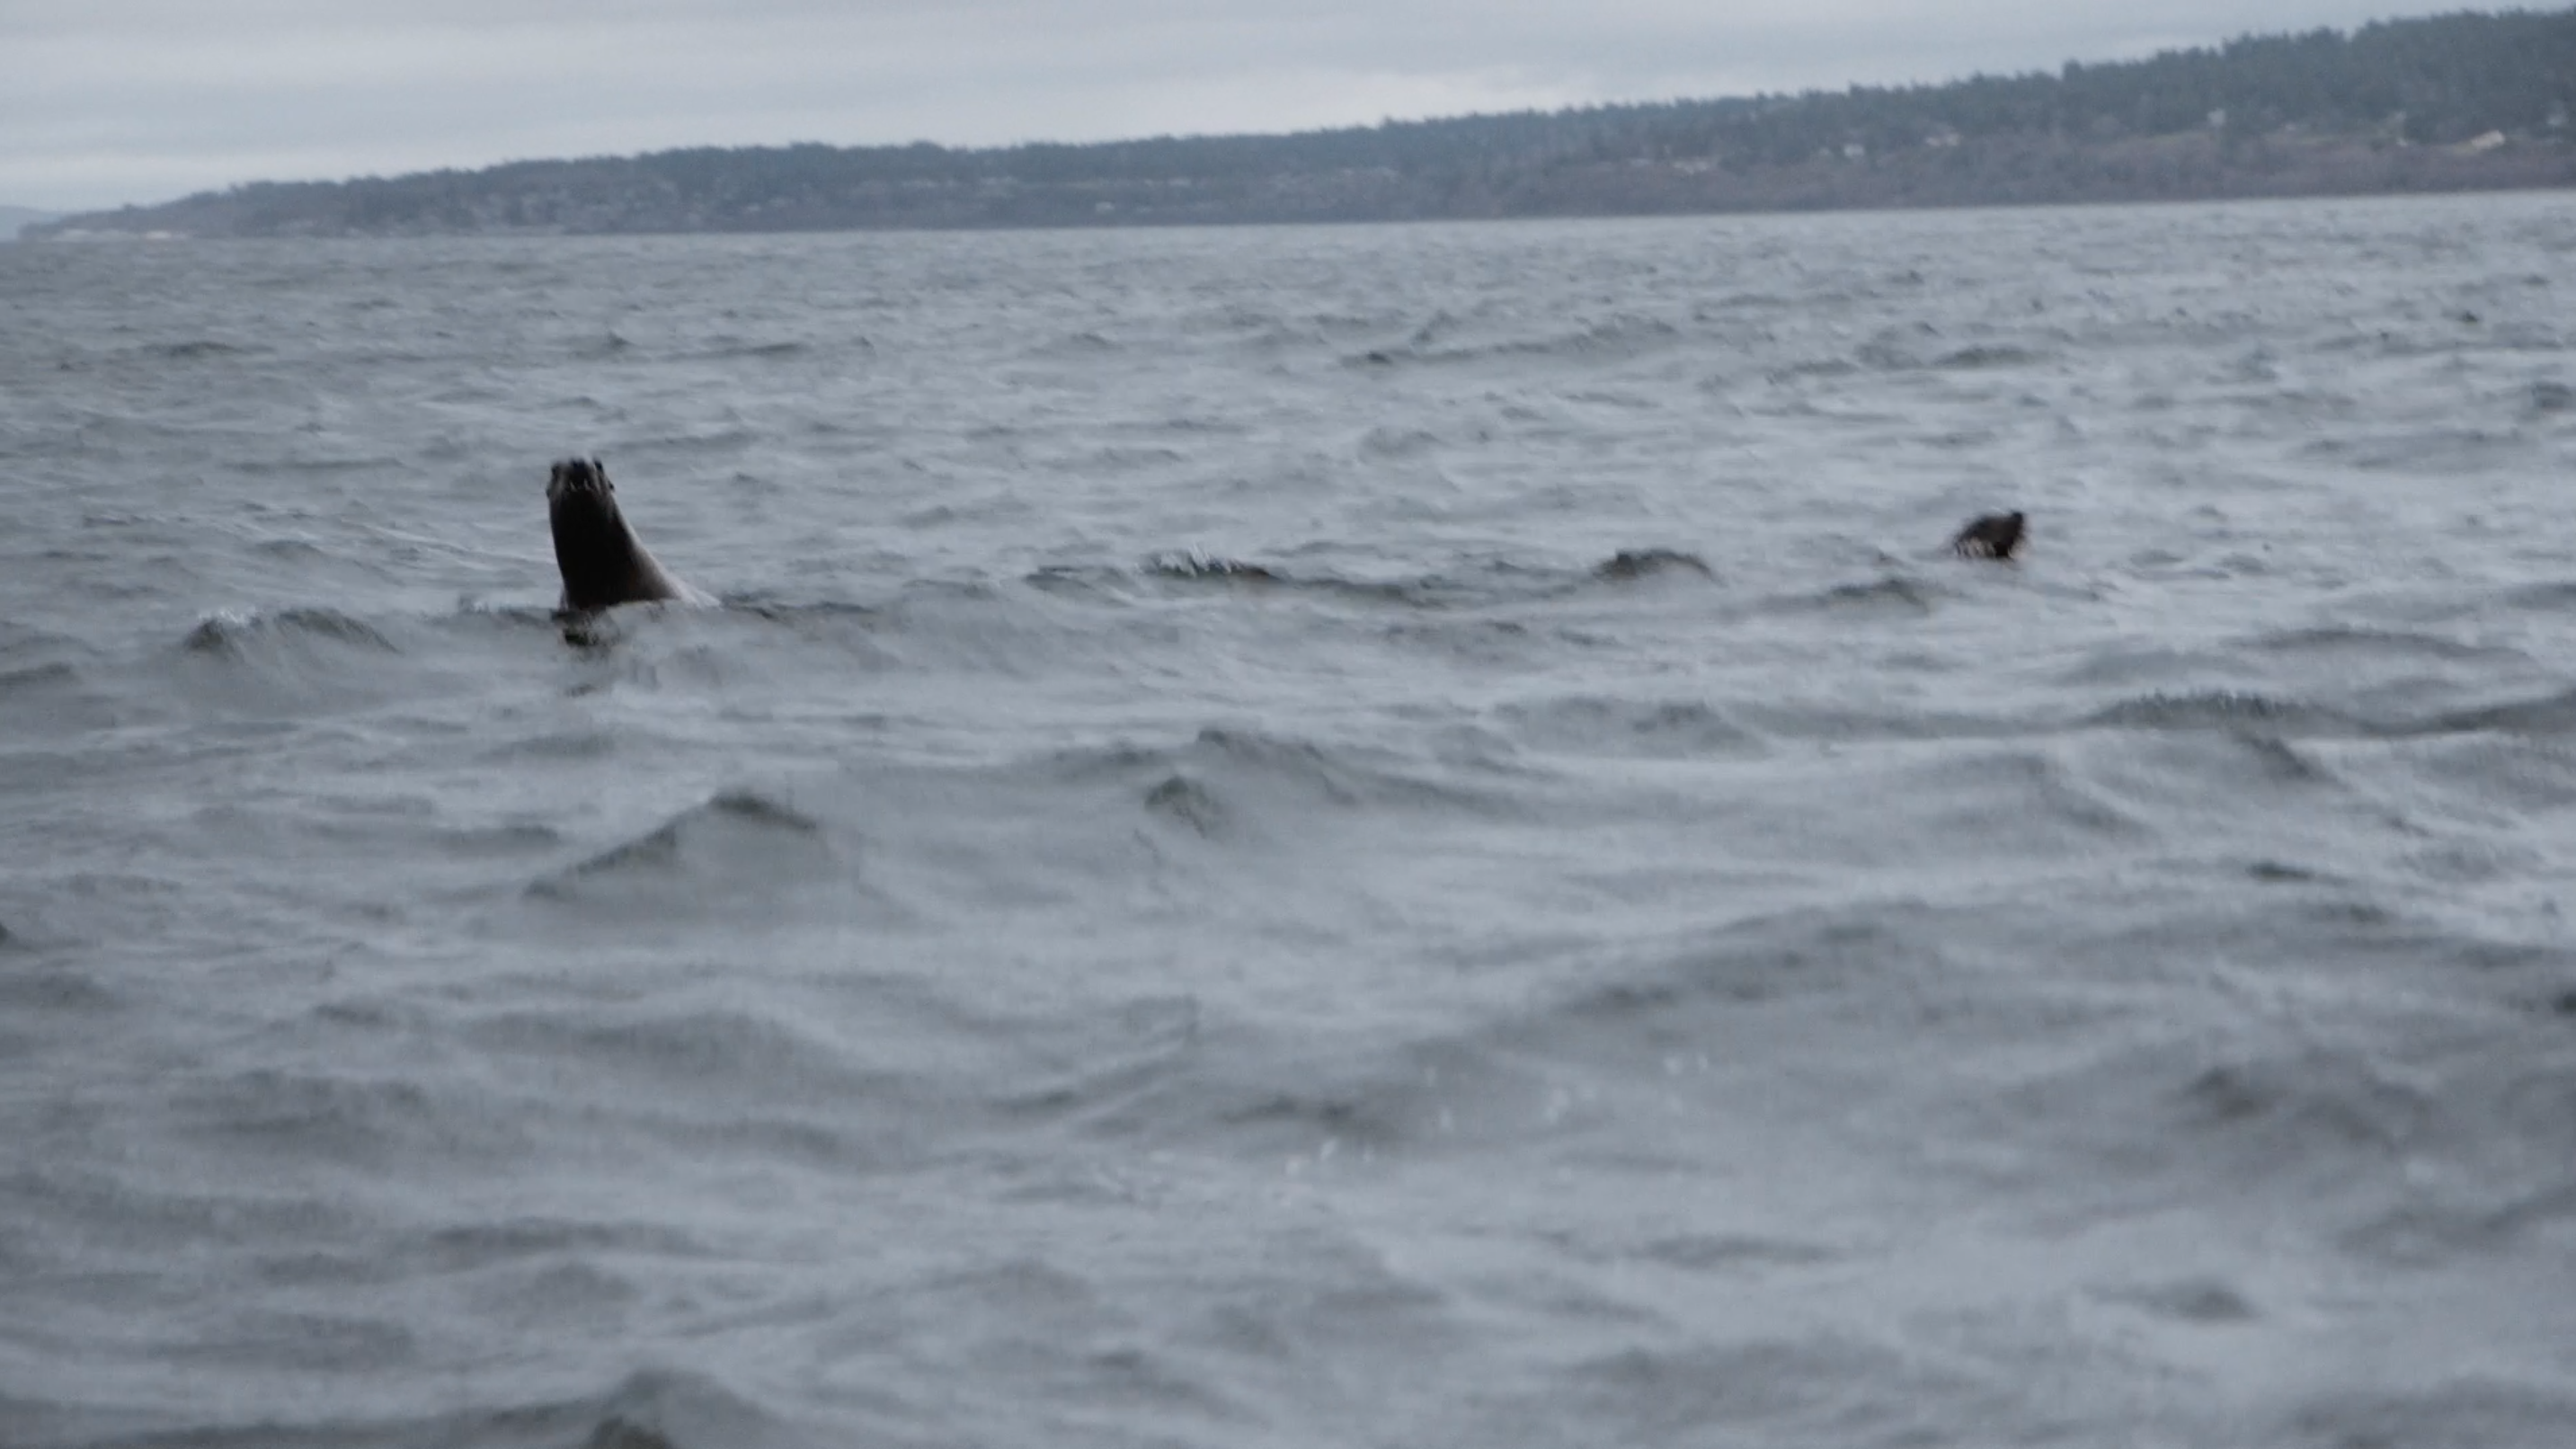
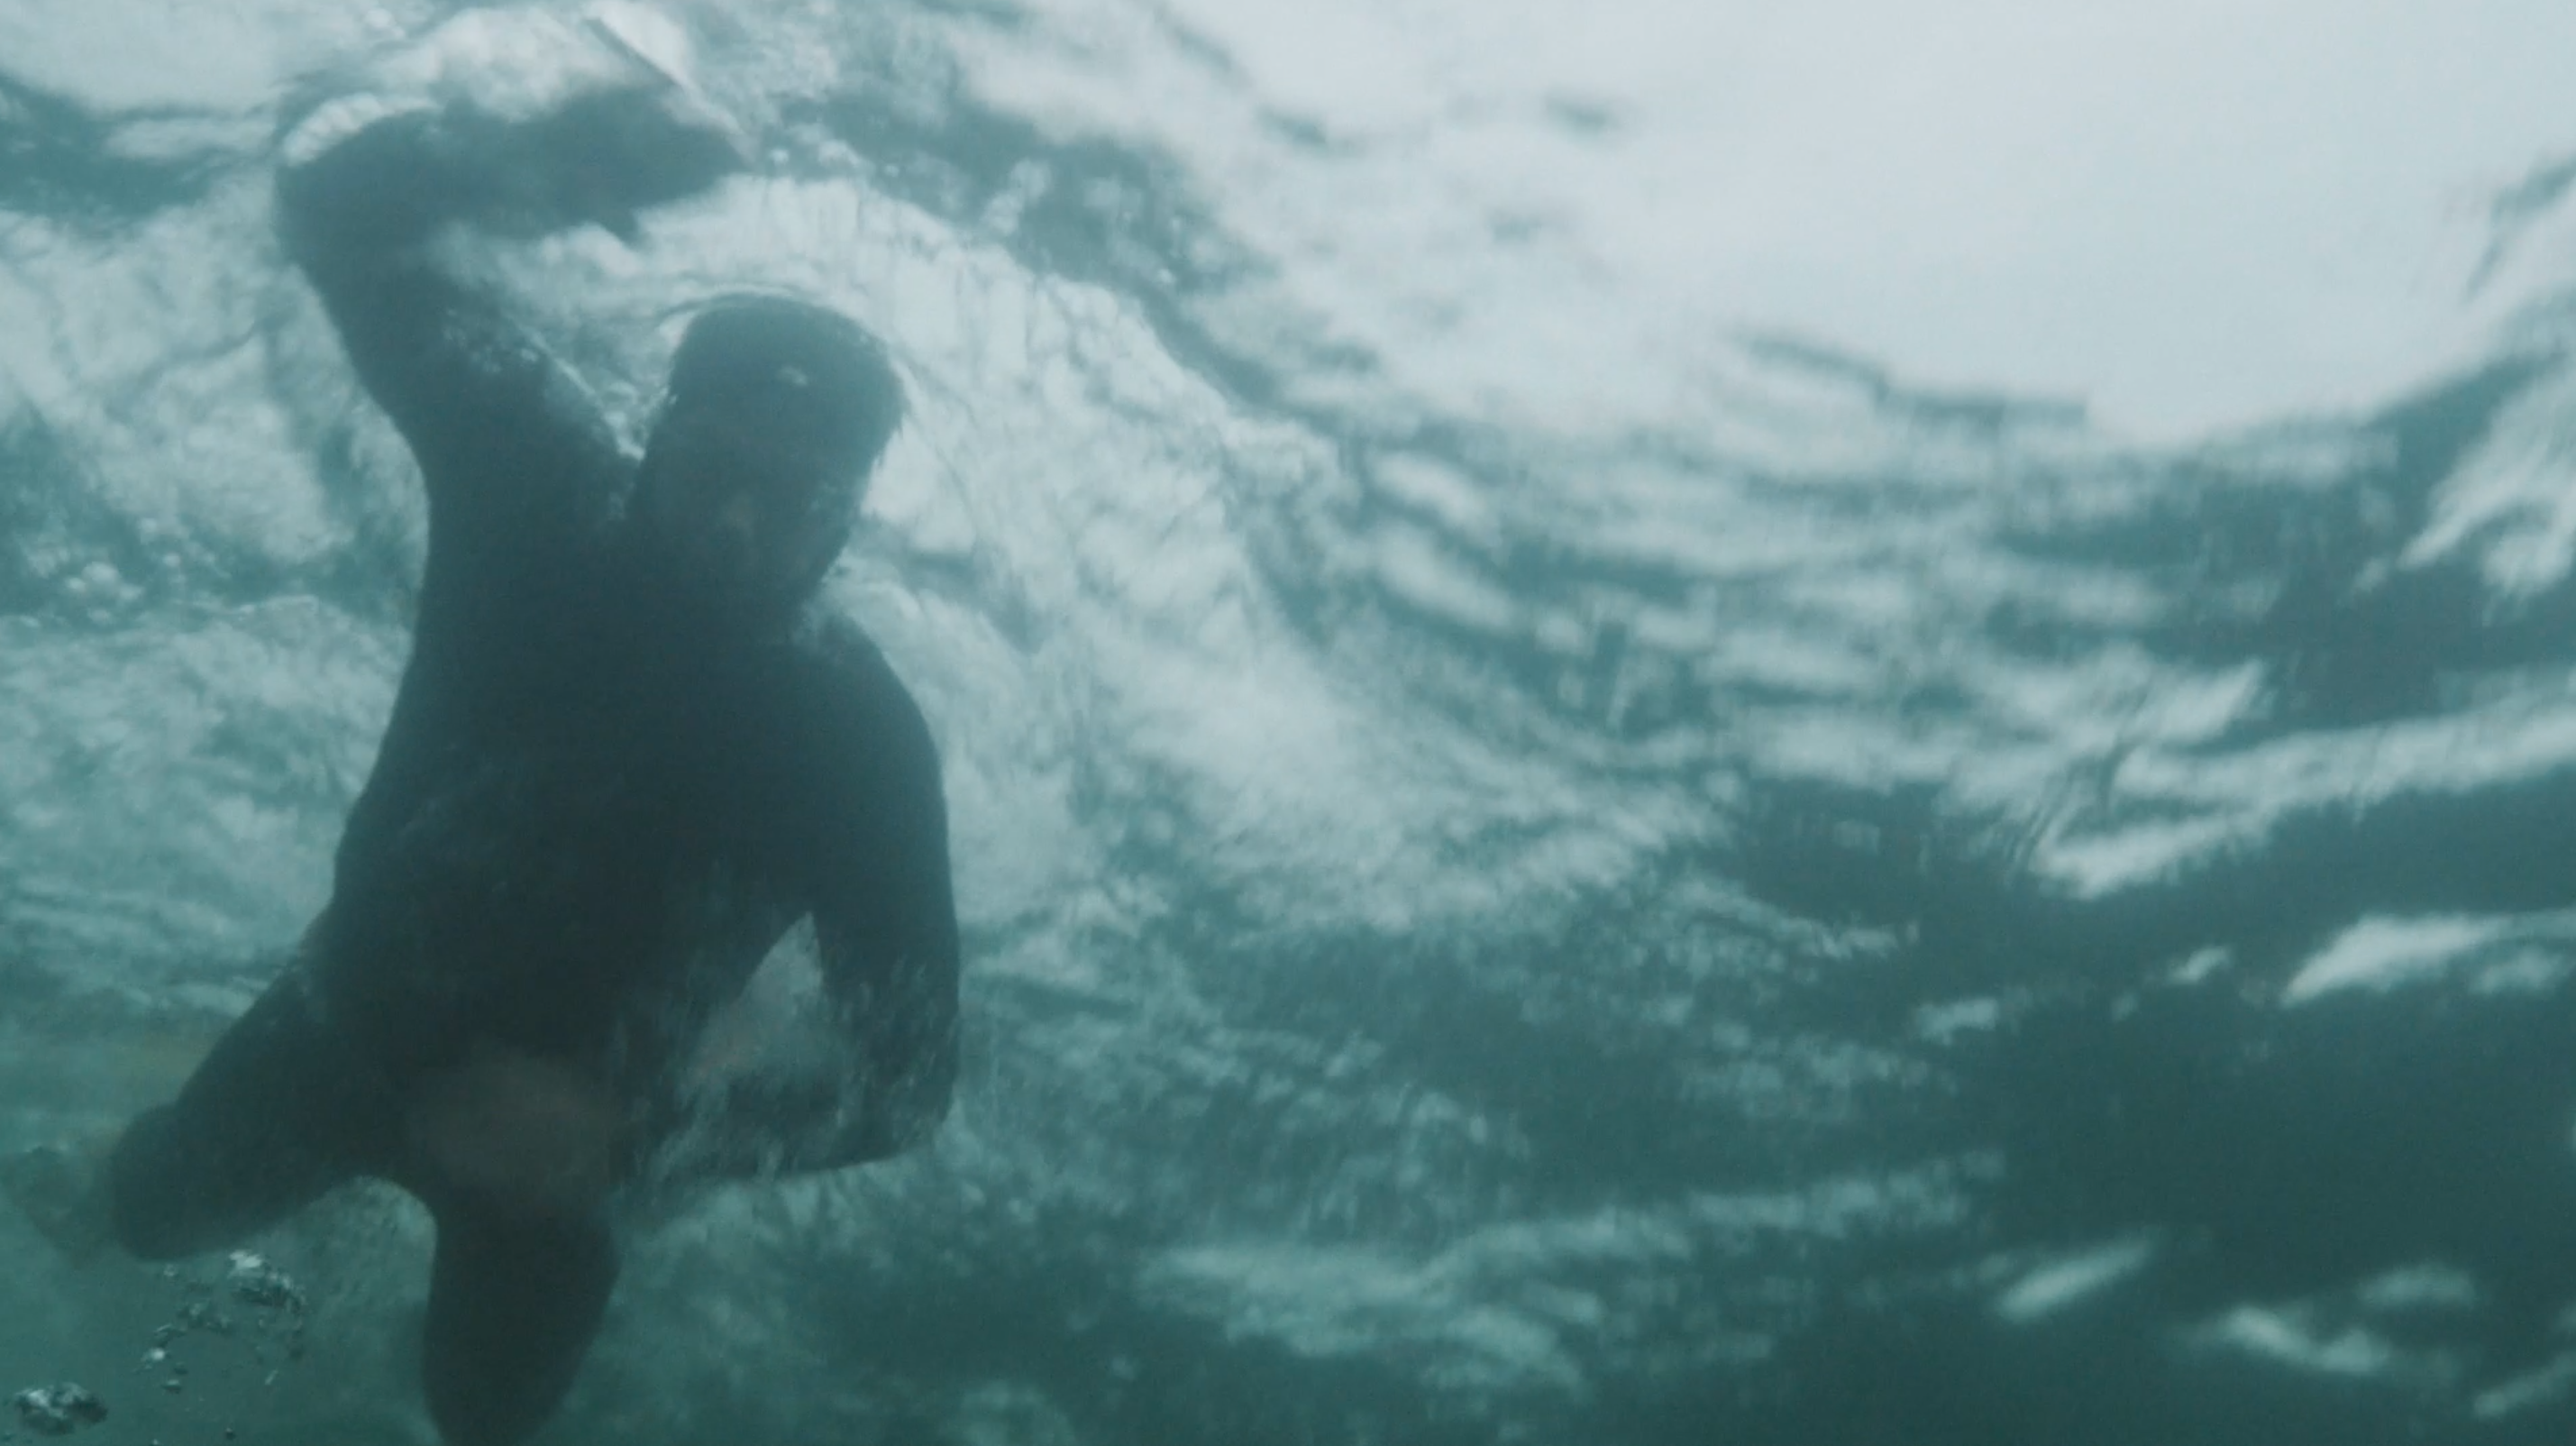
While she covered the action from under water, I shot from a boat above the water with a DJI Osmo Pro, which did a superb job of smoothing out the winter waves that we were riding.
Amazingly, two sea lions happened to swim by while we were filming, and became curious about what Laura and Dr. Dudley were doing in the water. They swam right underneath them, which is how we got that little quick second of footage in the film underwater, and also the clip I was able to capture above water.
Here’s a few frames from the film, which you can watch here on the UW Medicine website (scroll down to bottom of page to view).
Many thanks to Lara Feltin, who produced this project, and to location sound recordist Scott Waters.
You’ll notice there are no talking heads in this story. There IS an interview, of course, but it was recorded with a microphone, not a camera. This allowed me to break production into two parts – story development, and video production.
I interviewed the subject first, using just a microphone. This keeps production costs low, and allows the interview to double as casting, to be sure that the subject is the right one to pull off the story. In this case, she nailed it, so we moved on to the next step, the radio edit.
In this step, I cut a story, complete with music, with the goal of making something that could air on the radio, complete with music and pacing. We haven’t even shot video yet. I submit this to client for approval.
By eliminating video, the client is forced to focus exclusively on the story, not how somebody’s hair looks. Changes they make at this stage are very easy to make, because there’s no video to screw up – you haven’t shot any yet.
Once you get approval, you schedule the shoot. At this point, you have the story in your head, and you know exactly what you need to shoot. This makes your shoot go much smoother and more quickly than if you are covering your butt because you don’t know what the story is going to be.
When you’ve wrapped, you move to rough cut. And now, the rough cut comes together really quickly. You’re already more than half done when you start, with the spine of your story already in your timeline.
If your client is an organization that has a lot of brass in the approval chain, this two-stage approach to story development has major benefits. By introducing the stakeholders to your story gently, first with the radio edit and then with the video, it removes the shock that clients always have when a rough cut lands on their desk. Because they’ve already approved the radio edit, when they see the rough cut, it’s like seeing an old friend wearing a different outfit. They will have some comments about the pants or the shirt, but they like what’s underneath it.
This approach paves the way for an easy approval process, makes the job easier every step of the way, and ultimately, makes clients happier.
Sierra Nevada today published a project that I worked on with director Mark Bashore. I was one of two DPs on the project, spending a day at the company’s beautiful brewery in Chico, where I shot the opening push-in shot on their bar. Then Mark and I returned to Seattle where he turned his living room into a studio for three evenings in a row, and we got down to the business of making beer beautiful. Here’s a few insights I learned in the process.
Probe the ingredients
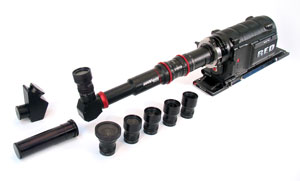
To get inside the hops, we used a probe lens, which is designed for tabletop photography and special-effects shots. A probe lens was used for many of the special effects, which used models, in the original Star Wars. For our shoot, I rented one from Innovision Optics, an LA based company that helped pioneer the development of probe lenses in the 80s. They sent us their Probe II + package, which covers Super 35mm sensor cameras and comes in PL mount.
I rigged my Sony FS5 camera and probe lens on an Rhino EVO motion control sider, which allowed us to move the camera smoothly and repeatably into the bundle of dried hops which we suspended above and around the lens. To achieve the effect of sunlight shining through the hops, we used an Arri 650 fresnel, which Mark moved by hand outside the hop bundle. Our challenge was to get a bright enough light outside to simulate sunlight, but not so bright that it blew out our shot, or revealed how dried the hops really were. We shot many takes and the one we used seemed to strike the right balance.
Fill the Fish Tank
We filled a small fish tank with beer, and spent an entire evening placing the camera under it, beside it, and over it. We used a couple of Arri 650s directly without diffusion in some cases, and also bounced off foam core, to illuminate the beer. In many cases I shot at 120 and 240 frames per second to add a dreamy quality to the pouring. Basically it came down to repeated pouring and shooting from many different angles. We repeated that with the light in many different positions until Mark felt like he had enough stuff to take into the edit.
A forest of light stands
On this shoot I discovered that the smaller your subject, the more c-stands you’ll need. To properly illuminate the beer, and kill unnecessary glare, required a stand for everything: the lights, the flags, and the gobos we occasionally had to use to defeat glare or unwanted lens flares. We had two or three boom stands as well, and those were invaluable to get the lights into play where we needed them despite the room already being filled with other stands.
The perfect drop
The last shot, featuring the drop of beer that rises out of the water, is my favorite. I was shooting with a 100mm Canon macro f/2.8 lens, which doesn’t have much depth of field. So we had to really blast the Arri 650 pretty much directly from above. Mark’s wife Katrina just poured a LOT of beer until it happened. I set up the slow motion to capture with a rear trigger. This way, when we saw something that looked interesting I would press the record button. Then we’d have to wait 45 seconds or so, until the file could be written to disk from the buffer. The nice thing about using the rear trigger was that we only captured clips that had potential. Thus we avoided having to capture long sequences of slow mo that would have to be reviewed during editing. But the long write times definitely slowed us down during the shoot.
The slow-motion footage on the Sony FS5 can be pretty grainy, even when the Slog is properly overexposed. So I had to denoise the clips using Neat Video plugin. It’s pretty incredible how good the clips looked after that.
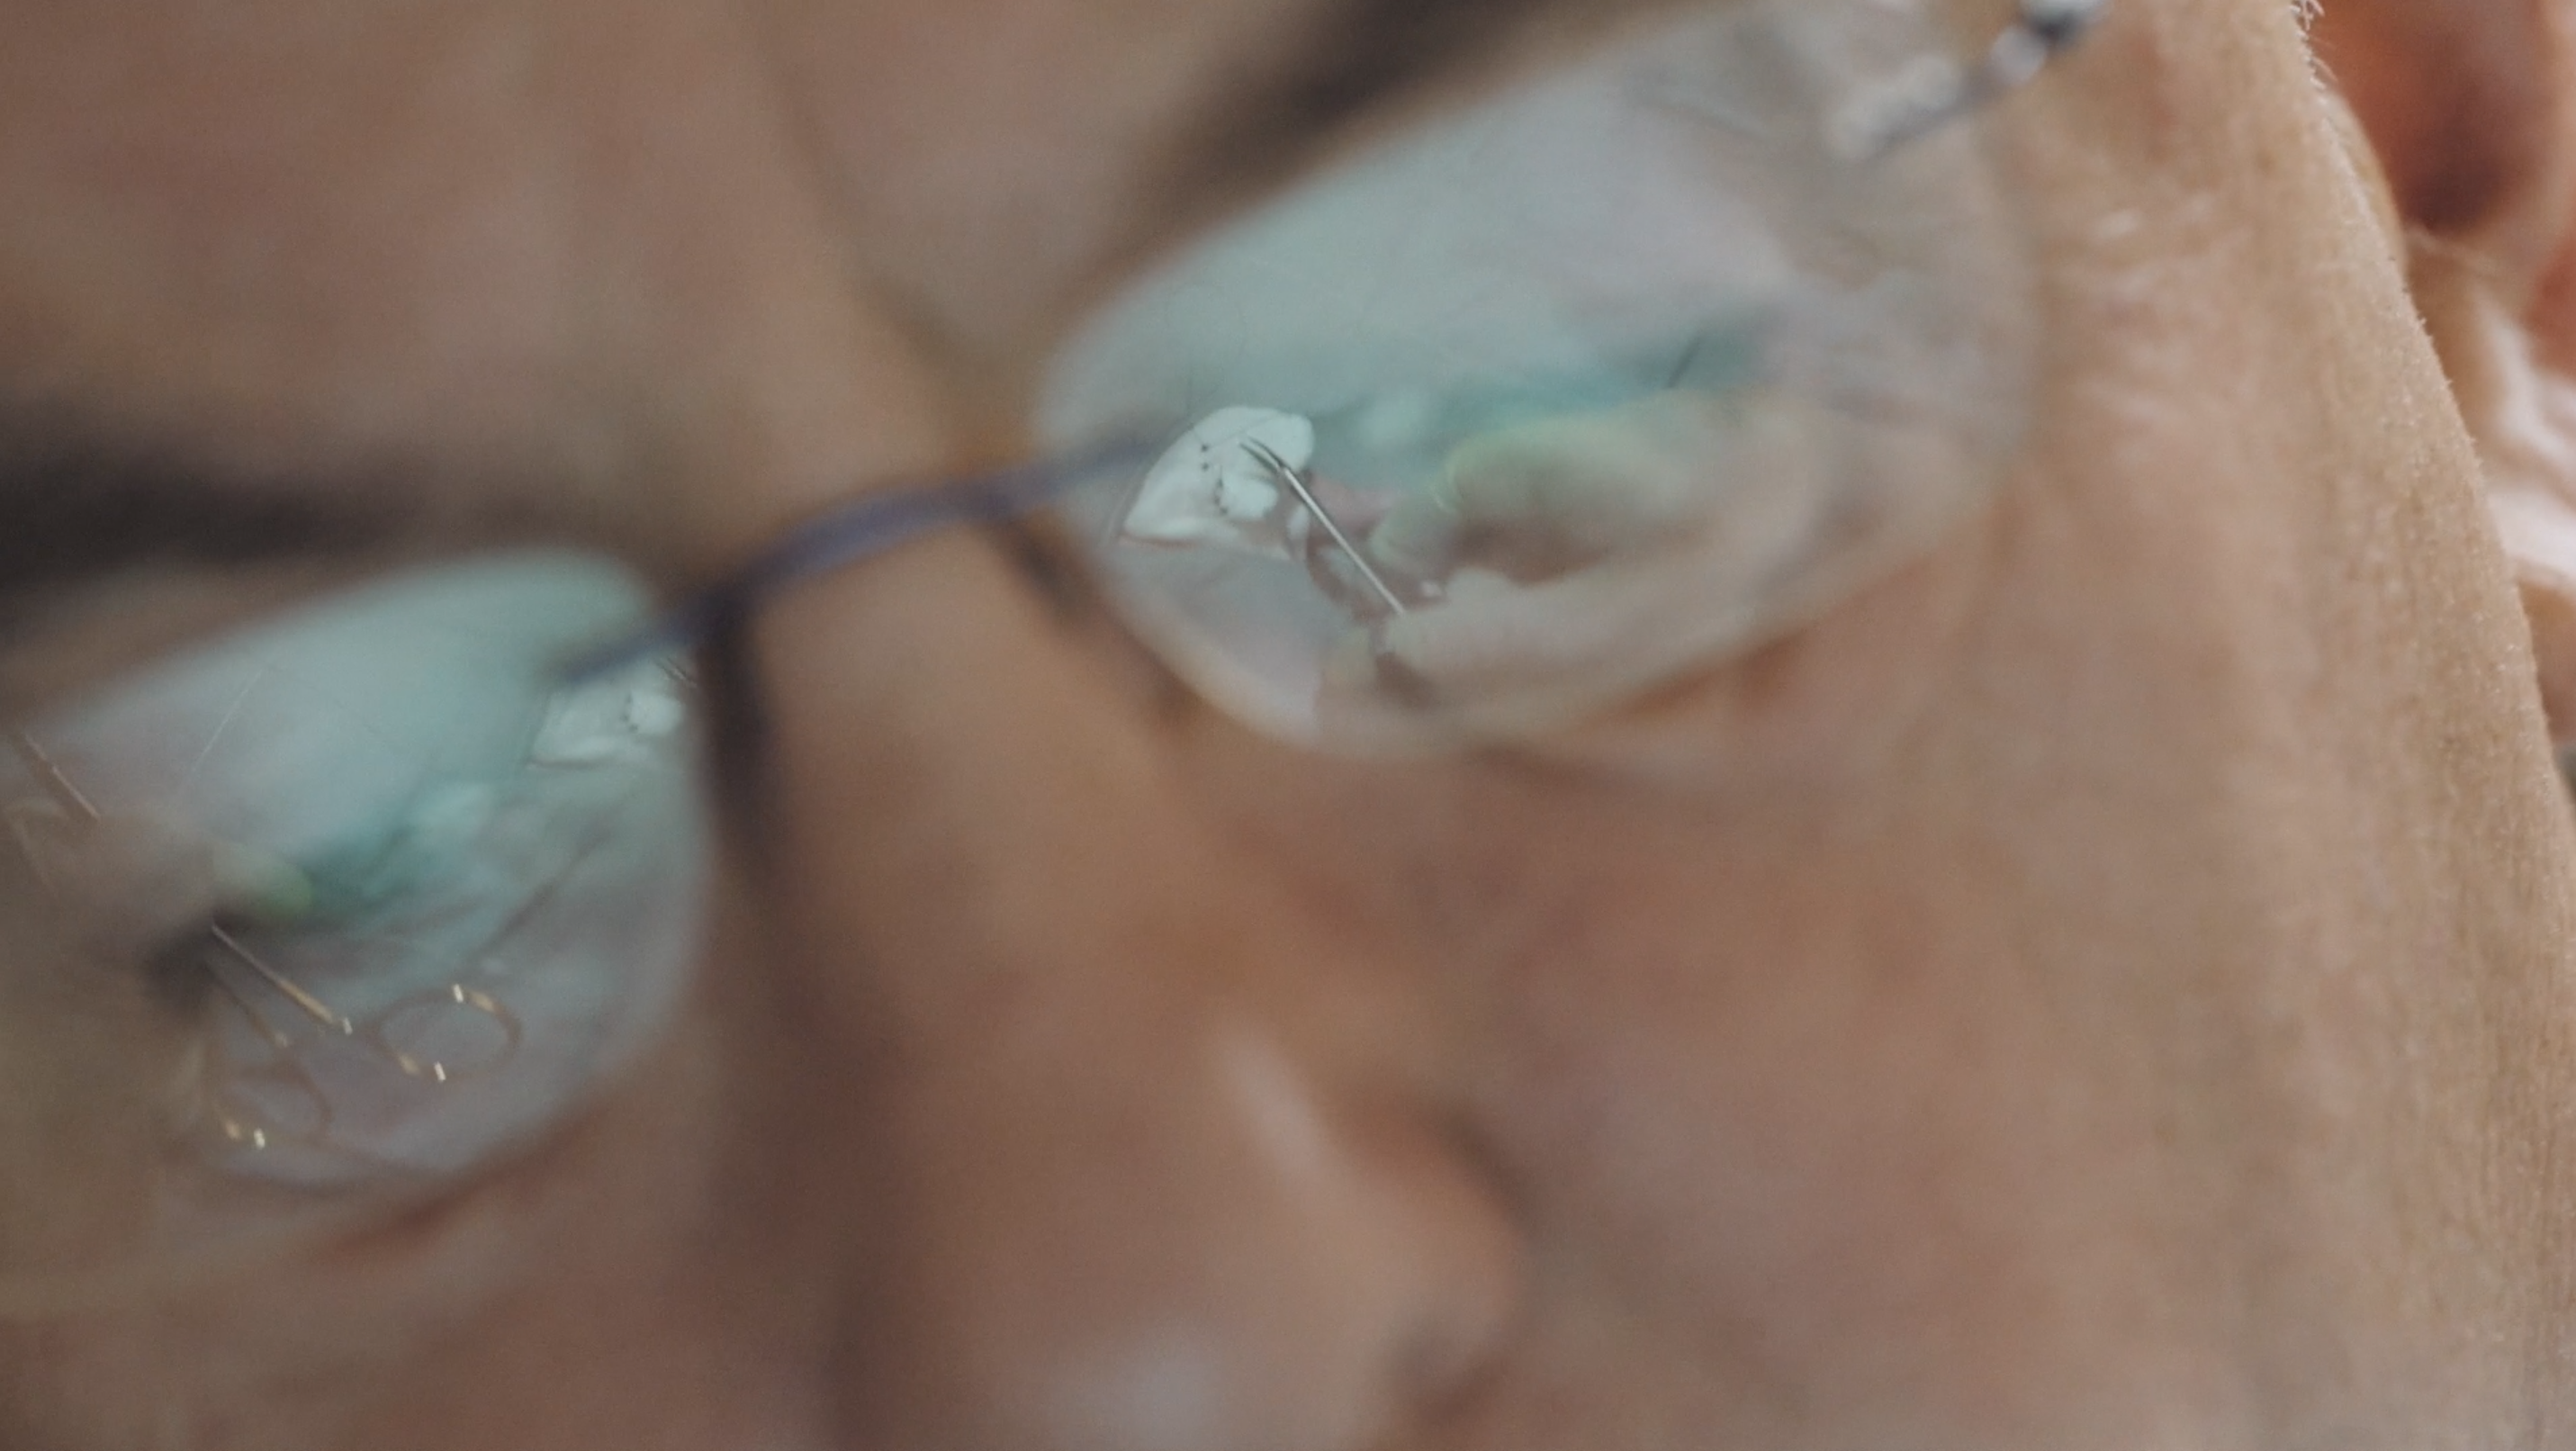
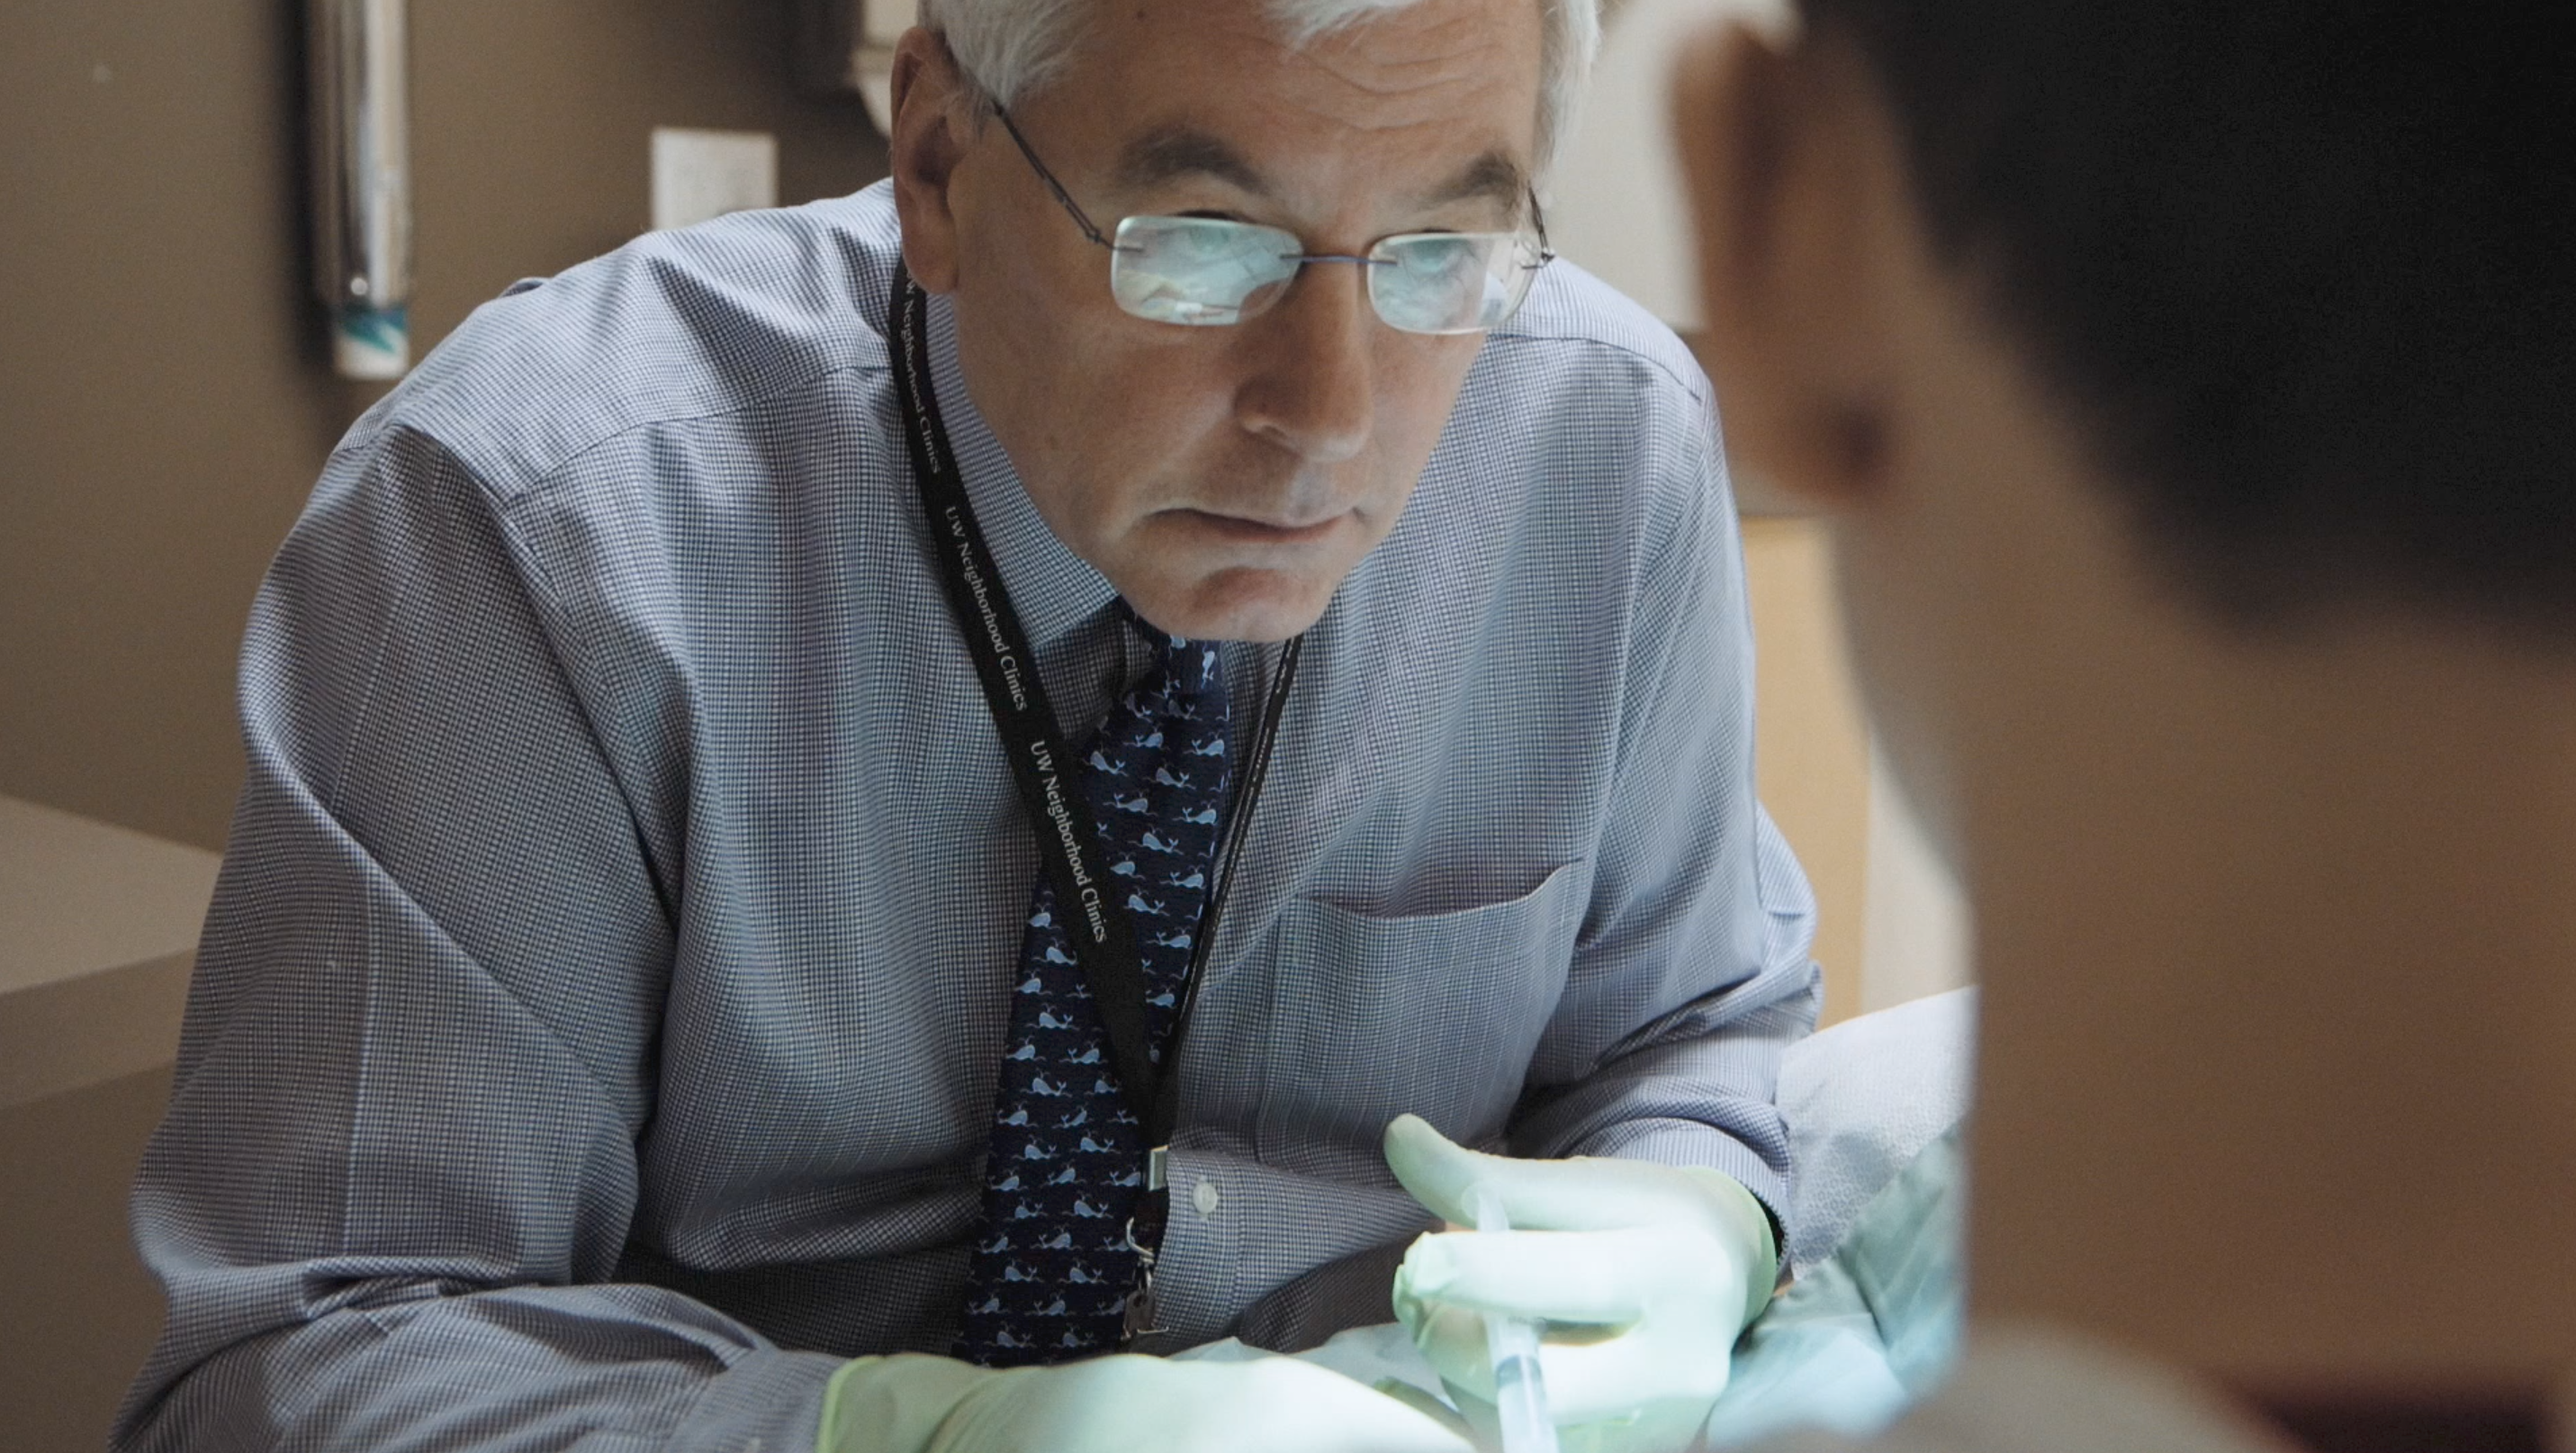
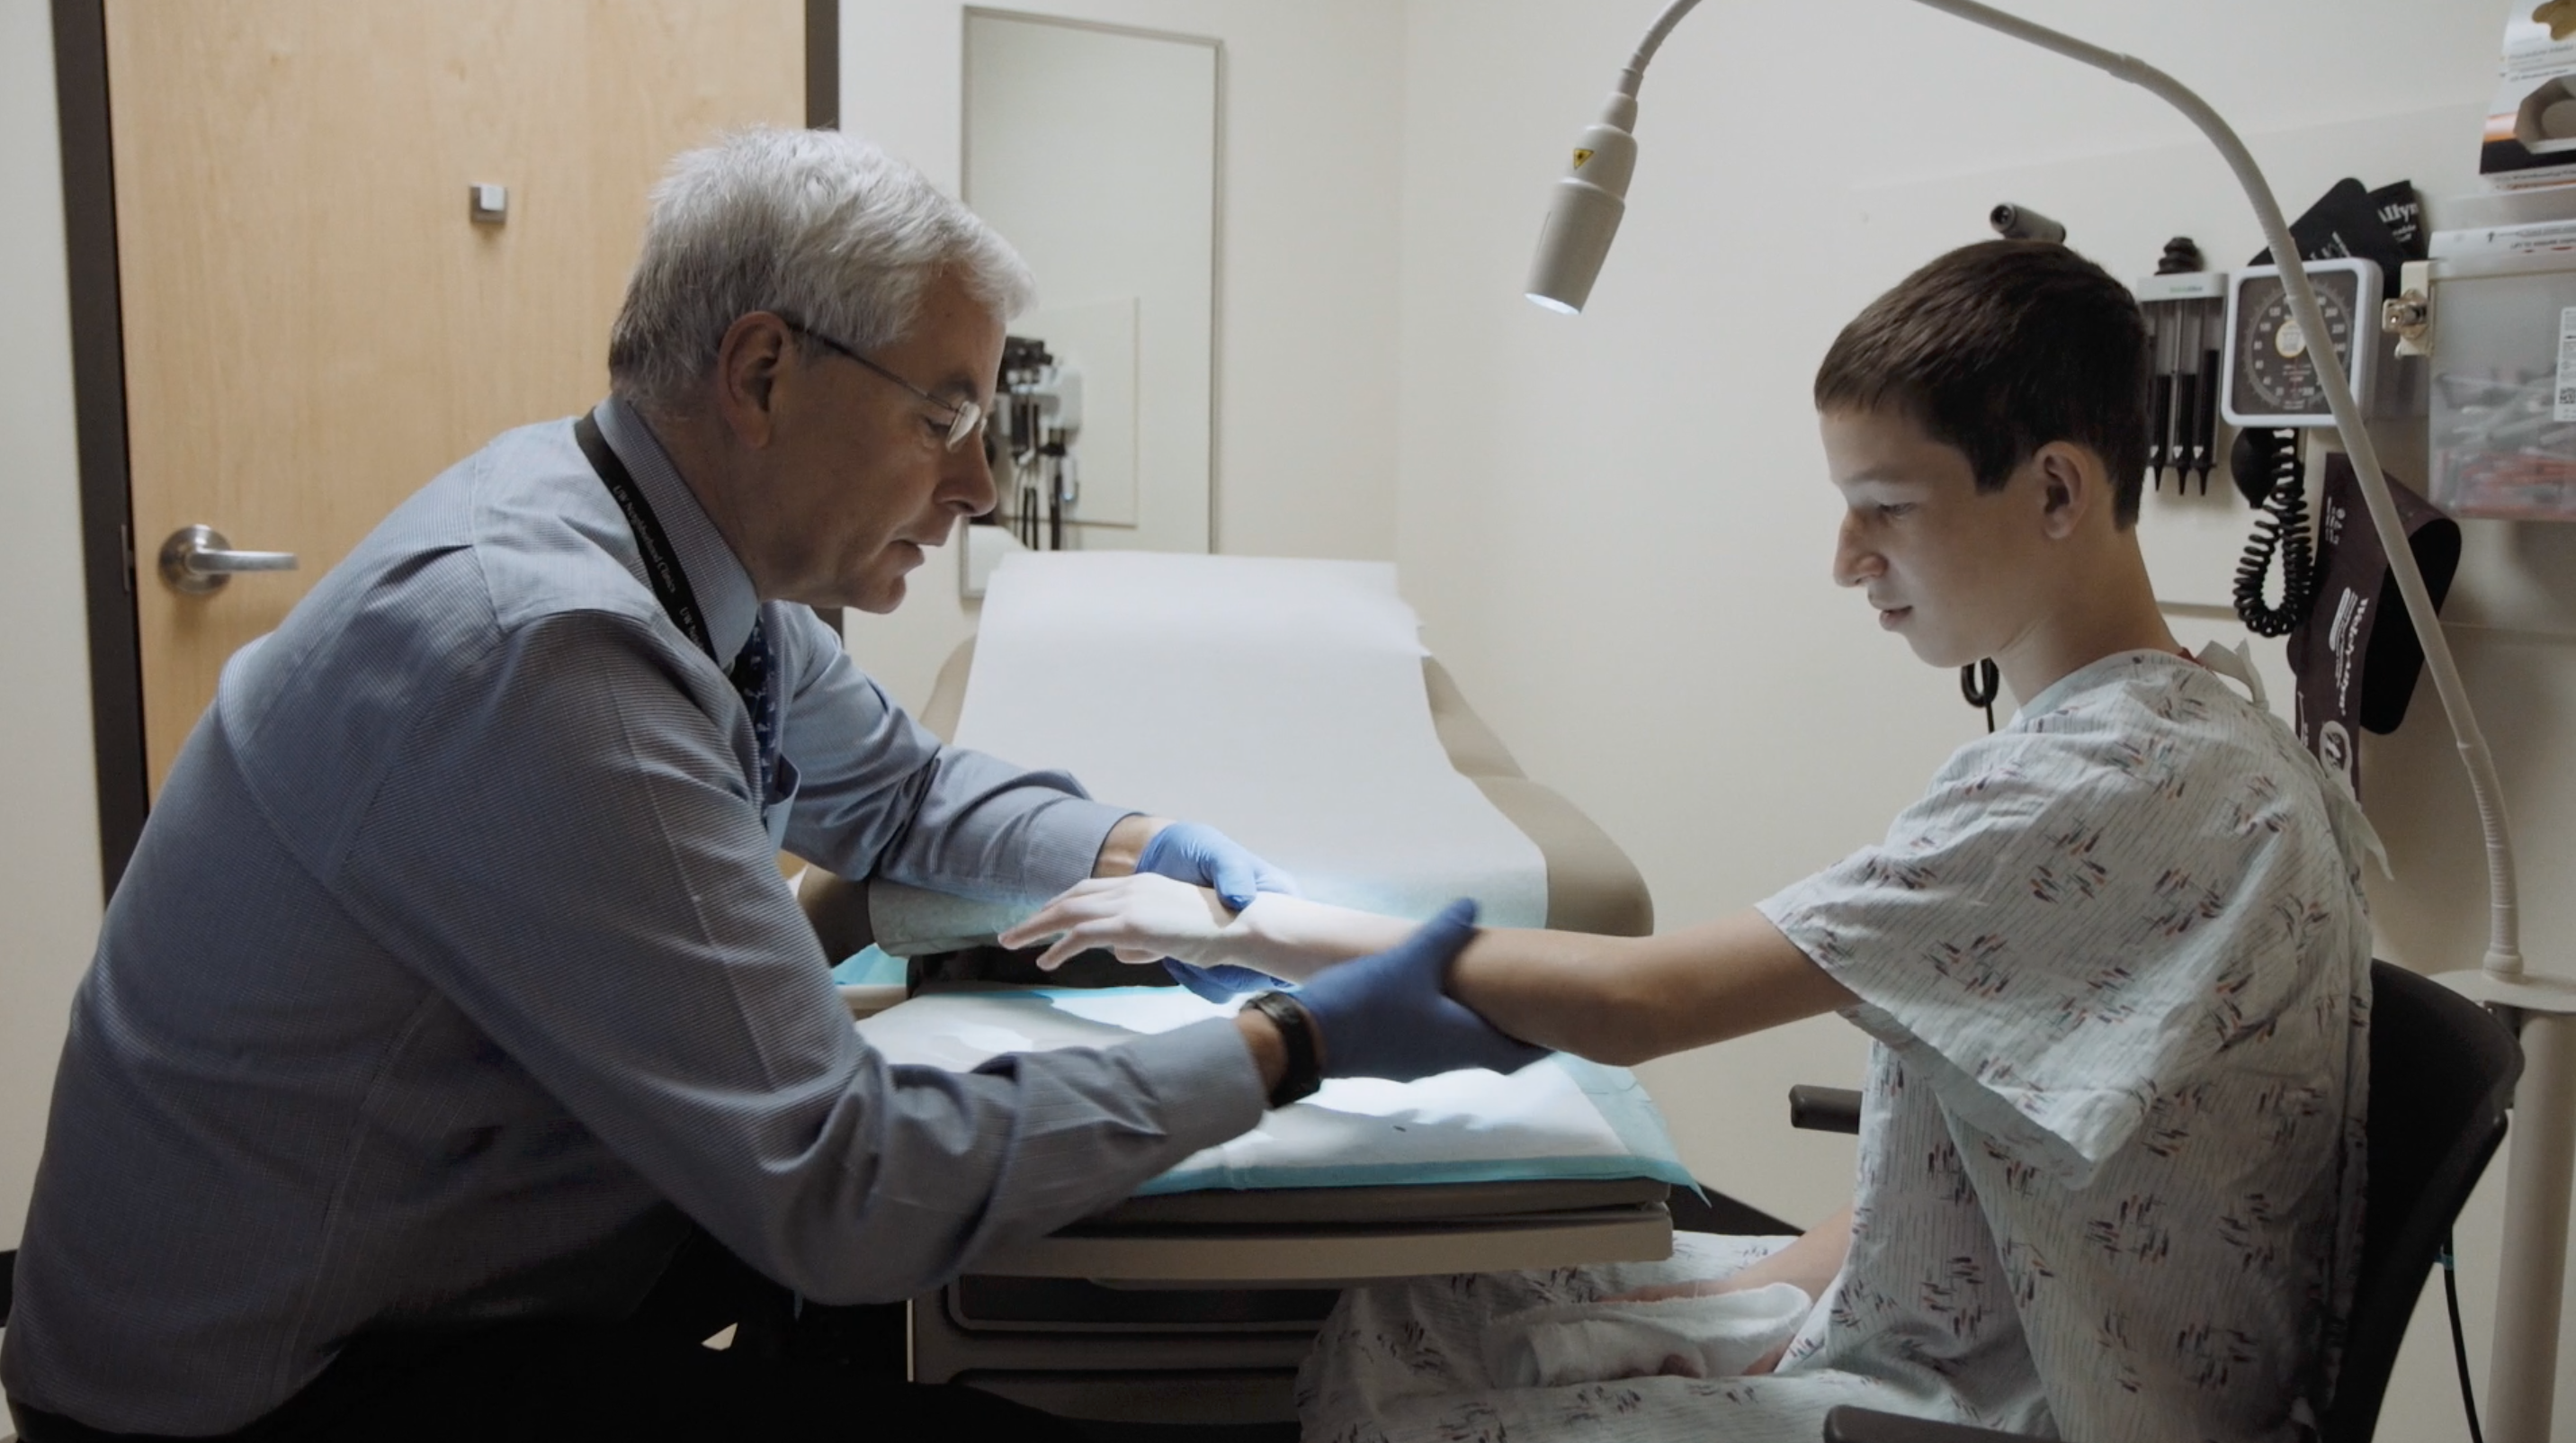
Here’s an informative little cancer video project my crew and I just delivered to Seattle Cancer Care Alliance, a client that’s been keeping us very busy this summer. We’ll be doing a lot more videos of this kind for SCCA over the next few months, uncovering powerful human stories about these innovative healthcare providers and the patients they serve.
How it was lit
I typically start to light a scene by deciding which light to take away. In this case, the lab was grossly over illuminated (for filmmaking purposes) with ugly overhead fluorescents. I wanted to separate the doctor from the background, through both luminosity and color. So I turned off half the overheads, the half behind the subject, and left the half in front of him on. Then, by setting my Sony FS5’s color temp to 3200K, I was able to create a nice blue wash in the background from light leaking through the closed windows. That created nice color separation. But his face was now too dark. I fixed that by filling strongly with my LiteGear LiteMat2 placed camera left, through 1/2 grid cloth. Next, I gave a little blue kick to his shoulder with my lovely new Dedolight DLED7 through Hampshire frost. Then I just set the aperture on my Zeiss 50mm with Speedbooster to f/2.0, and boom! Done.
B-Roll
B-roll was all shot very quickly, handheld with Zeiss primes and a 100mm Canon macro for the tight stuff. When I got to cutting the piece, I was reminded why my Canon 17-55mm f/2.8 IS lens is usually my go-go b-roll lens: because it is image stabilized! My FS5 is so ergonomically awesome, that I find myself shooting handheld more than ever. But when doing so, a lens with IS really is nice to smooth things out. Nevertheless, I sure do love that full-frame look of those Speedboostered Zeiss primes.
Sidebar: I am taking another look at Canon’s 24-70 f/4 IS lens, not because of its optics, but because of its image stabilization. In theory, with a Speedbooster it should look virtually identical to and be just as fast as my Canon EF 17-55 f/2.8, only with much better handholding because of it’s 4-stop hybrid IS. Will be experimenting with that combo on my Sony FS5 on an upcoming shoot and look forward to sharing the results.
Thoughts on 4K
I’m finally coming around to shooting my interviews in 4K. It really is nice to have the option to punch in for a tight shot pulled from a medium shot. But the drawback is focus. Focus is really, REALLY important to nail when shooting 4K. And on both the FS5’s LCD and my SmallHD 502 monitor, it’s harder to gauge focus in 4K, because the image looks a little smudged compared to HD. So it really does require careful monitoring during a shoot, especially when you do what I do, which is shoot damn near wide open all the time to visually separate the subject from their background.
I’ve shot with both the internally recorded 4K and with external recorders, and I gotta say, for the type of work I’m using it for (well lit interviews), the drawbacks of external recording outweigh the benefits of internal. Smaller file size counts for a LOT.
Many thanks to my crew – producer Sara Finkelstein, camera assistant Kollin O’Dannel (who took one for the team when he nearly fainted as the doctor described a surgery), and intern Alexandra Watkins who rolled sound.
A few months ago I had an opportunity to shoot some ingredients for a Sierra Nevada beer video using a probe lens. The results of the work are now public, and I’d like to share the process we used to make a few of the images with this unconventional optic.
Director Mark Bashore had most of the road trip footage for this spot already in the can, but he wanted some super sexy shots of the ingredients that go into the beer, and a beauty shot of the beer itself. So he convinced his wife that it would be a good idea to set up a studio in their living room for a few days and go crazy with lights, track, and cameras. Fun stuff!
Mark wanted shots that literally felt like flying through the ingredients, and he had the idea to use a probe lens. I’d never heard of a probe lens before. Turns out it’s a specialty lens, designed for special effects and tabletop photography. It’s basically a long telescope-like snout that optically allows the lens to sit on the tip, apart from the camera. This allows for otherwise physically impossible shots, such as driving the lens through openings that are too narrow for a camera body. Incidentally, this type of lens was used to shoot many of the special effects in the original Star Wars.
I went searching for a rental house that carried such a beast, and after researching the options, I picked Innovision Optics, an LA based company that helped pioneer the development of probe lenses in the 80s. They sent us their Probe II + package, which covers Super 35mm sensor cameras and comes in PL mount. I hooked it up with my Sony FS5 camera with PL adapter, and everything tested out great.
The kit comes with a full set of miniature lenses, that vary in focal length from 9mm up to 55mm. In testing I found you really want to be shooting wide when you’re doing tabletop shooting, because it’s the wide focal lengths that give you that immersive experience with the subject. I initially wasn’t overly confident that the tiny lenses could produce great results, but I was very impressed by what I was seeing on the monitor.
One of the nice features of separating the lens from the camera is that it allows you to get the lens dirty. The snout is designed to be waterproof (according to Innovision), so splashes of ingredients on the lens and lens housing could easily be wiped off between takes, while the camera stayed dry. However, I don’t think you’d want to fully immerse it in water.
I rigged the lens with a DJI Focus wireless follow focus, to allow focusing the lens during pushes without touching the rig. The prevented unwanted camera shake, and worked flawlessly. But one note of warning: if you’re renting the DJI Focus, be sure to allow plenty of time to familiarize yourself with the unit beforehand. It’s not immediately intuitive how to calibrate it and get it responding to pulls just the way you want.
So let’s take a look at a few of the shots:
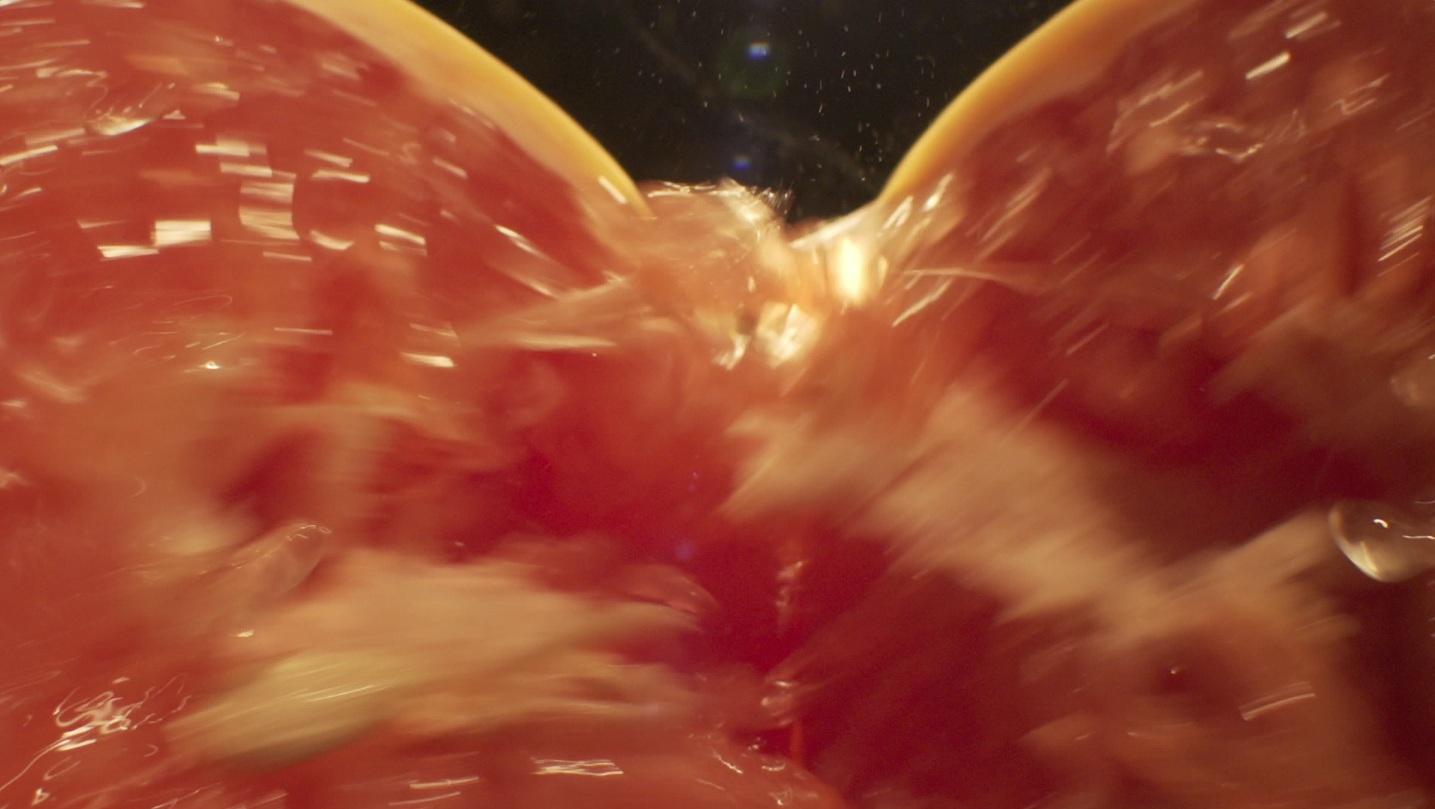
Grapefruit being ripped apart while probe lens pushes through the middle
Mmm. Isn’t that a mouthwatering shot? We had to do a lot of takes to get just the right energy, and we went through a lot of grapefruit in the process. The lens was seriously sticky by the time Mark moved on to the next shot. I placed a Arri 650 as the backlight (which you can almost see providing the rim light) and filled with a LiteGear LiteMat2 at 3200K. Notice the lovely flare the probe lens produces, and the tiny details. The grapefruit, from this perspective, becomes a monumental presence.
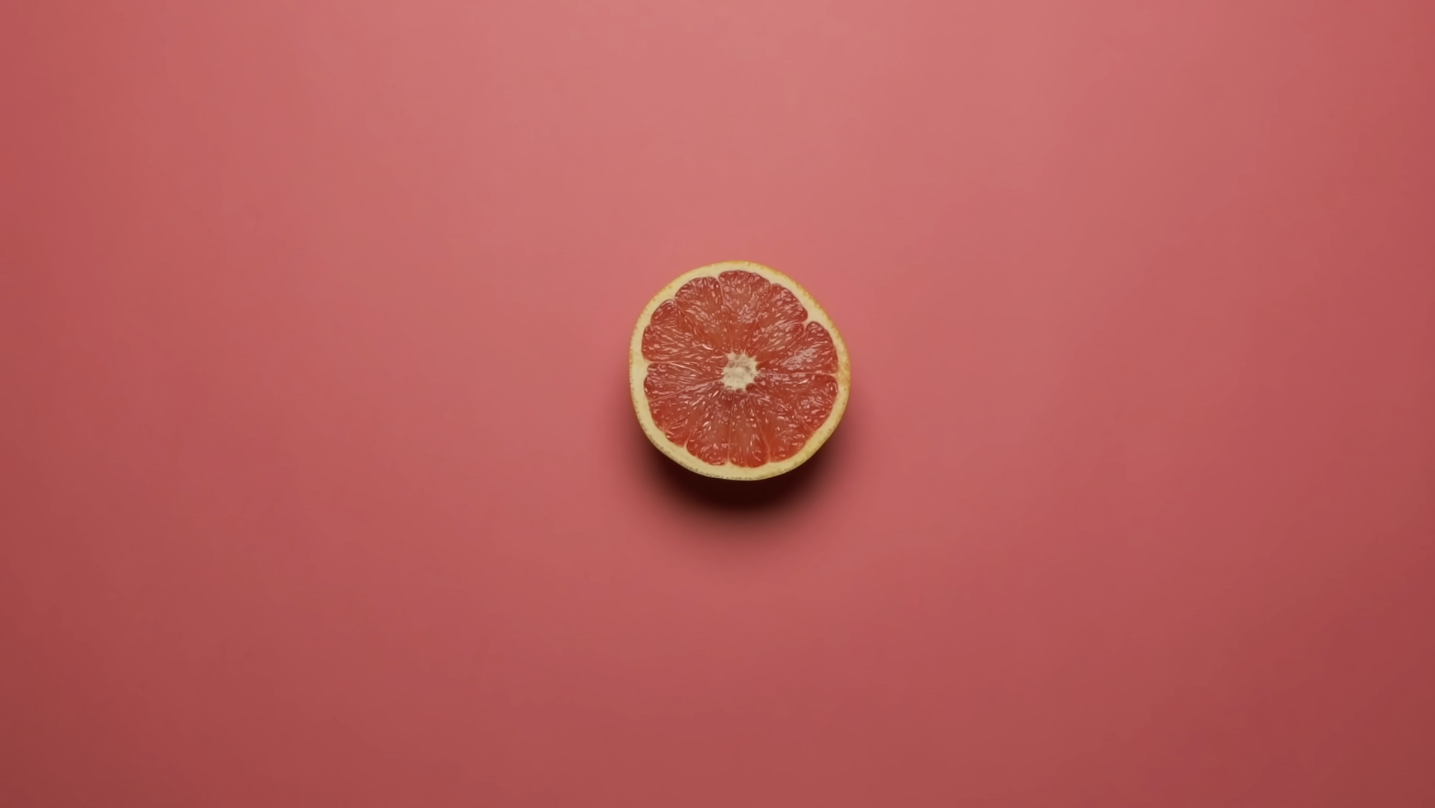
Grapefruit push in shot in 4K
For the pink grapefruit on pink background, I rigged the camera on an arm and rolled on it in 4K with the FS5. It’s lit from one side by an Arri 650 bounced into a 4×4 foam core, with bounce on the opposite side. The push was done in post. That 8-bit 4K works great as long as you expose correctly!
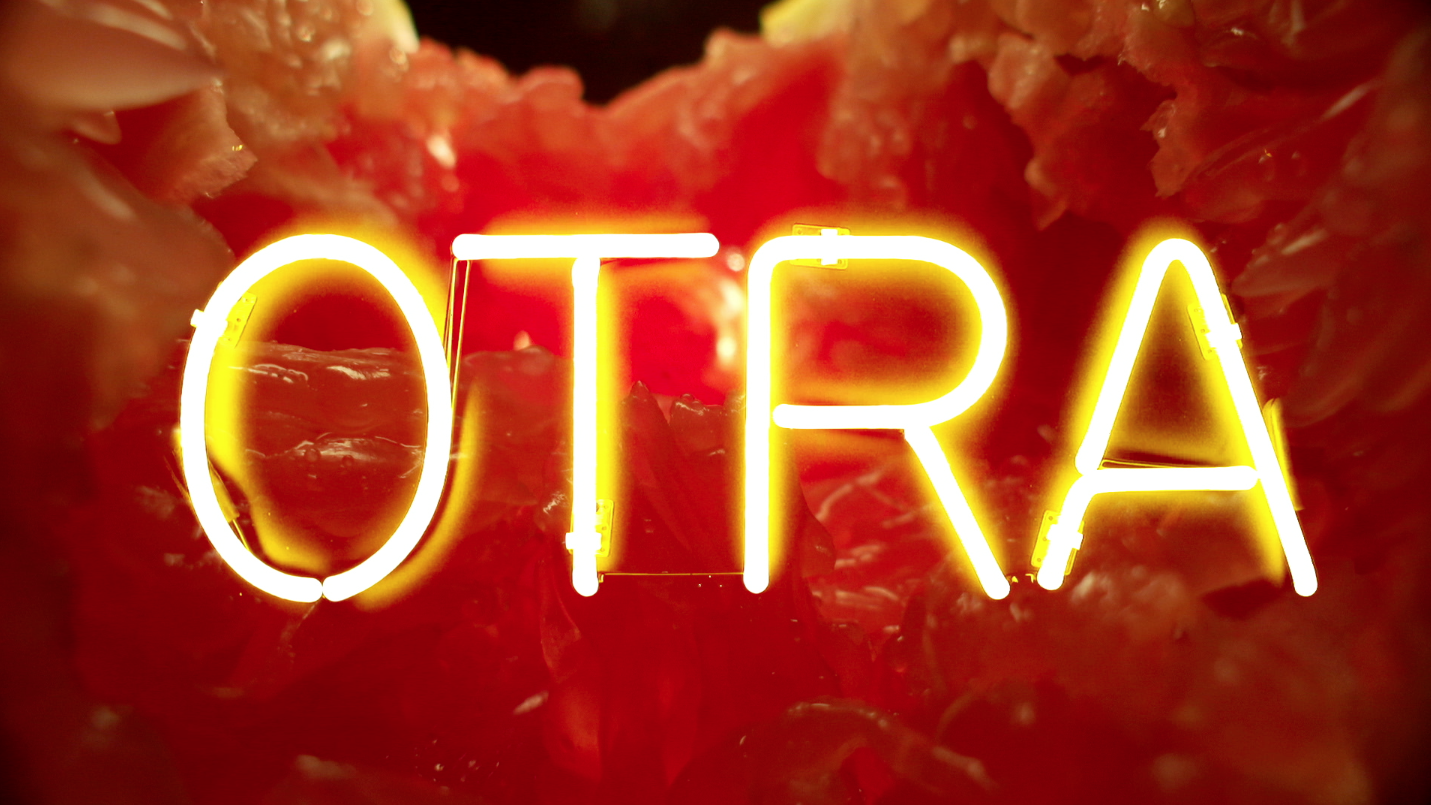
Composited grapefruit with neon sign
For the grapefruit in this composited shot, we used my Rhino Motion slider as a dolly for the grapefruit. It was easier to control the motion by moving the ingredients for shots like this than it was to move the camera. To create the platform, I mounted a Matthews laptop table on the Rhino slider’s 3/8″ spud using a ball head.
The neon sign is real, and was made specifically for the shoot. We shot it against black foam core. The compositing was a little painful for this, requiring each frame to be individually selected in Photoshop to clean up edge artifacts.
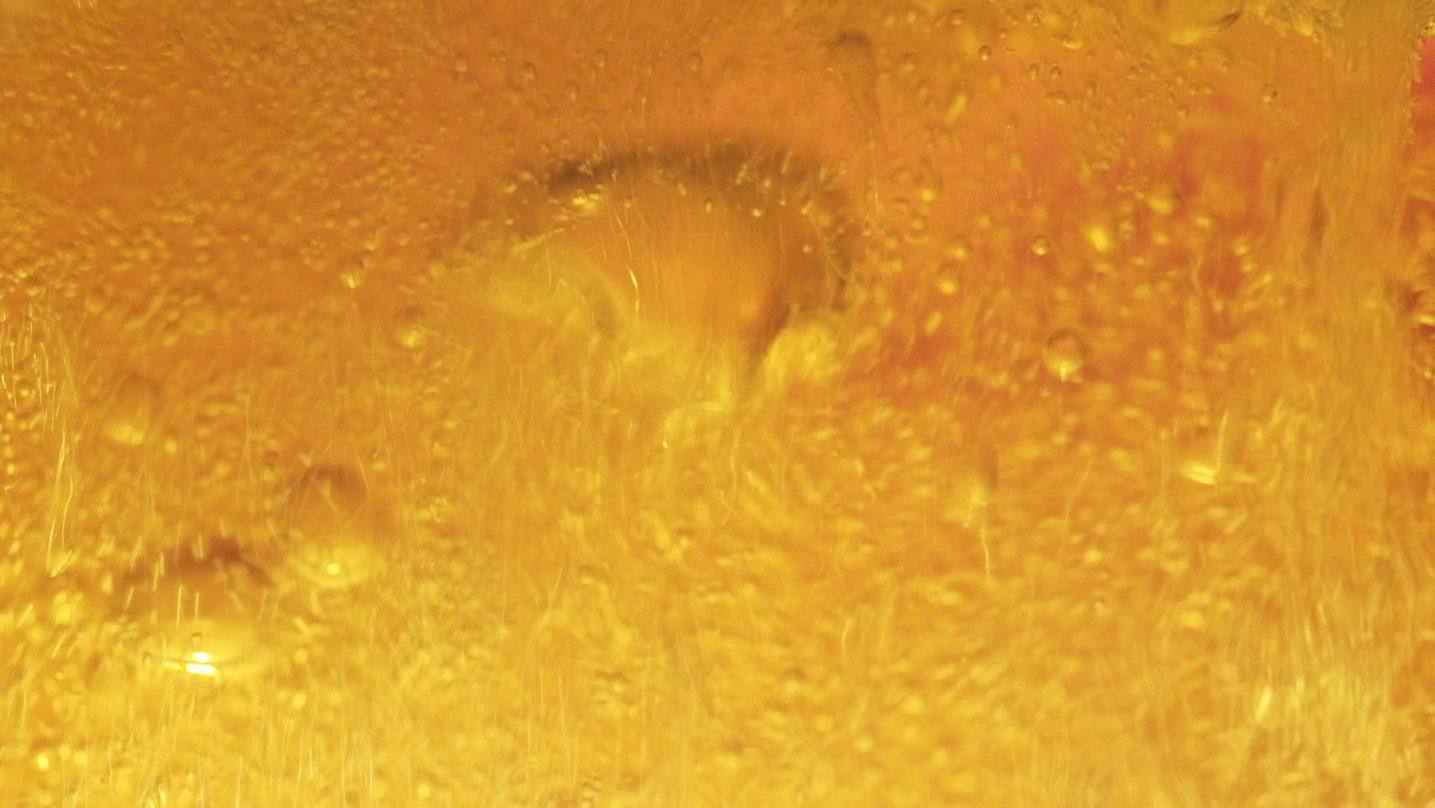
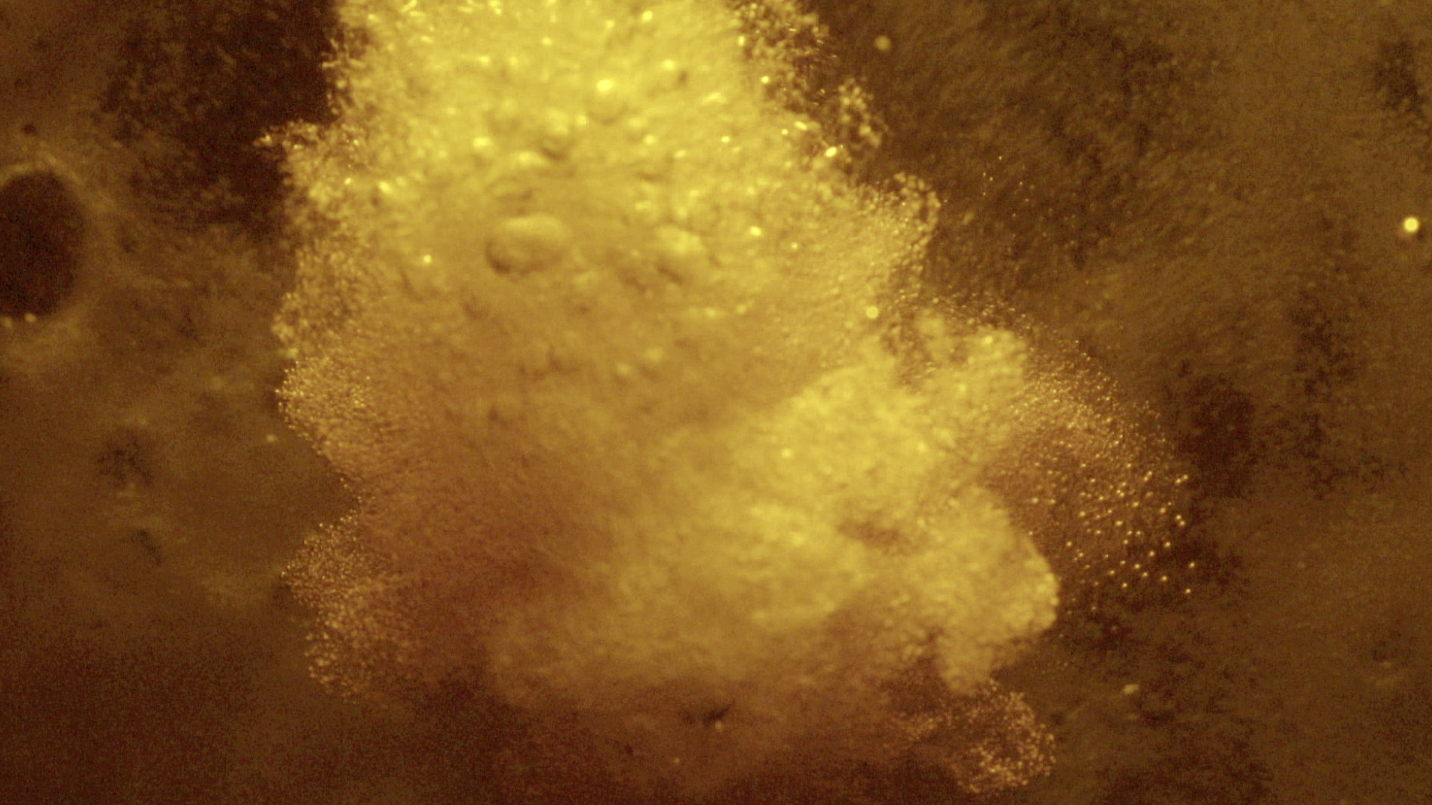
Beer shot in an aquarium
Beer poured into an aquarium
For the beer shots, we poured a lot of beer into an aquarium, and tried lighting it different ways. Most of these shots are played unnaturally – i.e., backwards, upside down, or sideways, which supports the larger than life vibe of the piece.
We shot most of these at 240 frames per second with the Sony FS5. I used CineGamma 3 for most of these shots, because we were pushing the limits with the light. I wanted as much depth of field as possible, so I was stopping down here to like f/11 and it was everything my pair of Arri 650s could do to push enough light. We were using the lights without any diffusion, just blasting at the tank from above, below and beside at different times.
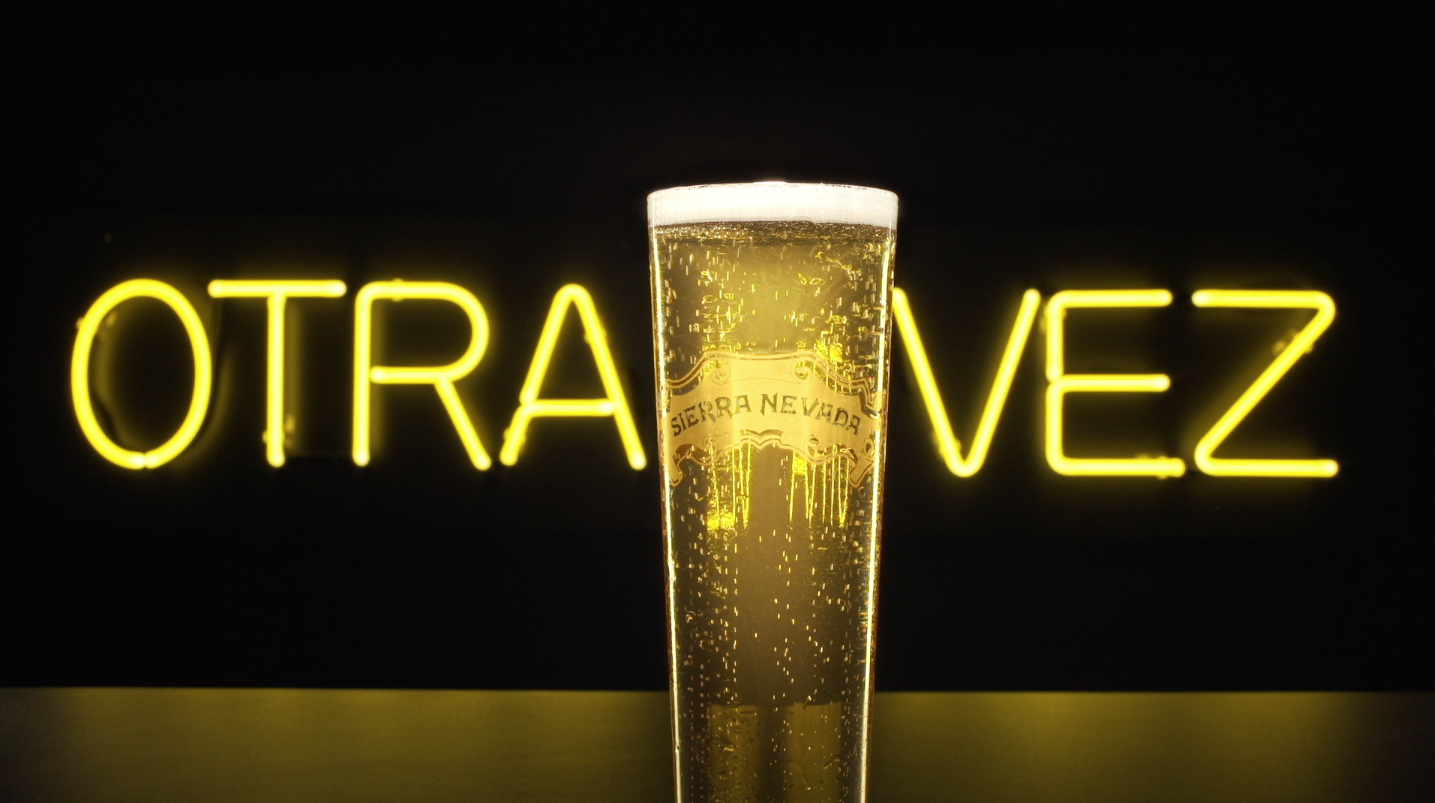
The Money Shot: a slow push into carefully lit glass of beer
We spent a LOT of time trying to get the lighting right for this shot. I had the camera on a Dana Dolly, with I think a 35mm Zeiss Contax prime lens on IV Metabones adapter. I was shooting at about f/11 or f/16 to get as much depth on the sign as possible. To get the lovely rim light down the side of each glass, I used a pair of Kino Flo single-lamp 4′ fixtures, which were very carefully flagged to be just out of frame on the right and left. It has to be almost visible to get that rim light. To get the beer to glow in the middle was the hardest part of all. It required backlighting, of course, but every angle we tried wasn’t working. The light was always hitting the black plastic counter and blowing it up. After about an hour of trying things, it hit me: cut a custom flag for the backlight, basically a notch in a piece of black foam core. Then the light would fall only on the glass and not on the counter. It worked.
Tabletop photography is an exercise in patience and repetition. It’s tedious as hell, and requires more light stands than I think I’ve ever used for any other project! Every imperfection becomes visible, and has to be taken care of. So tons of flagging, and very specific lighting throughout the frame. But the results can be very, well, refreshing! Luckily we had lots of Otra Vez beer on hand during the shoot, and no, we weren’t just shooting it!
Have you ever shot with a probe lens? How did you get the best results?
When the Seattle School District cut funding for a beloved special education program, teachers and families were shocked. Then, they rolled up their sleeves and started a campaign to save it. This is the story of why inclusion matters at the University of Washington’s Experimental Education Unit.
I produce a video every year to support the EEU’s annual fundraiser. This video is screened at the beginning of the event, to help set the stage for fundraising. In other words, to prepare participants to open their wallets a little deeper. So the point of these pieces is to tell a human story. This year, we had a potentially awful story to tell, but one that has a very happy ending, thanks to the efforts of teachers and parents.
Technical notes: Traveling shots made with DJI Osmo; interviews and b-roll Sony FS5 in SLOG3. Interview mic: Audix SCX1-HC.
My most recent project, for UW Medicine, explains palliative care through the eyes of Mark and Alice Beaty, who faced a life-and-death decision when their son Adam was in a terrible accident.
Working on this video, I was reminded why story is king. Palliative care is a pretty dry topic to talk about, but listening to Mark and Alice tell their story is arresting. And by breaking up their story into several parts, we were able to get the client’s required background into the piece (who their largest donors are, etc.) without it becoming overwhelmingly boring.
This piece was shot over three and a half days of interviews, with b-roll comprised of stock footage, family photos and drone footage shot with my Phantom 2.
If there’s one thing I learned on this project, it’s that a 2-person crew just doesn’t cut it for projects of this kind. My assistant Ryan Schwalm and I were physically overextended by having to push a huge cart of equipment around to the many locations. And a two-camera shoot really needs an operator for each camera – it’s not possible for me as director to do a great job interviewing AND maintaining focus.
I just finished another shoot for a different client in which I had a 5-person crew, including myself (gaffer/dp, grip, camera assistant, and sound recordist). That was a revelation to me: everything ran smooth, nobody was stressed out, the client was thrilled, and I actually enjoyed myself. Wow.
I will be planning for more crew on just about everything I do from here on out.
Here’s a little something I pounded out to help the fine folks at Pratt Fine Arts Center raise money for a new hammer. Hot metal is so much fun to shoot. Can’t get enough of that stuff!