Metabones Cine Adapter on Sony FS5
When I heard about the new Metabones cine adapters, I got a little excited. I bought the original Metabones adapters for the same reasons many cinematographers do: they allow me to use Canon EF lenses on a Sony video camera. And they have worked well, except for one thing: they are wiggly. I’m too poor to shoot regularly with PL glass, so until now I’ve had to just deal with this limitation. So when I heard about the new Metabones cine adapters, I was eager to find out whether the new adapter was a PL mount for the rest of us.
But first, let’s understand the problem. The original Metabones adapters always added some play between the Sony lens mount and the EF lens. So when you grab the lens to focus or zoom it, this causes a bit of movement caused by rotation of the lens in the adapter, and potentially, from the adapter itself rotating on the other end, in the Sony mount.
This may not seem like a big deal, but it means that the beginning of each focus pull or zoom isn’t solid in the frame. If you’re trying to focus while shooting – a common scenario – this means a few frames at the beginning of the focus pull aren’t usable, because of this unwanted lens movement. Image stabilization helps, but doesn’t completely eliminate the problem.
PL-mount style lens support
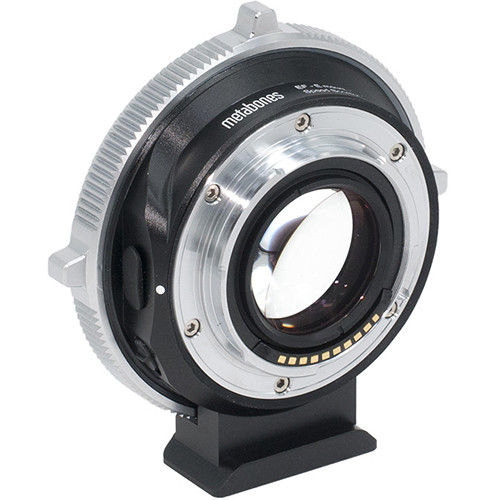
Enter the Metabones Canon EF/EF-S Lens to Sony E Mount T CINE Smart Adapter (Fifth Generation). This is a much beefier device that holds your still lenses in the same iron grip as a PL mount adapter holds a cine lens. And after using them for a few weeks, I can cut to the chase and say, without reservation, that they are amazing. They truly represent a massive improvement. But they take a little getting used to.

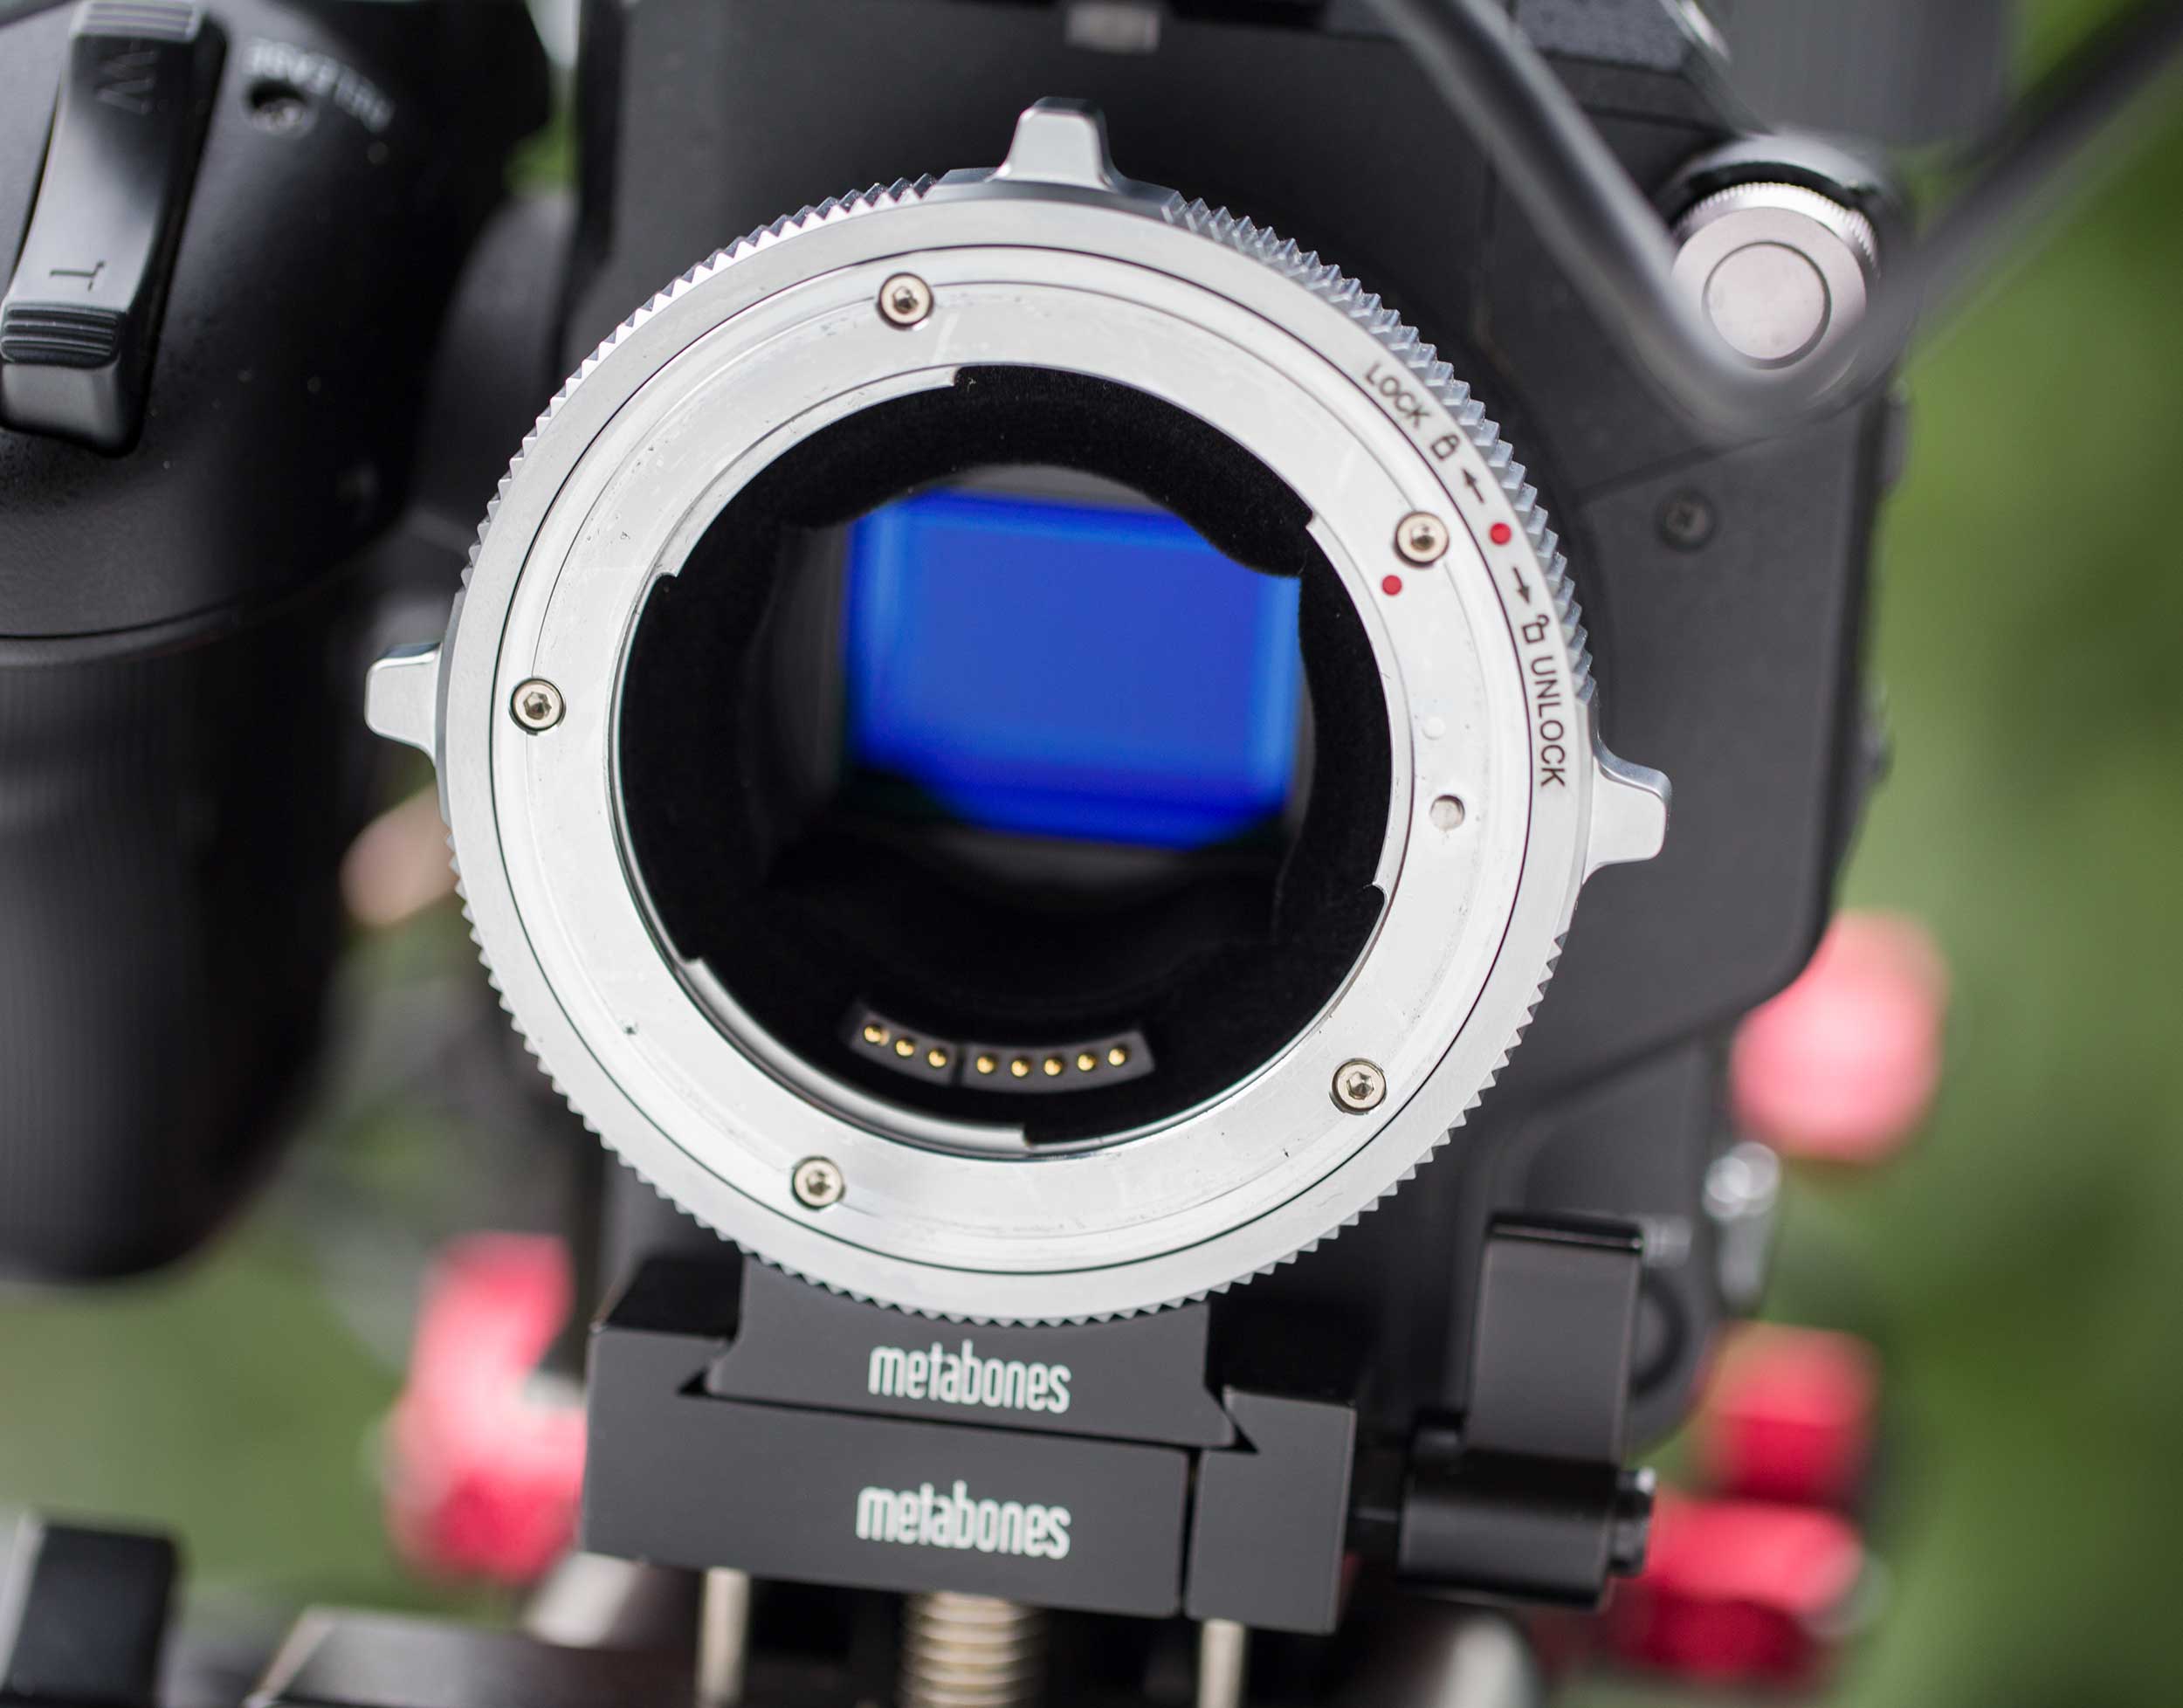
Lenses are mounted by rotating the ring around the lens, without rotating the lens
Lens changes are different with Metabones Cine adapters
Cine-style Speedbooster
Instead of twisting the the lens into place, you simply place the lens into the collar, check to be sure it’s seated properly, and then rotate the ring of the adapter to lock it into place. This is a little strange at first, because twisting a lens into it’s mount is basically muscle memory for most camera people who come from a still photography background, like me.
You also have to be a little careful how far you rotate the collar. On newer Canon glass, I’ve found you can rotate all the way, just twist until it stops, and you’re good. But with older lenses such as my Zeiss CY glass with Leitax adapters, it’s important to just rotate until it feels secure, and stop before it’s too tight. Otherwise you can over tighten them and could possibly damage the electronic contacts on the cine adapter.
Metabones also makes a Speedbooster version of the cine adapter, the Canon EF Lens to Sony E Mount T CINE Speed Booster ULTRA 0.71x (Fifth Generation). After renting it on one shoot, I plan to sell my existing Speedbooster and upgrade to the Cine version.
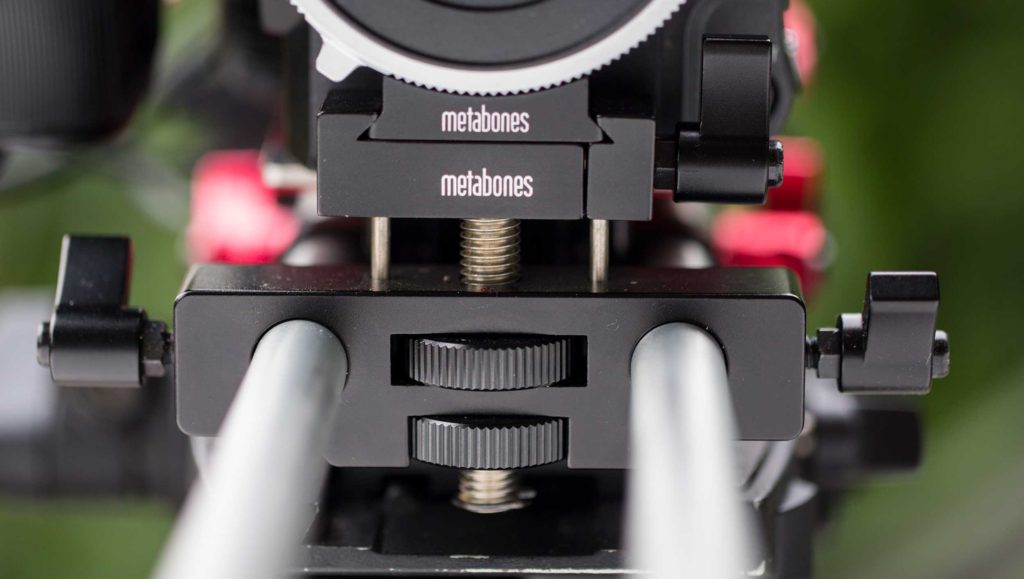
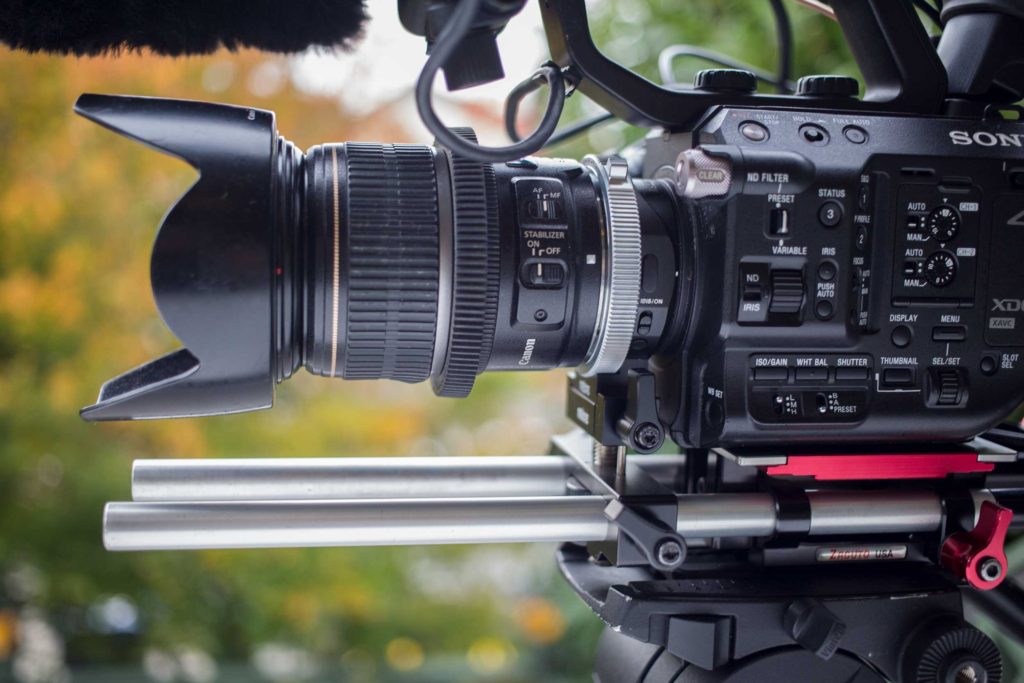
The Metabones rod support eliminates all wiggle between the adapter and the camera mount for longer lenses
Metabones rod support for longer lenses
If you’re pulling focus with anything longer than 100mm, the weak link in terms of lens wiggle becomes the Sony mount itself. To solve for this, Metabones has developed a clever solution, the 15mm Rod Lens Adapter Support. This thing is amazing. It is designed specifically to grip the bottom of Metabones adapters, and will work with both Cine and older adapter versions. It locks shit down, completely eliminating any lens movement between the camera and the adapter. Further, you can swap adapters relatively quickly, using several knobs.
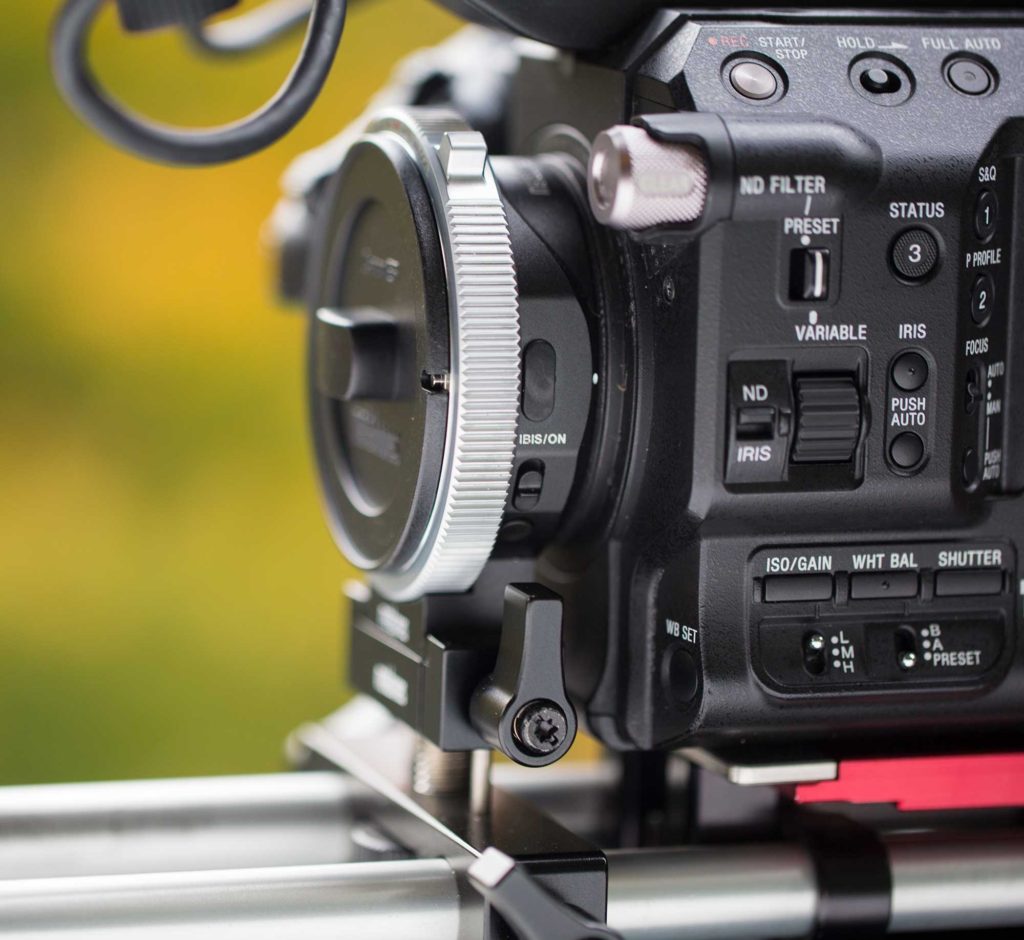
There are two minor downsides to using the Metabones adapter support. First, it’s quite heavy. This is great for dampening vibration and for grip, but not so great if you want to have a light run-n-gun rig. Although personally, I’ll trade the bit of extra weight for the extra support in a heartbeat. Secondly, clamping the support to the rods squeezes the rods apart a little, making it tougher to fit another rod-mounted accessory, in my case a follow focus unit, to the same rods. You can do it, but you have to muscle it.
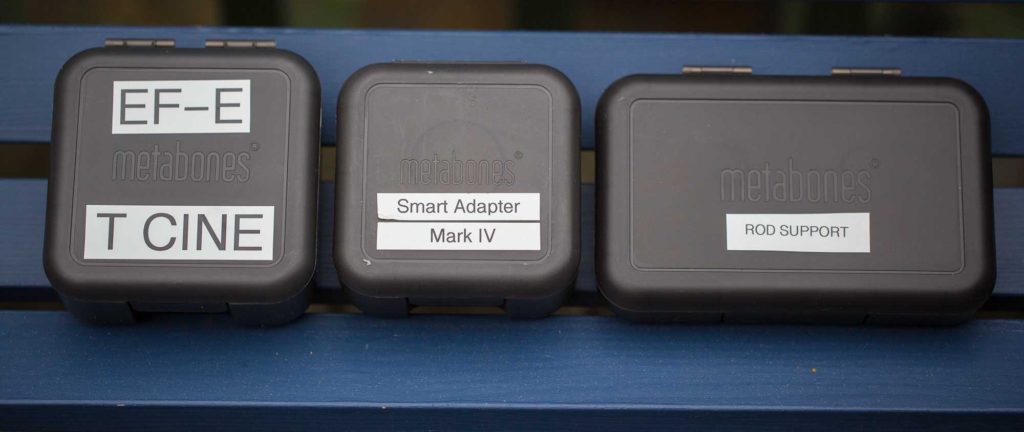
Size comparison of Metabones adapter and support cases
Larger adapters = larger cases
Metabones adapters come with nice plastic cases. The Cine adapters are substantially larger than the previous versions, and come with larger cases as a result. The adapter support comes with an even bigger plastic case, too big to transport easily in my camera case. But the adapter support is made out of solid metal, so I don’t find it needs to be transported in a case anyway.
Now that I’ve gotten used to the Metabones Cine adapters, I can’t imagine using Canon EF lenses on my Sony FS5 without them. The Metabones Cine-style adapters bring all of the advantages of PL mount lenses to EF lens owners. For that, they’ve earned a permanent place on the front of my Sony camera. And I’m glad to see that both Canon and Sony appear to be moving toward making cameras with positive locking mounts built in, like the Sony FS5 mkII. Until all cameras are built that way, the Metabones Cine adapters are a brilliant solution.