Monthly Archives: March 2018

Sennheiser AVX is a great wireless system – but not with DPA lavs

Tip: power AVX receiver with a cellphone backup battery

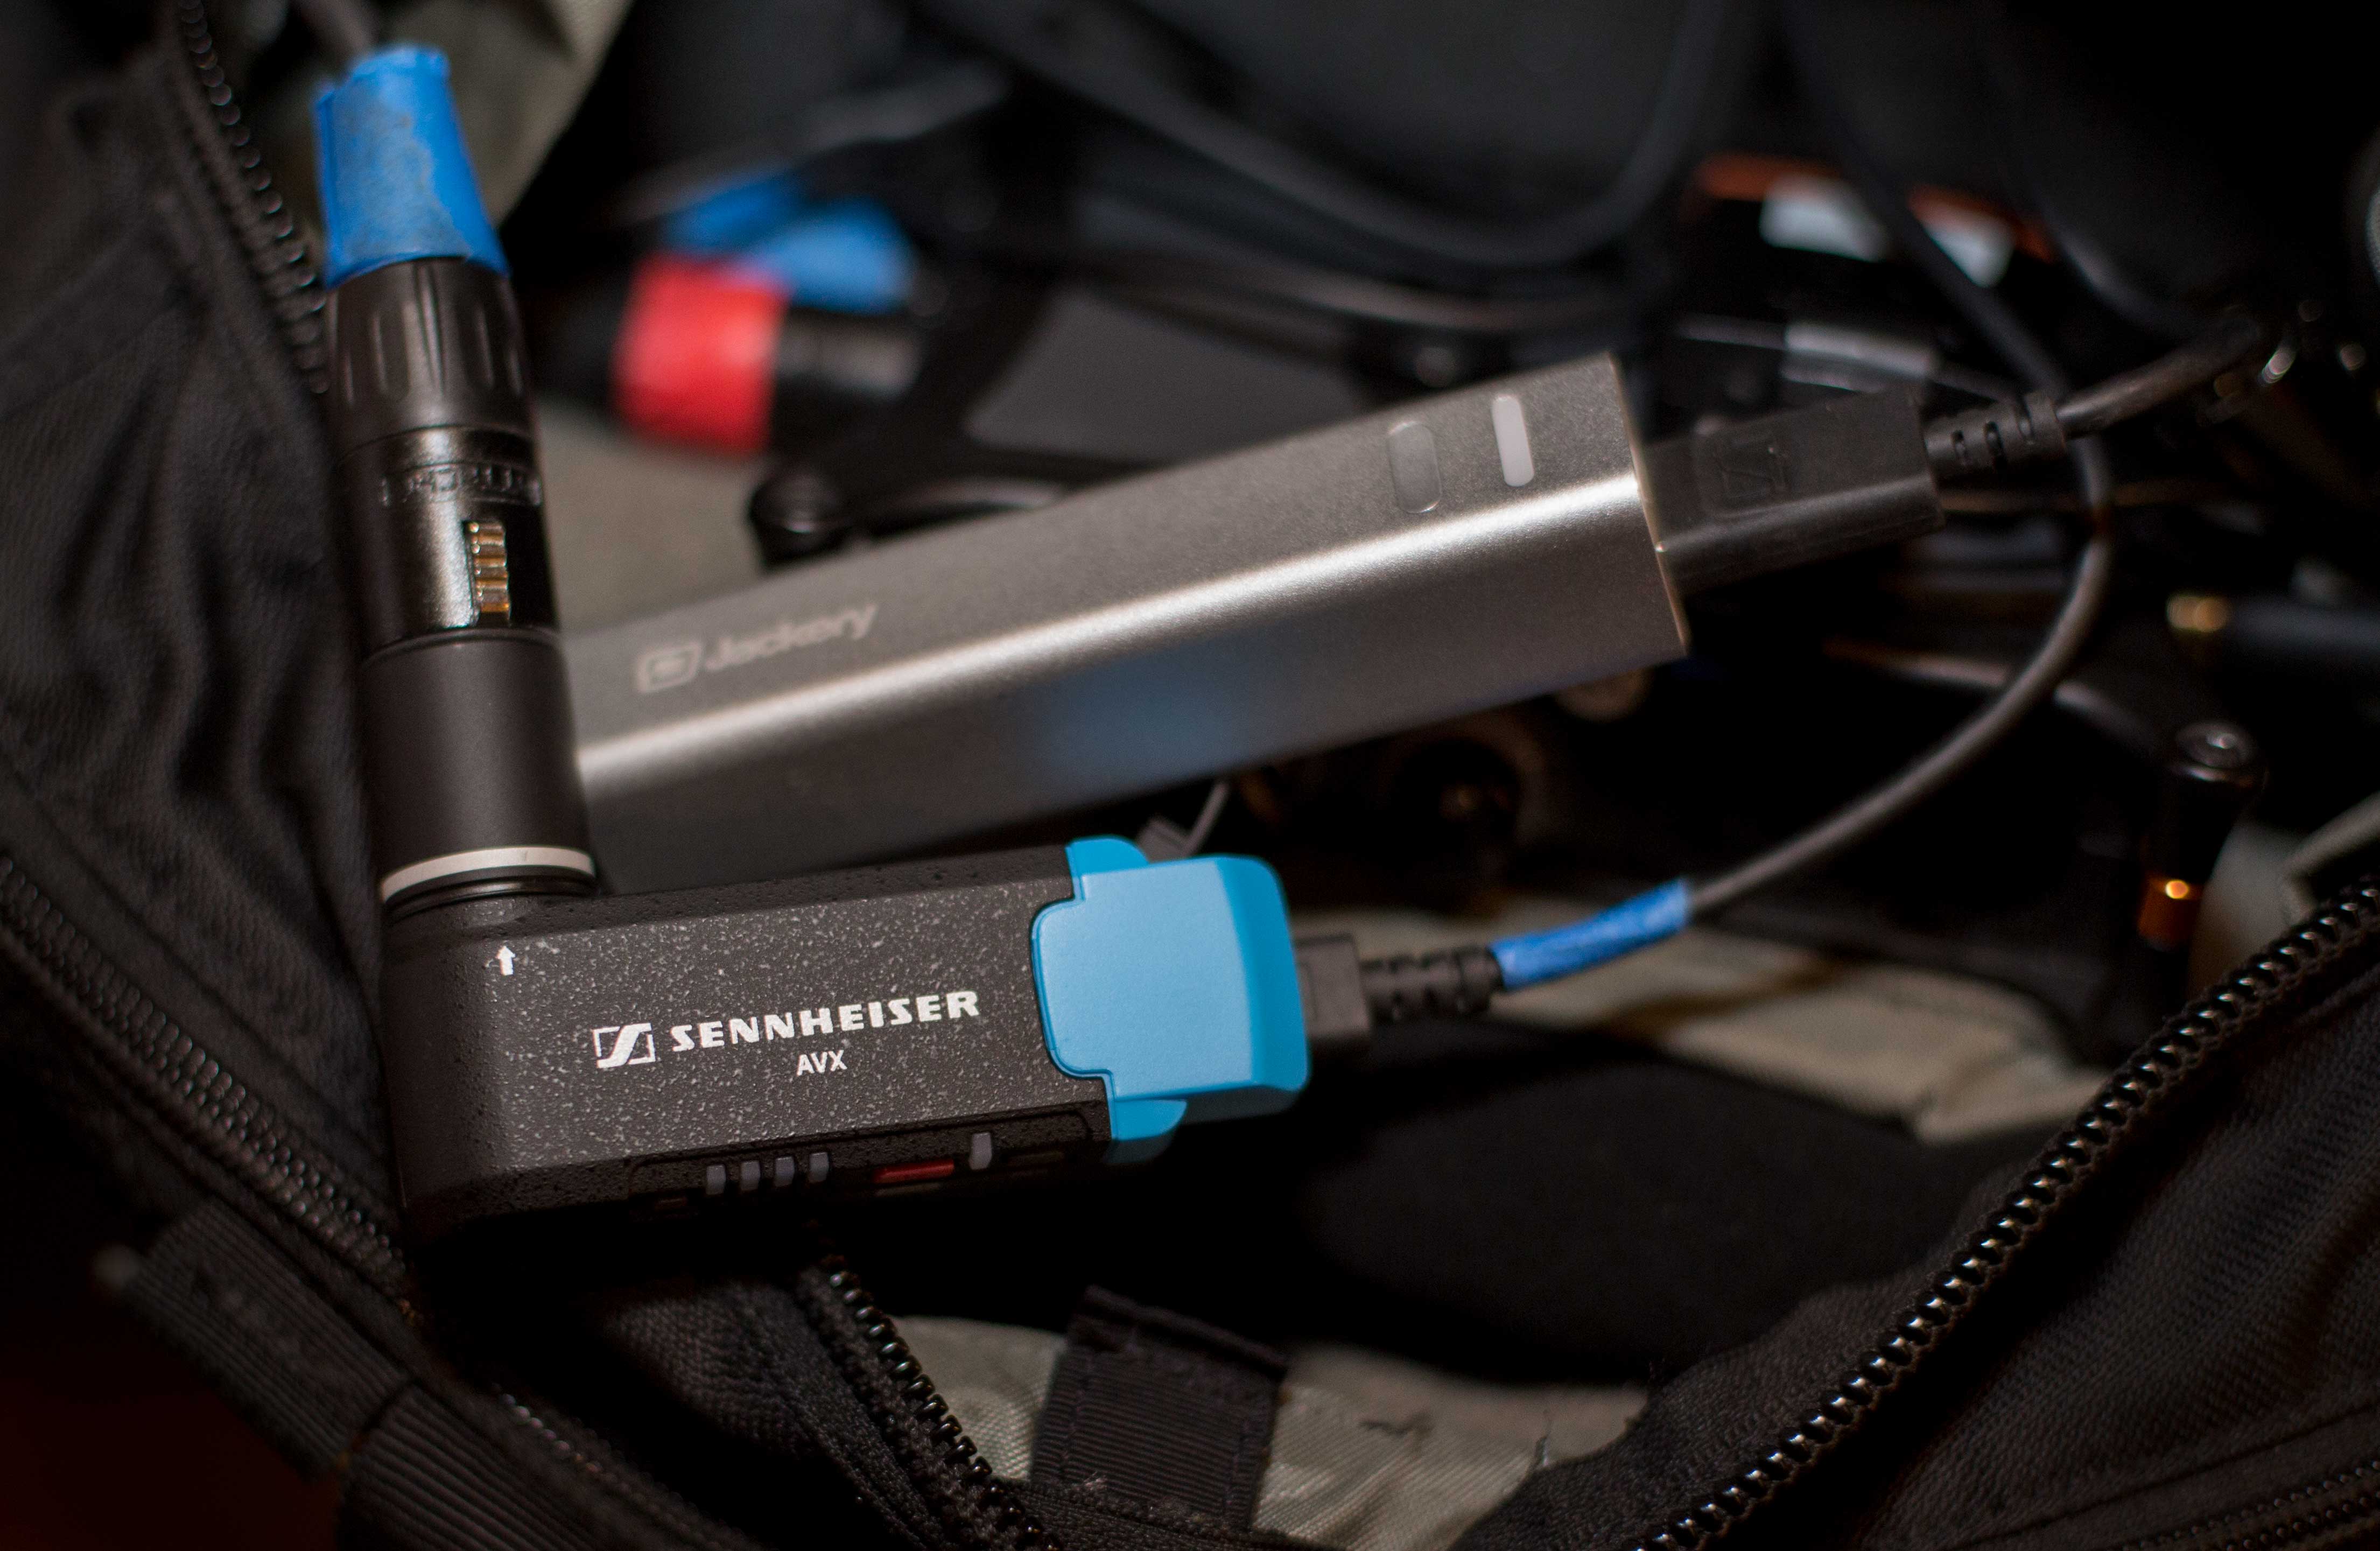
Tip: power AVX receiver all day with a cellphone backup battery

I recently took advantage of Sennheiser’s trade-in program for wireless mics in the 600Mhz range. I was able to get $100 bucks from Sennheiser for trading in my soon-to-be illegal G3 wireless package for a fancy new Sennheiser AVX system, lured by its simplicity. I figured it would be a real beast paired with my DPA D:screet 4061 mic. And I was right. But not in a good way.

Turns out the the DPA 4061 turns the AVX into a virtual theremin. If you move the cable anywhere near the antenna, you get humming and buzzing interference. That would be fine if you were creating sound effects for Gravity, but not so great if you just want clean dialog.

It appears the culprit is the thinly shielded cable on the DPA 4061, which is no match for the transmitter on the AVX. The problem disappears when you plug in the OEM mic from Sennheiser, which sports a thicker rubber coating.

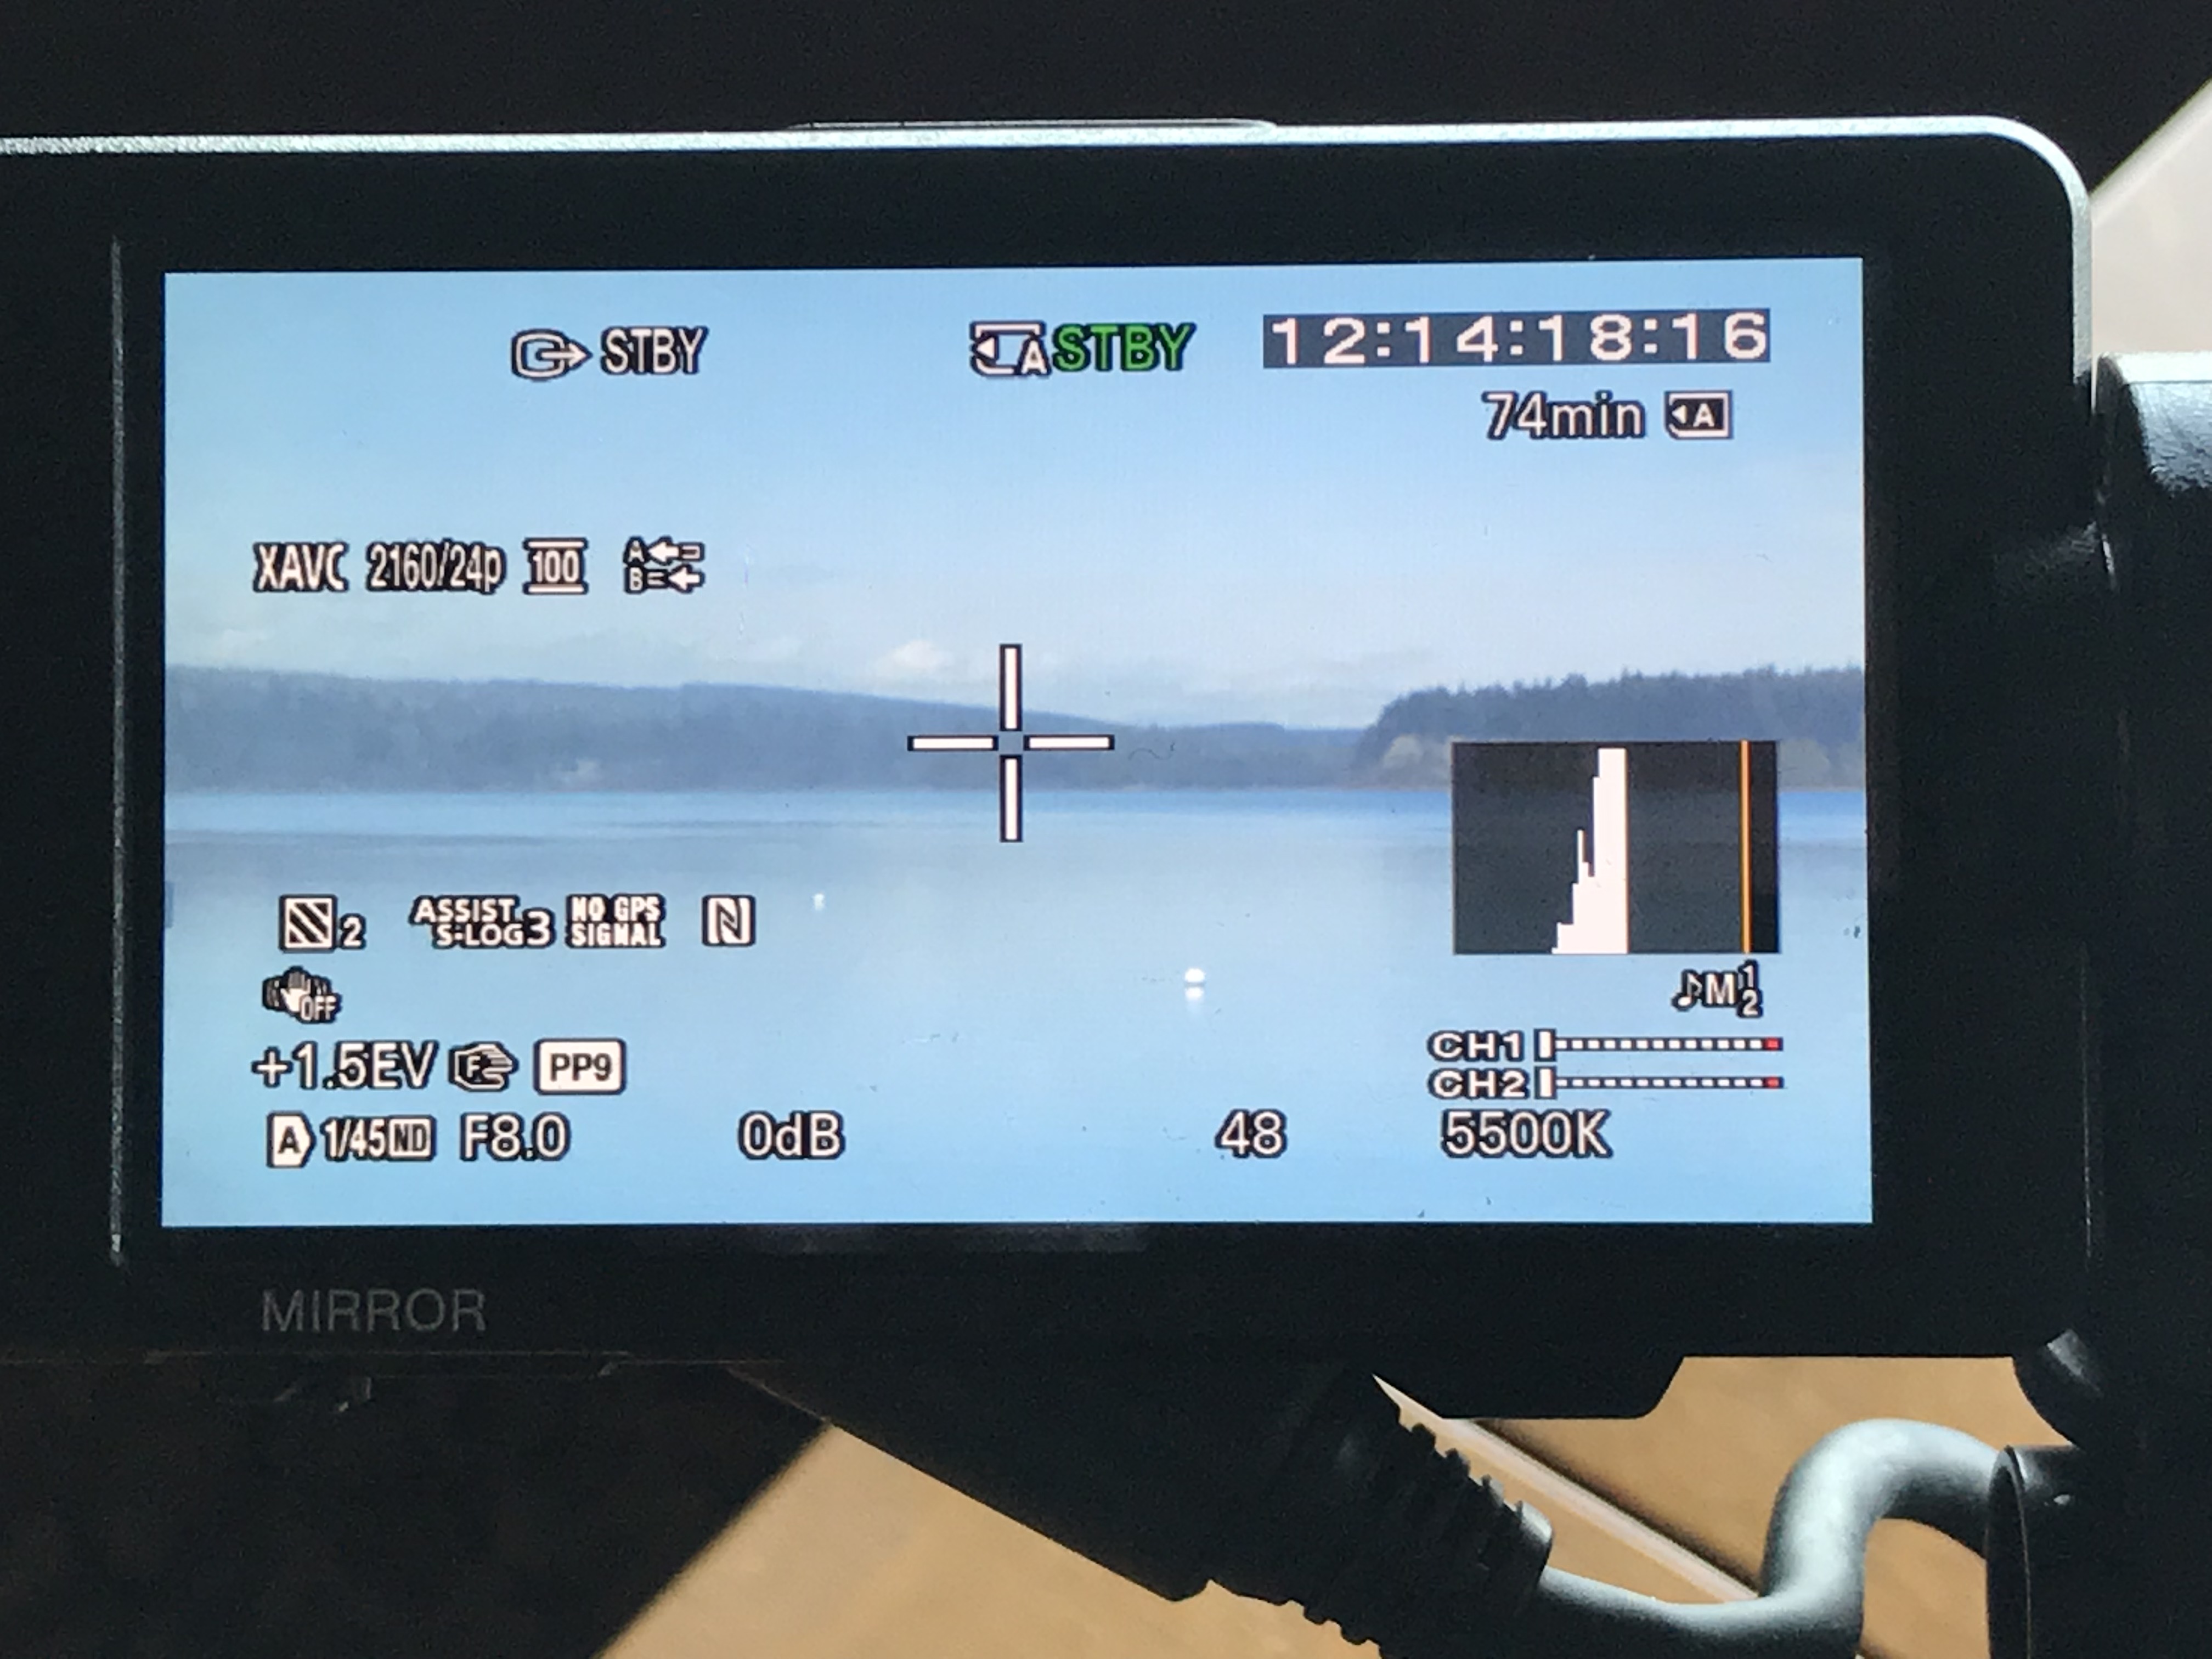
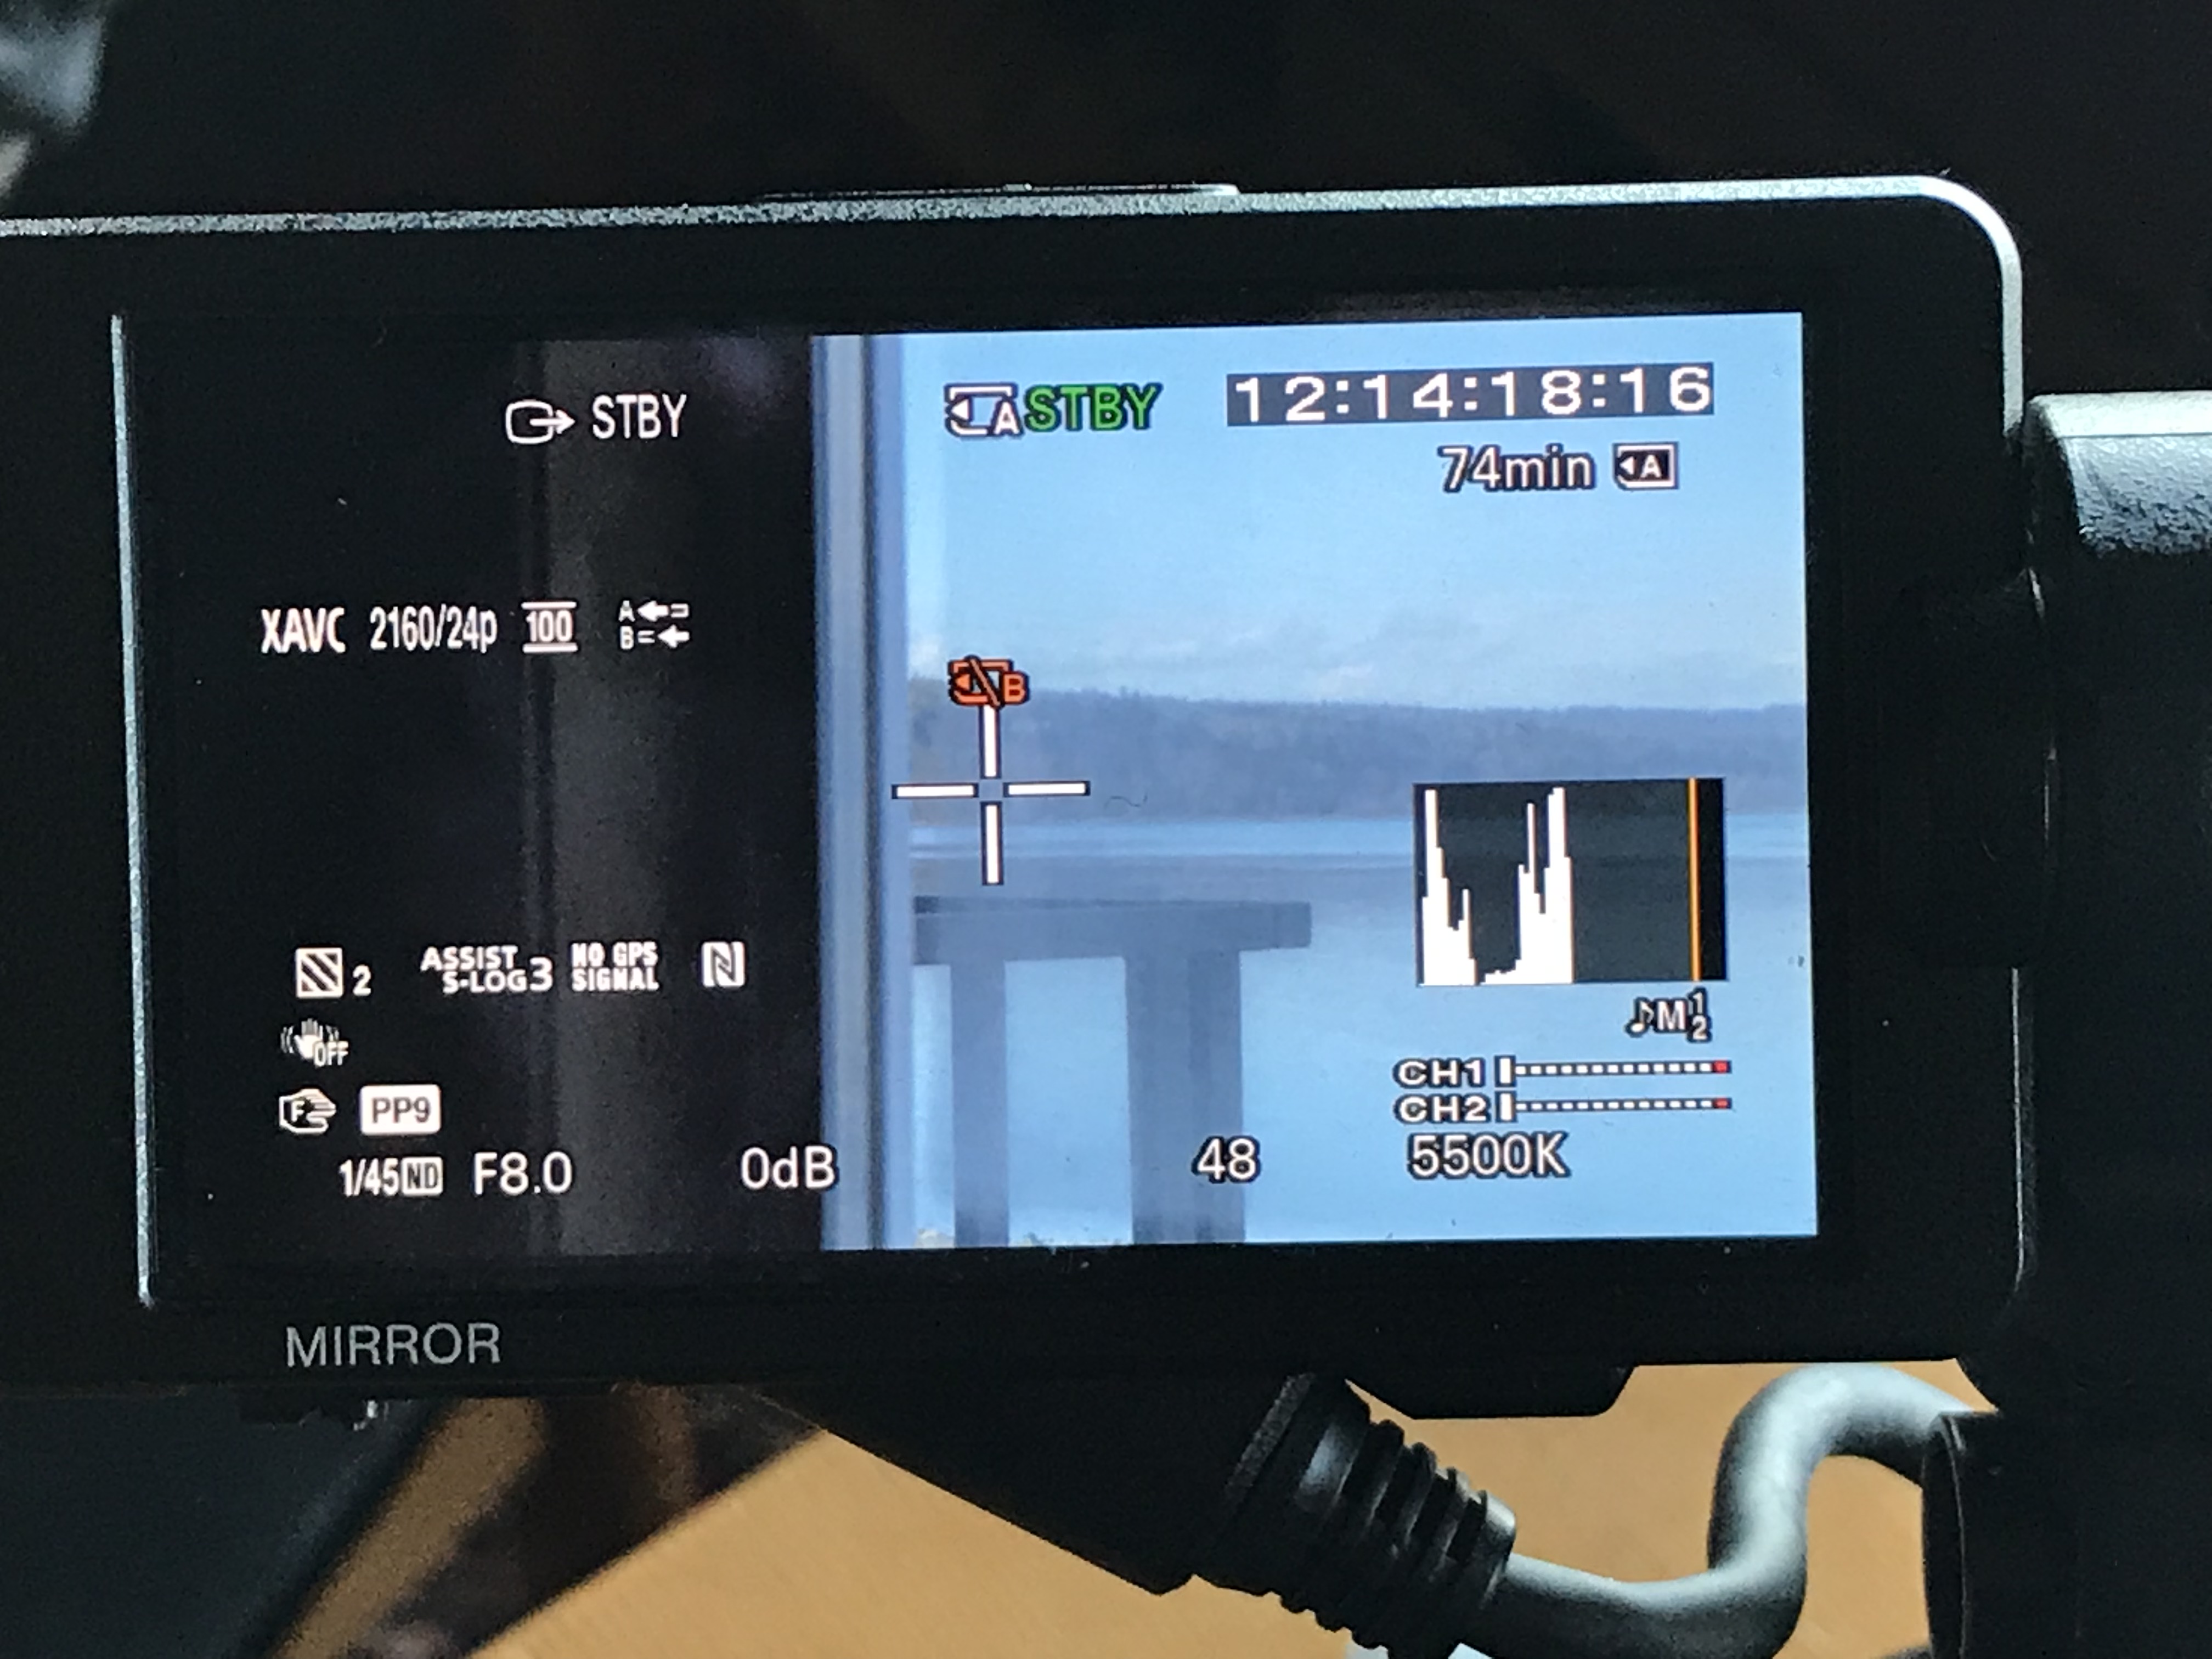
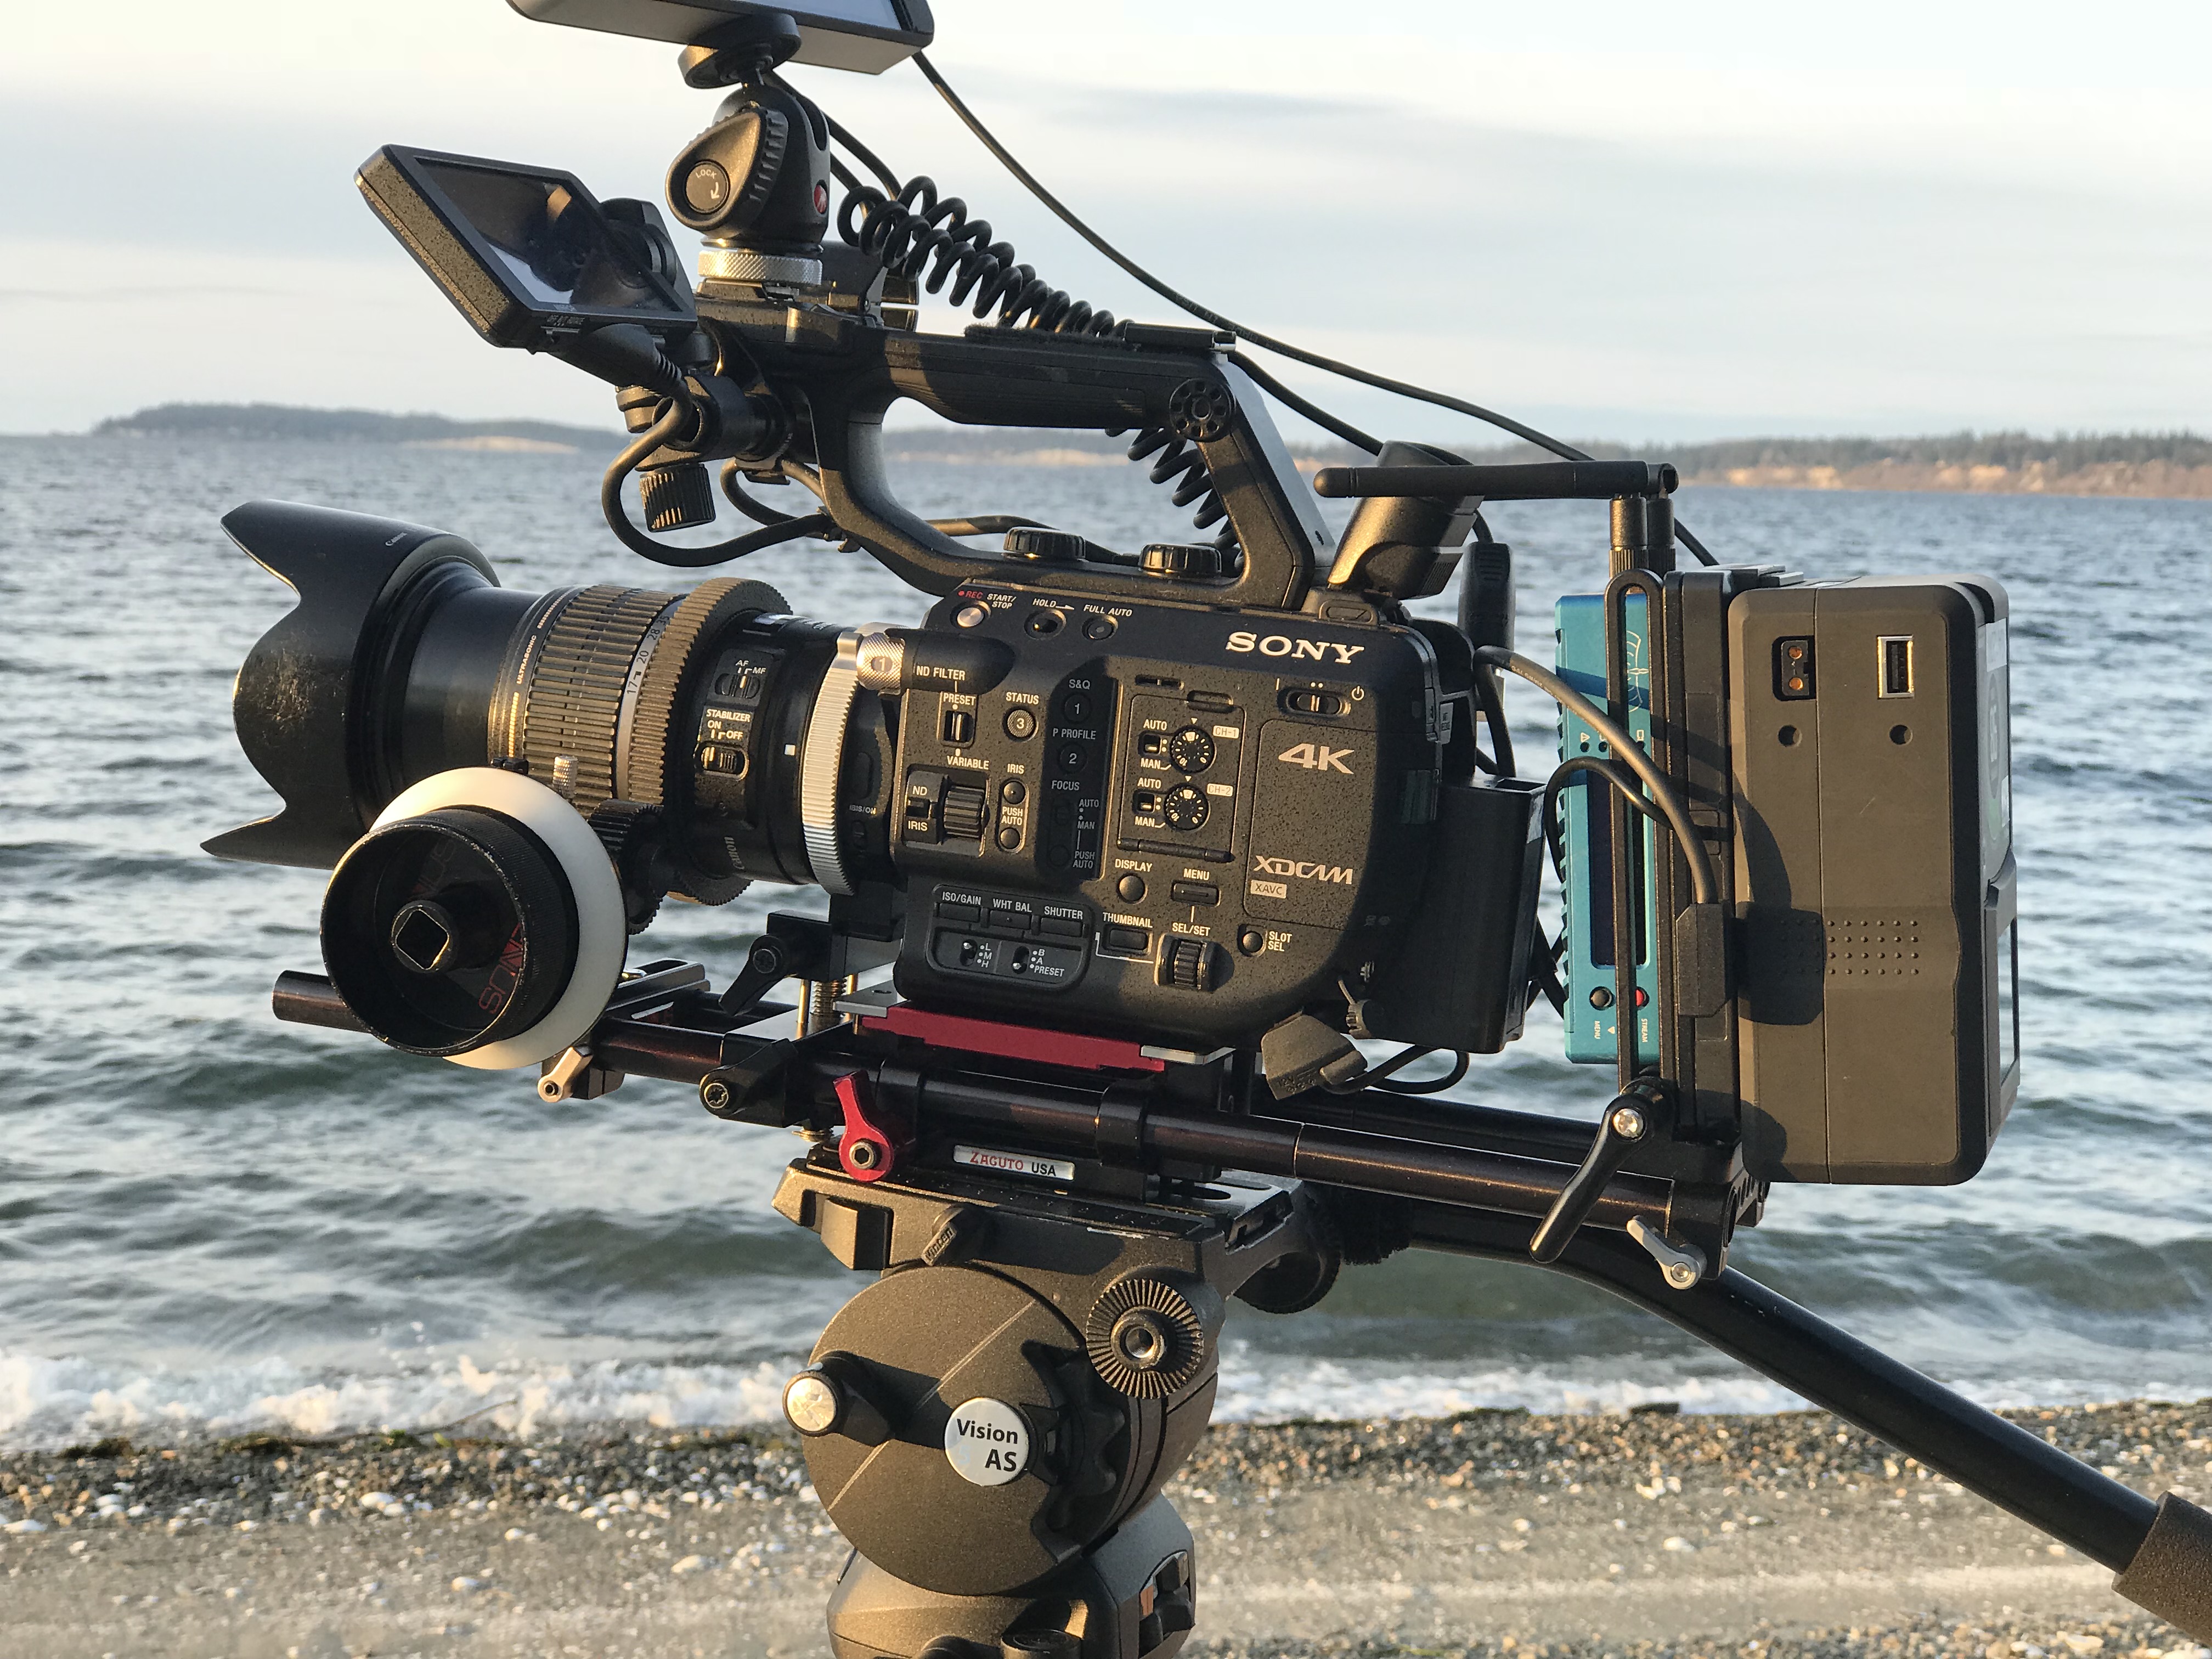
Another gotcha with the AVX is that the receiver only lasts 3 hours before needing a recharge. So unless you plug in while recording, you’re likely to need extra of those $50 Sennheiser proprietary batteries. I thought I’d found a clever solution by powering the receiver from the same battery that powers my Sound Devices MixPre-3 mixer/recorder. But turns out that causes interference too. So my solution is to use a portable cellphone battery recharging stick to power the AVX receiver while I’m working. Luckily, the AVX receiver can take a charge in this way at the same time that it is operating, so this works great, even if it is a little unwieldily with all the cables.

If I’d known all of this when I bought the mic, I probably would have waited for the forthcoming Sennheiser G4 wireless. Because you can’t beat the sound of the DPA D:Screet mics.


Sony FS5 shooting tip: toggle auto ND on and off

Sony’s variable ND filter on the Sony FS5 is a killer feature. It gives you precise control over exposure levels by allowing you to dial ND levels up or down, in steps that are fractions a stop. Virtually all other cameras on the market today engage ND in 2-stop increments, which is like using a sledge hammer to set a thumbtack. And yet…

Sony’s variable ND isn’t truly stepless until you engage the auto ND

So if you want stepless exposure control, I definitely recommend turning it on, at least for brightly lit scenes that require ND.

But wait, isn’t cinematography all about control? Isn’t auto-anything giving up control to the camera instead of keeping it for yourself? Well, if you’re shooting outside, you’re likely going to be using ND anyway. And using auto-ND simply let’s you get into the ballpark of where you’d get manually, only much, much faster – and with the ability to seamlessly adjust to the light if you want it to. I view this as the camera giving me MORE control, not less.

Here’s an example of scene in which using auto ND gives a perfect result. Notice that I’ve set up auto exposure to +1.5 because I’m shooting log (which should routinely be overexposed to reduce noise):

Auto ND on Sony FS5

Auto ND enabled

As I pan my camera around through a door frame, leaving auto-nd engaged would result in overexposure. So I simply toggle the auto-ND off, and it freezes our auto-levels and gives us full manual control of everything.

Auto ND toggled off

Auto ND toggled off. Exposure is frozen at last auto setting, preventing our exposure from changing as we pan through dark foreground area.

I set up my #6 button (located on the inside of the grip) to toggle auto ND on and off. So as soon as I get my ballpark exposure, I turn it off. That way the exposure isn’t riding all over the place if I pan the lens behind a dark wall that I want to keep dark.

#6 custom button is located under the Sony FS5's rotating grip.

#6 custom button is located under the Sony FS5’s rotating grip.

My (wicked fast) auto-ND workflow

  1. Set aperture.
  2. Toggle auto ND on (boom – exposure is now perfect)
  3. Toggle auto ND off (freezes settings without changing them)
  4. Adjust exposure up or down as needed with variable ND wheel or other means.
  5. Repeat as needed.

Using this approach, I can be up and rolling almost instantly, and adjust to just about any lighting condition in real time. I don’t have to think about anything other than whether that auto  button is on or off. Sometimes I want it on (if panning through a scene that has different brightness levels or traveling from one room to another, for example). Sometimes I want it off (when dark object momentarily passes through the frame, for example, like panning through doorway above).

Do you use auto Nd to control exposure on your Sony FS5? Got any tips to share about how you use it?

SaveSave

Sony FS5 Tip: Keep your internal battery in when rocking an external battery

Sony FS5 with Vmount battery and most importantly, its internal battery on deck

Sony FS5 with Vmount battery and most importantly, an internal battery on deck

I got all fancy and started using a v-mount battery with my Sony FS5 recently. I had to jump through some hoops to get it working, but with the help of a Wooden Camera V-Mount Battery Plate for Sony FS5, everything worked as if it were designed by Jesus.  I didn’t even need to put in the camera’s internal battery, and it saved weight to skip it. But this morning, I was shooting this timelapse…

It was a long timelapse, and the v-mount battery died during the shoot. No biggie, right? We know from experience that when an FS5’s internal batteries dies, it saves the clip before it shuts down. But when I opened the SD card on my laptop, woe and behold, I see the clip size is zero KB. Oh Shit.

File sizes of zero bytes are big trouble

Yep, it turns out that Sony FS5 likes having its external power cut when rolling about as much as a DJ likes it when a raver trips over the cord to his mixer.  It’s a train wreck, full stop.

So I thought, hmmm. Wouldn’t it be cool if you could insert the camera’s internal battery, and just have it automatically know, when you plug in that external power, that it should defer to that, while providing instant backup if the power is cut?

So I said like, a little prayer (to Sony engineering), rolled the camera with both batteries in place, put my finger on the vmount eject button, and pressed it. Off came the battery with a clunk, and… the LCD screen dimmed slightly, and… the camera kept right on rolling!

Bless you Sony engineering

In hindsight, it makes perfect sense. So maybe I was the last camera person in the world ignorant enough to make this mistake.  I’m just grateful I was able to learn this lesson on my own dime, rather than at the end of a long client interview.

It’s good to know that, with the camera’s internal battery in place, I can hot swap in and out as many vmount batteries as I like, and all my files will be recorded safely to the SD card.

Did you know to keep your internal battery loaded when powering your FS5 externally? Have you ever experienced a power-related data loss?


SaveSave

SaveSave

SaveSave

Plugging the Sony FS5 ND filter gap

Before I say anything bad about the built-in ND filter on the Sony FS5, let me begin by saying that it doesn’t suck. In fact, the Sony FS5 ND filter is so good, it’s part of the reason I switched from Canon to Sony a couple years ago. I’m still amazed by how easy it is to dial in precisely the level of ND you need every time. Well, almost every time.

When you need just a little bit of ND, there’s a gap.  It’s not a huge gap, a tad more than 2 stops of light when you go from no ND to the lightest 1/4 setting. But it’s one that I’ve encountered again and again when, for example, shooting an interview wide open.

A common situation

I often want to shoot interviews wide open to separate the subject from her background. So with an f/2.8 lens, I’m as wide as I can go. And what I often find is that the room is just a little too hot, about a stop over. When I engage the variable ND, at its lowest setting, it takes the room down 2 1/3rd stops. So now let’s say I’m a good stop under exposed.

A common workaround

The only in-camera solution that won’t degrade the image (apart from increasing the shutter speed, which I don’t want to do for aesthetic reasons) is to stop down to f/4. Note, if you’re shooting glass faster than f/2.8 (and you don’t mind really throwing your background out of focus) all you have to do open to f/2.0, and engage the ND. Boom, done. But a lot of my glass is f/2.8, and that’s where I find this gap.

What the gap looks like on a monitor

F2.8 wide open without any ND. I’m looking at those highlights and saying we’re 1 stop too hot.

But when I engage the ND at lowest 1/4 setting, now we’re 2 1/3 stops under exposed. Too dark.

Turning off ND and closing the aperture to f/4 gives me the exposure I want – but I want to set f/2.8.

Finally, here’s the shot at f/2.8 with a Tiffen .3 Water White ND filter to bring us down one stop. Just right!

Closing the gap

I’ve found the right tool for plugging this gap is a .3 neutral density filter. The .3 gives you just one stop of light reduction, the least powerful ND filter that you can readily buy.

The one I prefer is the Tiffen 77mm Water White Neutral Density 0.3 Filter. The quality of the glass is superb.

I’ve also got a 4×4″ Neutral Density 0.3 Resin Filter made by Lee, which is also excellent. But I like the 77mm screw in best, because, with appropriate step ring, I can screw it on to the front of most of my lenses very quickly without rocking a matte box.

Have you encountered this situation with your Sony FS5? How do you “mind the gap”?