Monthly Archives: January 2013

Documentary data wrangling demystified, Part I: Securing your footage

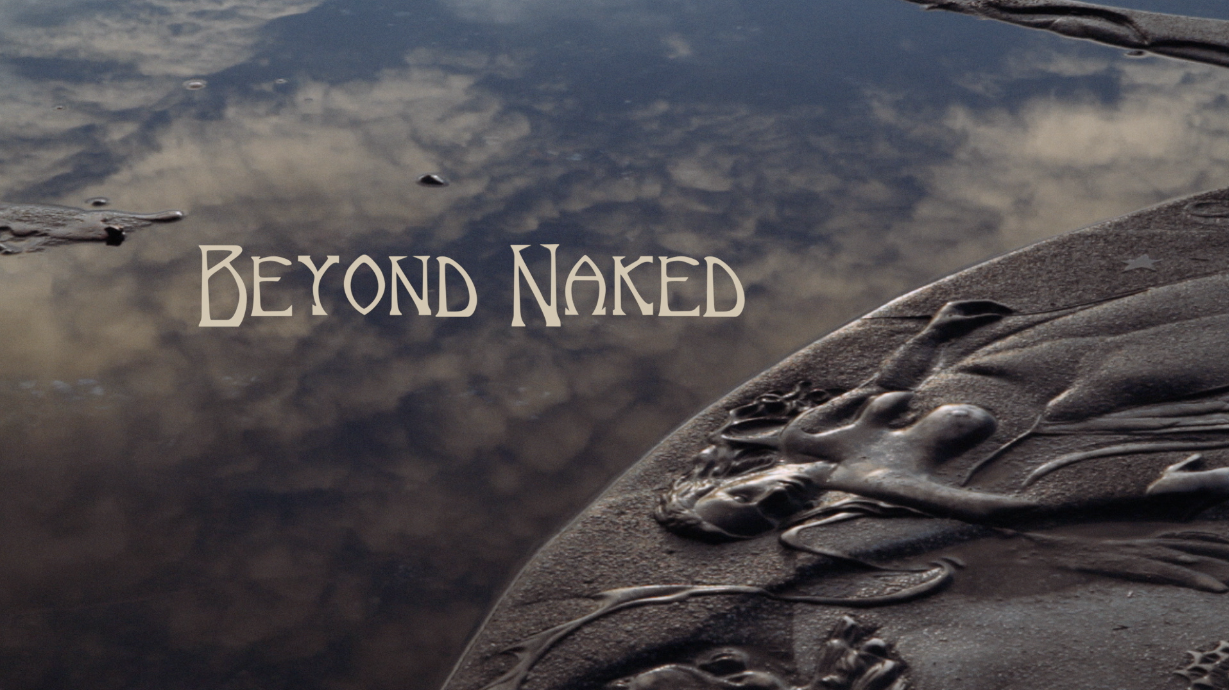
Our first day of shooting Beyond Naked dawned with great promise. On Dec. 21, 2010, the sun broke through a thin layer of clouds and climbed over Seattle’s Kite Hill, where I was waiting with my camera. I knew that in 6 months, on this spot, we would shoot the final climactic scene in the film. This morning, however, alone with the crows, I tilted my camera down into a puddle and captured a timelapse of reflected orange clouds that would eventually become the title shot in the film.

A few hours later, I shot another promising event. This one, however, would not make it into the film. In fact, no one would ever see it. That’s because, less than 24 hours into production, I had already begun to lose footage.

We had 3 shoots that day, which resulted in quite a few sd cards to keep track of. As I was offloading media, I probably mistook one of the full SD cards for an empty one. I didn’t even realize it was missing until weeks later, because we hadn’t created a “dailies” plan to review our footage as it was shot. If we had, we almost certainly could have recovered it. Even if we had formatted the cards, it would have been a simple matter to recover them before they were used again using inexpensive recovery software.

This was the first of many data wrangling lessons we learned while shooting what ended up to be 4 terabytes of media. In this mutli-part post, I’d like to share the relatively inexpensive but feature-film capable system we devised for storing, organizing, retrieving and editing our media. Our simple system took us all the way from initial import to finished film – without any more lost footage.
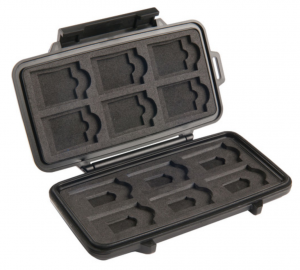
Securing the take. A secure workflow begins with securing your media. And organizing it. As a first step toward doing both, I purchased an SD card Pelican case designed to hold more cards than you’d likely ever use in a full day’s shooting. It resembles a book. On the left side, stored with labels facing up, I inserted formatted cards, ready for use. The right side started out empty. As the shoot progressed, I placed used media, label down, into the right side. This gave me a double safe way of keeping track of which cards contained footage awaiting import.

This system worked extremely well – except when I didn’t follow it. This is where I have to tell a brief, unflattering story about the one time I failed to use this system. While filming the most important scene in the film, the climax of the the parade, I was operating a steadicam in a sea of naked cyclists when my SD card ran out of space. I was so eager not to miss the action that I just popped open my media case, grabbed a fresh card, and shoved the full card into my left pocket. A little voice whispered “store it properly in the case.” I didn’t listen.

An hour later, in a euphoric moment atop Kite Hill at the completion of the ride, my cast and crew surprised me by chanting for me to get naked. As a show of solidarity, I caved. I whipped my pants off and danced a brief celebratory jig. As I pulled them back on again moments later, the little voice said. “Check your left pocket.” I reached in and a chill shot down my spine: it was empty.

I lost it. I heard myself yelling at everyone to back up as I desperately scanned the ground around me for the bright blue chip. Nothing. I knew instantly that the card could have fallen out a hundred places as I had jogged down the parade route. What are the odds I would find it? A tiny glimmer of hope – that it had flown out when I pulled off my pants – faded as I searched the muddy, wet ground crowded with naked people.

One of the stars of the film, Molly Meggyesy, was nearby and asked me what was wrong.

“I think I just lost the most important footage of the entire film.”

“I’m going to find it,” she said.

She took one decisive step, leaned over, and came up with it. “Here you go,” she said. “Is it OK?”

Unbelievably, it was.

I suppose the lesson here is that it’s best to keep your pants on when shooting a film. But I’ll let you draw your own conclusions. And I’ll pick up next time with Part II of this article, selecting primary storage for documentary film.

FxFactory Pro plugins for FCPX

I was recently invited by Noise Industries to review their FX Factory Pro suite of visual effects for Final Cut Pro X. It’s an easy yes for me, since I purchased the $399 library last year and have used them in some way on most of my projects since. Full disclosure: I received a review license prior to posting this review, but I had already purchased the suite, so I’m not in any way being compensated for sharing my experience.

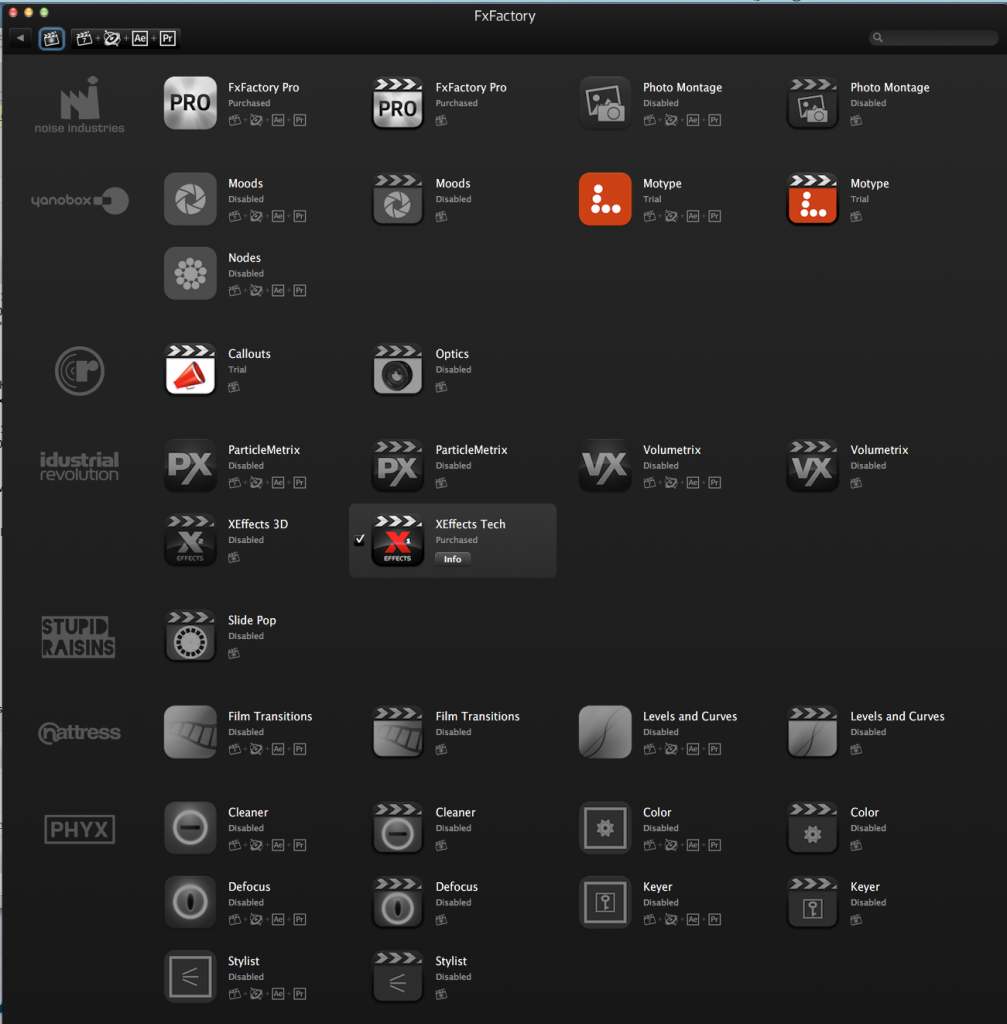
First, some clarification: when you install FxFactory Pro, what you’re actually installing is two things: a tool kind of like Apple’s App Store, in which you have access to other developer’s plug-ins from within a single app, and a suite of plug-ins called by the same name, FxFactory Pro.

Installing FX Factory Pro is painless and fast. However, by default, not only the FxFactory Pro plug-in, but all third-party plugins, are installed – probably a lot more than you want or need. Having more effects than you need not only clutters the interface, but I believe it can slow down your machine.

Update: Niclas from Noise Industries contacted me with this clarification: “Having many effects active will not “slow down you machine” in general.

  • It will affect the time Final Cut Pro X takes to startup after the effects are first installed, as Final Cut Pro X needs to build the “list” and register everything that’s new. These results are then chached, so the next time you launch Final Cut Pro X it will again startup quickly.
  • It will affect the speed of browsing through effects, simply because there are more there, and manipulating a larger list is more taxing.

It will however not affect rendering speed, or the speed of Final Cut Pro X in general.

Luckily, the FX Factory app makes it easy to manage which effects are installed. At any time, you can open the app and select which plugins you want to have enabled. You can add trial versions of plugins that you may want to try, too.

To disable unwanted plugins, and more, open preferences for the FxFactory app:

When I got ready to create the credit roll for our recently completed doc, Beyond Naked, for example, I went looking for a plugin to help with formatting text. I started my search on Google, and ended it on my FxFactory app, already installed on my computer, where it was a snap to enable Rolling Credits, a SugarFX plug-in. I ended up purchasing it and it saved me a lot of time in creating the credits for the film, looks great, and provided tons of options for display. But it’s technically not part of FX Factory Pro, so I’ll save a review of Rolling Credits for another post.

Since FXFactory Pro comes with 176 filters, generators and transitions, you may find yourself scratching your head when it comes time to find the one you need. Or maybe you’re not even sure what you’re looking for. That’s part of the fun of having an effects library – you can browse until you find something that catches your eye. But I don’t have time or patience to do that for long. Here’s what you do:

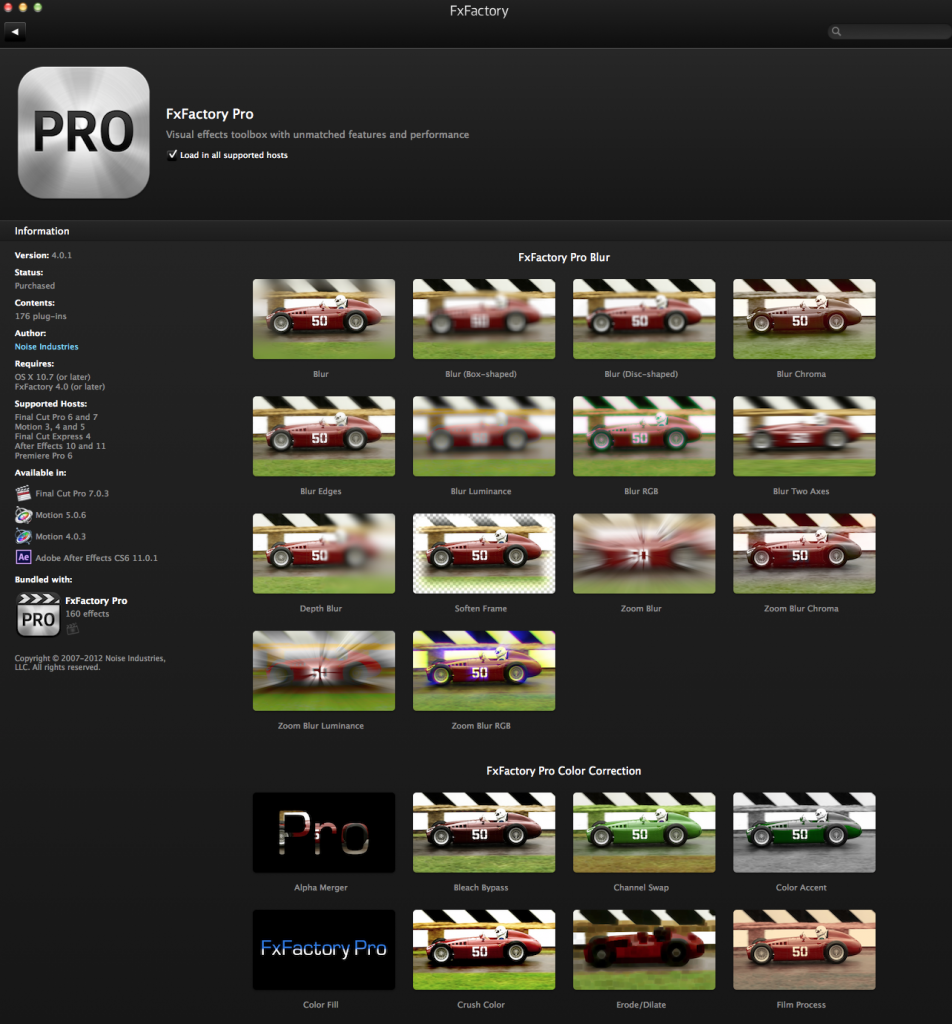
Open the FxFactory app, and click the “info” window.

You’ll get a complete listing of each of the 176 items in the suite.

Slide your mouse over the one you’re interested in, and you’ll find a help link, and in some cases, a video tutorial that shows you exactly how to use the tool.

Clicking help brings up a comprehensive description of the effect, transition or generator:

Clicking “tutorial” opens a YouTube page with a tutorial:

FxFactory has done a killer job of showing you how to get the most of this suite. You just have to know where to look. And in my experience, knowing how is the difference between thinking about doing something and actually doing it. I give FxFactory Pro major props for helping users get the most from their suite.

Meanwhile, back in Final Cut Pro X, you’ll find that the FxFactory installer has done a good job organizing things into three categories: Transitions, Effects, and Generators. Let’s take a look at each more closely.

Transitions:

Transitions are easy to overdo. But there are times where a clever transition can bring your edit to life. I found myself looking for a special way to open a promo video I recently cut for Seattle Interactive Conference (see below).

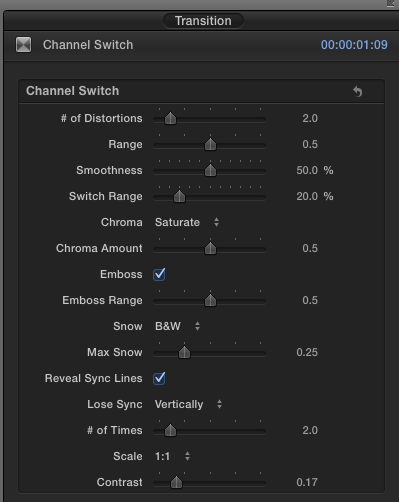
I needed a way to get into the piece that was glitchy and electronic. This is, after all, a tech conference. Inside FxFactory Pro I found Channel Switch, and it was perfect.

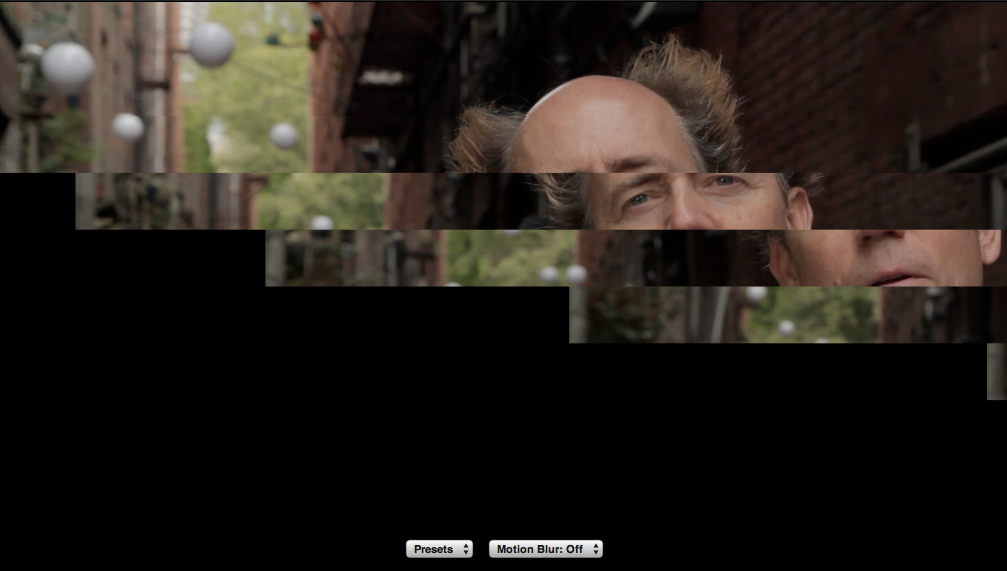
This transition, like most included in this suite, offers lots of options for customizing the look, timing, and other variables in the Inspector window. There are also presets that can be accessed inside the Viewer:

You an also save your own presets for later retrieval.

I used another transition in the SIC video, called Slice. This one has a techy, pixelated vibe that matched my content nicely.

Effects:

Early into this video for SIC, I wanted to briefly pixelate the entire screen to emphasize the speaker’s pointed question. I found the perfect tool to accomplish this among the dozens of effects in the FxFactory Pro suite, called Pixelate.

It does what it says, providing the ability to keyframe the application of the effect. So it was a snap to make the pixels appear suddenly and fade back into the normal display.

The many effects included in FxFactory are organized in your Effects Browser into the following categories:

Blur
Color Correction
Distort
Glow
Halftones
Sharpen
Stylize
Tiling
Video

The reason I purchased FxFactory was for one killer effect: Light Rays. It adds beautiful streaks of light that spread from the light areas of your frame into the dark areas. It works best when you have an image such as this one, where you’ve got a light source in the background and a dark frame in the foreground that contrasts with the light rays:

Generators:

About the only two I’ve found reason to use are the Banding-free Gradient and Timecode.

The gradient is, as it’s advertised, banding free, well, almost. You’ll need to play with your export quality and add diffusion and reduce sharpness to dial it in. Timecode is an improvement over the generator included with FCPX, but in the end it does the same thing: overlays timecode so that you can, for example, have a conversation with another editor you’re working with and be able to instantly reference and find the spot you’re looking for.

Two other broad categories of generators are included: pdf animator and slideshows. I tried out the slideshow and it works fine if you simply want to drop it on a large number of stills quickly. It has a rather unusual quirk in how it works: you drop the generator into the timeline as if it were a clip, then use the onscreen controls to choose a folder of images. This breaks the FCPX convention of storing all media in the Event library, and while that may seem convenient, I think I’d rather go to the effort of importing my stills into the Event Library, so I don’t have to wonder whether I’ve got all my media when sending a copy to another editor. You can still use it this way, but it would be easy to end up with stills scattered all over your system and on various hard drives using this generator.

I think every editor will find that having a solid library of effects, though seldom used, is as indispensable has having a mouse to go with your keyboard. And FxFactory Pro, with it’s growing list of third-party party plugins and support resources, is a great place to start.