Monthly Archives: October 2018

How to shape natural light for cinematic outdoor interviews

“Lighting is a subtle craft,” I told my students yesterday. Then we headed to a baseball field to see what that looks like. Our assignment: To shape natural light into something cinematic for an outdoor interview using only two pieces of grip. A 4×4 foam core bounce, and a Scrim Jim Cine Frame (8 x 8′).

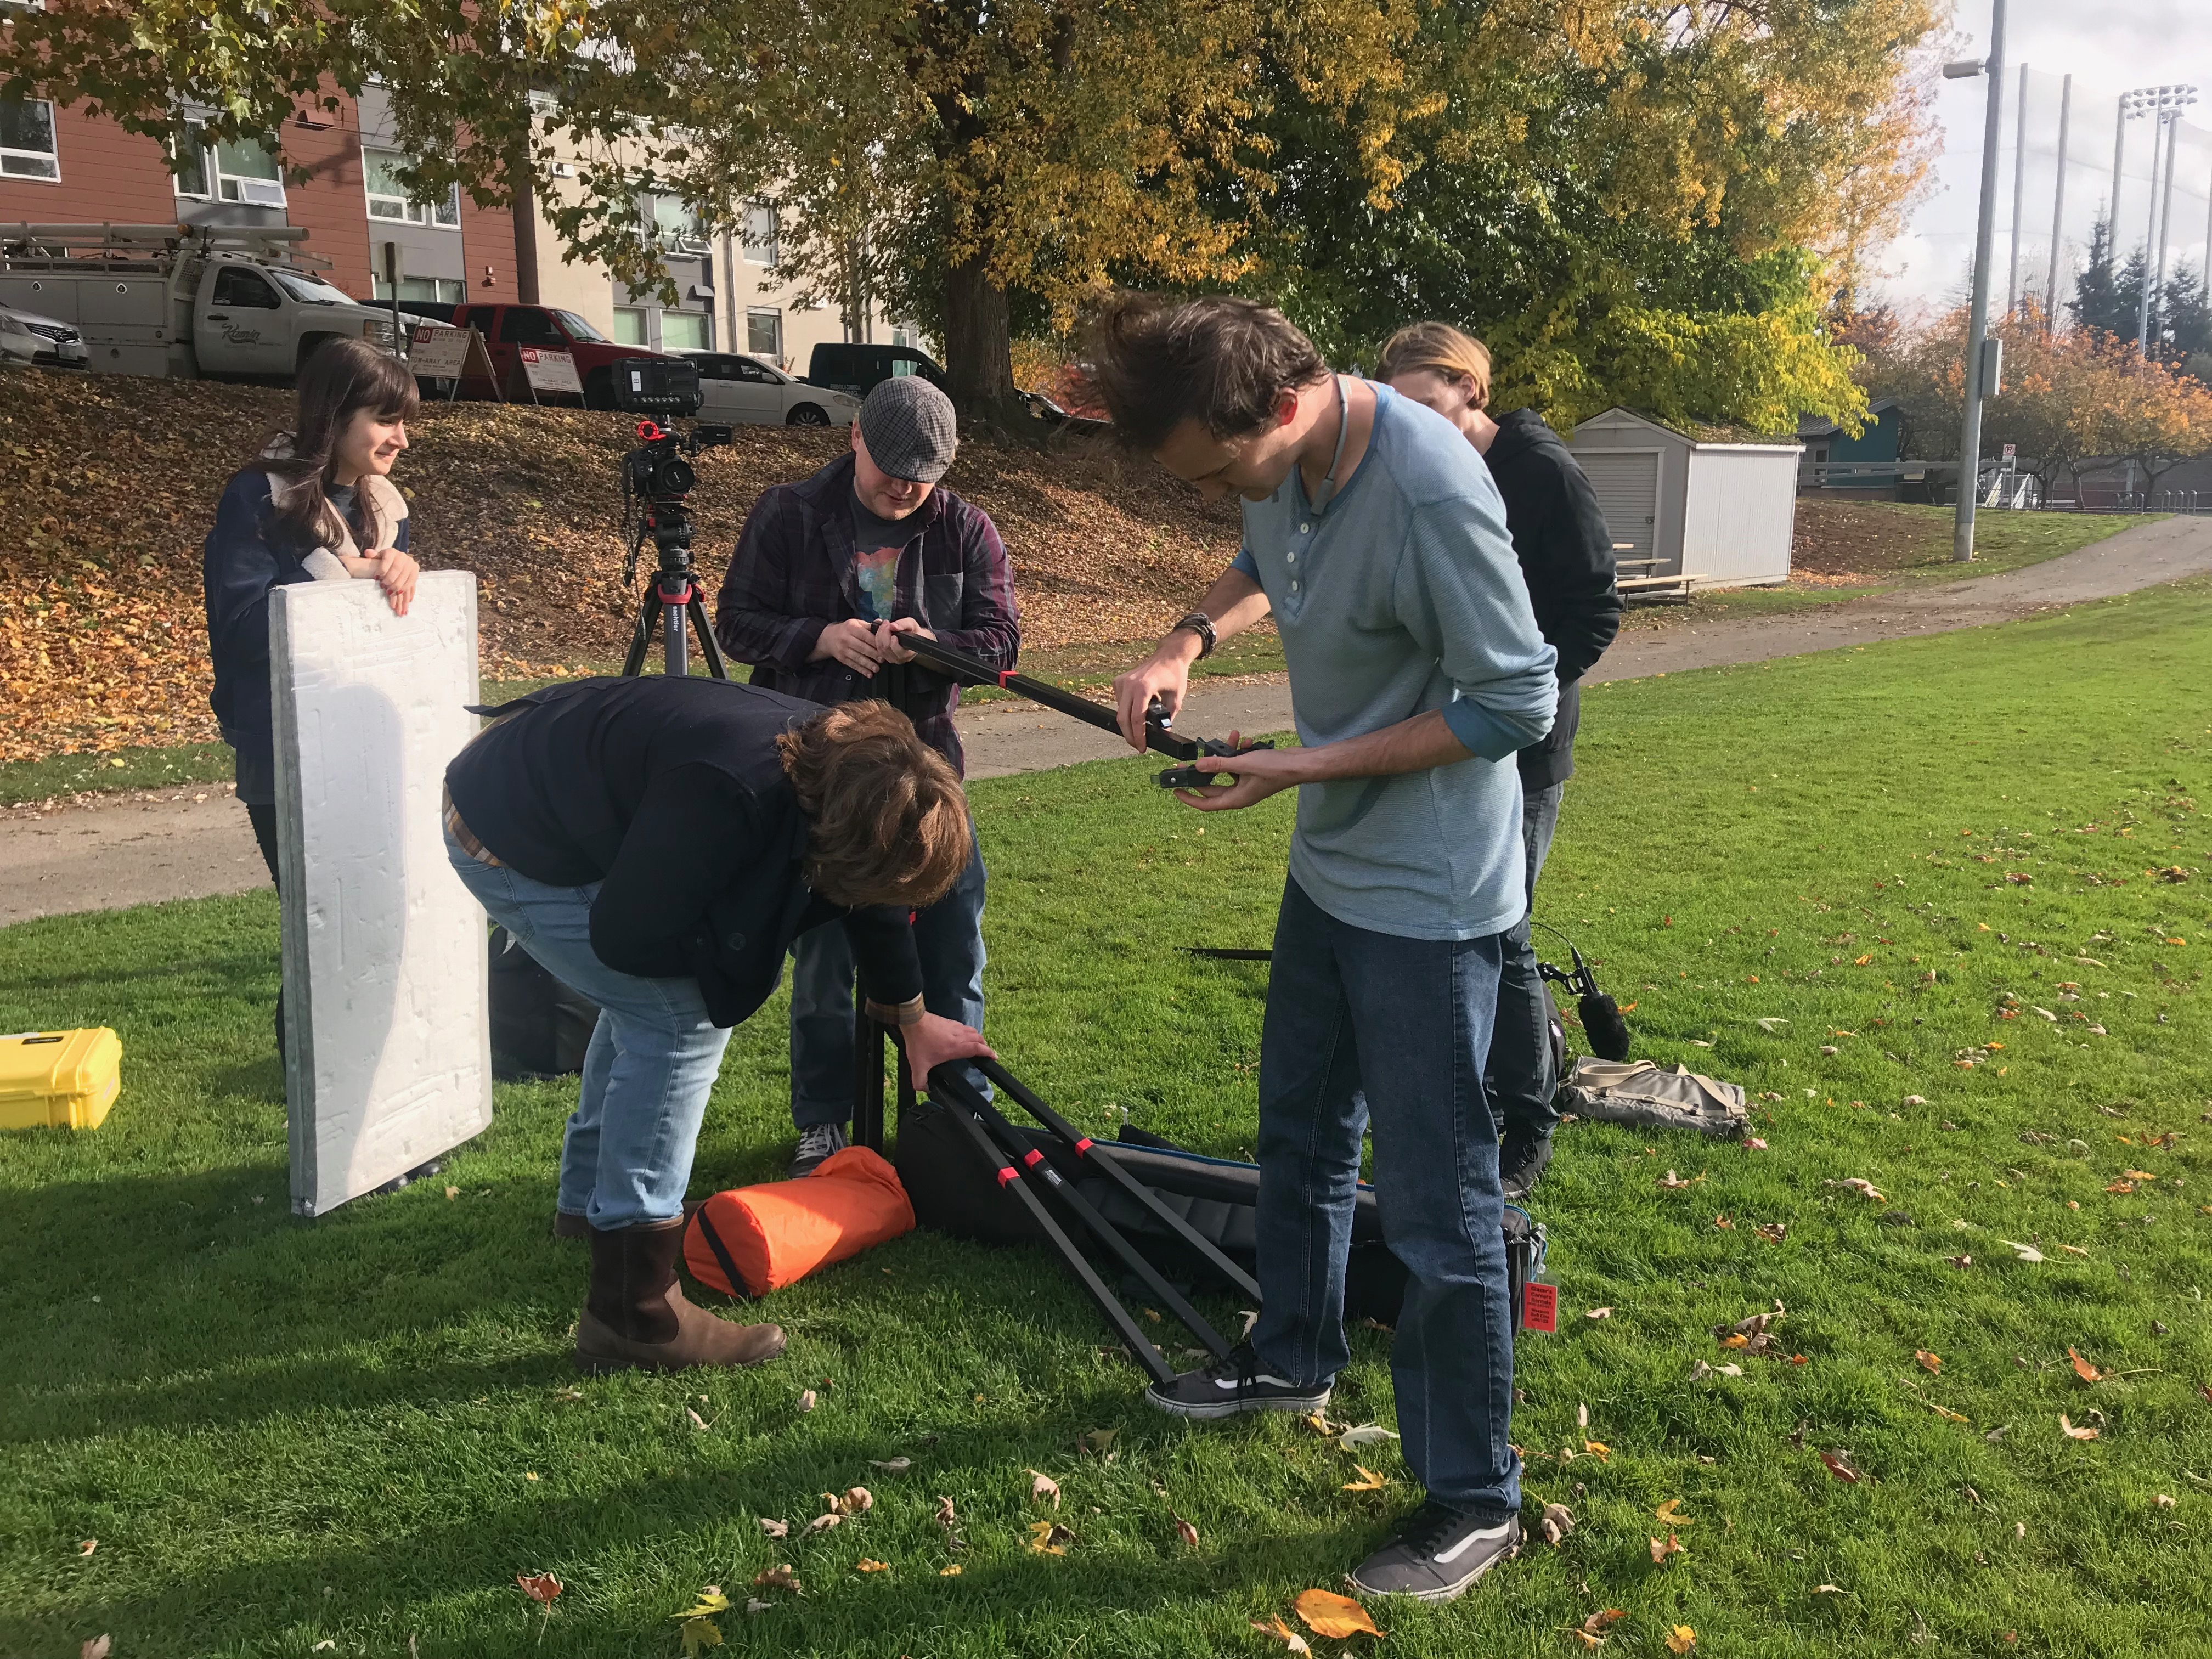
Our first challenge was to choose a background. We placed our subject on the edge of the field, and slowly walked in a circle around him to observe how the light fell on him in relationship to the background.

People rarely look good in direct sunlight. It makes them squint. So we placed our subject with the sun behind him, as you can see from the shadows below.

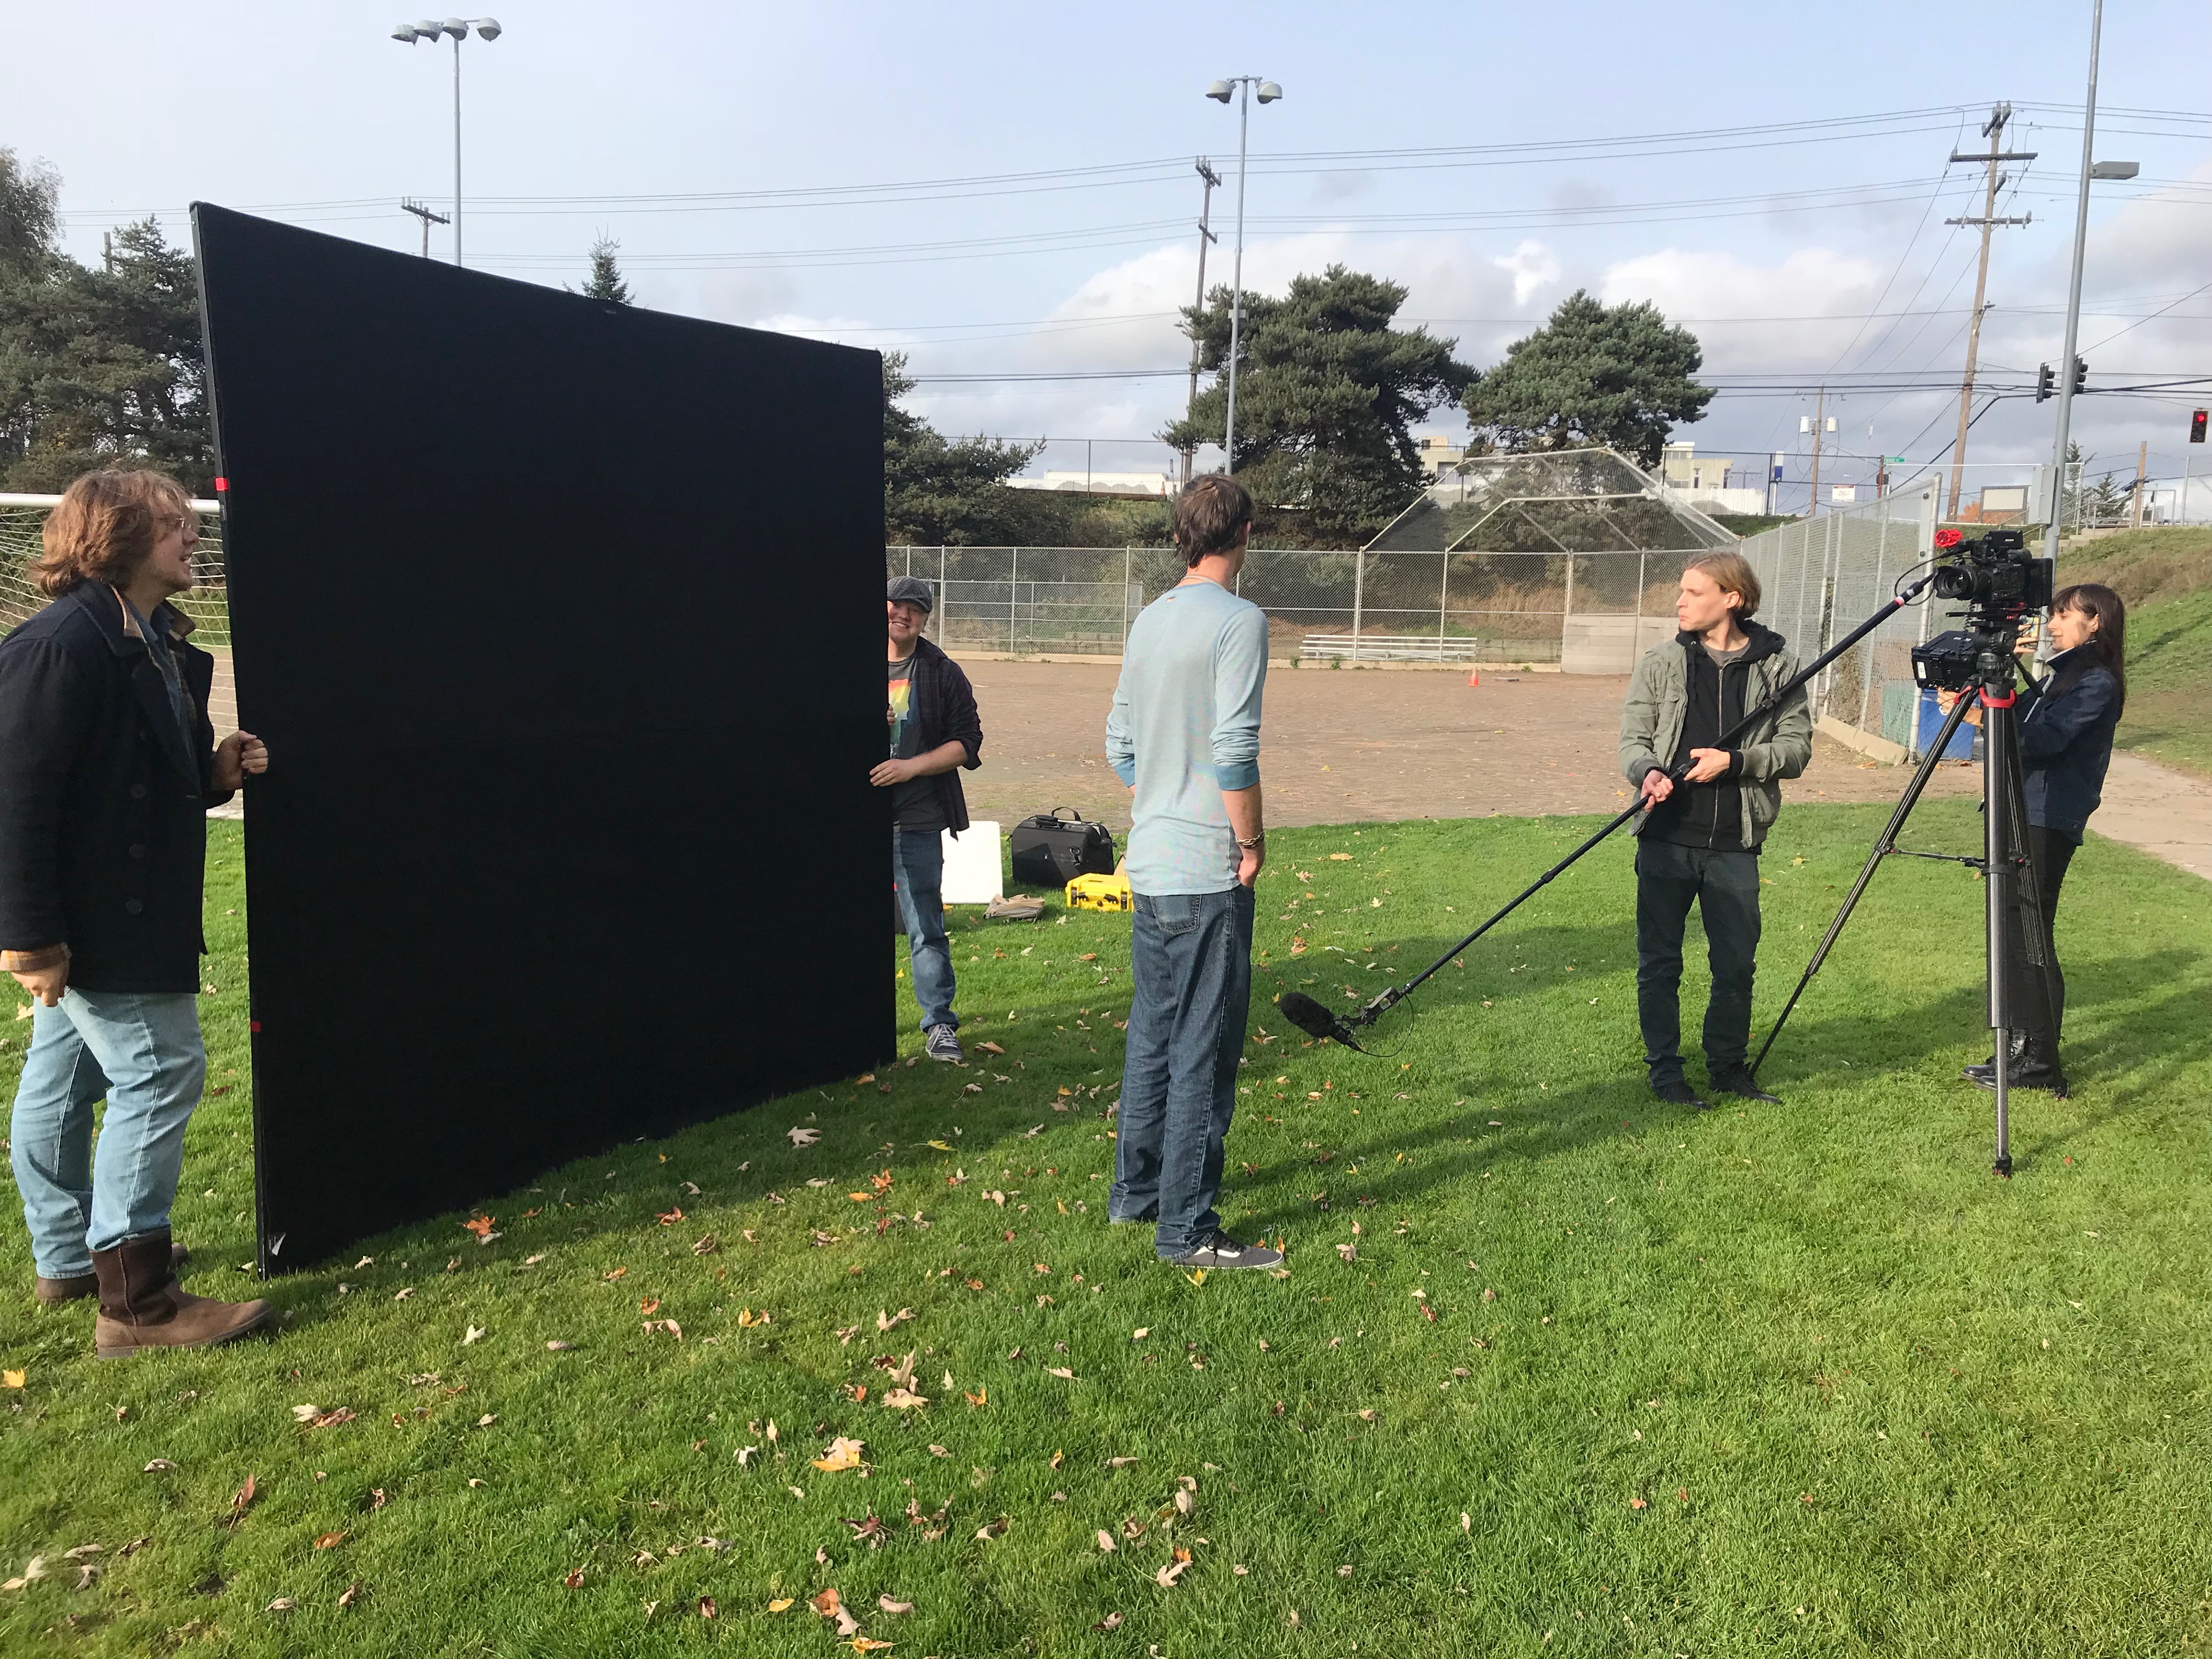
By doing this, we penciled him out from the background with natural rim light. This works best when you can find a background that is at least a stop darker than your subject. In this case, we could do that very easily, because there were lots of trees. Trees absorb light. So here’s our starting frame:

1. The camera left side of his face is visibly darker because there is a line of trees off camera in front of him on that side, and open field on the other.

This first frame shows the importance of considering how nearby objects will impact your subject. If he had been standing in the middle of the field, his face would have been evenly illuminated. But because there is a line of trees behind us and camera left, the light is wrapping in from camera right which is exposed to open field.

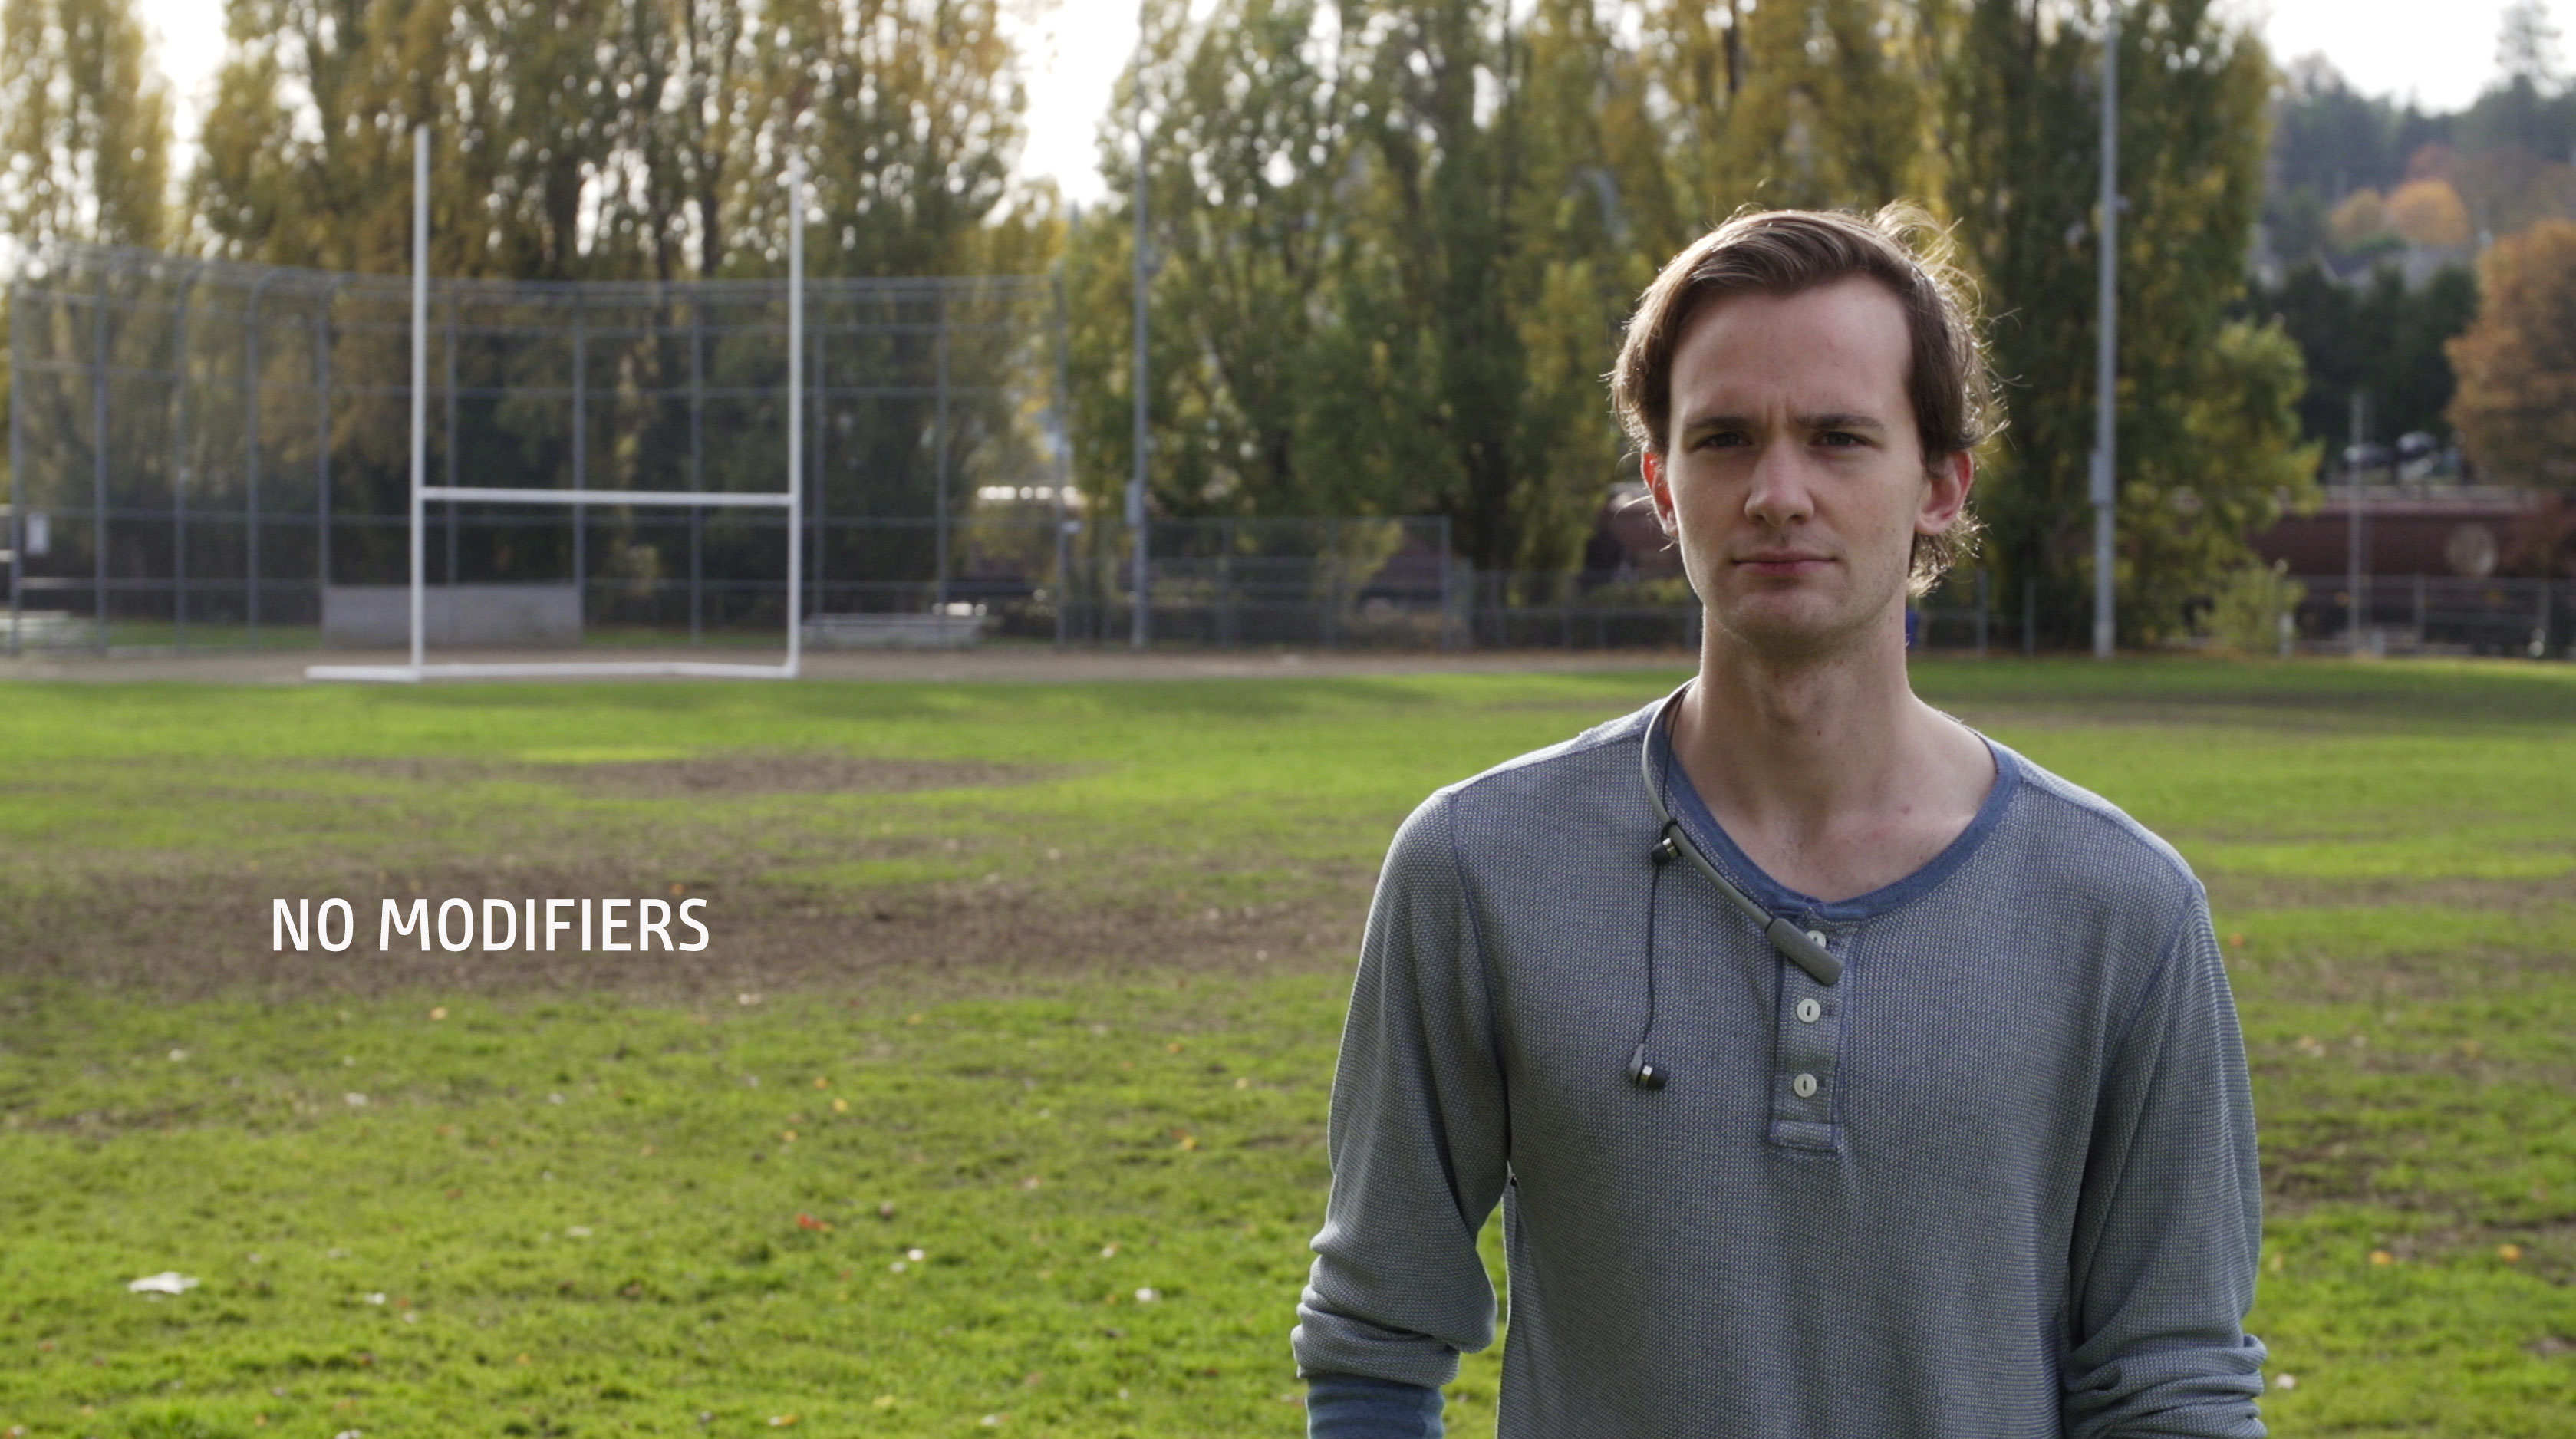
Our goal here is to make the most of the tools we have to create a naturally lit interview that feels organic and makes our subject look great. So let’s start playing with our toys and see what each does for our shot.

2. Bounce 3/4  on camera left. 

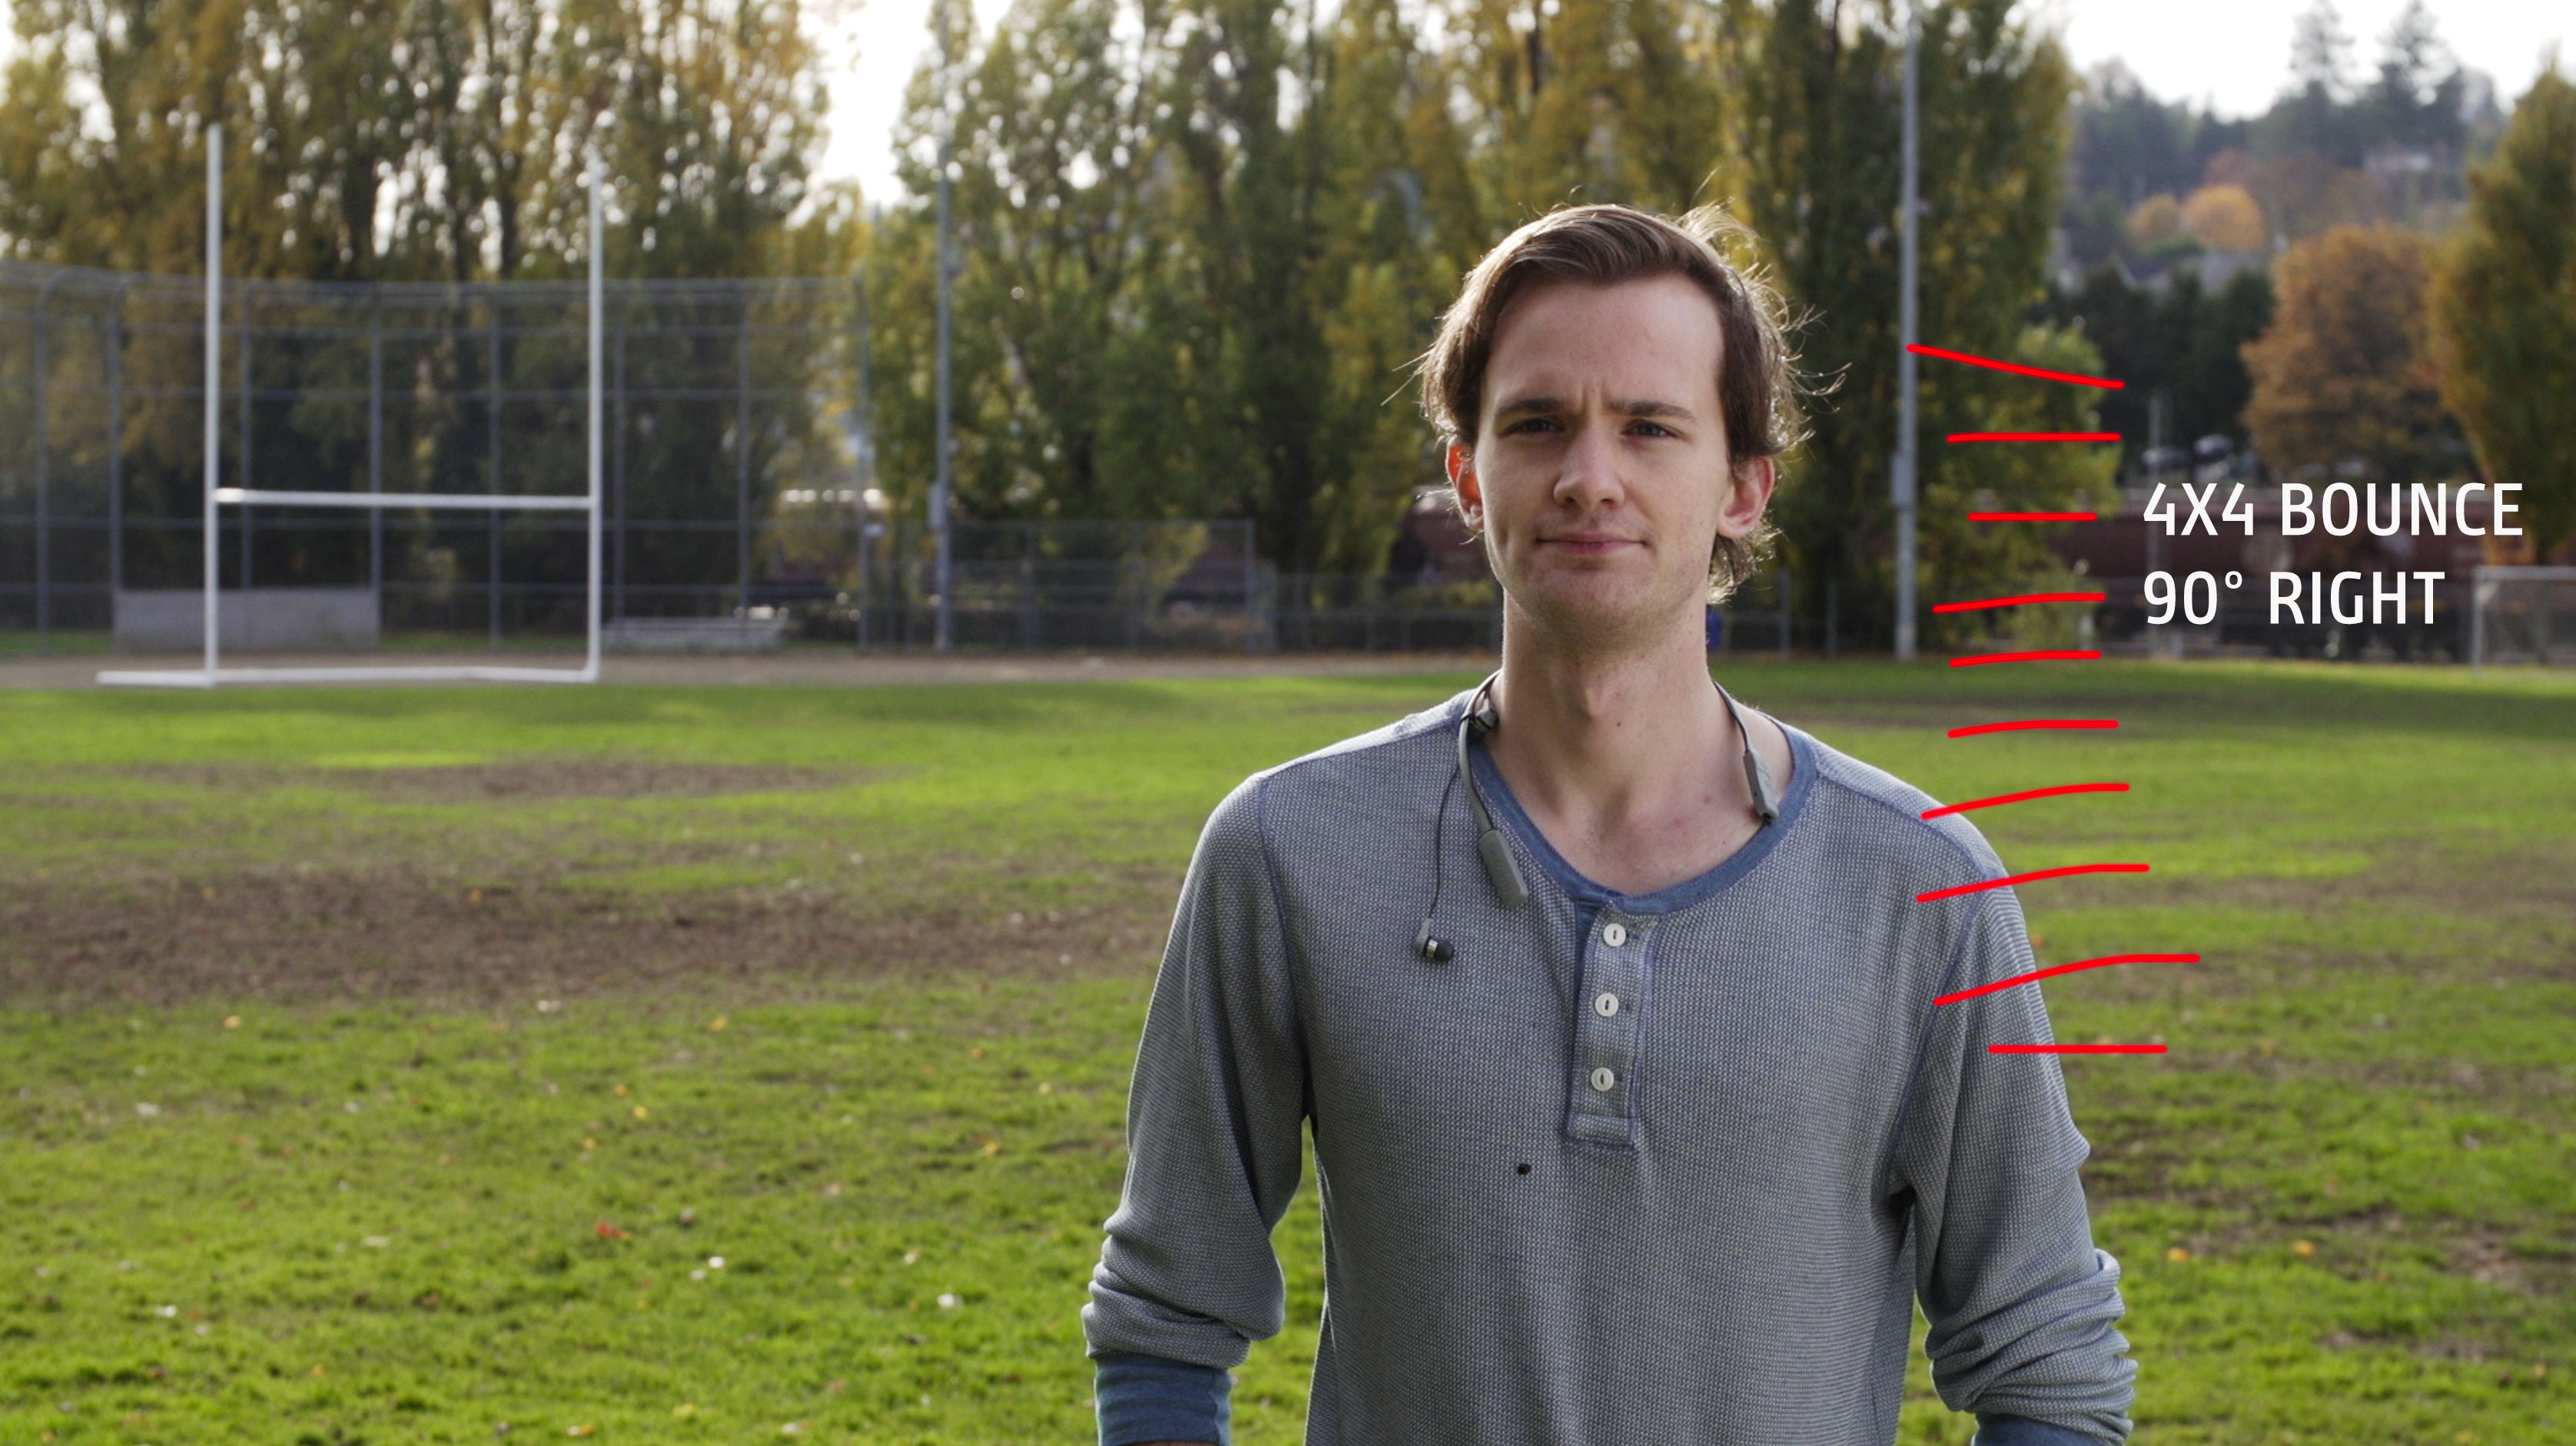
Our first setup is to bounce light on the same side as the sun, 3/4 angle camera left. This evens out the light on his face, eliminating the dark areas created by the trees in front of him. But it’s pretty flat. Let’s move the bounce a little farther to the right…

3. Bounce under lens

Placing the bounce directly under the lens is a pretty common sight on film sets. It’s a great way to get a nearly invisible fill up into the eye sockets of your talent. But in this case, it still feels pretty flat.

4. Bounce 90° camera right

Placing the bounce on the camera right side gives us a nice dimensionality, but it doesn’t look organic, because the sun is coming from behind and to camera left. So it looks lit. No good. Let’s put down our bounce for a minute and see how the negative fill affects our shot.

5. Neg only

The neg by itself does a nice job of evening out the light on his face, but he’s now too dark overall. If we raise our exposure to compensate, the  background will get too hot, and we want to leave it alone at a stop under. So let’s bring back our bounce, on the same side as the sun (called “same-side fill”) and see what happens.

7. All in – bounce camera left and neg camera right. 

Wow! This looks pretty good. Adding the bounce wraps the light of the sun around his face very naturally, and the neg on the other side gives us the 3-dimensionality that we’re always striving for in cinematic shooting. 

If anything, I’d say we could have raised the 4×4 bounce a little higher to do something about the shadow that’s forming a triangle between his camera right cheek and eye. 

What techniques do you use to shape available light for cinematic outdoor interviews?

How to choose the right hard drives for 4K video projects

Hard drives for 4K video

One of my students at Seattle Film Institute asked me a question the other day: “How do you choose hard drives for 4K video?”

Most beginning filmmakers are on tight budgets. So my short answer was: “Buy the cheapest drives you can afford to store your media, and the most expensive drive you can afford to edit it.”

Let’s unpack what that means in today’s technology landscape.

When I get a new 4K project, I buy two hard drives big enough to hold all project media. In my case, that’s generally 1 to 2 terabyte drives. At the end of each day of production, I’ll lay off the files to both simultaneously. I use  Hedge which enables me to have two backups of the media from the get-go.

Drives I recommend

The drive I have most frequently chosen for this is the 2TB Backup Plus Slim Portable External USB 3.0 Hard Drive. It currently costs $65. Black Magic Speed Test clocks it at 75 MB/s. That’s way too slow to edit 4K video on, of course, but we only need it for storage. The nice thing about USB3 is that it’s compatible with just about any computer out there, both Windows and Mac. So if your client wants the files at any point, you can simply hand them the drive.

If you have a computer with USB-C, however, I recommend the aPrime ineo rugged waterproof IP-66 certified drives. For $95, you’re getting a drive you can drop in the water, with rubber bumpers to break its fall, and a built-in USB-C cable. These drives clock for me at around 110 MB/s read and write speeds. So for a little more money, you get drives that are a LOT more rugged and a little bit faster. 

Both the above drives are about the size of a typical iPhone. And that matters to me – they will (hopefully) live out their lives in a drawer. I like that they won’t take up much space.

Small is the new big

So now let’s talk about the fun stuff – speedy editing drives. I used to rely on toaster-sized RAID drives to get the speed and reliability I needed for editing. But with SSD, that’s no longer the case. With solid state media, I have found speed, reliability AND the benefit of being able to take entire projects with me wherever I go. With this freedom, I find the only time I’m cutting at a desk is when I’m doing audio passes with studio monitors. I’ll connect my laptop to a larger monitor at various stages of the project. But even then, I tend to park myself all over the house. For example, the kitchen table, or on the coffee table in the living room.

My tried-and-true favorite 4K editing drive is currently the  1TB T5 Portable Solid-State Drive (Black). I get read-write tests to about 300 MB/s which is more than fast enough to edit 4K video. This drive is the size of a business card (and only a little thicker). It is now available in a 2TB size for under $500, which seems like a bargain to me. But the landscape is changing. 

Here comes Thunderbolt 3 

Most new Macs now support Thunderbolt 3. If you are one of the fortunate people who has one, I invite you to behold the 2TB X5 Portable SSD.

I hesitate to call it affordable at $1,400, but it gives wings to your 4K projects. I recently retired my late 2013 MacBook Pro and made the leap to a late 2018 MacBook Pro, so I finally have a computer than can keep up with such a beast.

I’ve been putting the X5 through its paces by editing multiple streams of  ProRes RAW 4K DCI on a project that weighs in at 1.7 TB. With everything loaded on the drive, here’s how the X5 performs:

X5 Write/Read times with drive 3/4 full
The X5 clocks even faster read and write times with Black Magic Speed Test

It’s interesting to note that even though this drive is lightning quick, it’s still not nearly as fast the internal drive of the 2018 MacBook Pro:

Late 2018 Macbook Pro internal drive speed test

Putting it all together

What these numbers tell me is that to get the absolute best performance from Final Cut Pro X, you want to keep your FCPX Library file on your local hard drive. Then, store all of your media on the X5. Beyond speed, this has the added benefit of allowing automatic backups of your FCPX project files. To get near real-time backups, use an automatic cloud-based backup service like BackBlaze. Because it runs in the background, BackBlaze won’t slow you down at all and you won’t have to remember to back up your project. Note, however, that BackBlaze is not an efficient way to back up your media drives. But you’ve already got yourself covered there with those cheap backup drives.

For longer 4K projects like feature-length films, you’re of course still going to be living in the land of RAID when choosing hard drives for 4K video. But for the small projects, I find this 3-drive system, in which you back up your media on 2 cheap drives, and edit it on a single fast one, is a winning formula. 

What hard drives for 4K video are you using?