Why is the C100mkii a ridiculously awesome camera? It’s not the fluid ergonomics, the built-in ND filters, or the camera’s snappy autofocus. Your audience can’t see how you got the footage; they just see that you did get the footage. And the footage is what’s epic. Canon’s color science is why we pay the medium bucks for the EOS Cinema series cameras. But to get the most from your footage requires a little work. By following these steps, you’ll get 12 beautiful stops of highlight-holding dynamic range, every time you press record. Here’s how.
Before shooting:
1. Set minimum ISO to 850. Unlike with a traditional DSLR, choosing a lower ISO will NOT result in a better image on this camera. Instead, it will rob you of dynamic range. So always always always set a minimum ISO of 850. In low light you can go higher – much higher, in fact, and get great results. But never go lower.
2. Shoot Canon Log (CP Cinema Locked). This is the only way to get the full 12 stops of dynamic range out of your camera. The footage will initially appear flat when you view it. But you have plenty of quick options for giving it snap, crackle and pop by applying LUTs. More about that momentarily.
3. Enable View Assist. The image on your LCD will appear flat, and to fix that and give you an approximation of the final image while shooting, you’ll need to turn on the view assist. It’s located in the LCD menu. TIP: I add this and several other settings to the custom menu, which makes finding them much quicker than hunting through the menus.
After shooting:
4. Use a LUT. A LUT (Look Up Table) is an automatic color correction designed specifically for your camera, which is applied to your footage in post. Which LUT to use? I recommend these free EOS Cinema LUTs from Able Cine. To apply them to your footage, you’ll need an inexpensive plugin like the $29 LUT Utility. These will work as a plugin to the NLE of your choice (i.e., Premiere, FCPX, etc).
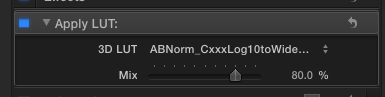
5. Adjust LUT intensity to get desired look. Using LUT Utility, you can adjust the effect from zero to 100 percent. I often find that dialing in 60-80 percent of the effect is just about right.
Here’s an example, an interview shot in front of a window. The challenge is we’d like to make her skin look awesome, while at the same time retaining as much highlight information as possible in the background. So we shoot in CP Locked, and…
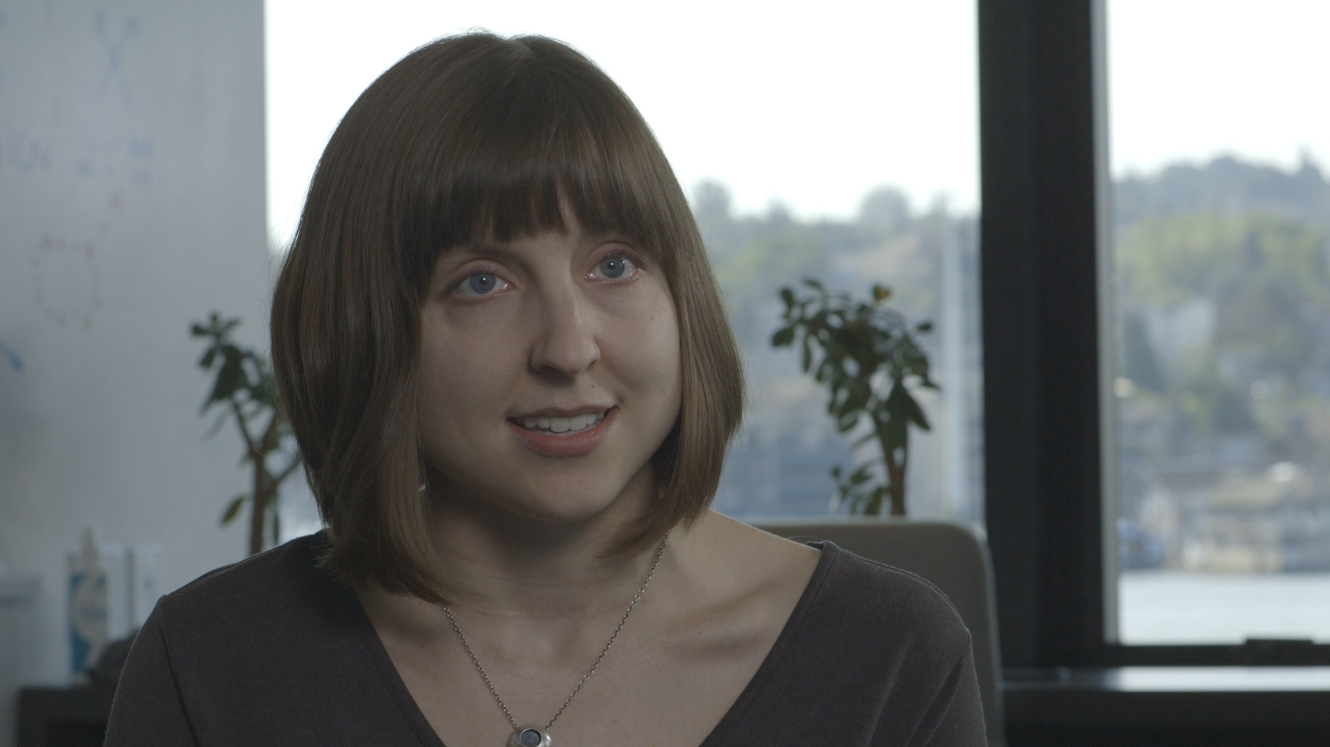
Above: CP Locked footage looks flat prior to grading.

LUT applied (no other color correction). As you can see above, this instantly does wonders for our footage. But it still needs a little work.
Getting the most from LUTS
To get the most dynamic range (that is, visible detail in your image from the darkest shadows to the brightest highlights) choose the CxxxLog10toWideDR_Full option (the one applied above).
To get punchier results, and more life in the skin tones, try one of the other two (the ones beginning with ABNorm- and JR45-), continuing to choose the -WideDR_Full option for each.

ABNorm_CxxxLog10toWideDR_Full applied. Adding this LUT makes our image appear too crushed, in my opinion, and slightly over-saturated. There are two ways to correct that while retaining the punchier color of the effect. You can lighten the image (in this case, by pushing up the midtones) or you can reduce the LUT intensity.

Mid-tone brightness increased to compensate, above.
 Finally, reducing the intensity of the ABNorm- or JR45- LUTs, which tend to overly saturate and crush the image, allow you to dial in just the right amount of correction.

The final results. Notice how lifelike the skin tones are, and how the important detail in the background is preserved. Besides applying the LUT, the only color correction I’ve applied to this frame is a slight boost in the midtones.
Conclusion: Using a LUT, we can very quickly get everything out of our c100 footage that the camera is capable of giving us. Vibrant skin tones, crisp blacks, and 12 stops of dynamic range that allows us to hold detail in brightly lit areas of our frame, such as the background used in this example.
I don’t know about you, but I’d rather spend my time thinking about the content of my films than how to color grade them. Using a C100 and a LUT, you can have both.