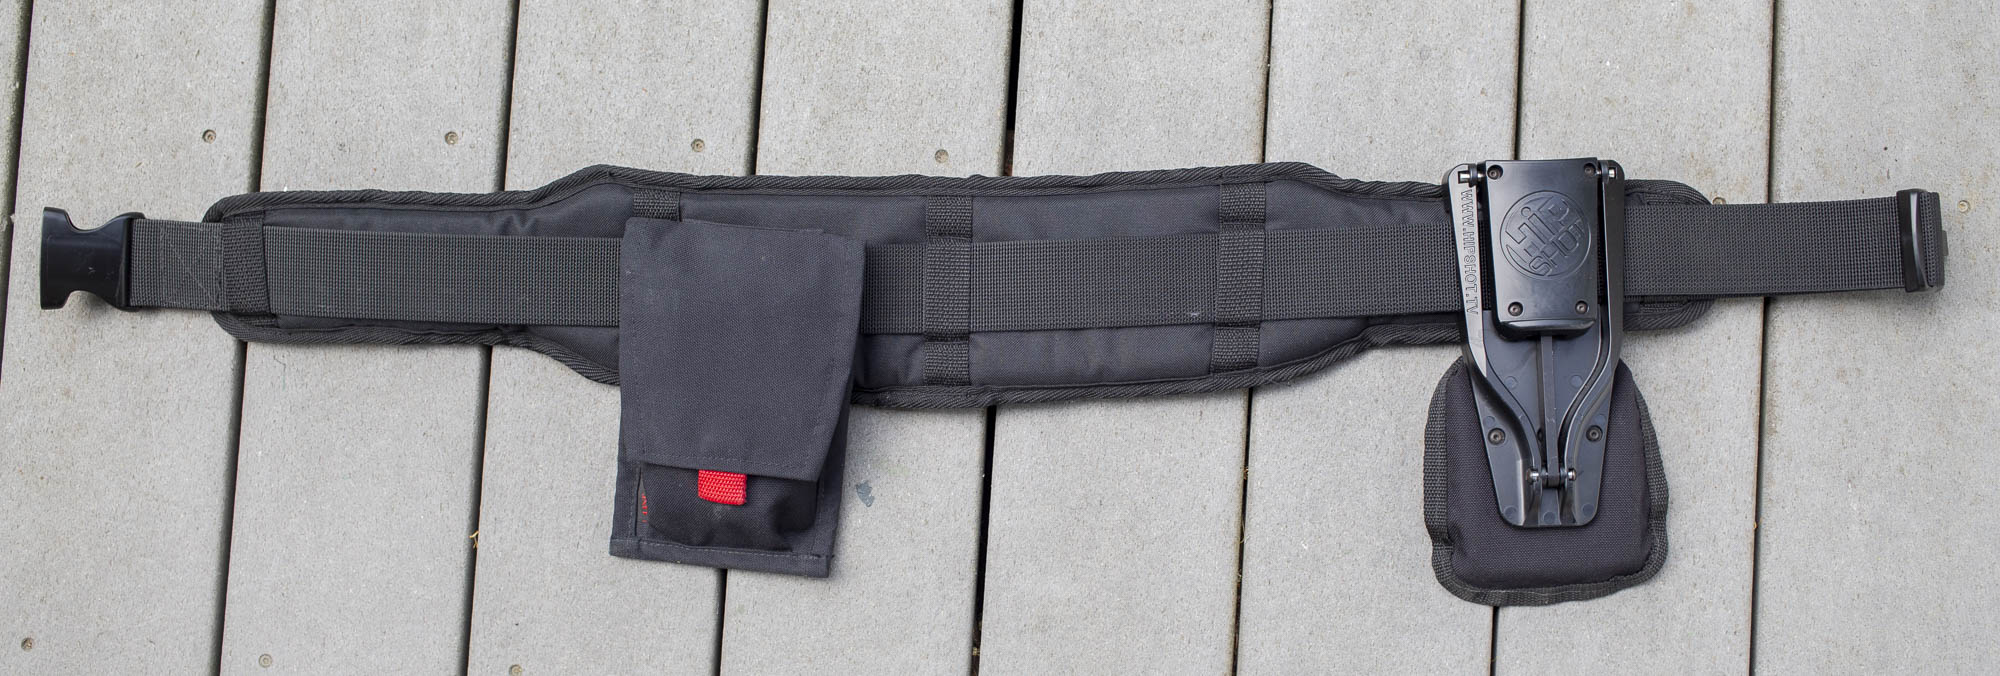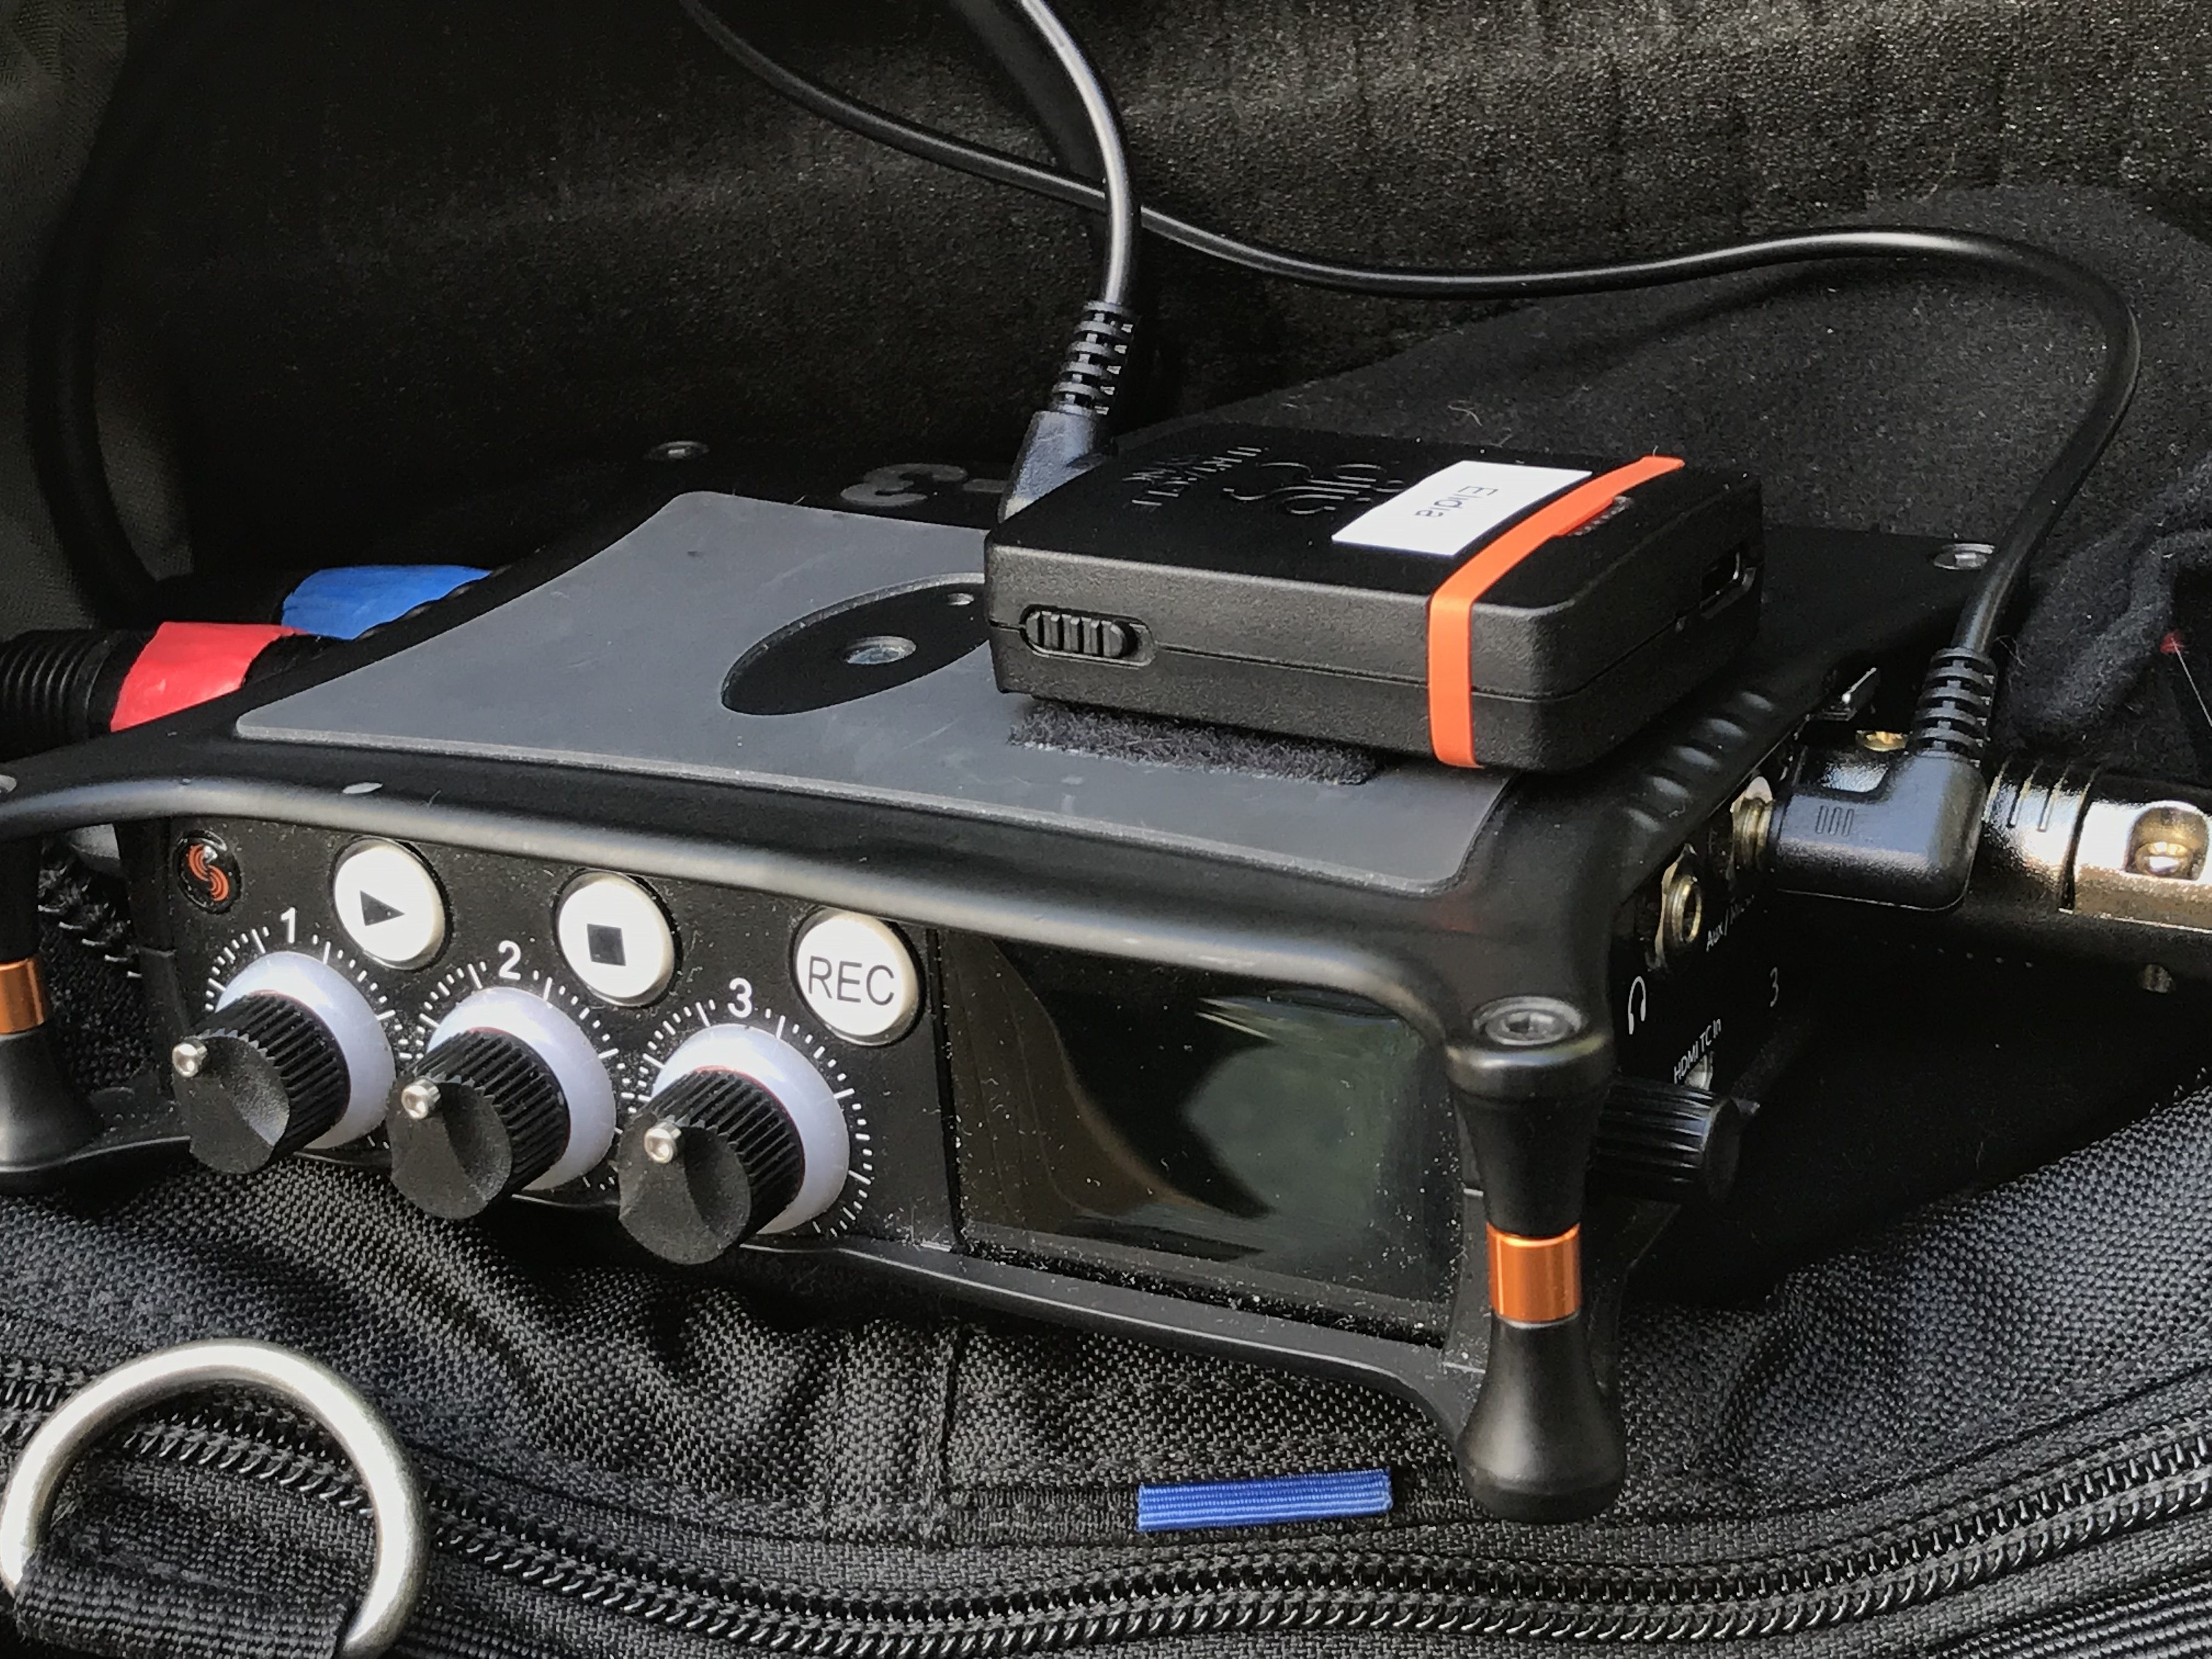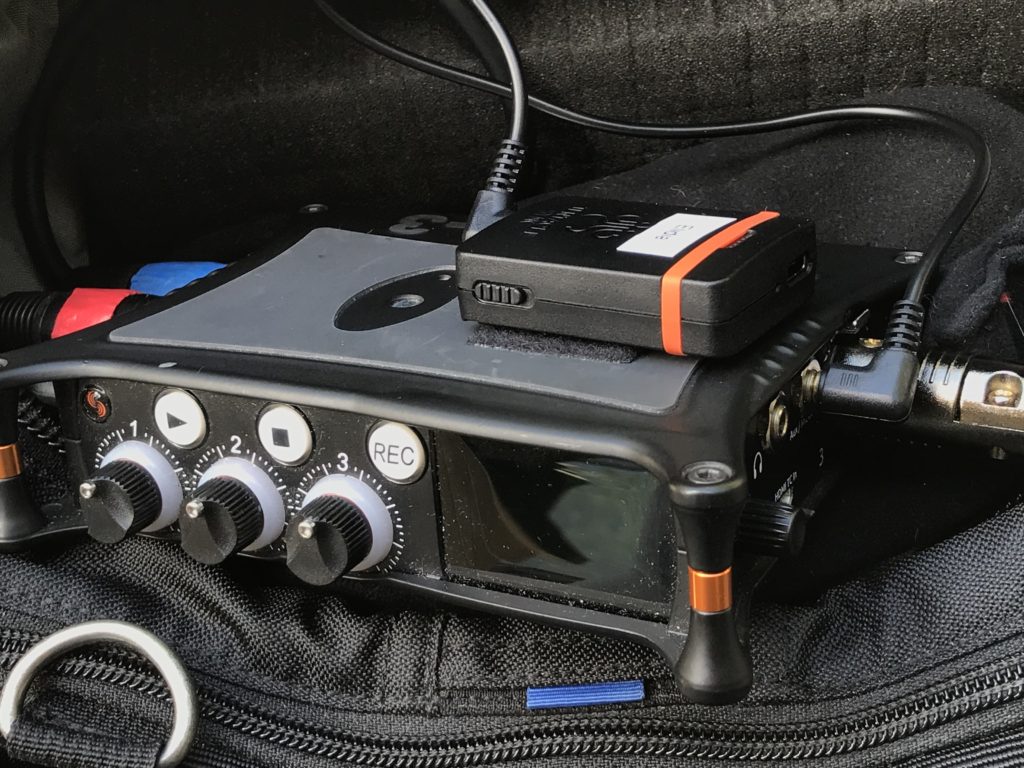
Tentacle Sync in “green” mode feeding timecode to a Sound Devices MixPre3
When I made my first film about 7 years ago, I was sort of lucky. There was this little software app called PluralEyes that enabled me to do dual-system sound without knowing the first thing about timecode. That was cool, and it served me rather well for a long time. But recently I’ve been edging out of this friendly zone into more dangerous territory where I’m getting hired by directors who expect me to provide files with timecode. Because, well, timecode.
But I’ve been pleasantly surprised to discover that, with the right tools, timecode doesn’t have to be scary. In fact, it has really speeded up my post-production workflow. But I’m getting ahead of myself. First, a reminder of why timecode can suck.
Timecode is complicated
When a director hired me earlier this year for a timecode shoot, I did what any self-respecting DP would do: I hired a professional sound recordist. They usually come with everything needed for timecode – a recorder/mixer that generates timecode, and the “lockit” boxes that plug into cameras that accept timecode, for a complete solution. But this time, the recordist told me her lockit box was broken, so I’d have to provide something myself.
I was able to rent a lockit box from Lensrentals, and I brought it to the shoot assuming the sound recordist would know what to do with it. She responded as if I’d just handed her a snake. Fifteen minutes later, she allowed that she didn’t know how to make this particular box work. I took one look at the long row of cryptically labeled dip switches, and…told the director I’d record reference audio and he could use PluralEyes to sync the footage.
The look on his face told me I’d disappointed him.
So the next day, I did some research. Turns out there are a lot of solutions that claim to be “industry standard” on the market. Most of them are big, clunky, and expensive. For example, the lockit box I’d rented is about twice as big as a Sennheiser wireless mic receiver, and has to be somehow anchored to the camera. But my Sony FS5 doesn’t have a timecode in port, so how do I work around that? Finally, it needs to be externally powered somehow…
But there’s a better way. It’s called Tentacle Sync.
Tentacle Sync is simple
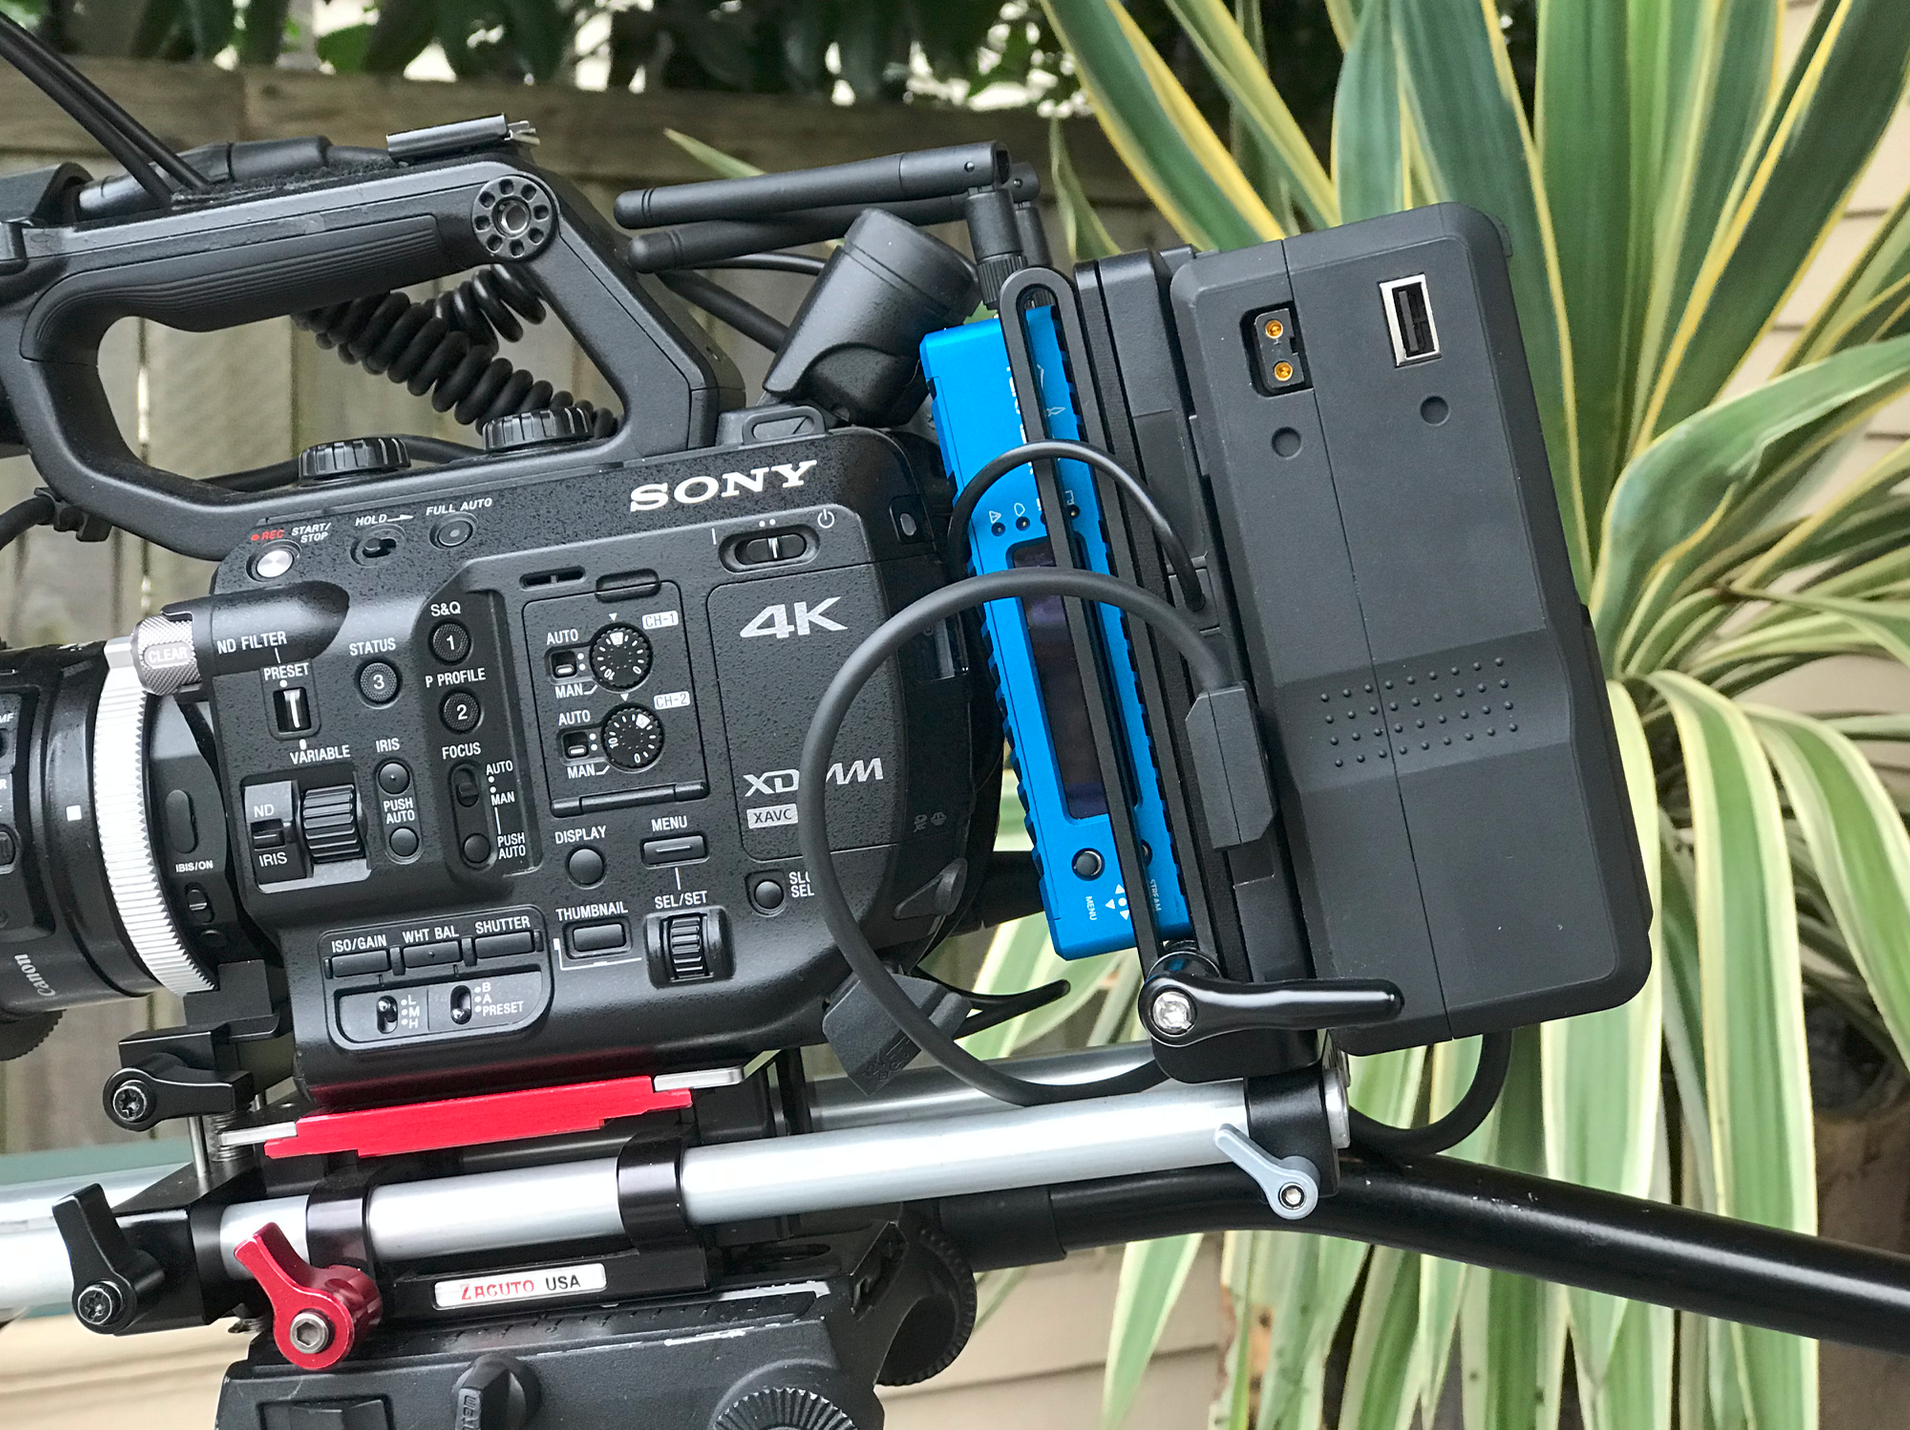
Tentacle makes a tiny plastic box (less than half the size of a Sennheiser G3 wireless mic receiver) that has built-in velcro for attaching to your camera. It doesn’t need external power, as it comes standard with a built-in lithium ion battery that will last for even the longest day of shooting.
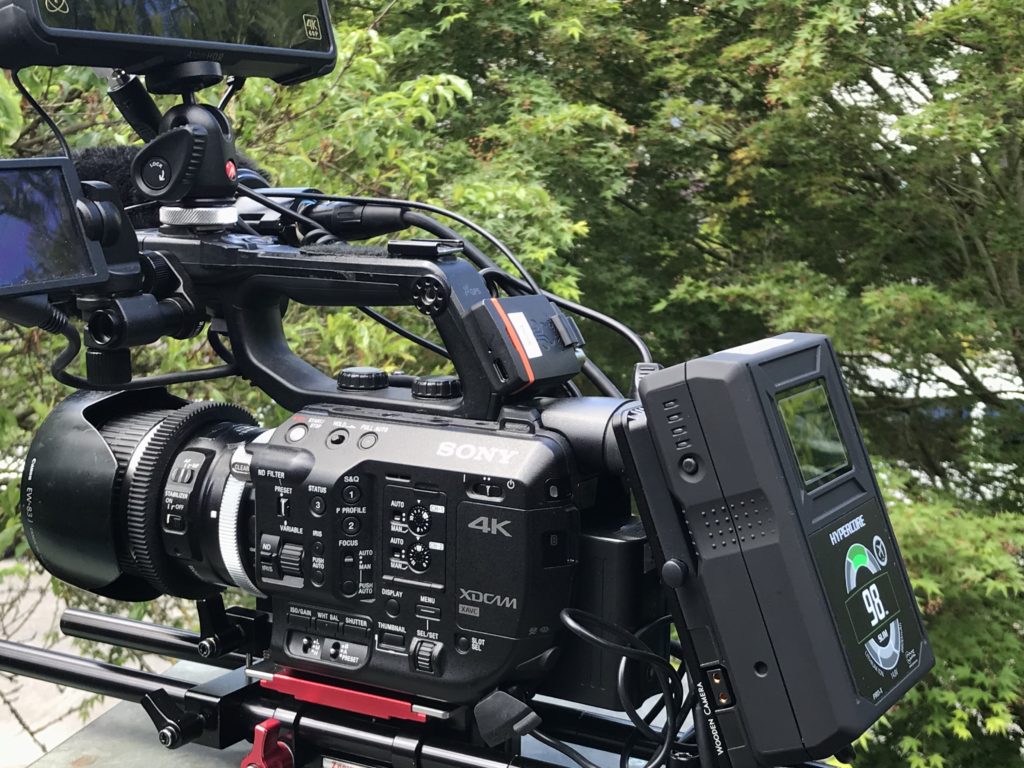
Tentacle Sync doesn’t take up much space on a Sony FS5
There is only one switch on the Tentacle – on or off. All other controls are accessed through an app, which connects wireless using bluetooth via either iOS or Android.
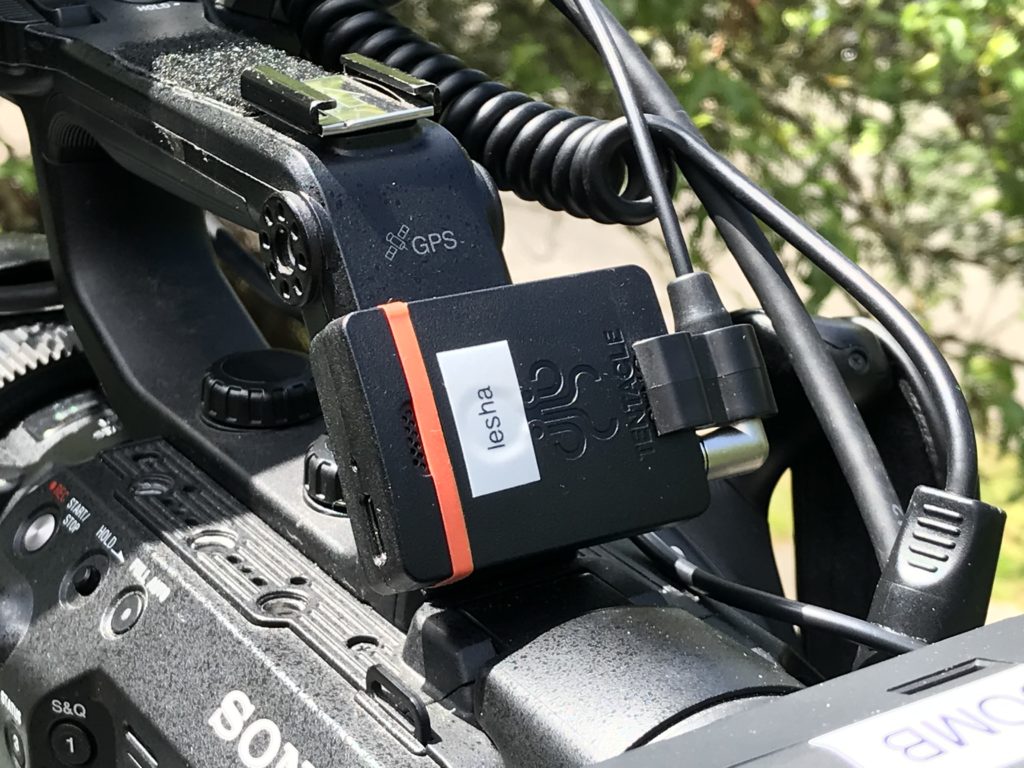
Each tentacle is named at the factory (or you can assign your own custom name) to tell them apart from each other
I use a Sound Devices MixPre 3 as my primary recorder when I’m not working with a pro recordist, and it does not have timecode built in. However, it supports timecode, meaning, it will accept timecode from a generator. In practice this means that the MixPre 3 is a fine timecode-generating recorder/mixer when paired with a Tentacle Sync. Used in this way, you need one Tentacle Sync unit for the recorder, and a Tentacle Sync box for each of the cameras you will be using on the shoot. A Tentacle Sync Sync E Timecode Generator with Bluetooth (Single Unit) sells for $289 apiece, but you can save money by purchasing them in a set. The Tentacle Sync Sync E Timecode Generator with Bluetooth (Dual Set) sells for $519.
I now own three of the boxes, and they allow me to pair two cameras with timecode generated by the third unit, which lives on the MixPre 3.

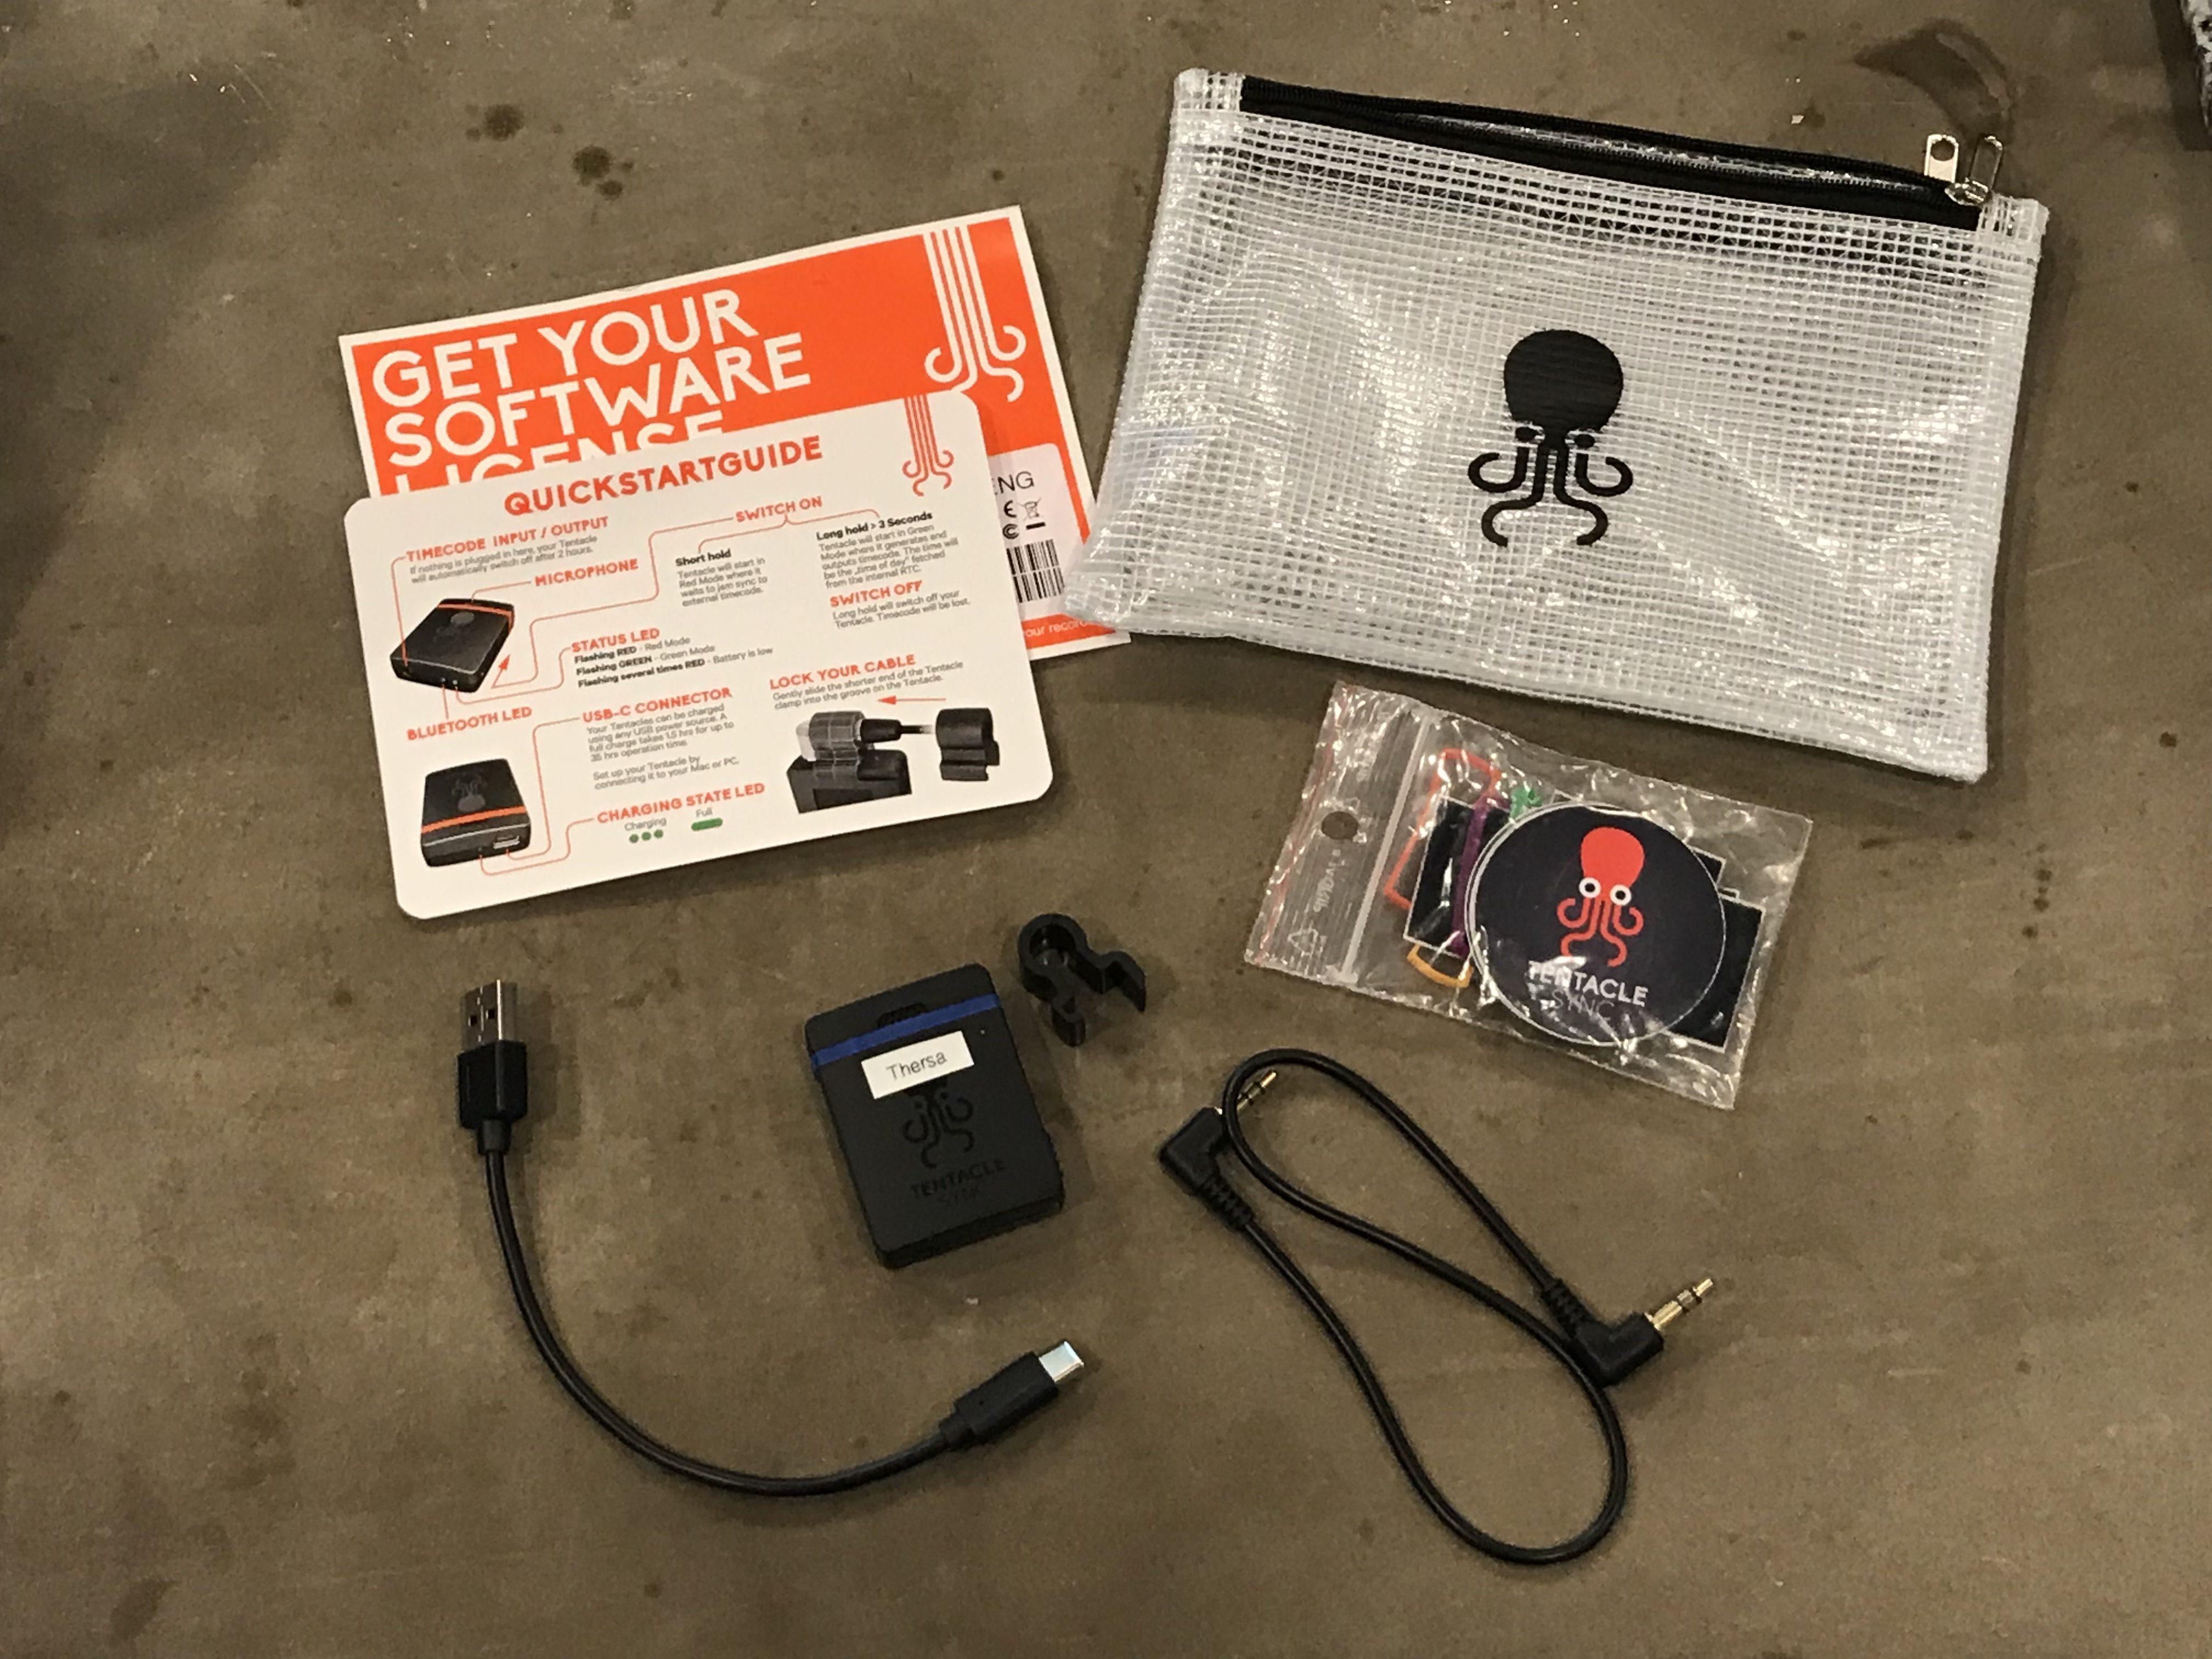
Tentacle Sync E comes with everything needed to get up and running, and more
How to configure a Tentacle Sync
Setting up the units is a breeze. Each comes with a unique name from Tentacle (which I’ve labeled them so I can tell them apart easily). Press and hold the on switch until the light flashes green – that puts it in timecode generator mode. Put this one on the recorder. Press and hold the others until the light turns blue – this puts them into timecode receiving mode. Then, briefly connect the master to the slave, and this syncs the timecode.
The Tentacle Sync units come standard with a 1/8″ to 1/8″ trs cable, which works great for pairing to the auxiliary input of the MixPre3, which can be set to receive timecode. It also works great to send timecode to DSLRs or mirrorless cameras via the audio jack.
Larger cameras like my Sony FS5 that don’t have a dedicated timecode in port can also receive timecode via one of the two audio channels, although you’ll need a Tentacle Sync Tentacle to 3-Pin XLR Cable (16″) to get the timecode out of the Tentacle box (which they sell).
I have a Shogun Inferno, which has a dedicated Sync port for Linear Timecode (LTC) in, and for that, you’ll need a Tentacle Sync Tentacle to BNC Cable (Straight, 16″) or Tentacle Sync Tentacle to BNC Cable (Right-Angle, 16″).
A professional sound recordist I work with frequently, Scott Waters, loves the Tentacle boxes. He owns the required Hirose to 1/8″ connector cable required to sync timecode from his Sound Devices 633 to each Tentacle Sync on my cameras.
Tentacle workflow
It’s one thing to get timecode sent to the audio port of your camera, but that’s a non-standard way of doing timecode. I’m not even sure Davinci Resolve can read timecode on an audio channel if you using Resolve to batch-sync, as many productions do. So how do you take advantage of it?
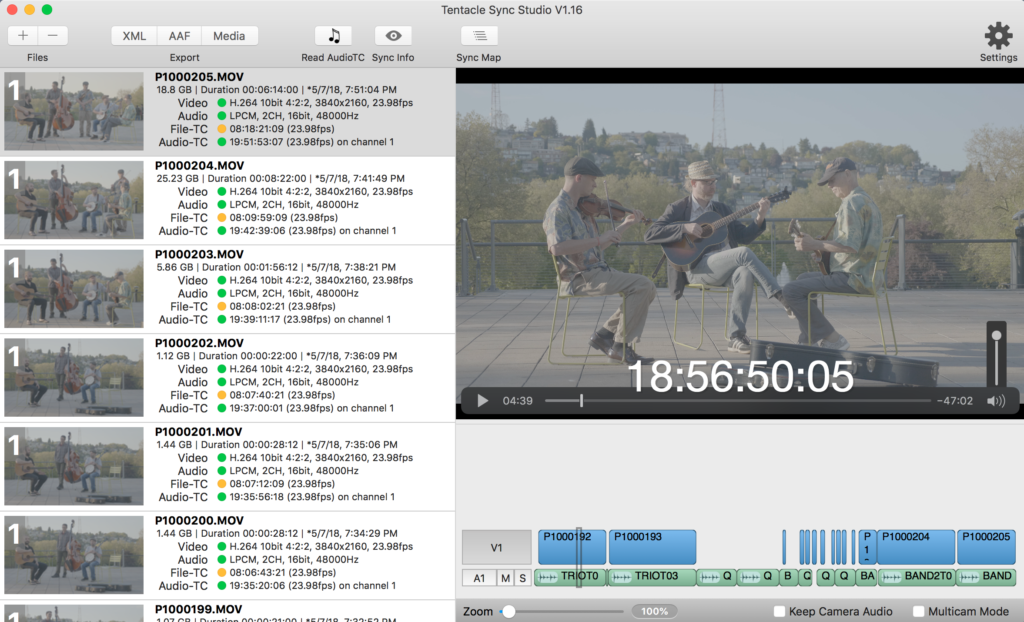
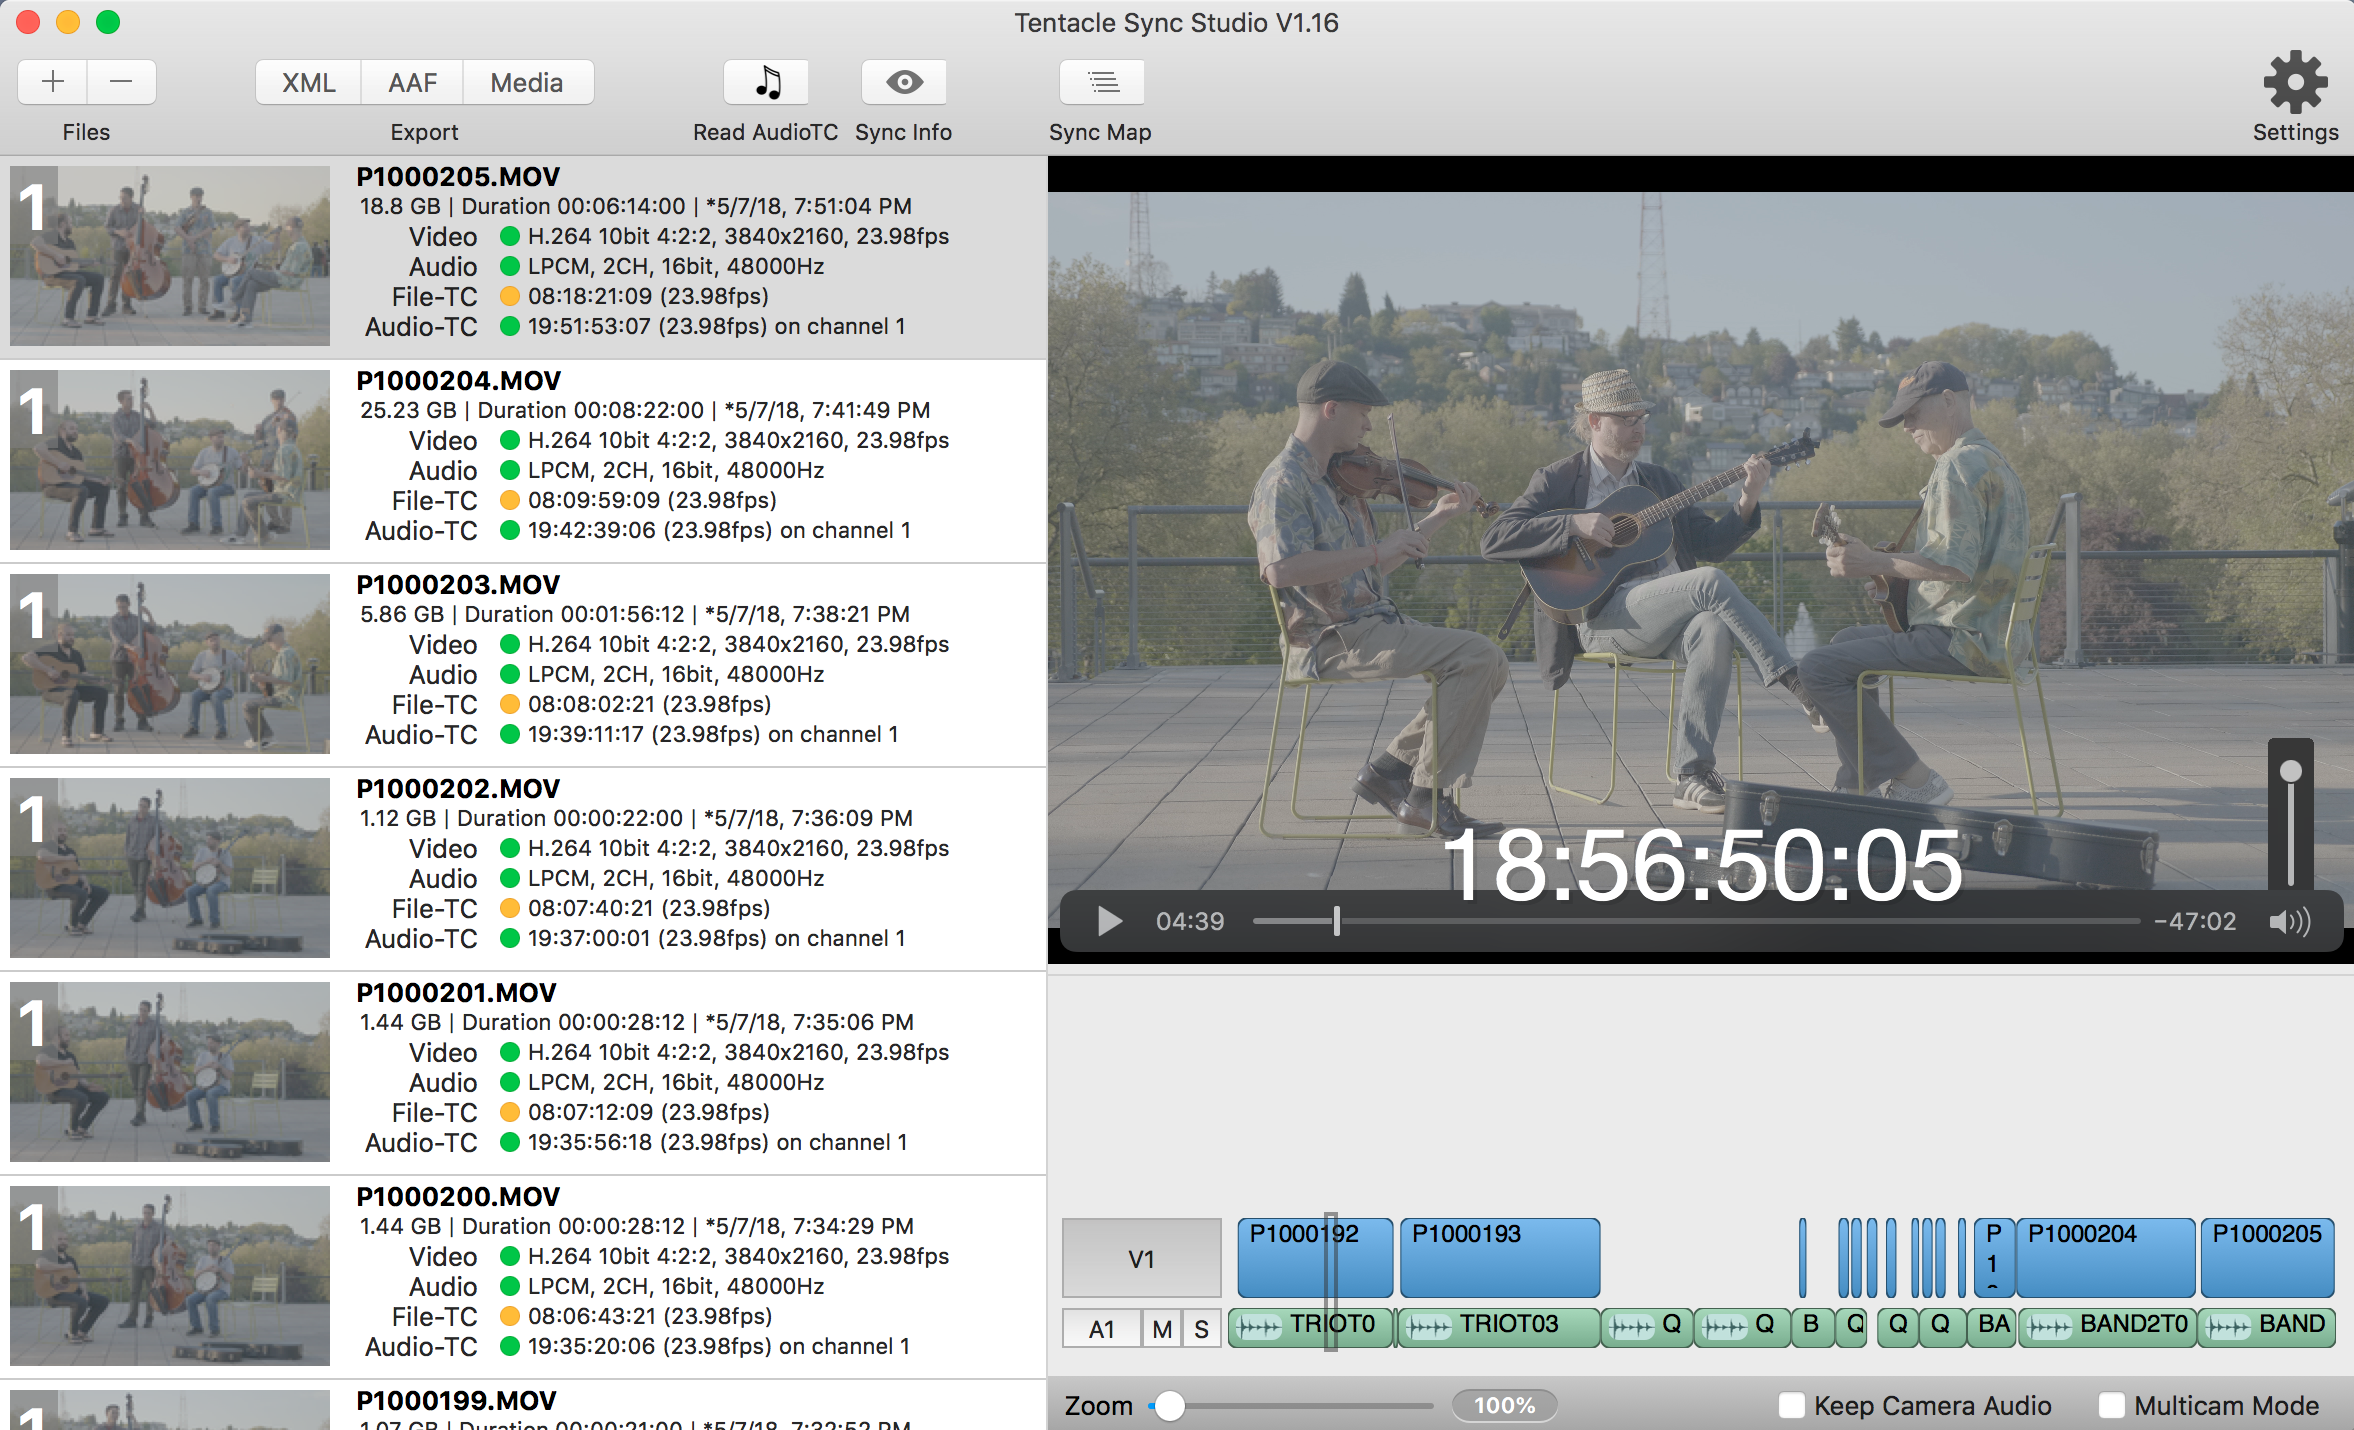
Syncing is near instantaneous in Tentacle Sync Studio, and offers XML and file export options plus multicam mode
Enter Tentacle Sync Studio. This is drop-dead simple software designed with smart defaults, which looks for timecode on one of the audio channels of all media dropped into it. If it finds timecode in an audio channel, it automatically uses that to sync, rather than the timecode in the video file. Once you drop all of your footage and audio into the app, it automatically builds a sync map, which you can view to see which of your footage is synced.
You can export footage via XML into your NLE of choice, or you can export new clips with the good audio embedded in them. You can optionally keep your reference audio, but the default is to replace the reference with the clean audio (which is what I almost always want).
Shogun’s 2.5 frame delay
I use Tentacle Sync with my Shogun Inferno via a BNC cable, and it works great, with a small caveat. For some reason, there is a 2.5 frame offset in the timecode, meaning the audio needs to be slipped 2.5 frames forward in the timeline to be perfectly in sync. Luckily, the Shogun Inferno has a timecode preference that allows you to set a timecode offset, but it only works in 1-frame increments. So I’ve set mine to -2 frames, and it’s close enough.
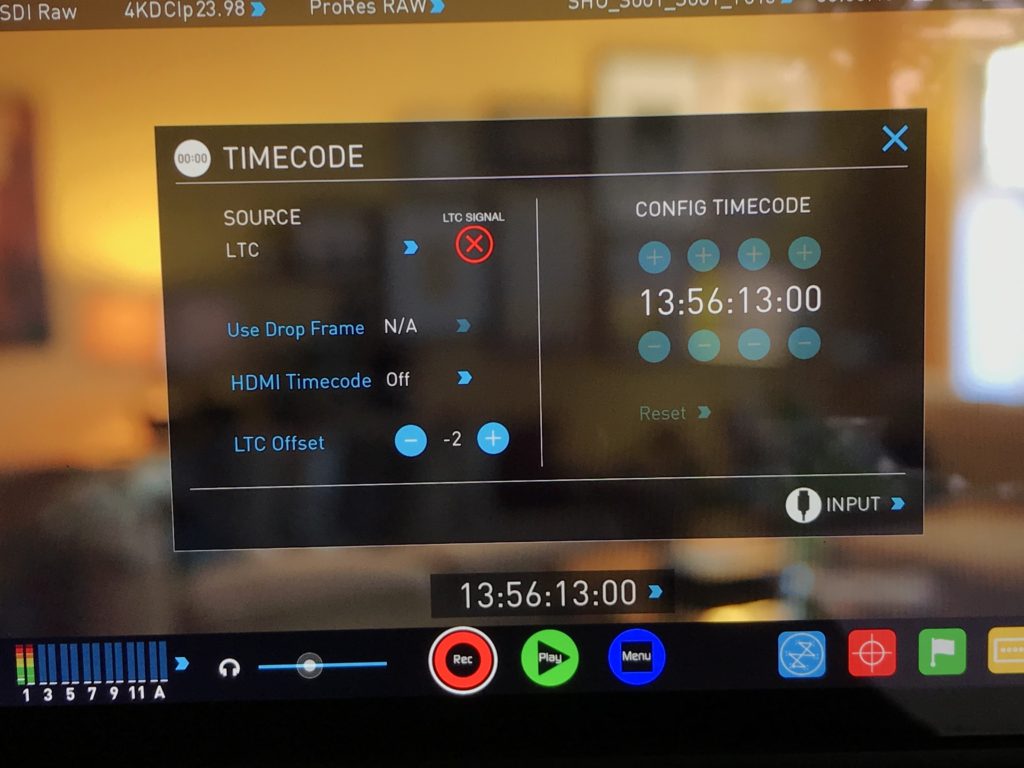
Shogun Inferno’s timecode controls allow offsetting the TC signal. I find a -2 offset works best.
Tip: When sending timecode to your MixPre 3, if you use presets (and you should because they are a huge timesaver), make sure you configure each preset to accept timecode via the aux in. I forgot to do that and when I chose a new preset, it reset to the default (timecode in via HDMI) and I was very sad when I discovered in the edit that most of my files contained no timecode).
Why use timecode on your projects instead of PluralEyes? Because it saves time. Syncing based on audio waveforms is very processor intensive, and if you’re working on a large project, it can literally take hours. Furthermore, it’s messy (creating folders full of temporary files), and not always accurate. Some files just never sync, forcing you to align them one at a time, a very cumbersome process.
With Tentacle Sync Studio, timecode syncing is almost instantaneous. And the Tentacle Sync boxes themselves are unobtrusive, and can be attached with velcro (included in the kit) to any size of camera.
Since I’ve discovered the joys of syncing with Tentacle, I pretty much use it on every project now. What about you? How do you keep your clips in sync?
SaveSave
SaveSave
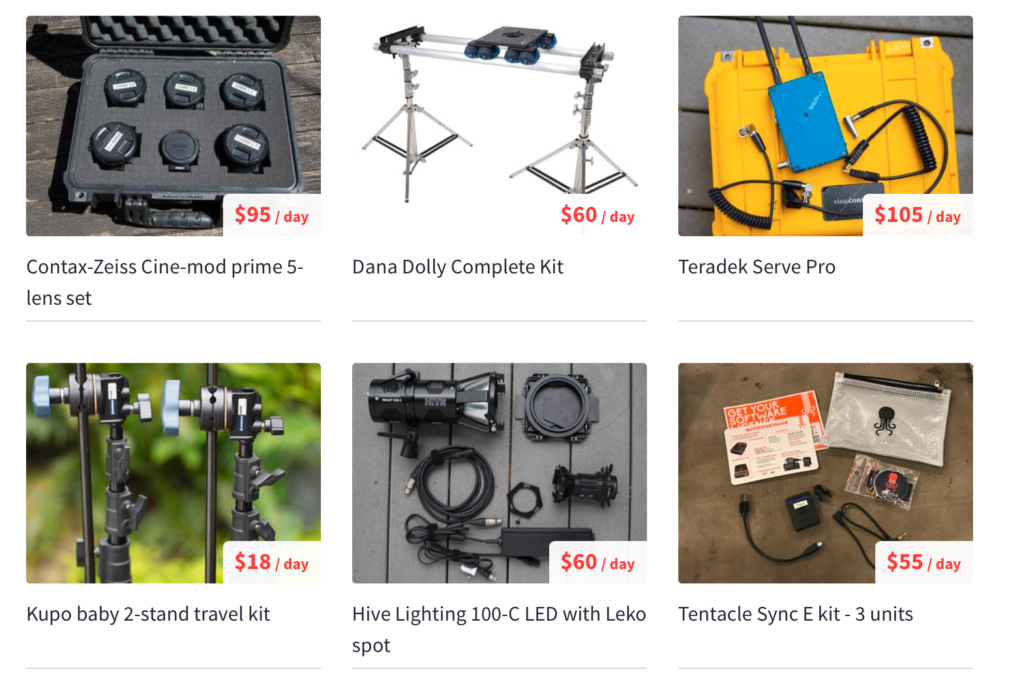
 Want to see for yourself how amazing this vintage look is? You can rent my infinitely focusable 5-lens set of Contax-Zeiss cine-mod lenses on ShareGrid Seattle for $60/day. Set includes modified Speedbooster for use with Sony E-mount cameras.