Monthly Archives: December 2013

New work for IndieFlix

Our latest project is a short web promo for Seattle streaming video startup IndieFlix. Using footage from a few of the thousands of titles in their library, Lisa and I cut several versions of this teaser, which is aimed at helping IndieFlix do for independent cinefiles what NetFlix has done for mainstream moviegoers. Check it out:

We’re thrilled to be in production on another web promo for IndieFlix, that will be released in time for Sundance.

A grand improvement on the one-light portrait

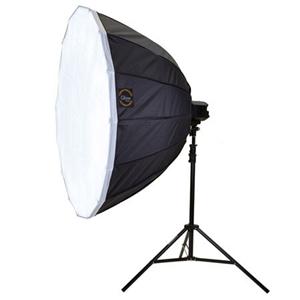
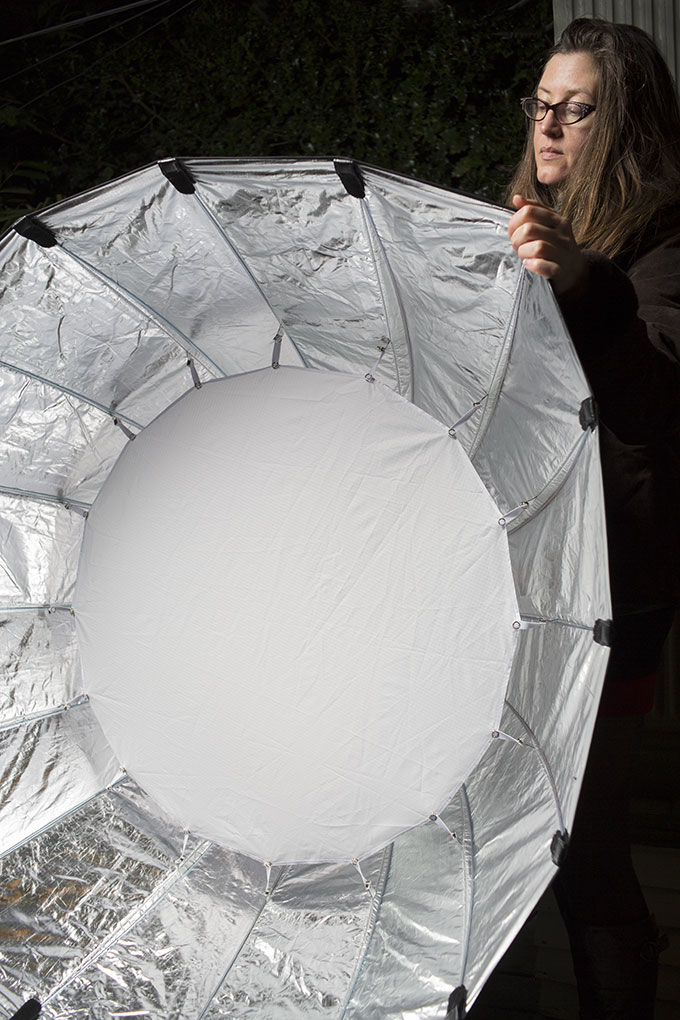
It’s the bread and butter of location photography: the one-light portrait. There’s a million ways to get it right–and a million ways to get it wrong. I’ve discovered one way of pushing the odds heavily into your favor. It’s called the Glow 47″ Grand Softbox.

Small enough to take on location, yet big enough to flood a whole room with light, the Grand is an extremely forgiving and totally flattering way to make a portrait when you don’t have the bandwidth to deal with more than one light. Let me explain.

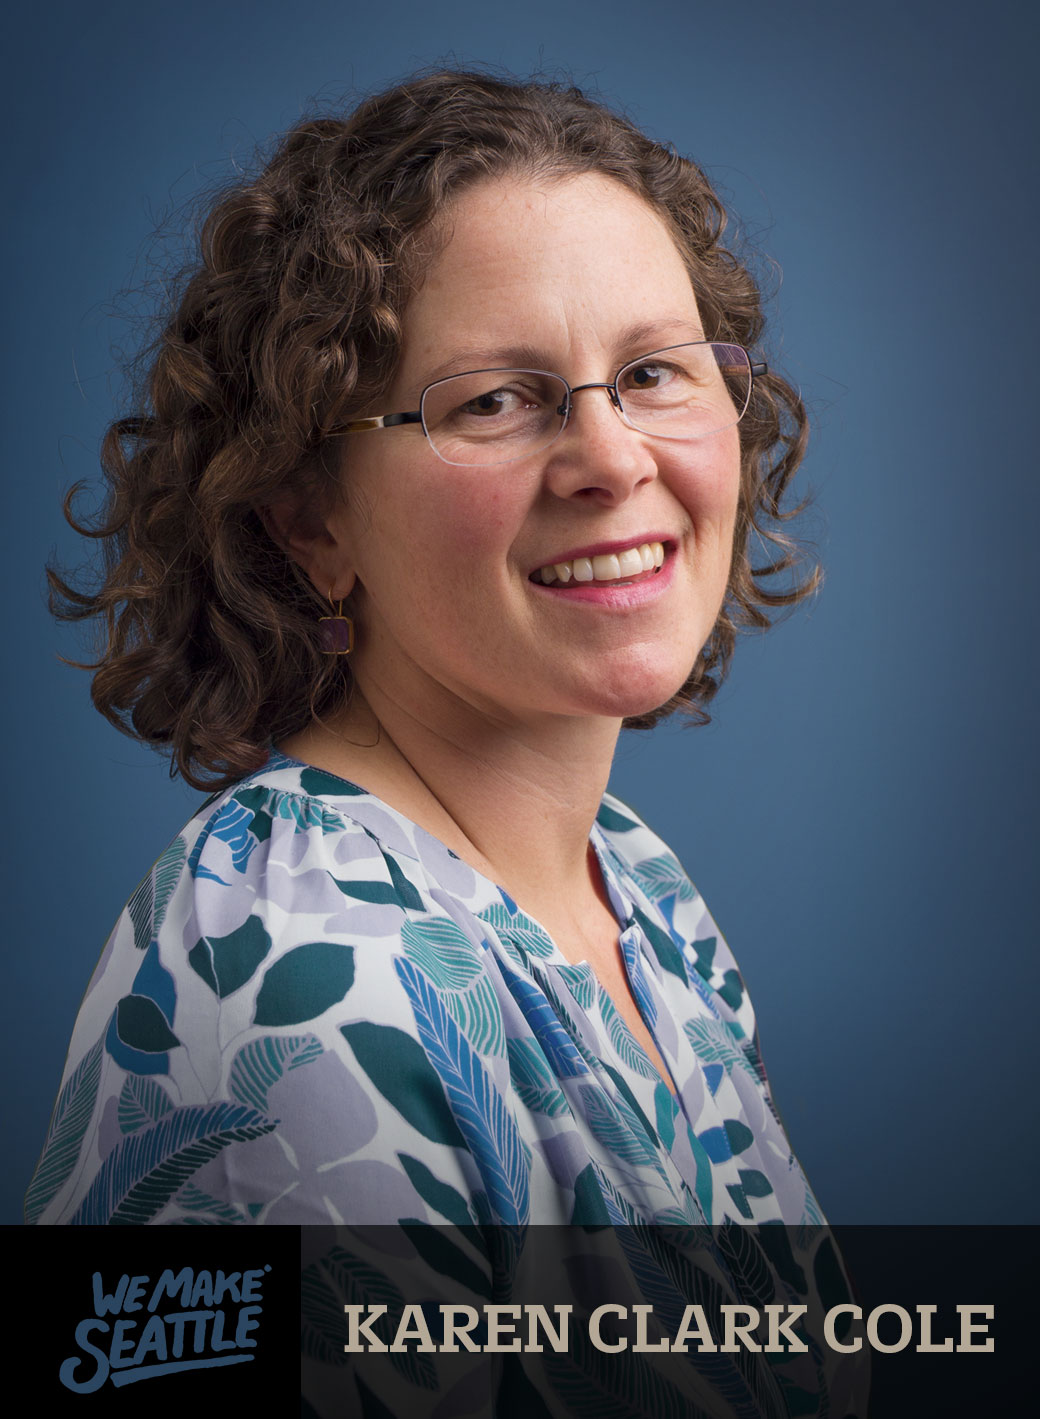
I’m currently working on a short doc called We Make Seattle. My primary role at this stage is to record sound only during the early interviews. Additionally, I’ve been tasked with getting a still of each participant. Should be easy to do both, right?

It’s possible, but it’s not easy. There’s a reason why you most often find a sound recordist and a still photographer occupying two different bodies. Even though you may be able to do a great job in either role, being asked to do both in rapid sequence is a potential disaster if you care about quality. You have to use very different gear, and approach each creative challenge with a different set of eyes (or, um, ears).

To do both well, I recommend cheating. And the way I’ve learned to cheat on the photo side is to pack a light modifier that does most of the thinking for me: the parabolic 47″ Grand Softbox.

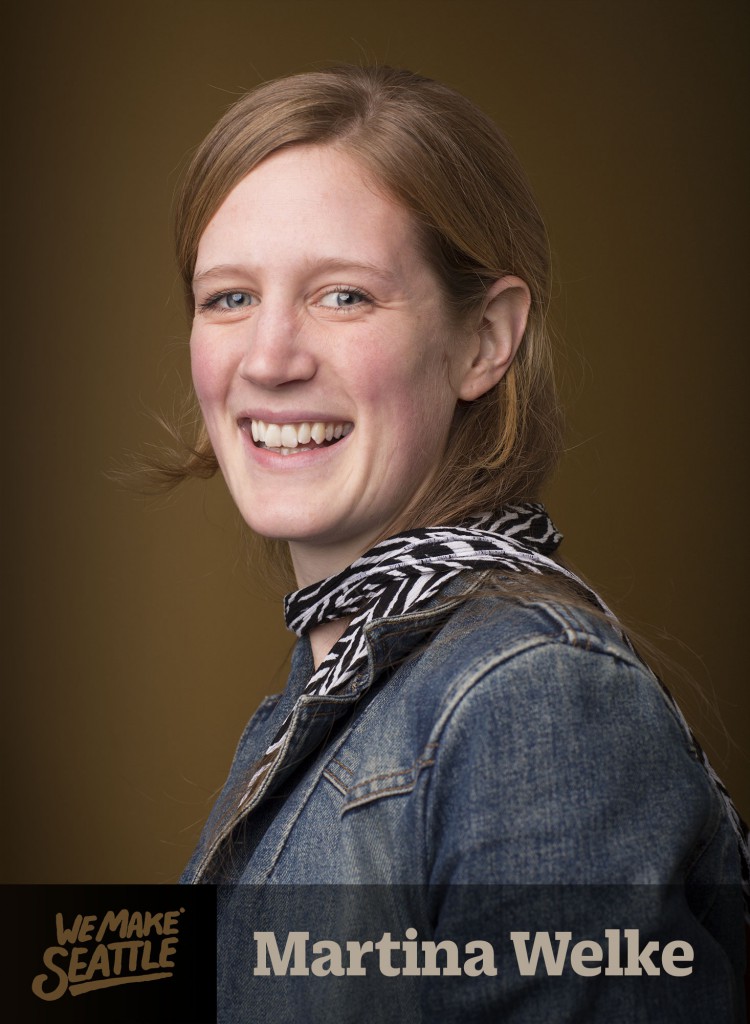
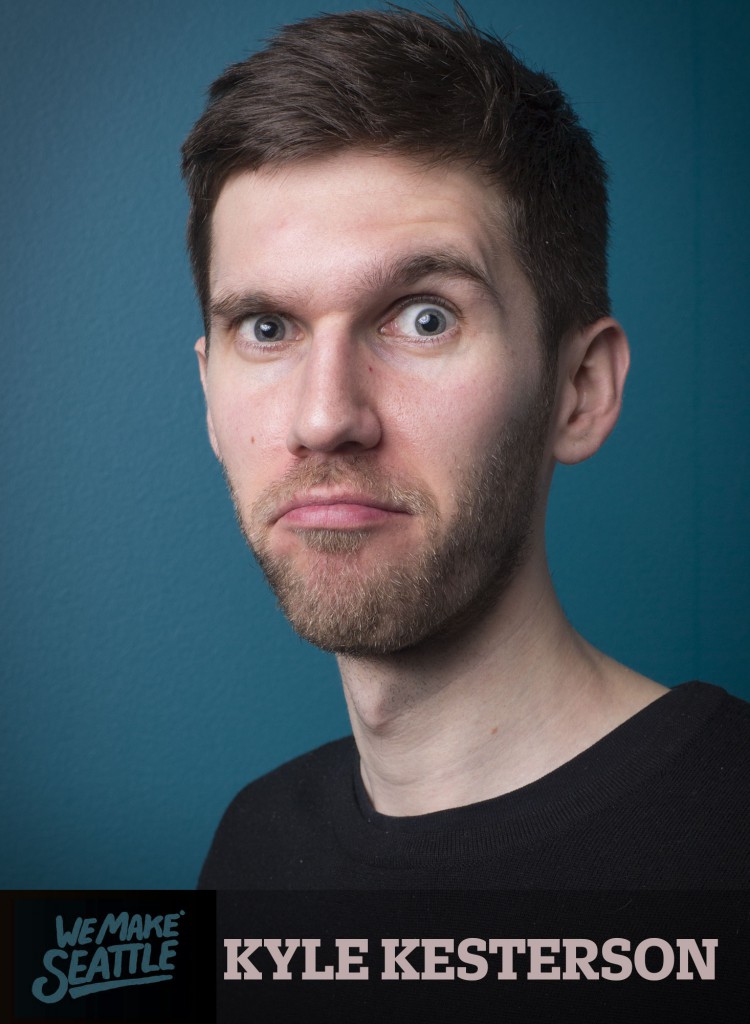
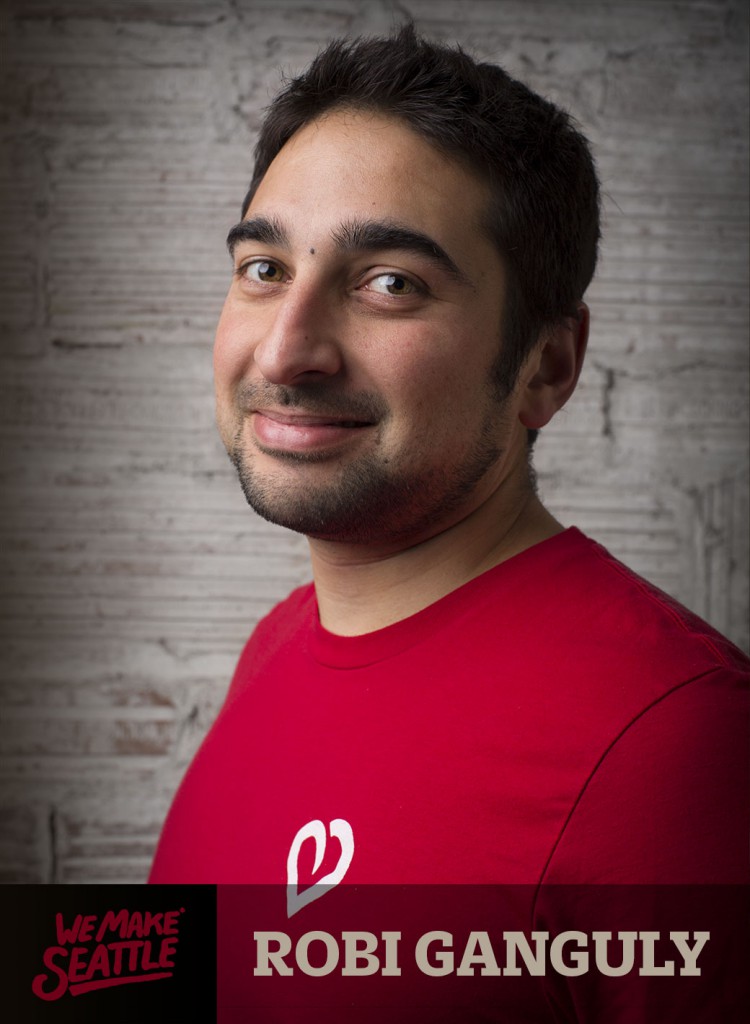
What do all of the following portraits have in common? They were all made with just one light. The subject and the background and the fill side are all being illuminated by the same source.

Parabolas punch out a special quality of light that a soft box can’t quite match. It’s hard to describe it exactly, but I’ll take a stab at it.

The first thing that’s so great is that it’s big. So you don’t have to occupy your brain with whether the subject is in the sweet spot of the light. You can focus on getting a good performance out of your subject rather than niggling with the technical stuff. Light it, shoot it, and forget about it.

Another benefit of using this light is that it focuses and propels the light further than a soft box. A parabolic reflector puts out “collimated light,” which means will travel farther, and more evenly. Add to that the fact that the 47″ box is BIG, and you begin to see why you can do no wrong with this source. If you place it close to your subject, it both keys them and wraps around to fill them.

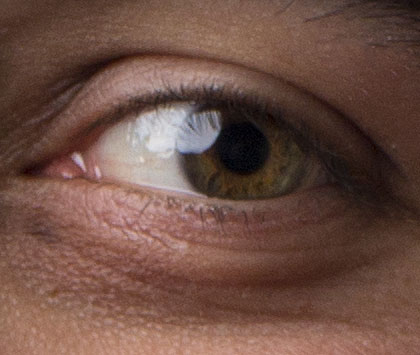
Finally, using a parabolic reflector produces a signature round catchlight. Notice the eyes:

In many portrait situations, I think this feels more organic than a box catchlight. Less artificial. Less square. It’s a small thing, but photographs are all about details, aren’t they?

The Grand includes a Bowens-type speedring. A large variety of other types of speed rings are available separately. I think supporting Bowen’s style light modifiers was a great choice, because they are ubiquitous at rental houses and among the most affordable professional monolights.

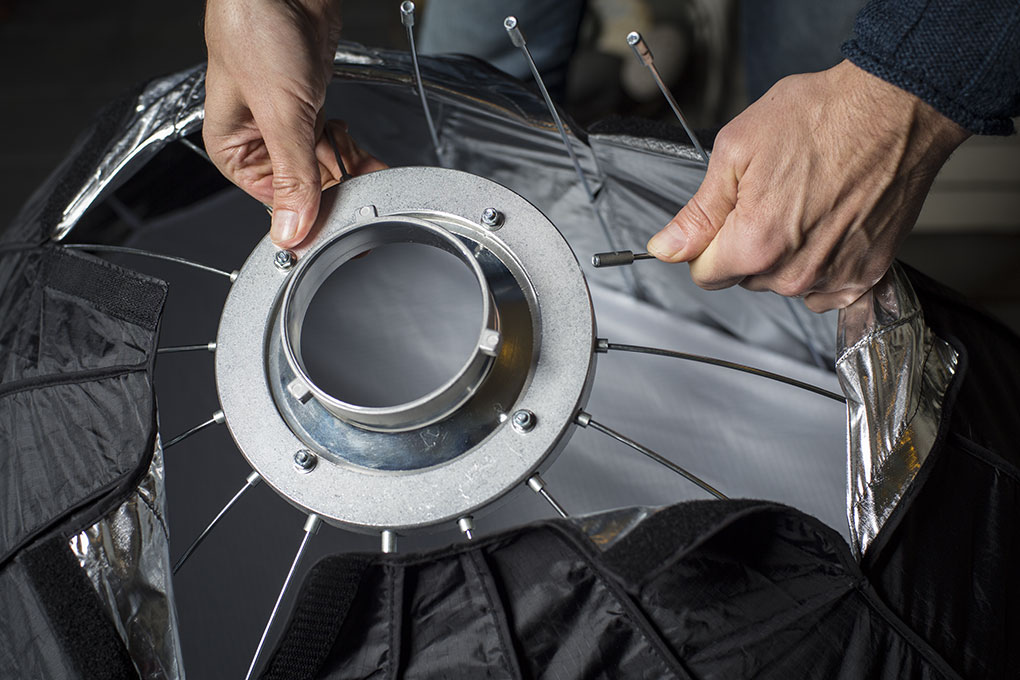
With 16 spokes, it’s a bit of a challenge the first time you fit the Grand on a speed ring. Here’s a tip: don’t insert one spoke after another. Instead, after seating the first spoke, grab one approximately 180 degrees on the opposite site, and fit it into place. Don’t worry if it’s in the right spot – just seat it temporarily to hold the shape as you work your way around sequentially.

A minor irritation about this light is the fitted external diffuser, which you have to stretch over the tips of the box to attach. It’s held in place with elastic fabric inside the stitching, not velcro, so it’s easy to ALMOST get the diffusion on, only to have it come tumbling off before you complete the stretch into place. I’d rather focus my creativity on making the picture, than on assembling the light diffuser. A little velcro on every other fit point would resolve this.

The build quality is excellent, as I would expect for a big soft box that will set you back nearly $250. It’s heavy enough that you need a medium- or heavy-duty monolight to support it. Lightweight monolights with plastic stand receivers, such as the Flashpoint 180 monolight which I tested it with, simply aren’t strong enough to support the weight of the 47″ Grand. But a 10-lb shot bag is enough to anchor your light stand in normal shooting conditions.

Shooting in a rain forest is a bit like shooting under water

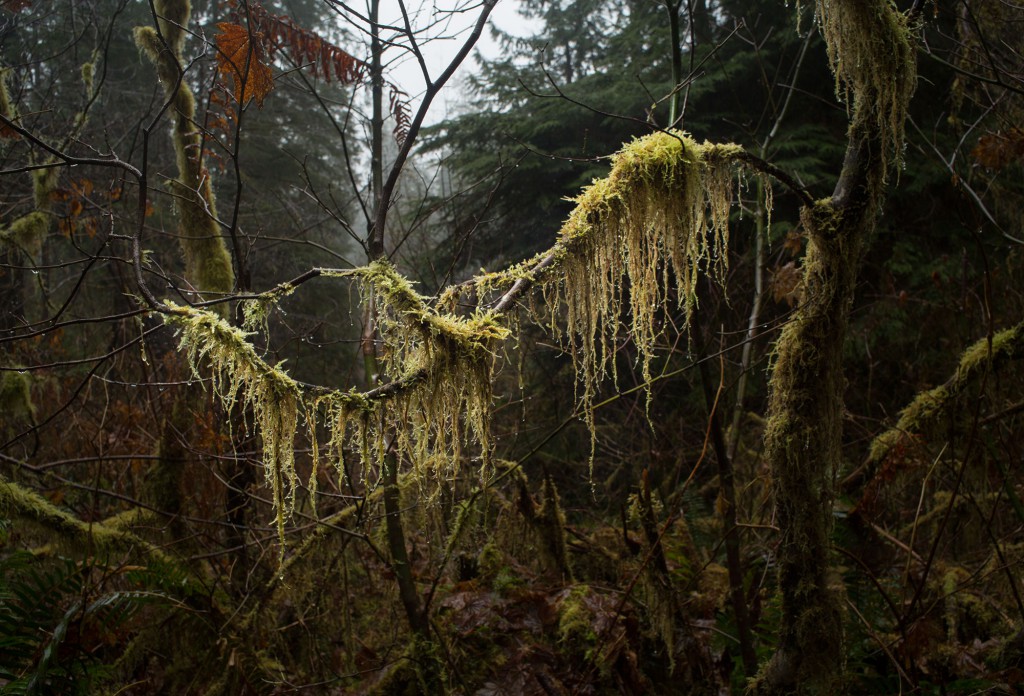
I just returned from spending the longest night of the year in one of the darkest, dampest places in Washington: the Quinault Rain Forest. Lisa and I spent a couple of days there last year, and discovered it to be a magical wonderland for photography.

When we returned this time, we brought a Speedlight and a 20″ Glow Hexapop, made by Adorama. This is a small and very portable soft box, so it was a small thing to pack it along. But we were really impressed with the results when we used it to backlight our subjects. Just as with underwater photography, subjects that otherwise look monochromatic in the eerie half light come to life with a little pop of strobe. Happy Solstice!

The invisible key to better documentary film interviews

I know the key to better documentary interviews. A silver-bullet technique that has enabled me to make award-winning films like The Coffinmaker and The Metalsmith (both Vimeo staff picks). In the photo above, Scott Berkun is using the technique to interview Martina Welke of Zealyst for We Make Seattle. It’s not difficult. In fact, it involves doing less than what you’re currently doing.

Huh, you ask? How can doing less make my films better? I’m going to share this technique with you in a minute. But first, some background.

When I began making documentary films five years ago, I was coming from the world of still photography. In that world, it’s possible to be a one-man band and do a great job. Not easy, mind you, but totally plausible. Film is a different animal.

Consider for a moment how many balls you must to keep in the air to pull off the simplest of shoots, the interview:

  1. Camera (focus, batteries, monitoring subject movement within frame).
  2. Lighting (changing ambient light, placement of lights).
  3. Sound (levels, distance to subject, mic axis).
  4. Location (noise level, permissions).
  5. Subject (makeup, direction,)
  6. Interview (preparation, full attention, questions, redirect).

And that’s just the production bit. If that all goes well, you get a bunch of footage and audio that you must store on a hard drive, then go to work on. That involves importing into your editing suite, watching it, listening to it, cutting the interview, carefully placing b-roll on top of that to hide your cut points, adding music, color correcting, audio mixing… Whew, it’s a lot to manage.

But let’s stay focused on the production piece. Now, consider that these variables don’t just have to be aligned for a split second, as with a photograph – with film everything has to STAY perfect for the duration of the shoot. If the sun comes out halfway through, you have to change exposure. If the subject gets excited and leans forward, you need to adjust focus. And, all the while you need to maintain human contact with the subject, so they feel you are present in the conversation with them.

It’s too much for one person to manage. Really, it is. Two people can swing it. But one? Forget about it.

Since I couldn’t do it all, I considered what I could NOT do, and still get the job done. Can you guess what that was? For a guy most comfortable with a camera, it was a tough one to swallow. I skipped the eyes and went for the ears.

If you had to watch 30 minutes of someone talking without sound, how long would you watch? Now, if you had to listen to 30 minutes of audio without video, how does that change things? A lot. But wait, you say, we’re making a film, not a radio program! Yes, but if you’re making a film, doesn’t that mean you want to show action? And does a person sitting in a chair really qualify as action?

The key to getting better documentary film interviews is: don’t bring a camera. You heard me right. Leave the camera at home. That way, you won’t be tempted to use it. Instead, you’ll free yourself to think about the story. You’ll connect better with the subject without your eyes constantly wandering away from theirs to check focus.

But what if you have plenty of crew? You should probably still skip it! Here’s why: because most people are intimidated by cameras. They are distracted by thinking about how they look, their makeup, wardrobe, etc. Consider this: How often do you FaceTime someone when you want to call them? I think I’ve used it twice in the three years I’ve had an iPhone. It’s invasive. I’m more comfortable talking as opposed to acting. Same is true in your average documentary interview situation. Take away the camera, and you take away the self-consciousness. Take away the self-consciousness, and you get straight to the good stuff. The scary, emotional stuff.

There’s another benefit to doing interviews without camera: it forces you to shoot better b-roll. In fact, it forces you to think differently about b-roll altogether. No longer is it filler to get you through – it becomes everything! So you have to think of action that can carry the story. And your film just got better.

There’s another benefit: you won’t be able to make the mistake of including too much talking head time, because you don’t have any!

It’s a big commitment. But try it once. You may be surprised with the results.

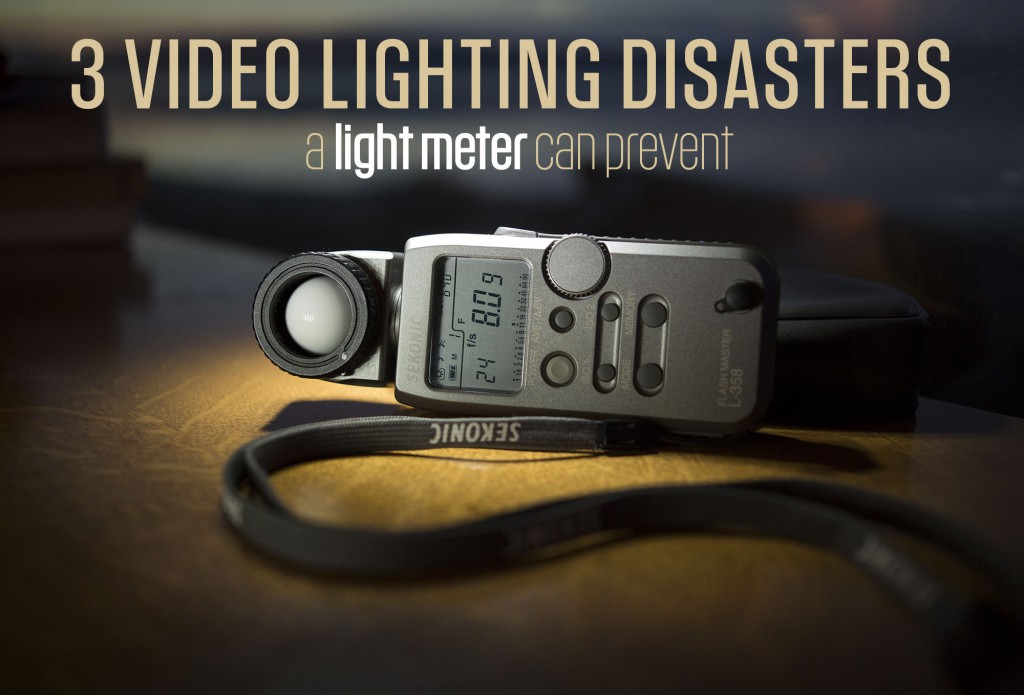
3 Video Lighting Disasters a Light Meter can Prevent

With digital video cameras, it’s tempting to shoot everything off the monitor. What you see is what you get, right? Well, sort of. I’m thrilled with the exposure tools we have today – in particular the waveform monitor and histogram that Magic Lantern has unlocked on my 5dmkiii. But there are some situations where depending soley on what you see can get you in trouble.

1. It looked good on your monitor when you shot it…but it’s too contrasty (or not contrasty enough) in post. No one knew how the film was going to be graded at the time it was shot, so somebody said “let’s just shoot it flat” (ie, using something like the ProLost picture style). Good idea. But shooting it flat isn’t the same as lighting it flat. For best results, you need to know what contrast ratio to use. And that’s where your light meter comes in.

How to find contrast ratio. Let’s assume a simple interview, with two lights: a key, and a fill. To determine the contrast ratio, turn off the fill light. Point the lumisphere at the key, take a reading and note it. Next turn off the key light, and repeat to read the fill light. You now have two f-stop values, i.e, f/8 for key, and f/5.6 for fill. To determine contrast ratio:

1:1 ratio = lights are the same, perfectly even
2:1 ratio = 1 stop difference between lights
3:1 ratio = 1.5 stop difference
4:1 ratio = 2 stop difference
8:1 ratio = 3 stops (one half of face is very dark)

On my Sekonic L-358, there is a handy feature for performing this calculation automatically, called “brightness difference” mode. I recommend investing in a light meter that can do this for you, otherwise you have to do some awkward math. And you’re don’t call yourself a filmmaker because you wanted to be an engineer, do you?

So, to avoid this lighting disaster, do some camera tests as described above in advance of your shoot, using several different contrast ratios. Then apply your intended grade to the footage, and see which contrast ratio best gives you the look you’re going for.

Tip: I most often grade with FilmConvert Pro, which is a quick and powerful way to get great-looking footage (esp. skin tones) out of DSLR video. With FilmConvert, I find that I have to shoot at a lower contrast ratio than looks normal on my monitor for best results with many (but not all) of the film stocks.

Side note: Be sure to get a light meter that supports cine frame rates. Many inexpensive light meters don’t allow selecting shutter speeds between 30th/sec and 60th/sec. For 24p video, you need 48th/sec. But it’s pretty easy to find a quality meter used. I was able to find a Sekonic L-358 for $160 on Craigslist, and it does everything I need and then some.

2. It looked good when you shot it…but you can’t repeat it. The director wants you to reshoot a scene – but you can’t remember how you lit it. Or you simply need to match the lighting from day to day on a multi-day project. You’ve got lighting continuity problems.

Solution: The first time you light it, take a light meter reading for each light on set. Record three values: ISO, aperture number, and frame rate. I.e, 640, 5.6.3, 24. That way, when the director calls you a month later begging for a reshoot, you’ll be able to say “no problem.” Lighting, at least, won’t be the cause of any continuity problems.

3. You scouted the location, but when you arrive on the day, your lights aren’t powerful enough to match the window light. Ooops. Had you carried a light meter while scouting, you’d have known what to bring.

When scouting a location, a light meter takes the guesswork out of the process. It also helps you communicate with the rest of the crew, which is invaluable for larger projects where someone other than yourself may be setting up the lights.

And finally, I’ve found that carrying a light meter is a great way to educate the eye. How bright is that overcast day in Seattle? (Almost f/11 at ISO 160 for 24p. Brighter than you might think!) How bright is that fluorescent office environment? Hmmm, f/4 at ISO 640? Hold up the meter, click, and discover that it’s f/2.8 and a half. Having this kind of instant feedback is key to rapid learning. After awhile, a light meter will make you pretty good at this game. And that can’t help but make you a better filmmaker.

Do you use a light meter on your projects? How do you use it?
Big League Cine Summit is Dec. 10-12

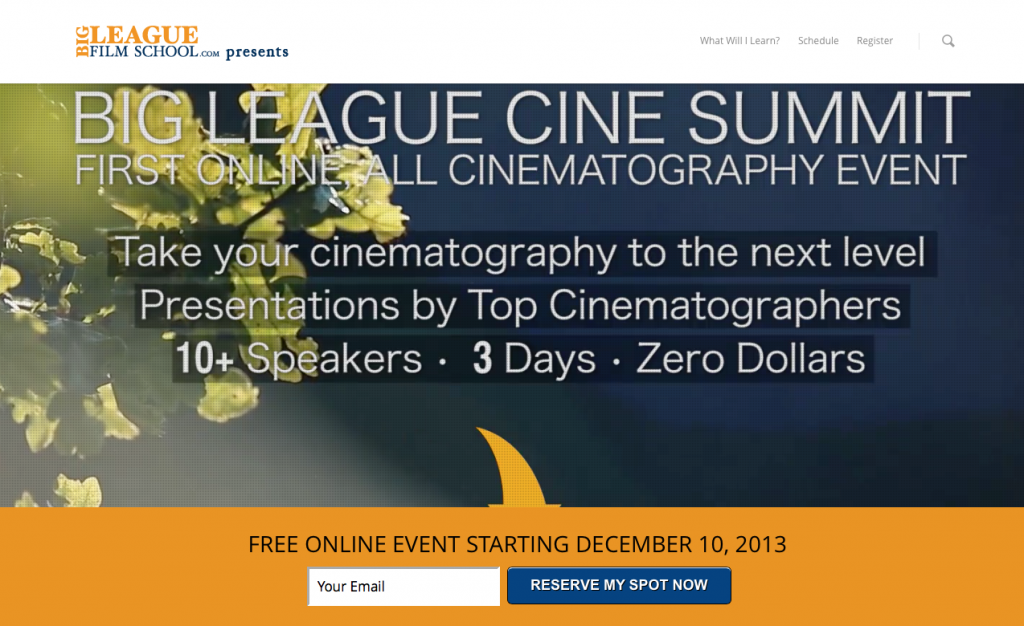
Online learning has become a big deal in the era of CreativeLive. But until now, there hasn’t been a multi-day online seminar specifically dedicated to cinematography. Well, that’s about to change. The Big League Cine Summit will bring 11 presenters to your small screen next week for live workshops designed to take your cinematography to the next level. Best of all, it’s free! Check it out:

Day 1: Dec. 10

BRUCE LOGAN:
Lighting with the Sun

ART ADAMS:
Getting The Best Image On Set Using Waveforms

RON DAWSON:
Defining Your Cinematic Style

VON WARE:
Filming Fast Action Sports

Day 2: Dec 11

CAMILLE MAROTTE:
Using After Effects For The Film Look

RYAN E. WALTERS:
Product Lighting: How to light Reflective and Clear Objects

MICHELE BRANDSTETTER:
From Pre to Post Production on a low-budget Slow Motion Shoot

Day 3: Dec 12

DARON KEET:
Mastering the art of lighting actors

LUKE NEUMAN:
Lessons From An Indie Film

TOM ANTOS:
High-End Camera Moves On A Budget

CALEB PIKE:
The Total DSLR Budget Package

It’s clear that this type of workshop is changing the way creatives in niche professions can learn from and be inspired by one another. So I’m looking forward to attending online and learning something new.