Monthly Archives: March 2015

Sound Advice Tour gives filmmakers opportunity to upgrade their audio chops

Werner Herzog was excited. He’d just learned that he was a finalist for a National Science Foundation grant to make a film about Antarctica. But then came the bad news: the other finalist was James Cameron. It costs about $10,000 a day to put a person in Antarctica, so the NSF had a question for the filmmakers: What is the minimum number of crew you need to make the film? Cameron replied that 35 should do it. Herzog pounced. “I need two people,” he said, “and one of them is me.”

Guess who got the gig?

alg-herzog-jpgIn addition to directing Encounters at the End of the World, Herzog assigned himself the job of sound recordist. The film went on to become his first to be nominated for an Oscar.  And it’s no surprise that Herzog, who relishes the “making” part of making movies, chose to wield a microphone instead of a camera. Because sound is the most important part of filmmaking.

Seattle filmmakers will get an opportunity to learn why that is true on May 27, when the Sound Advice Tour rolls into town hosted by legendary Hollywood sound designer Frank Serafine. Designed for filmmakers, editors, and aspiring sound engineers, this all-day workshop will cover techniques and tools to expand your skills and give you a solid foundation in the effective use of audio in all of your projects.

One of Hollywood’s top sound designers, Frank Serafine is an academy award winning sound designer who has created sounds for television shows, video games and major motion pictures, including, Poltergeist and The Hunt for Red October, which earned its sound editing team an Oscar.

IMG_0528_1I had an opportunity to interview Serafine by email recently to learn more about film sound and what filmmakers can expect from the one-day workshop.

Q: The workshop materials state that sound is 70 percent of a movie. How such a big number?

FS: This is something that major directors have been quoted saying, not only me as a supervising sound editor / sound designer. I understand the full importance, drama, atmosphere and psychological impact sound has, even over picture.

Sound is our most prominent sense and it’s omnipresent. We can only see 180 degrees in front of us, but we can hear 360 around. So, it’s really, really important to the success of any film.  Things that can save our life are embedded into our DNA through our hearing sense. For example, if we hear a tiger roar, which we’ve been trained to know a tiger roar. It’s a scary thing, but deep down if you hear that sound in the wild you know danger is lurking. Even if you can’t see it, you know something is wrong. In film sound we trick the listening audience senses into believing in the same way. With the latest sound technology coming into play nowadays we’re really able to trick the senses.  3D surround sound are becoming so sophisticated due to advanced scientific research in reflection and convolution studies, computers can now analyze and visualize the physics of what sound actually does and how the human brain perceives and reacts to it.

IMG_0491 (1)Q: If there is just one thing that a person can do to improve their film audio, what is it?

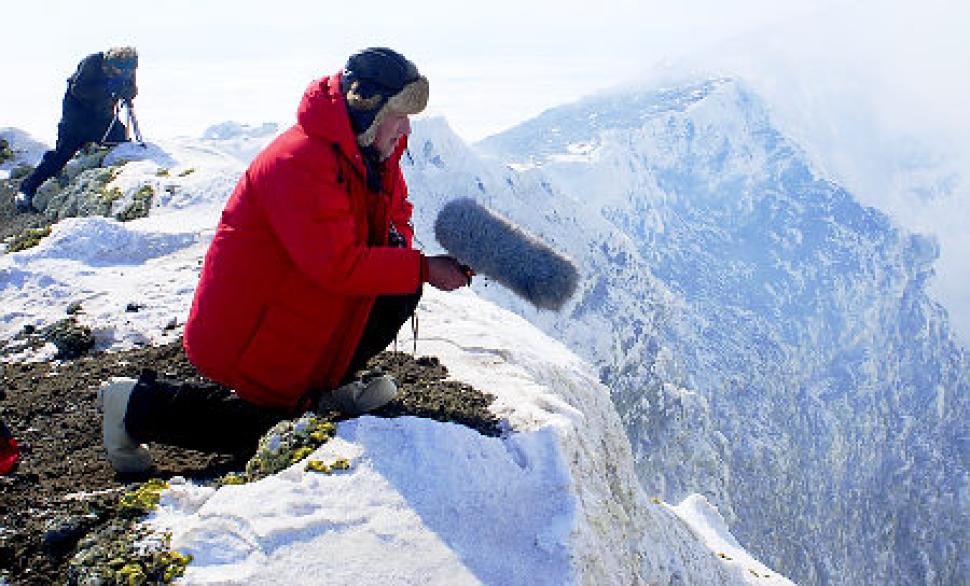
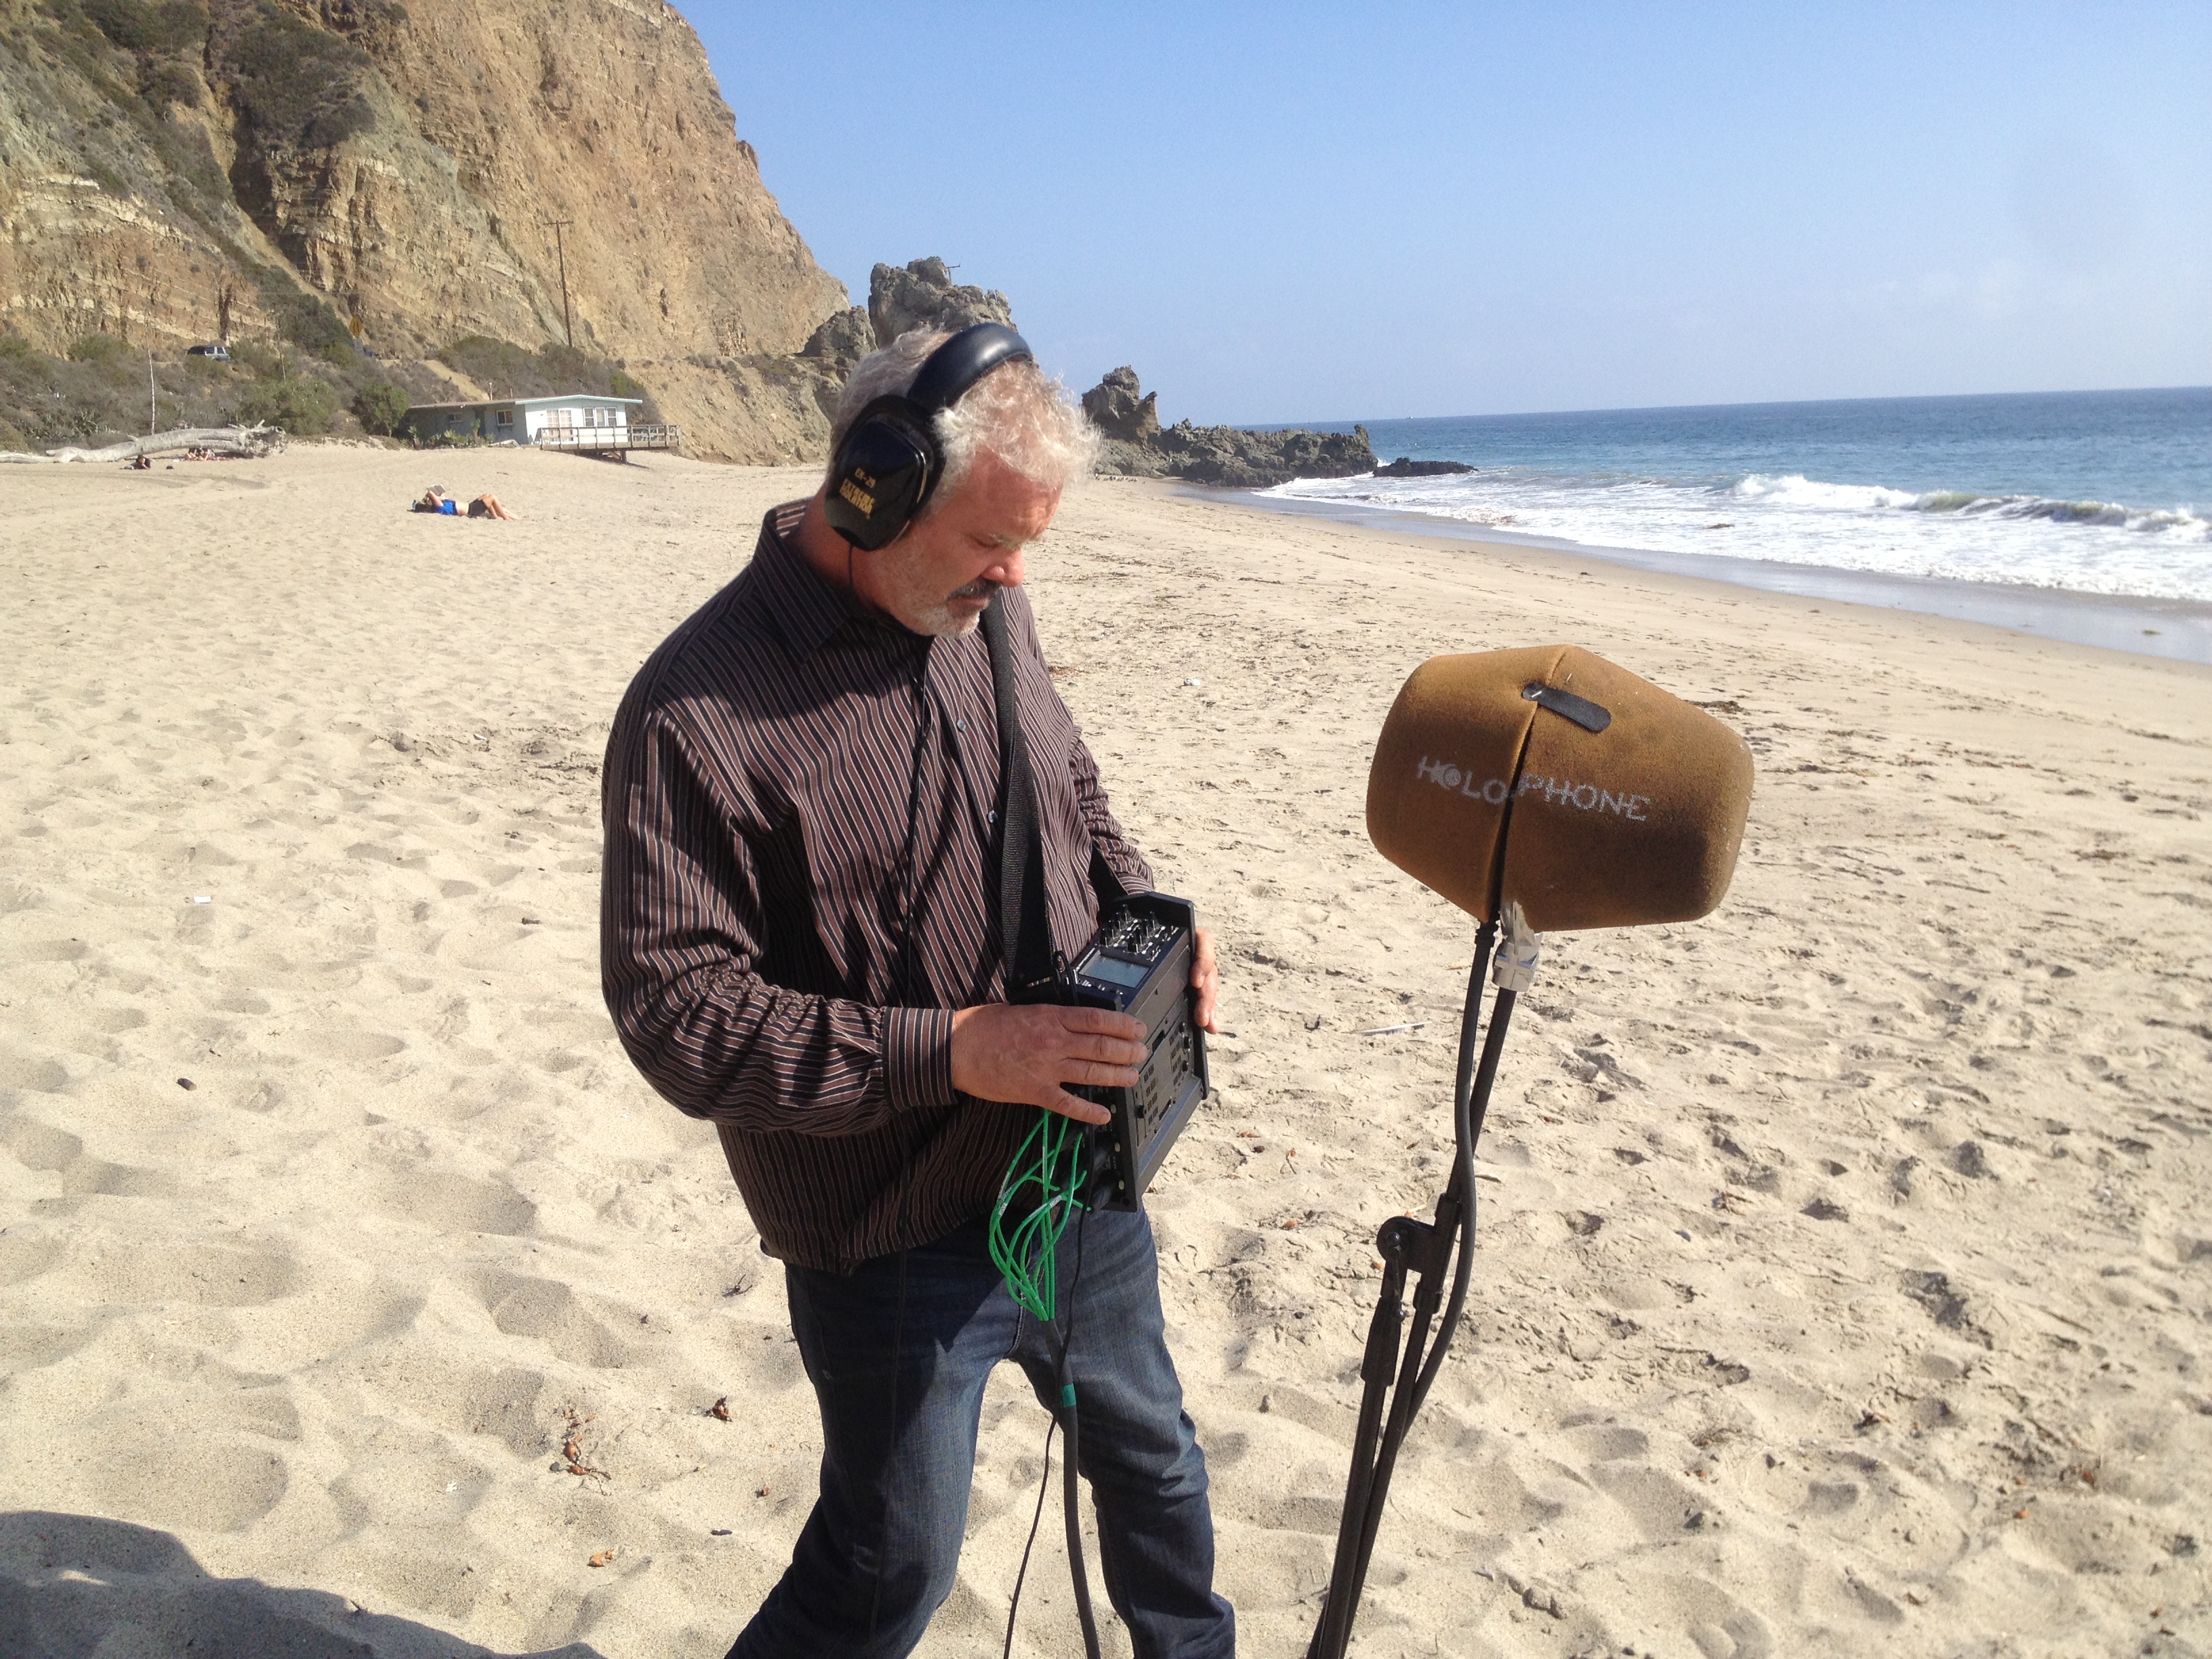
I would say production audio may be one of the most important parts of learning how to get the best possible sound on the set and in the field. Using a variety of different technologies that are available to us through our new MZed sponsors, Sony, Roland and Rode. Were using the latest location sound field recorders, microphones, boom poles, wireless transmitter/receiver systems, cameras and accessories that help us initially capture the best possible location production sound. The critical thing about good quality production sound is that it carries all the way through the film and an extremely important thing to making your film the best you can from the very beginning. It’s better not to be forced to: “Fix it in Post.”

Q: Why are you taking time out from your busy schedule to share what you know about sound design?

I’ve been an educator throughout my entire career. During the time I worked on the early Star Trek and Tron films and Hunt for Red October,  I was also busy  teaching at the UCLA Extension. I was also hired to write the curriculum, mentored over 1500 students, redesign and run the sound department at the Los Angeles Film School in Hollywood.  I always enjoyed passing on what I’ve learned from my great mentors, which I think is an important thing to do, otherwise who-else is going it pass on? I really did learn from all the best through out my career, and I’m excited to share all of that with my MZed attendees in 33 cities, throughout the US and Canada this spring.

I also really like Jeff Medford, and what he is doing with MZed. They have been doing advanced film educational tours around the world for a very long time now.  This is their first film sound tour.  With my Sound Advice Tour, not only are we educational, but highly entertaining. I’m using equipment that has never been seen or heard before, and I’ve been training and learning a lot of new things about this gear. I feel like educating people is just another part of my job. It’s what I love to do and something I’ll do the rest of my career, which will be until the last day I’m alive.

Here’s an outline of what will be covered at the workshop:

9:00 AM Introduction 

  • Audio Psychology
  • History of Audio & Film
  • Audio Terms & Lingo

9:30 AM Sound Recording

  • Equipment Introduction

9:45 AM Types of Recording

  • Field, Production, Foley & ADR

10:30 AM Microphone Technology, Options, Placement, Techniques, Types

11:00 AM Recording Challenges 

  • Sealthing, Noise, Ambient, Cloth movement

1:00 PM   Sound Editing

  • Tuning the room, Acoustic Engineering, Setup
  • Dialogue Editing

1:45 PM   Sound Effects

  • Live recording demonstration: Foley, Background, & Hard Effects
  • Sound libraries

2:30 PM  Sound Mixing

3:30 PM  Dealing with Unwanted Sounds

5:00 PM  Sound Design

6:00 PM  Soundtrack

6:30 PM  Sound Inspiration

7:30 PM Wrap-up

Even if you’re primarily a camera person, this will be a killer opportunity to learn the importance of sound and how to solve the problems you’ll encounter in production.

Learn more about the Sound Advice tour and sign up for the $299 workshop.

Mogopod’s one-twist solution raises the bar for monopod users

The other day I went shopping for a monopod. I discovered a lot of options: skinny ones, tall ones, ones made from carbon fiber (expensive ones). One thing all of them had in common was a multi-stage design, which allows them to telescope. Most require screwing to adjust. Some have quick-release knobs. But one had something that got my attention: an intriguing twist-locking mechanism that allows the user to reset the height with a single flick of the wrist.

Screen Shot 2015-03-23 at 4.12.27 PM

It’s called the Mogopod. And as I tried it out on the showroom floor, it immediately stood out as a product that had been designed with the user in mind. It fits beautifully into your hand, and includes a carrying strap that allows you to sling it over your shoulder between takes. But most impressively, the Mogopod is made from three stages, two of which telescope through an ingenious twist mechanism (which I’ve seen before on more expensive painter’s poles).

podtopReleasing the twist causes the stage above AND below to slide out simultaneously. And locking or unlocking doesn’t require multiple twist of the barrel – just a quick twist of the wrist. The result is a monopod that you can use to dance with your subjects, in my experience, quite literally.

At a wedding I filmed recently, the happy couple took their first married steps on the dance floor together and realized I wasn’t high enough on the stick to get the shot. Instead of having to take a short timeout while I reset the height (possibly missing the moment), I just reached down, made one quick adjustment, and kept shooting.

podlegThere are witness marks printed in inches on the side of the sticks that let you know exactly what height you’re at. I found that 50 inches was for me the “just about right” height for shooting while standing. So after going low, I knew immediately where to reset when coming up, saving me time.

toppinAt the top of the stick, another user-centered innovation is a dual-threaded reversible collar that allows you to select 1/4 20″ or 3/8 16″ studs. That sure beats those little screw-on adapters that I’m always losing every time I switch up to a video head on my other devices.

Adding a small, flat-mounting video fluid head such as my Manfrotto 701HDV allows quick upward and downward tilting of the camera. In this configuration I found it paired exceptionally well with the Canon C100 MKII for video work.

It isn’t the lightest monopod, as it is made from aluminum. And at 27″ when retracted, the medium sized Mogopod that I purchased doesn’t telescope down as short as many other pods (although the Mogopod Mk III Small, which I didn’t test, collapses to 20 inches). But if you don’t mind the slightly longer length, the increase in usability will more than compensate.

If you shoot like me, that means constantly changing your camera angle and camera height. So a monopod that gives you the ability to do that gracefully and quickly will make your day. It’s got a professional heft, and the red trim is an expensive-looking touch. But at $120, the Mogopod is one of the more affordable monopods on the market. That’s what I call raising the bar.

Canon C100 MkII autofocus is a game-changer for documentary

Canon-C100-Mark-II-Cinema-CameraWhen I was a young photojournalist in the early 90s, I remember the disdain that old-salt photographers had for autofocus. “Forget autofocus,” they told me. “It’s not for pros.” The technology was still in its infancy in those days, but today, you’d be hard-pressed to find a photojournalist who doesn’t routinely depend on it.

Motion picture is another story. Most cinematographers feel the same way about autofocus today as still photographers did 20 years ago. But change is coming, and it’s has a name:  Canon Dual Pixel CMOS AF. First introduced on Canon’s EOS 70D digital SLR camera in 2013, Canon has for the first time made autofocus a standard feature in their Cinema series cameras with the introduction of the C100 MkII. But does it really work?

I spent last weekend in Boston shooting a wedding that will be the climax of a forthcoming documentary film by Heather McHugh. I chose the Canon C100 MkII to shoot with because I wanted to put the camera in a situation where I could really push its autofocus capabilities to the limit, and see if it could perform as well or better than my manual focusing ability.

But first, a word about manual focus. When shooting video, it’s actually quite difficult to tell whether a shot is actually in focus. Especially when shooting wide or when stopped down, you can’t trust what you see on the screen. Tools like peaking that sharpens the image to better reveal focus, and peaking that places a color outline around in-focus areas, help. But nothing substitutes for actually SEEING that the image is sharp, and for me this means punching in, or digitally expanding the image to check focus. Canon DSLRs have a button that magnifies focus up to 5x for this purpose. But it only works prior to rolling – if the subject moves during the shot, you’re on your own. The C100 and other C-series Canon cameras have a 2x magnifier that works while rolling. This helps, but having to constantly punch in while rolling to check focus is distracting, and takes me out of the moment when following a subject.

When my C100 MkII arrived from Lensrentals.com, I spent a day getting comfortable with the menus and controls. And it became immediately clear that the autofocus button is in the wrong place – at the front of the camera in the same spot where the white-balance button is on many other video cameras. This makes grabbing focus a two-handed operation, no good. Luckily, Canon makes it possible to re-map the buttons to your heart’s content. I found that mapping the one-shot autofocus to the #7 button makes it an ergonomic dream to use.

Using this approach, I quickly fell into a one-handed shooting rhythm: Center the subject, press one-shot autofocus with my right thumb, and as soon as the green confirmation square lights up, roll camera with my right index finger.

What I have hated in the past about video autofocus is the dreaded “hunting and seeking” that happens unpredictably. With the C100, this is a thing of the past (except in very low light or on very low-contrast subjects, which I’ll address in a moment).

In fact, in my own manually focusing, I find myself hunting and seeking all the time: I focus, then punch in to check, then slightly overcorrect focus to see where the sharpest point is, then come back to it. Then punch out, and roll. So when I realized that Canon’s autofocus just goes to the sharpest point and locks there, I was very impressed. In that way, it focuses better (faster) than my human eye.

Canon provides two autofocus modes: one-shot and continuous. Unfortunately you can’t map the buttons to continuous – just to one-shot. This means if you want to switch between continuous and one-shot, you have to drill into the camera menu, a cumbersome process. I hope Canon makes continuous focus a mappable option in a future firmware update.

Continuous autofocus will attempt to keep whatever is in the center of the frame in focus. One-shot focuses to the point you’ve selected, and stays put regardless of where your subject moves after that. In practice I almost never used continuous focus. But it is very handy when a subject is coming toward you, such as a push-in shot. It’s also great for those times when you can’t touch the focus ring – such as when the camera is mounted in a Movi.

And here’s my first gripe: it’s only possible to focus in the dead center of the frame. In practice this isn’t so bad, because you can focus, reframe, and roll. But it would be very nice to be able to (as you already can with the Canon 70D) assign the autofocus area to another part of the screen. I found myself favoring the center of the screen for my compositions more than I normal would have done.

While shooting at the wedding, I loved the confidence that having autofocus gave me. It speeded up my work. Instead of squinting intently into the frame, I could center the subject, press one-shot, get focus confirmation, and roll without wondering whether my shot was focus. If the person moved, I could again press one-shot and get focus confirmation without interrupting my shot. Because there is so much to cover so quickly during a wedding, I found myself simply letting the camera roll, reframing a new shot, focusing, and repeat as needed.

The nagging feeling of “did I get that in focus?” that so often haunts me at the end of a good shot just melted away as I became more and more confident. Instead of concentrating on focus, I found myself concentrating on framing, on getting the right angle, on moving the camera to where it needed to be for the next shot. But of course, it wasn’t perfect.

I noticed that low-contrast or dimly lit subjects sometimes presented an autofocus challenge to this camera. In low light, I occasionally saw the hunting and seeking behavior that has plagued lesser video autofocus. But it doesn’t take long to figure out what situations I had to manually take over, and which I could trust the camera to handle. And, asserting focus is as simple as grabbing the focus ring. You don’t have to enable or disable autofocus first with Canon glass. You just leave autofocus enabled on the lens, and focus manually as needed. With one-shot, it won’t fight you.

On a few rare occasions, I noticed that the camera seemed to fasten onto a background object rather than focus into the foreground as I wanted it to. These were situations with a low-contrast object in foreground against a high-contrast object in background.

As the day went on, I wondered whether my near-constant use of autofocus would cause the battery to run out faster. It didn’t. I shot the entire event on a single Canon BP-955 battery. It had 25 percent of it’s life left at the end of the day. So the C100 does what it does without being a battery hog. Pretty incredible.

When I reviewed my footage afterward, I noticed something I haven’t seen in my footage before: shots that snapped into focus and stayed focused. Instead of my rocking back and forth to settle on focus, it just went straight to it with authority, meaning that I could react more quickly to a moment and nail it.

Before the C100, I could count on some percentage of my shots (maybe 10 percent?) being slightly soft. With the C100, virtually all of my shots are spot-on. Focus becomes a framing exercise, rather than a squinting exercise. And the result is renewed confidence. The C100’s autofocus isn’t perfect, but for covering events like a wedding, at least, it’s already better than my eyes. And that’s good enough for me.