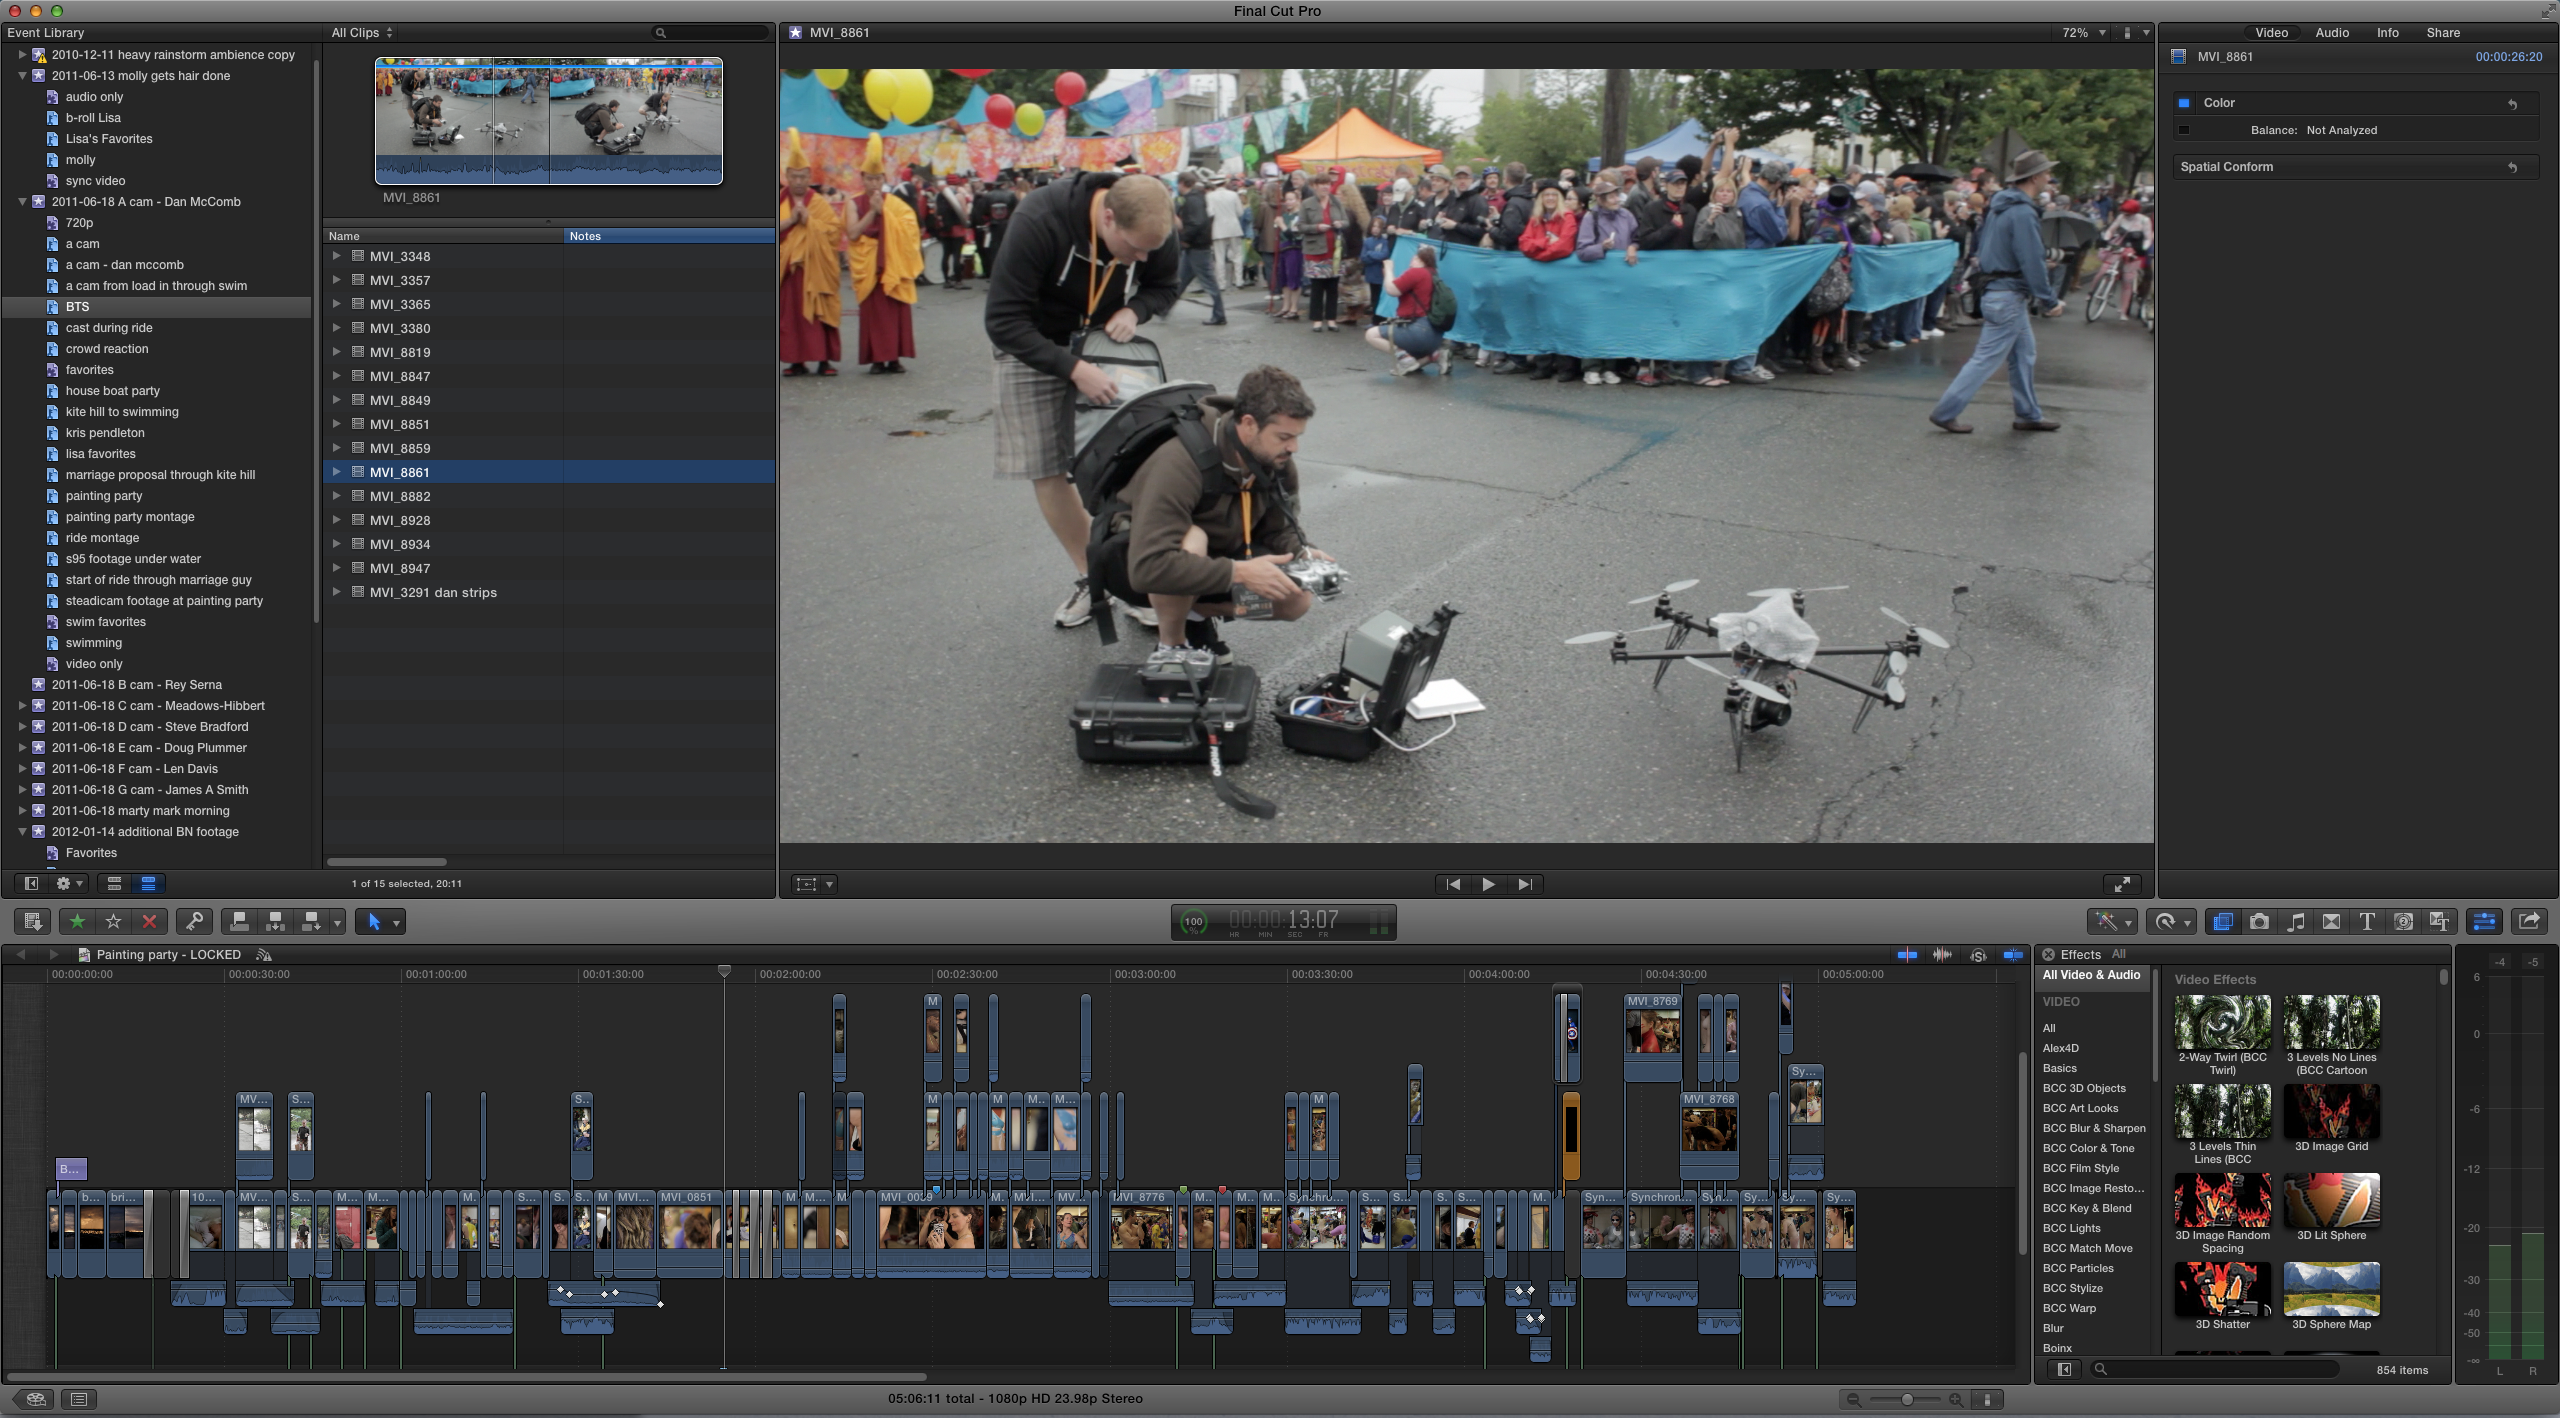
In part I of this post about data wrangling a feature-length documentary, we covered protecting your footage. In part II, we took a look at documentary film storage requirements. Today I’ll explain how we organized our footage in preparation for editing in Final Cut Pro X.
Here’s an overview of the workflow we used during production to get footage off our cards, stored safely, and organized for retrieval. Note that this is a dual-system workflow – we always recorded audio separately from video, requiring us to sync clips later in post in a workflow that I’ve previously covered.
1. Copy contents of video SD card into a new folder located within the project’s “Footage” folder (using naming convention below).
2. Copy contents of audio SD card as above into project’s “Audio” folder.
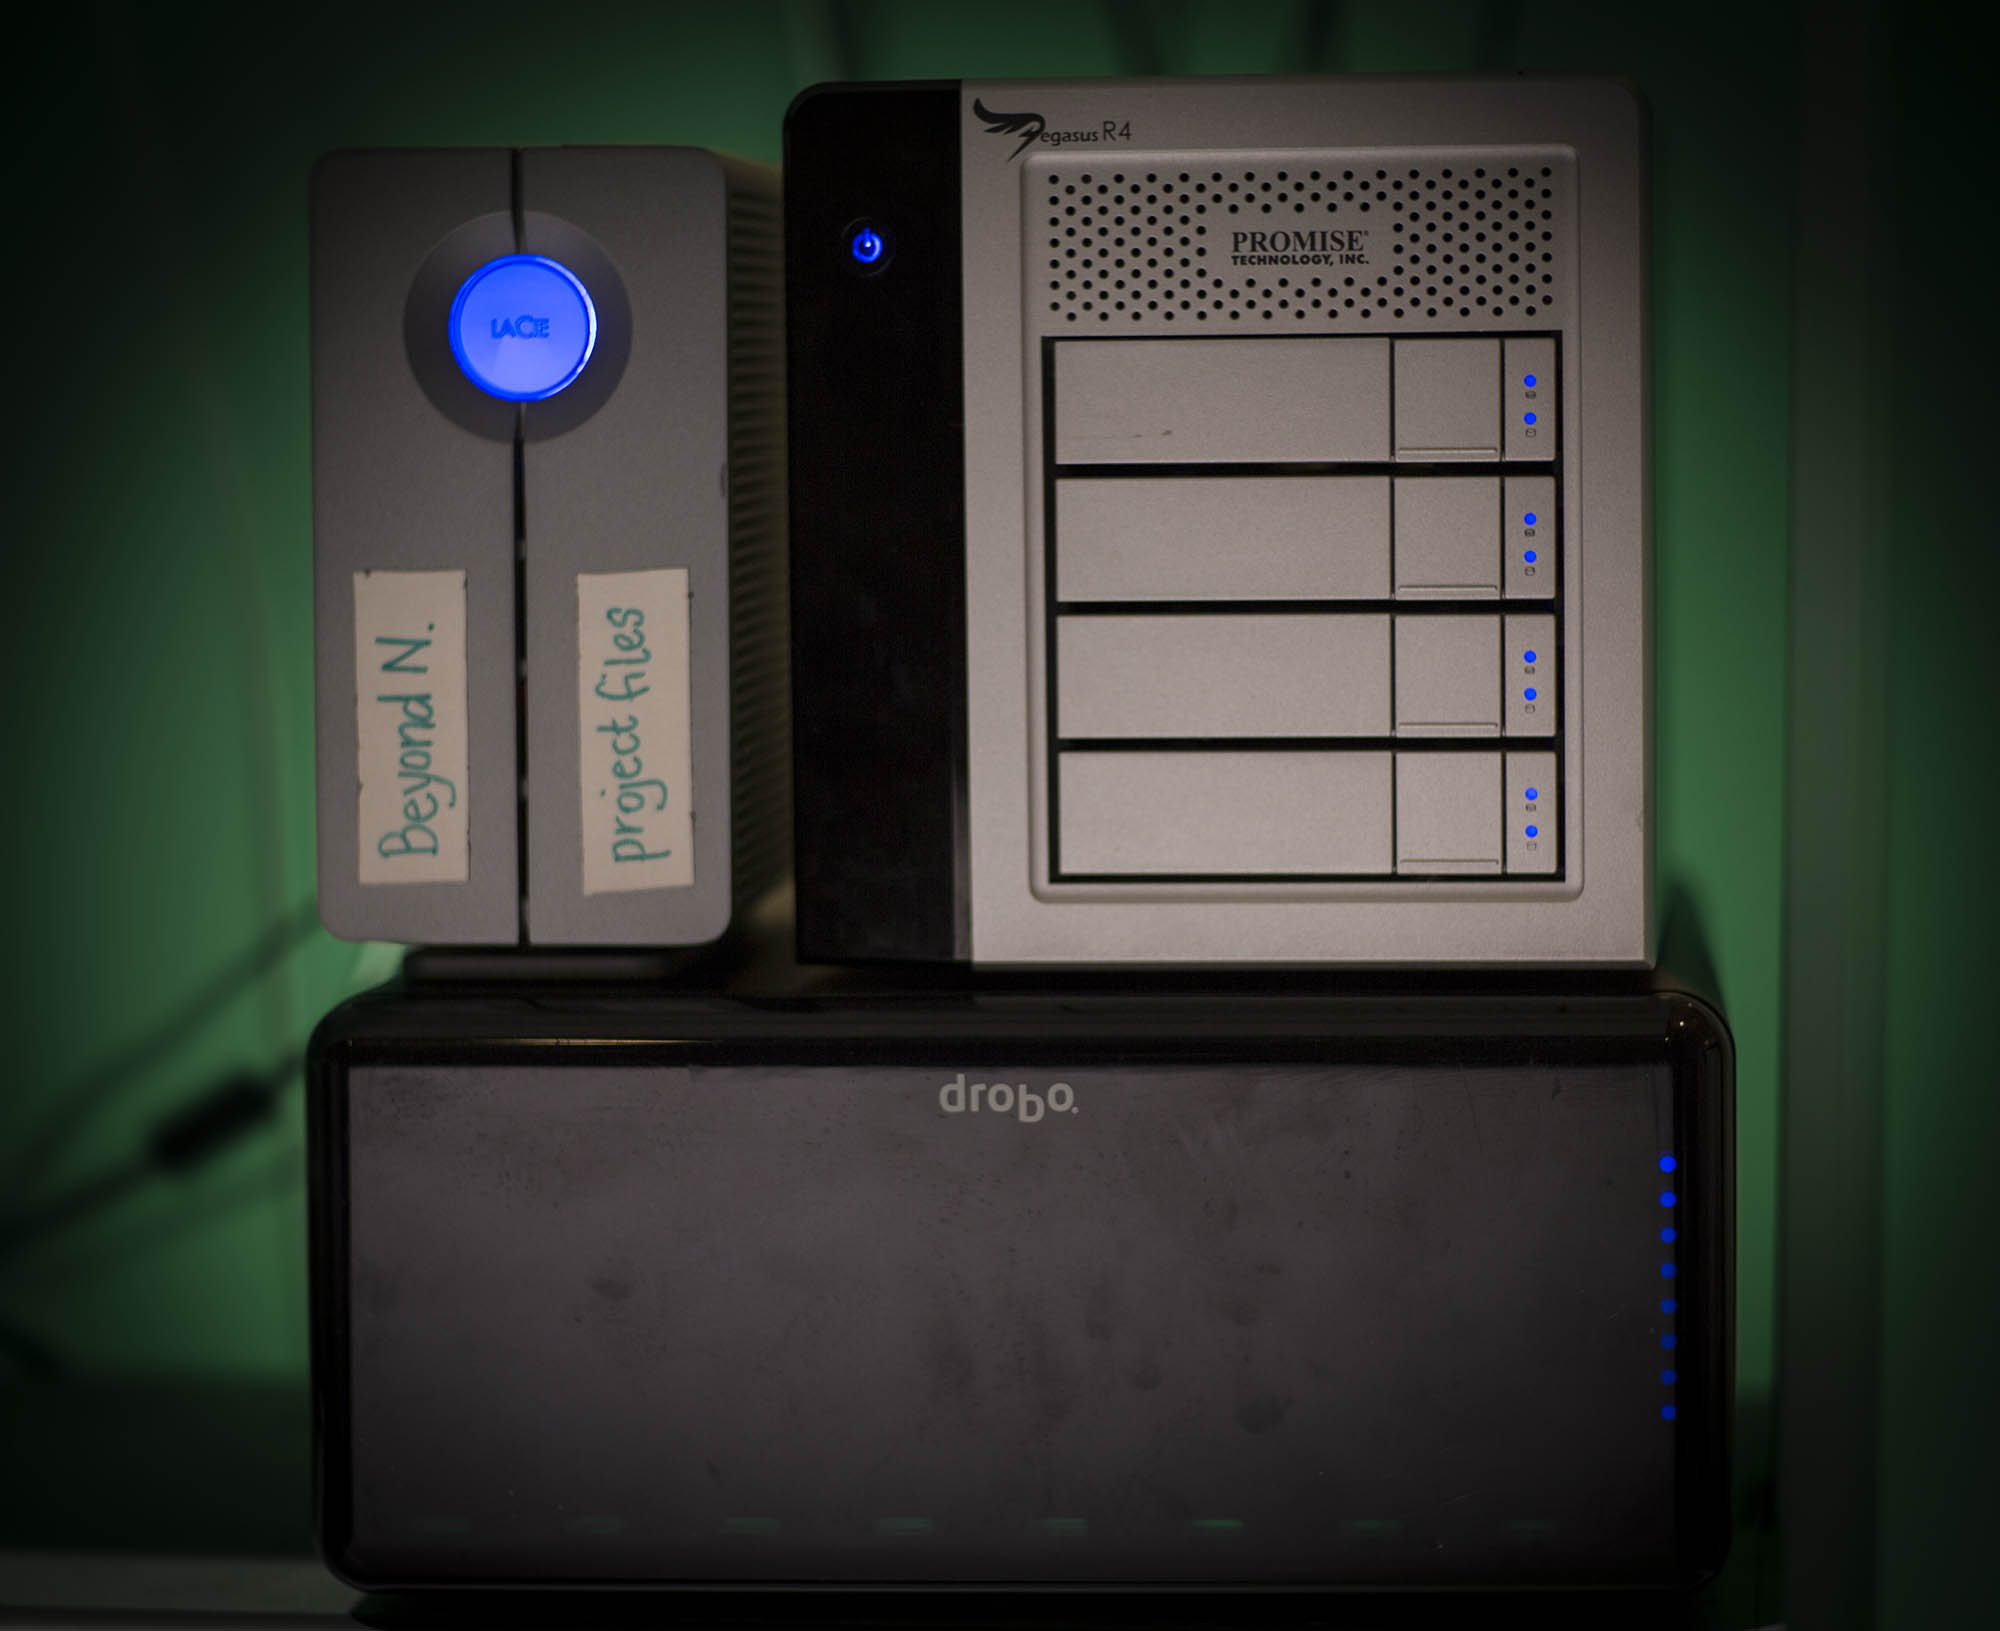
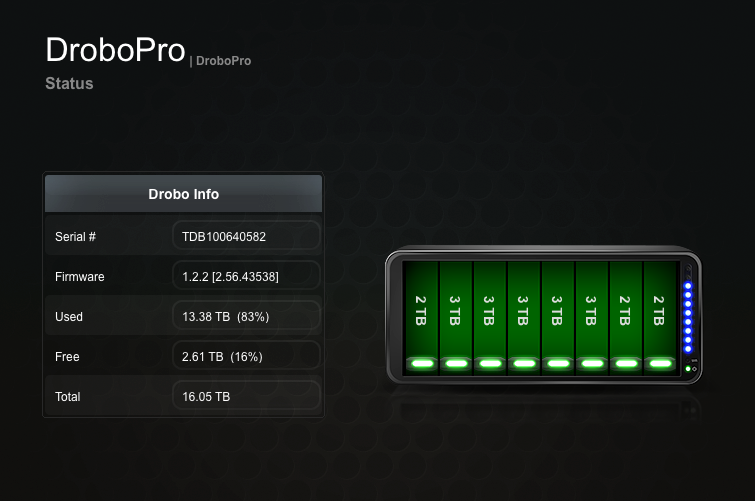
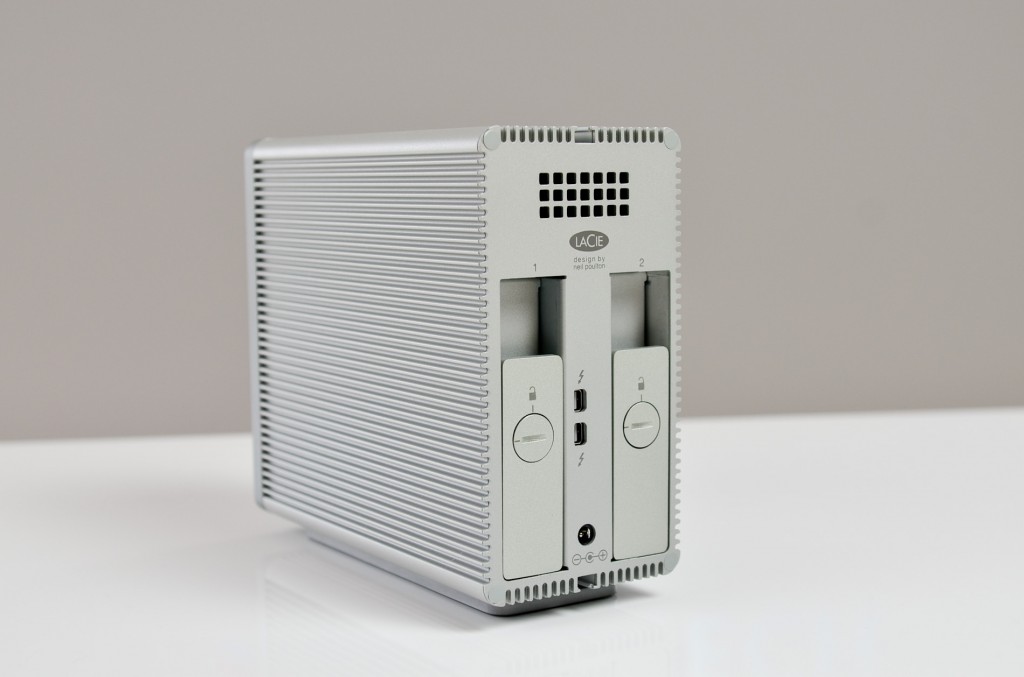
We stored the media on our Drobo Pro, a raid-like system that protects data in case of a drive failure.
Folder Structure for Organizing Media. The foundation of our organizational work begins at the Finder level, with a simple but powerful folder naming convention:
“YYYY-MM-DD two to four keywords”
Here’s a partial snapshot of our film’s audio folder:
You’ll notice that some dates have more than one folder. We created a new folder for each shoot, which helped immeasurably to quickly find footage later in the project.
The nice thing about using this date format as a prefix to tagging is that your folders will always sort in order. If you put the tags first, that wouldn’t be the case. And adding two to four keyword tags that succinctly describe the shoot allowed us instantly identify the contents.
3. Stills, if any, are copied into “Stills” folder, using same naming convention.
4. Back up data onto another hard drive which is stored at another location.
Item 4 is the hardest bit to keep up. In practice we tended to copy and move the files offsite at milestones in the project – after a particularly big shoot, about midway, after wrapping, etc.
In hindsight, our biggest workflow mistake was neglecting to view dailies. Most often, we would simply skim through footage after a shoot to ensure it was looking OK. But we never made time to properly review dailies. We figured we’d do that when it came time to edit. And that was a mistake.
One of our lavs developed a short halfway through production, and we never discovered the problem until post. Everything recorded in the second half of production with this mic sounded tinny. It required heroic EQ work to make it usable. Luckily we were paranoid and almost always recorded with a lav AND a boom mic.
Further, I wish we had begun to edit a few sequences together soon after shooting, instead of months later. That would have helped us discover whether we were covering scenes well enough to cut them together easily. Instead, we had to learn all of this the hard way months later when we finally got down to serious editing. Too often we discovered that we didn’t shoot enough b-roll (people without their lips moving, or just their hands, or ANYTHING that we could cut away to) to build the dialog easily.
Prepping for editing in Final Cut Pro X The day we wrapped production was the day Apple shipped Final Cut Pro X. We dove right in and never looked back. But it was difficult at first to understand Apple’s new “Event” and “Project” terminology.
I initially thought that it made the most sense to create one monolithic Event, and import the entire film into it. Wrong! Final Cut loads all open Events and Projects into memory, so everything slows to a crawl if too many clips are open concurrently. It’s best to have as few Events and Projects as possible open at a time.
So what we ended up doing, which worked very well, was to create an Event structure that mirrored our folder structure almost exactly. We created a new Event for every shoot, titled YYYY-MM-DD plus two or three descriptive keywords. So after import, like so:
Importing and organizing into FCPX is not trivial when you’re talking more than 4 terabytes of footage. It took us about a month and a half of work to get all of our footage moved over from raw storage and organized the way we wanted them in FCPX Events. Seriously, it was a LOT of work. It wasn’t as simple as hitting the “import” button.
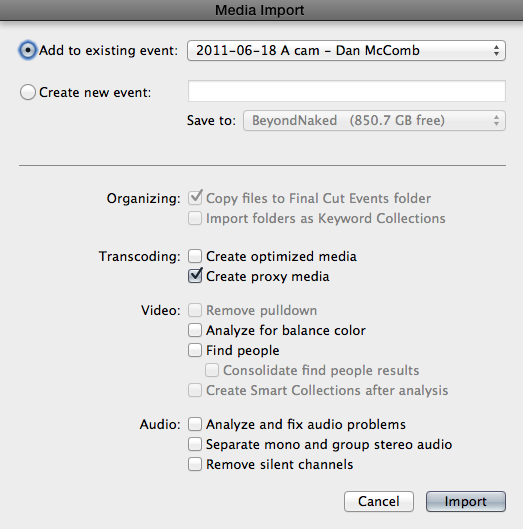
To Proxy or not to Proxy? Proxy media is 1/4 resolution ProRes files, which FCPX can create for you on import. With FCPX, it’s a dead-simple process to create and use proxy media. When importing, just check the “proxy” box.
It takes quite awhile to generate proxy media, though, so with serious amounts of footage, be prepared for some lengthy transcode times. With Final Cut Pro X, you can be doing other things at the same time, albeit a bit sluggishly.
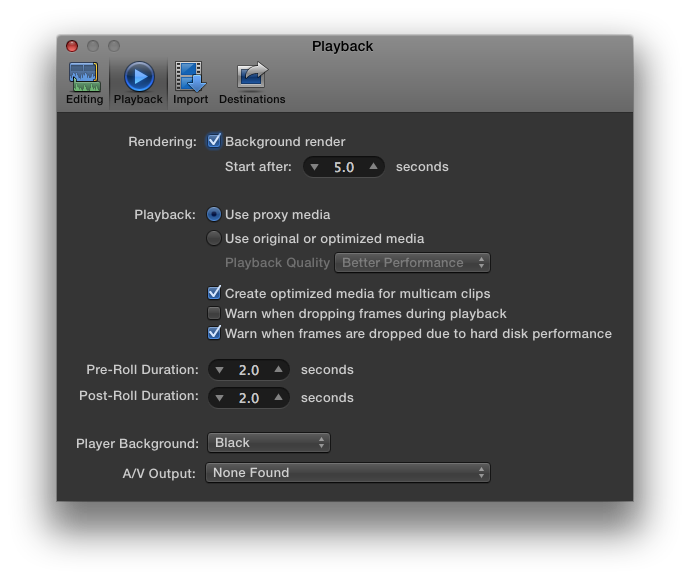
I would argue that it’s almost essential to use proxy media on a feature-length project, because you’ll likely need to have many Events open at a time. And proxy will give you the ability to open many more than you would with full resolution media. Luckily, it’s easy to switch back and forth between proxy and full resolution at any time. Press cmd-, to call up preferences, select Playback, and choose “Proxy.” We didn’t have to switch back to Original Media again until we were ready to start creating assemblies.
After making proxies, our next step, and the most tedious and time-consuming part of our workflow, was audio syncing. I’ve outlined our audio syncing process and it worked very well, but it added a lot of time to the process. I really wish Final Cut Pro X had a way of batch syncing audio automatically. You can use PluralEyes, but I’m not crazy about the mess it leaves behind. It requires a lot of cleanup if you like to maintain, as I do, a clean separation between media and projects. So I prefer DualEyes.
A note about this workflow. If we had been on FCPX from the beginning of our film, this process would have been much smoother, because we would have been doing this import > transcode > audio sync process daily, instead of facing it all at once at the end. I definitely recommend making this a part of your dailies ritual it time allows.
The most significant improvement for Final Cut Pro X to add, from my feature-length perspective, would be to make it possible to load an entire film all at once. I simply couldn’t do it with my hardware (3.4 GHz Intel Core i7 2011 iMac, 16GB ram, AMD Radeon 2 gig graphics card). Attempting it just displays the spinning beach ball. I’ve since tried it on my new 2012 MacBook Pro, on which I can just get the entire film to load. Even then, it’s too sluggish to make it practical. But it makes me suspect that Apple’s playing the long game with FCPX – by the time next year’s Macs are released, the hardware may well have caught up with the software on this, allowing FCPX to work acceptably well feature film situations.
As a result of this, we spent a stupid amount of time over the life of the project just moving Event and Project folders back and forth between Final Cut Events and Final Cut Events – Hidden folders. Each time, we had to restart FCPX. Tick, tick, tick…
It wasn’t until the very end, when I was audio mixing the film, that I discovered Event Manager X, a $5 utility that makes this process relatively effortless by allowing you to create lists of Projects associated with Events. It let’s you move them and restart FCPX with a single click. If you’re cutting your feature doc on FCPX, this app is indispensable.
Getting organized inside of Final Cut Pro X With everything imported, audio synced, and proxified, a final step remains: adding metadata. Final Cut Pro X provides a two incredibly powerful ways of organizing footage: Smart Folders and Keywords.
Smart Folders
Our first step is to create smart folders that split our media into types: audio only, video only and sync video. Smart folders are just standing searches, or filters, that allow you to display everything that matches your query. When you create a smart folder, you can specify what you’re looking for. In the case of our Audio only example, it looks like this:
For our Events, we generally wanted to be working on sync video when we got down to editing, because that was the best sound. But sometimes we had video for which there was no audio recorded separately. It’s easy to set up a Smart Folder that will tell you at a glance which files are which, by adding additional qualifiers to the search:
You can take this pretty far, but we found that for most Events, we could find everything we needed with just three or four smart folders.
Event structure for sharing Projects between editors As the project took shape over time, we shared Project files back and forth between two editors, my partner Lisa and I. We discovered that it’s very important to “lock” Events and add the inevitable new media that become necessary during post (such as sound effects, archival footage, archival stills, etc) to a new Event, rather than adding them to existing Events. That’s because if they’re added to existing Events, it’s too hard to keep track of who has the most current Event. Then, when you share a Project, you don’t know if there will be missing media when the other editor opens it.
Our solution was to create an Event called “BN Additional Footage” and another called “BN Music and SFX.” We added all the new files to the appropriate folder, and then whenever we shared a Project, we included just these two Events to ensure no missing media. This made Project sharing much more manageable.
Keywords
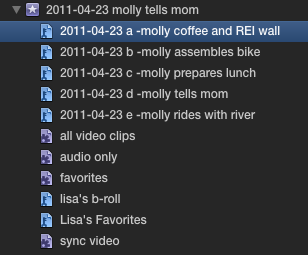
Keywords are the second most powerful way to organize footage in FCPX. I reach for Keywords whenever I can’t figure out a way to do it with a Smart Folder. For example, this shoot was rather long, and consisted of five different “scenes”, as follows:
Tagging each part of the shoot with a descriptive keyword gave me a way to instantly find only those clips. I tend to use Keywords to break apart Events into chunks like this. My partner, Lisa, tends to use them to identify her favorites, and clips that would make good b-roll. You can use Keywords however you like.
Favorites The last step of getting organized might actually be considered the first step of editing: making favorites. My process for this involved standing at a desk, with my finger hovering over the “i” and “o” keys, as I played back the footage. Whenever I saw or heard something that looked promising, I’d make a selection and press the “f” key to mark it as a favorite.
To make it possible to find your favorite later, it’s essential to add a text descriptor. I add mine by typing it into the “notes” field, which I reposition to display just to the right of the “name” field in the Event Browser (click and drag on the field to move it).
If the favorite is extra special, I use a simple notation I learned from Werner Herzog at Rogue Film School. Herzog has a notebook open on his lap when reviewing footage. When he sees a favorite, he writes down the timecode, with some brief descriptive notes. If thinks it’s pretty good, he adds a * with it. If he likes it a lot, he puts two, **. Finally, for footage that he “would have lived in vain if it doesn’t make it into the film,” he puts ***. I do the same, substituting the notebook with FCPX’s notes field.
So there you have it: what worked for us. Yet there are many different ways to accomplish the same thing in Final Cut Pro X. What’s your favorite organizational technique?
