Monthly Archives: May 2012

Learn how to shoot better iPhone video with me at Glazer's PhotoFest on June 8

The Stranger

I’m honored to have been invited by The Stranger and Glazer’s Camera to host a workshop at their upcoming PhotoFest. Lisa Cooper and I will be hosting Workshop to Elevate your iPhone Video Skills on June 8 from noon-1pm. Here’s the description:

We all have a story to tell, and most of us already possess the basic technologies to help tell it. In this one-hour workshop you’ll learn how to take your DIY video skills to the next level with Filmicpro, an app that delivers three simple yet powerful controls to the iphone and costs less than a macciato. Bring your phone and your voice, leave with the tools and knowledge to elevate your novice narrative to a polished finish.

The workshop’s free, and there will be lots of other events happening throughout the day, including other workshops. Topics include:

Using Camera Stabilization Platforms to Shoot Better Video with Steve Ostrander
How to Create Better Landscape Photography with Jeff Allen
Shooting Video on Your DSLR Camera with Mark Toal
Travel Photography Gear, Lighting and Grip w/ Dean Zulich

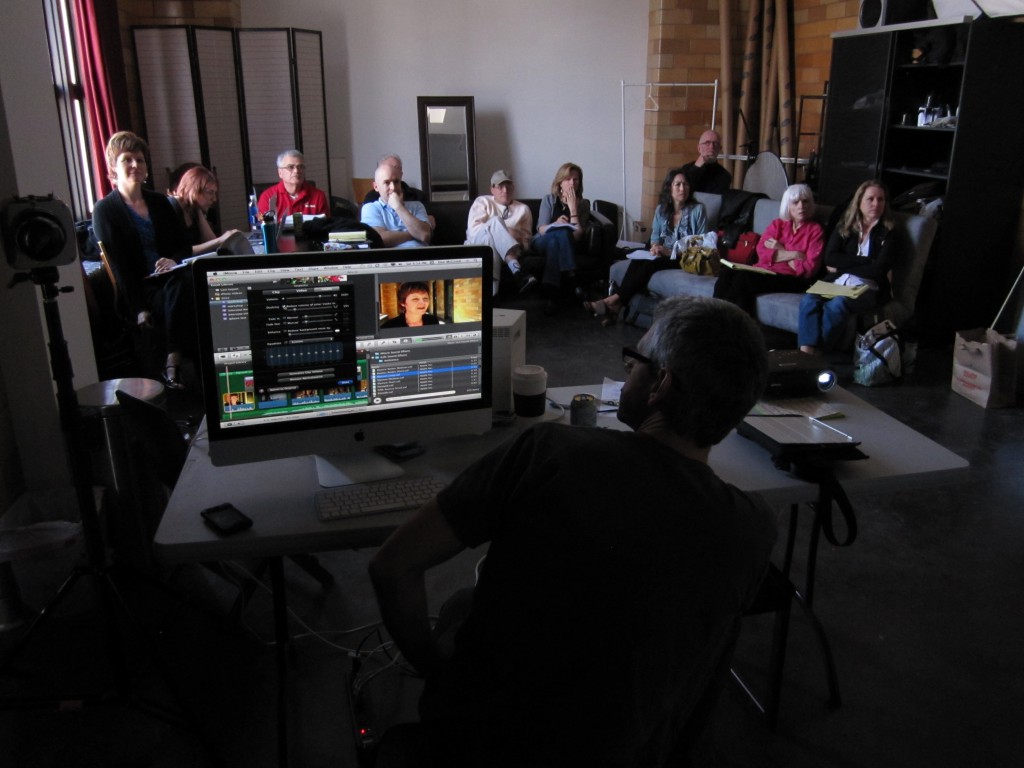
Video produced by our first workshop participants

Check out the video produced by the 10 above-average students in our first workshop on April 21! Not bad for beginners with only an afternoon and an iPhone, hey?

To create this video, we created a fictitious flower company, and tasked two attendees with acting as the co-founders. The rest of the crew helped light, shoot and record audio for this piece.

It was a lot of fun and I thank all 11 of you for your hard work. Making videos really isn’t rocket science, hey? Anyone can do it with an iPhone and some clear instruction.

What could your business do with a web video? Our second workshop, on June 2, is now open and limited to 12 participants. Learn more and RSVP here.

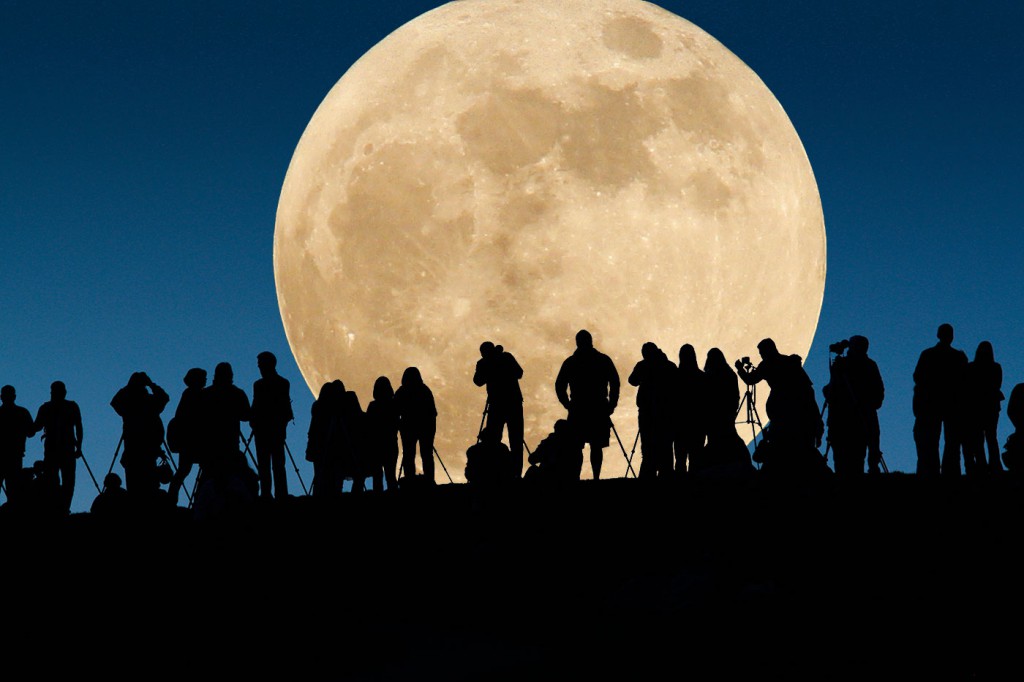
Shooting the Moon: combine two shots for one dramatic photo

Last night’s Super Moon brought the moon close enough to Earth for NASA to call it 14 percent larger and 30 percent brighter. That was enough to send dozens of people, including me, scrambling for a place to stand to observe the rare spectacle. I headed to Seattle’s Gas Works Park, thinking I’d shoot a timelapse of the action from atop Kite Hill.

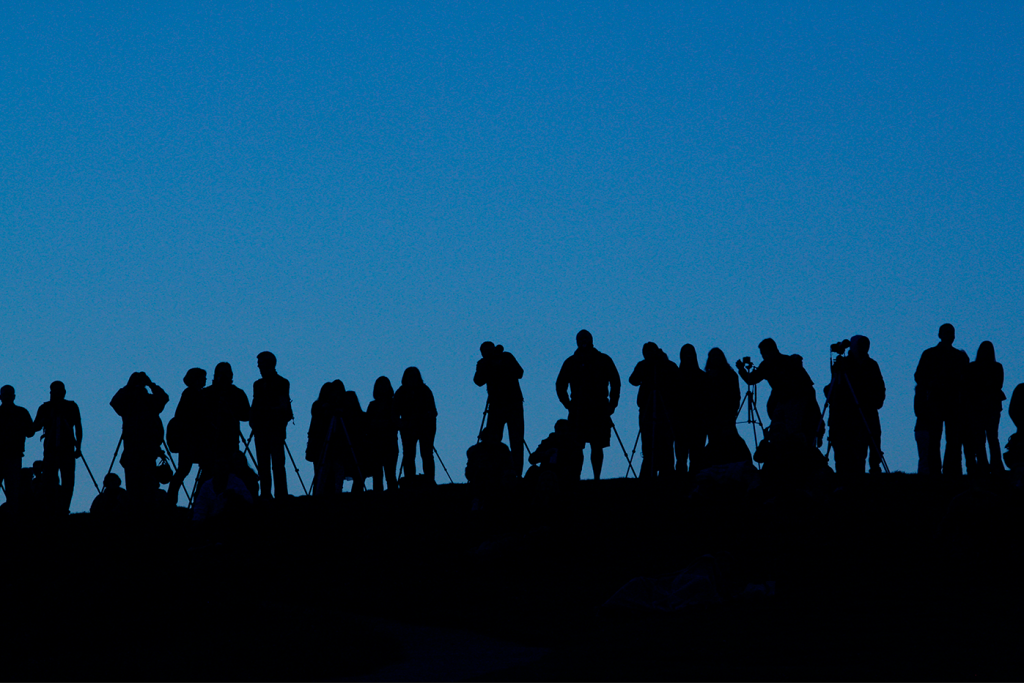
But when I arrived, I discovered the hill was already packed with moon seekers. So I set up my tripod from a more humble vantage, halfway down the hill, next to a couple of other late arrivals. Sometimes it pays to be late! Just before the moon appeared, the guy next to me said “I’m sure the moon’s going to be great and all, but I think the better photograph is that way,” pointing behind us. I turned around and saw this:

A nice shot, for sure. But with a little room for improvement.

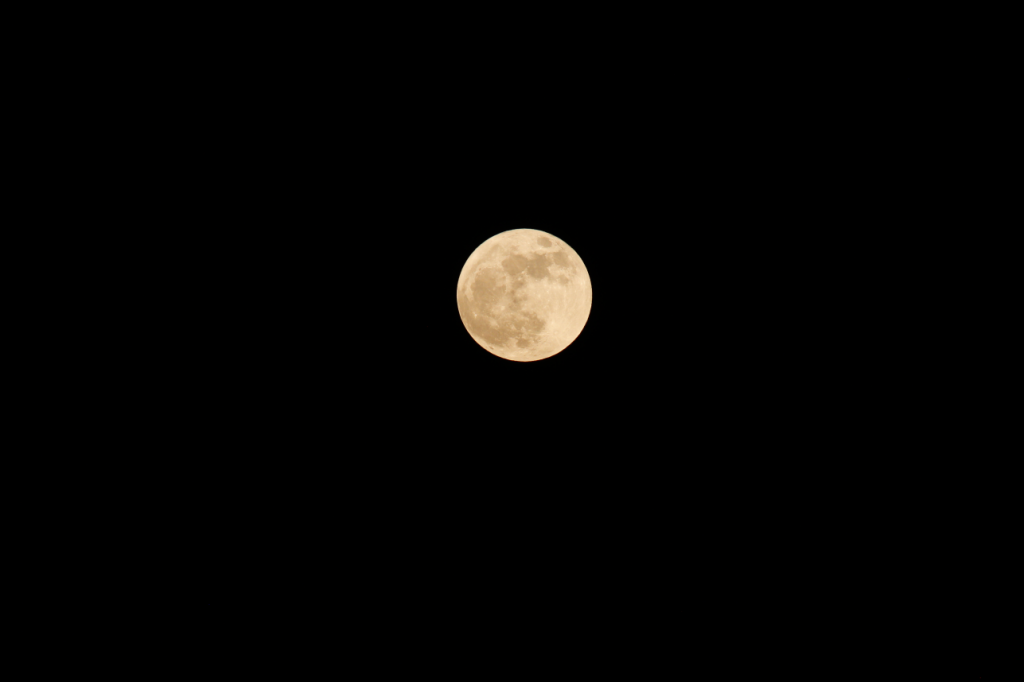
After the moon came up a few minutes later, I shot this frame with a 300mm Nikkor f/4. This is the uncropped version, just as it appeared through my camera’s viewfinder.

After the excitement of watching the moonrise was over, I went home, and imported my two shots into the Beta version of Photoshop CS6 that I recently downloaded from Adobe. My timelapse, incidentally, didn’t turn out at all. But I saw a lot of potential in these two frames. Here’s what I did to bring the magic together:

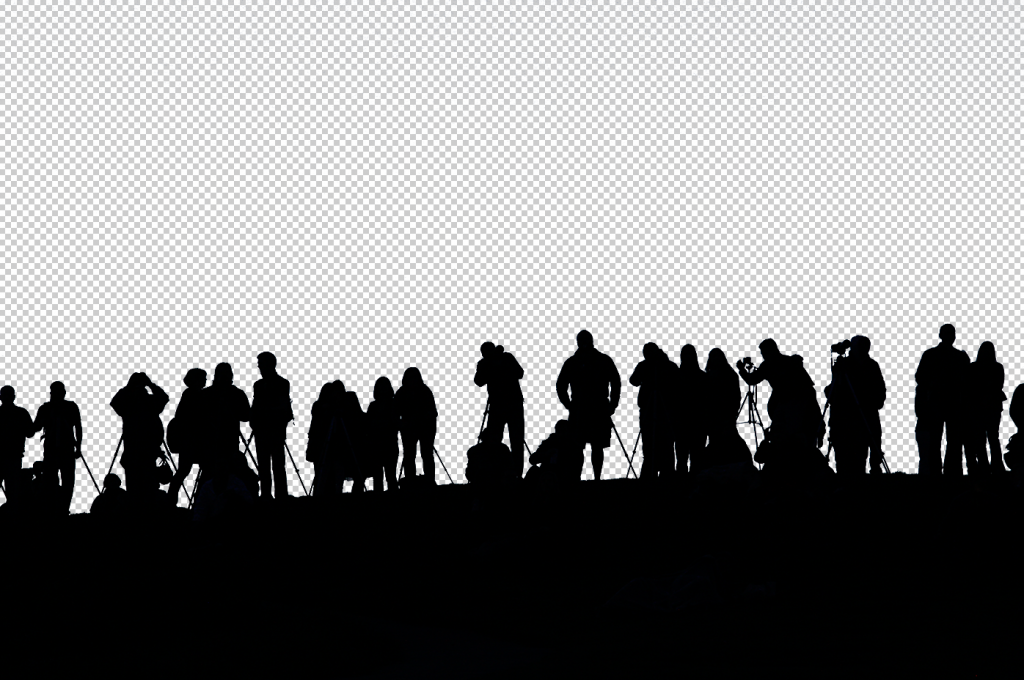
1. Rather than blow up the moon to appear larger in the frame, I started by down-sampling the people shot. It was destined for the web, so it didn’t need to be high resolution. I chose 1400 pixels wide. Using selective color, I made a selection of all the blue sky. The I pressed command-shift-i to select the inverse (the people), and commend-j to create a new layer with the selection. Here’s what it looked like:

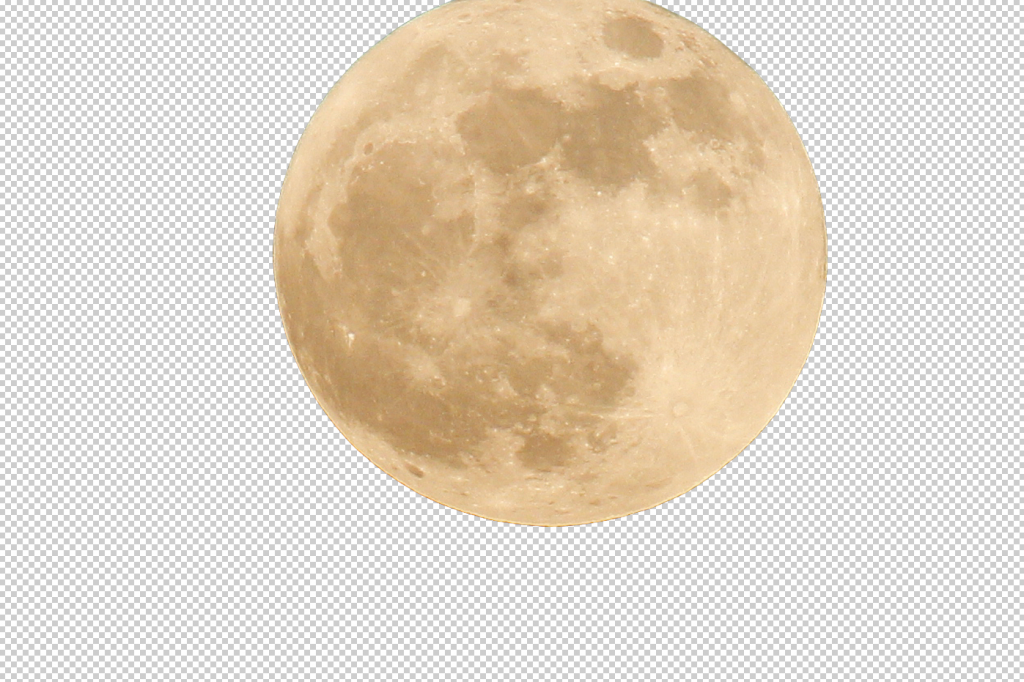
2. Next I opened the moon, which was easy to get on it’s own layer similarly, by using selective color to drop out the dark sky, and after a little refine edge work, it looked like this:

3. I placed them together, on separate layers, with the moon behind, to get this:

4. I had saved a copy of the original shot of the hill on it’s own layer, all the way in the background. Turning it on makes things looks like this:

5. Something didn’t look quite real about this. With normal lenses, the evening sky typically appears darker toward the edges of the frame, and that was missing from my original shot of the skyline, because it was shot with a longish 105mm lens. To get that feeling back, I needed to add a gradient. This took a little playing around – I tried several kinds of gradients, and ultimately settled for a standard black, white gradient, at 58 percent opacity, using “multiply” as the layer blending mode (which darkens only). Here’s how it looked, along with the settings I used in the layer:

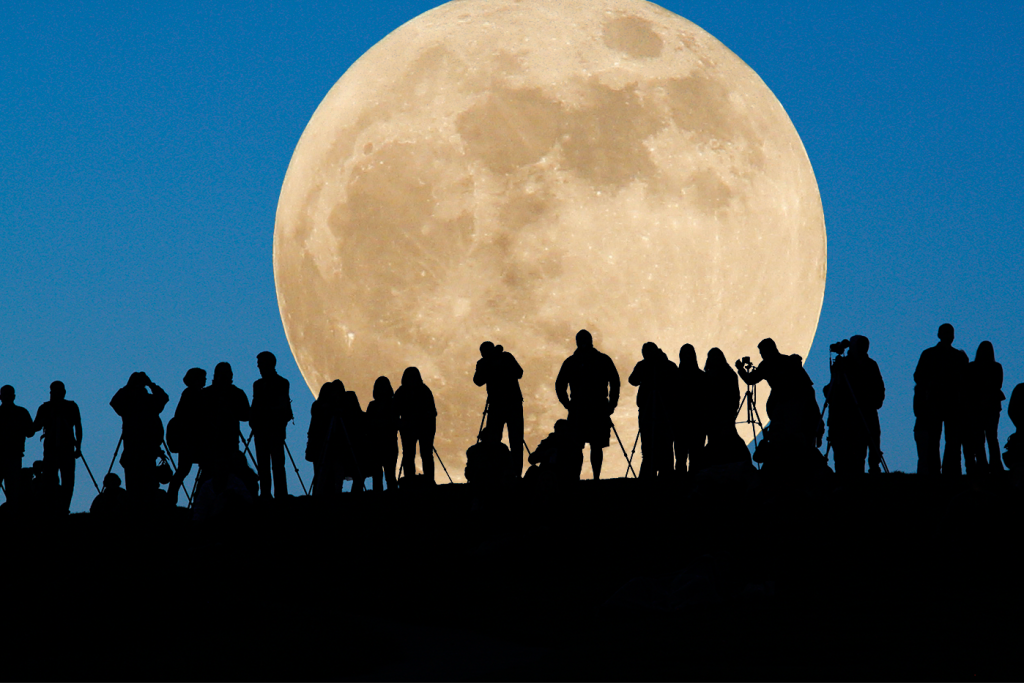
6. Turning all the layers on reveals the finished shot: a whole bunch of photographers gathered to shoot one super big moon. Enjoy!

V-mount battery powers CN-900 for more than an hour

Today I will sing the joys of using an untethered LED light.

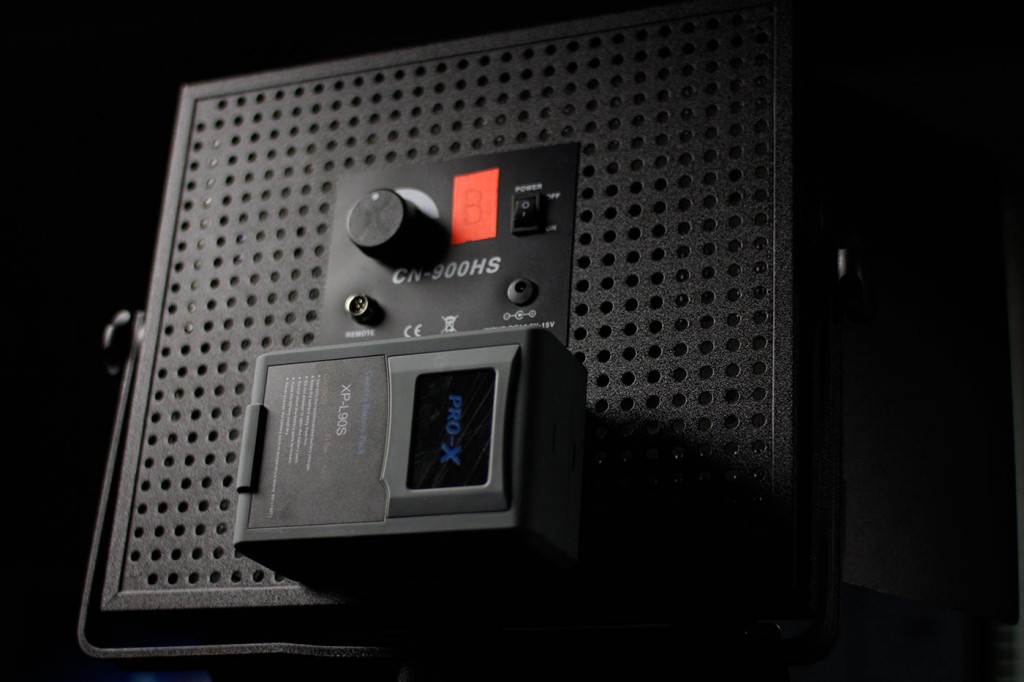
On my recent trip to Alaska, I wasn’t sure I’d have power everywhere I went. So I rented a v-mount battery and packed it along. The CN-900 conveniently includes a v-mount plate. I’ve posted previously about using a more affordable Tekkeon battery with the CN-900, but I’ve found I can get only about 20 minutes of full-power lighting out of the Tekkeon. For this trip I needed more than that, hence, the v-mount.

How’d it do? Well, I used it three times during the trip to shoot interviews that lasted on average 45 minutes each. And I never had to recharge the battery once.

Granted, I only once used the light at full power (I was using it as fill on two of the three occasions), but it was an awesome thing to just grab the light, and stand, and the battery, and be shooting with powered light moments later, both indoors and out.

I was so impressed that, back home, I immediately placed an order for a Switronix v-mount battery kit (includes charger), which happened to have a $150 rebate, bringing the total purchase to $279.95. (Switronix and B&H appear to be running the rebate semi-permanently; today it’s listed as running through June 30; when I placed my order it was April 30).

Frankly I think these batteries are overpriced, like so many of the products built for the film and TV industry. But having experienced the freedom of using one, I will say it’s worth the price if you can afford it. You can also use these batteries to power other devices, such as my Canon 60D during an all-night timelapse. That is, with this adapter which, incidentally, will set you back another $150. It feels like getting robbed to pay $150 bucks for a simple adapter. If you know of a more affordable alternative, please let me know.

Since I’ve taken delivery of my new battery, I’ve run some tests. And I’ve discovered that it will power the CN-900 for 65 minutes at full power, without any drop in brightness. After that, it’ll keep going for about half an hour, but the brightness begins to fall off, imperceptibly at first, then dramatically.

Together, the whole thing (light and battery) weighs 7.8 pounds. There are smaller and lighter v-mount batteries than the Switronix. But the Switronix was the most affordable I could find.

Now, if I could just find a padded pack that is at least 16.5 inches per side, I’d have a great way to carry the light, the battery, and a light stand. So the hunt is on. I’ll let you know what I find.

UPDATE: I’ve found three possible solutions on the market for packing these panels. All are specifically designed for 1×1 LitePanels, which are slightly smaller than the CN-900s (which measure 16.5 x 15.5 with yoke attached). Note, I haven’t listed any of the PortaBrace products for LitePanels, because all of them are sized too small to fit the CN-900. But any of the following three should be good:

Petrol Liteporter – $157.95
CamRade LP-Bag litepanel bag – $219
CamRade LP-Backpack for litepanels – $284.50

How to color match a pair of CN-900 led lights

I’m a fan of the inexpensive CN-900 led lights. Not because they are the greatest thing on the market – but because they are damned good, at a price I can afford ($450 vs. $1,800 or so for LitePanels that incidentally aren’t as powerful). I liked the first one I got so much that I got another one. But when I unpacked it and set it up next to the first one, it was immediately clear that the low price didn’t include matching the lights to each other: the two lights were visibly different in color temperature.

Rather than allow this to be a show stopper, I decided to test the lights using the excellent vector scopes built into Final Cut Pro X, and add color correction gels to bring them into balance with each other. With a little work and a few gels, I was able to match them. Here’s how.

1. Get a grey card (although a white piece of paper will work fine, as long as it’s pure white (be careful of expensive writing paper which could be warmer than pure white, but you could use cheap writing paper in a pinch if you need to save money).

2. In a darkened room (or after dark) that has neutral colored paint on the walls (white walls or grey walls are ideal), set up your first light on a stand. Make sure it has the included magenta filter in place, which is necessary to match daylight. Set up a second stand that has grey card clamped to it (or just tape it to the wall), and light the grey card roughly evenly at a 45 degree angle.

3. Set up your camera on a tripod in front of the grey card. Fill the frame with the grey card (it doesn’t matter if it’s in focus; just fill the frame). Make sure house lights are all off, so that only light hitting card is from your LED panel.

4. Custom set your camera’s white balance to 5400K, which is what these CN lights are supposed to be.

4. Roll 30 seconds of video or take a still with your camera (either is fine; I prefer still photo because I shoot with DSLR and that way I don’t have to loop footage in next step, but either is fine).

5. Import the still or video into your editing suite (I use Final Cut Pro X). Open the clip. Turn on your video scope. Your scope should show something like this:

Basically, you want to see a dot that is right in the middle, which means that your light is balanced correctly at 5400K, with no color cast to the image.

If you see this, then you are good to go with this light, and now you can perform this same test on your second light.

However, chances are good that your first light, and your second, won’t hit the circle perfectly. Here’s what I see on my A light:
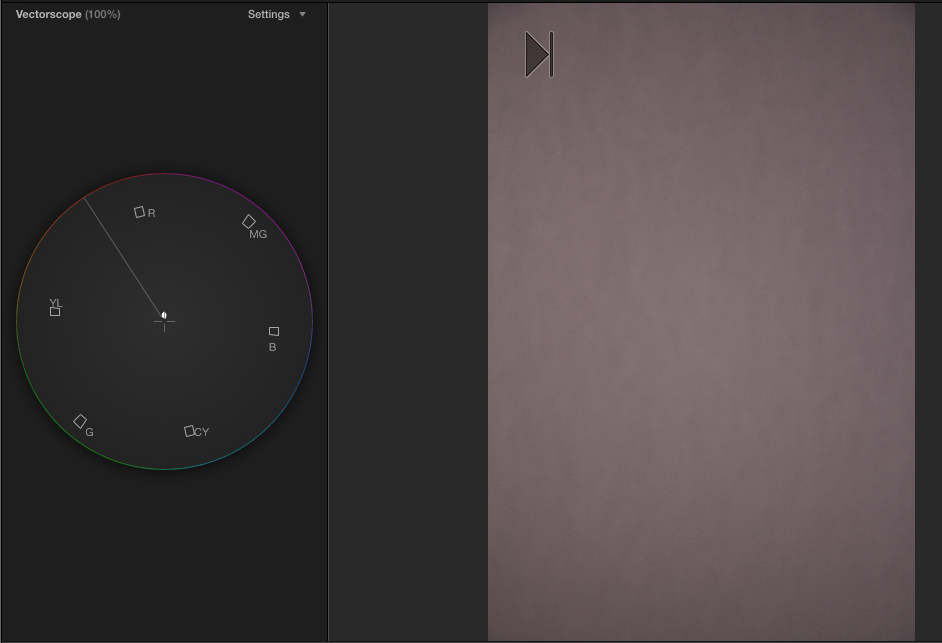
My A light has too much red in it.

To get the red out, I needed to pull the light in the opposite direction of red. On the scope, that shows as Cyan. So if you had access to cyan filters, you could add a small amount of cyan, say 1/8th or 1/4, then test to see which brings you closest to the target.

In my case, I didn’t have access to cyan filters at my local camera shop, which has the much more common colors: CTO (redish yellow), CTB (blue), and plus green. Here’s how the scope reads after I’ve added 1/4th plus green:
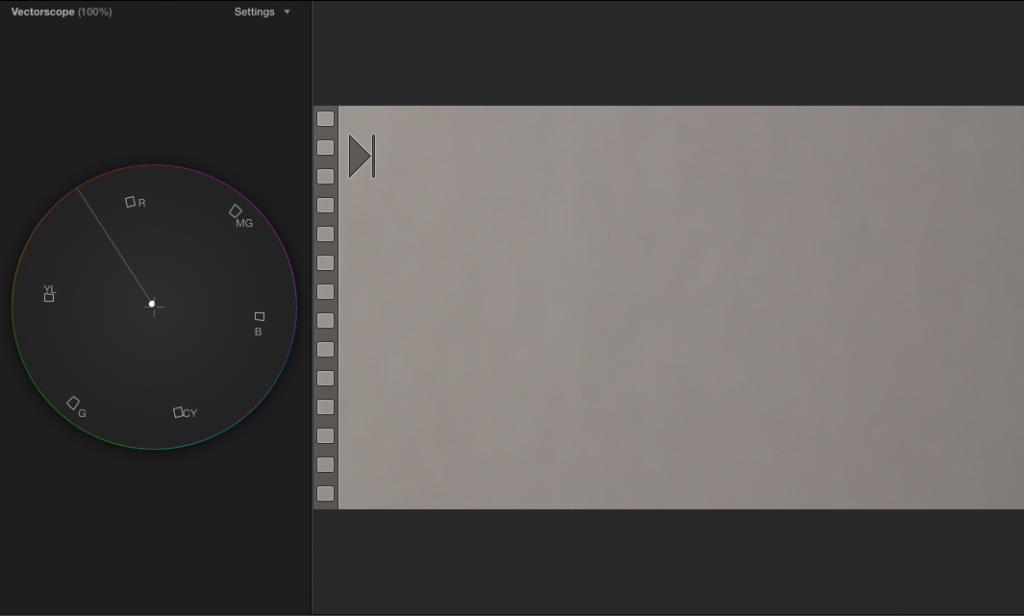
It’s brought us closer to our crosshairs, but in doing so, it’s pulled us toward green. I need to go a teeny bit further, and get rid of the green. To do that, I added 1/4 blue:

Now we’ve gone too far to the blue. So let’s try a 1/8th blue (which, incidentally, is the smallest increment in which you can buy gel filters):

Bingo. This is as good as it gets. So to balance my A light to 5400K, I’ve permanently added 1/4 plus green and 1/8th plus blue gels by taping them to the magenta gel that ships with the CN units.

My B light looked a little different when I tested it:
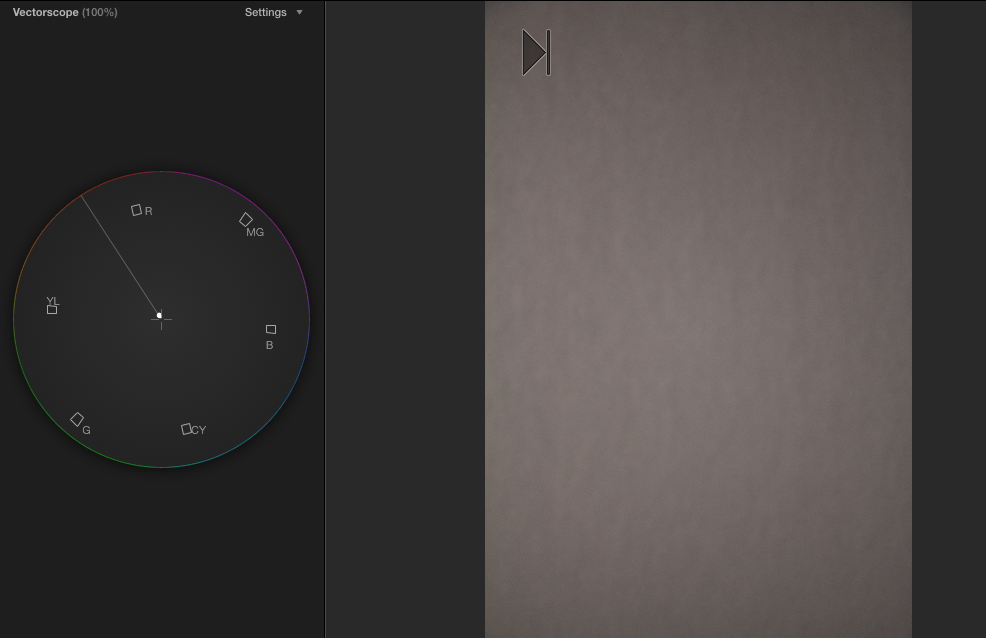
So I only had to make one correction to it: I simply added 1/8th plus blue, and it’s all set, and now both lights match each other.

Hope that helps. The CN-900s are outstanding lights that will save you a ton of money if you’re willing to invest a bit of effort into matching them.


Join us June 2 for all-day workshop: Web video-making for entrepreneurs

If you missed our April 21 workshop, you’ve got another chance on June 2 to learn the fundamentals of web video-making for entrepreneurs. We’ve moved the location to N. Queen Anne/Fremont area, where there is plenty of free parking and a large conference room with fast internet access. Class limited to 12 – sign up here.

If you’re wondering whether you have what it takes to make a video that promotes your business, this workshop is for you. All you need is a video-equipped smartphone and some education. In this workshop, you’ll learn the secret of how to tackle your web video project by breaking it into three simple steps:

Plan It: Before ever touching your camera, you will select your objective, craft your story and outline your approach. We’ll share our favorite techniques, and free or inexpensive applications that make creating rough storyboards easy.

Shoot It. You’ll learn how to use the camera you own to its fullest potential by playing to its strengths, how to select an appropriate location, why sound is just as important as picture, and how to solve 95 percent of your audio problems with one simple, killer technique. We’ll be using iPhone cameras to teach this workshop.

Share It. You’ll learn the essentials of how to edit your footage quickly using iMovie. Then we’ll export for the web, and show you how to post to your favorite social media platforms.

We’ll be teaching with iMovie, but you’re welcome to use the video-editing application of your choice.

Take a big step toward making your web video: RSVP today and join us on June 2.