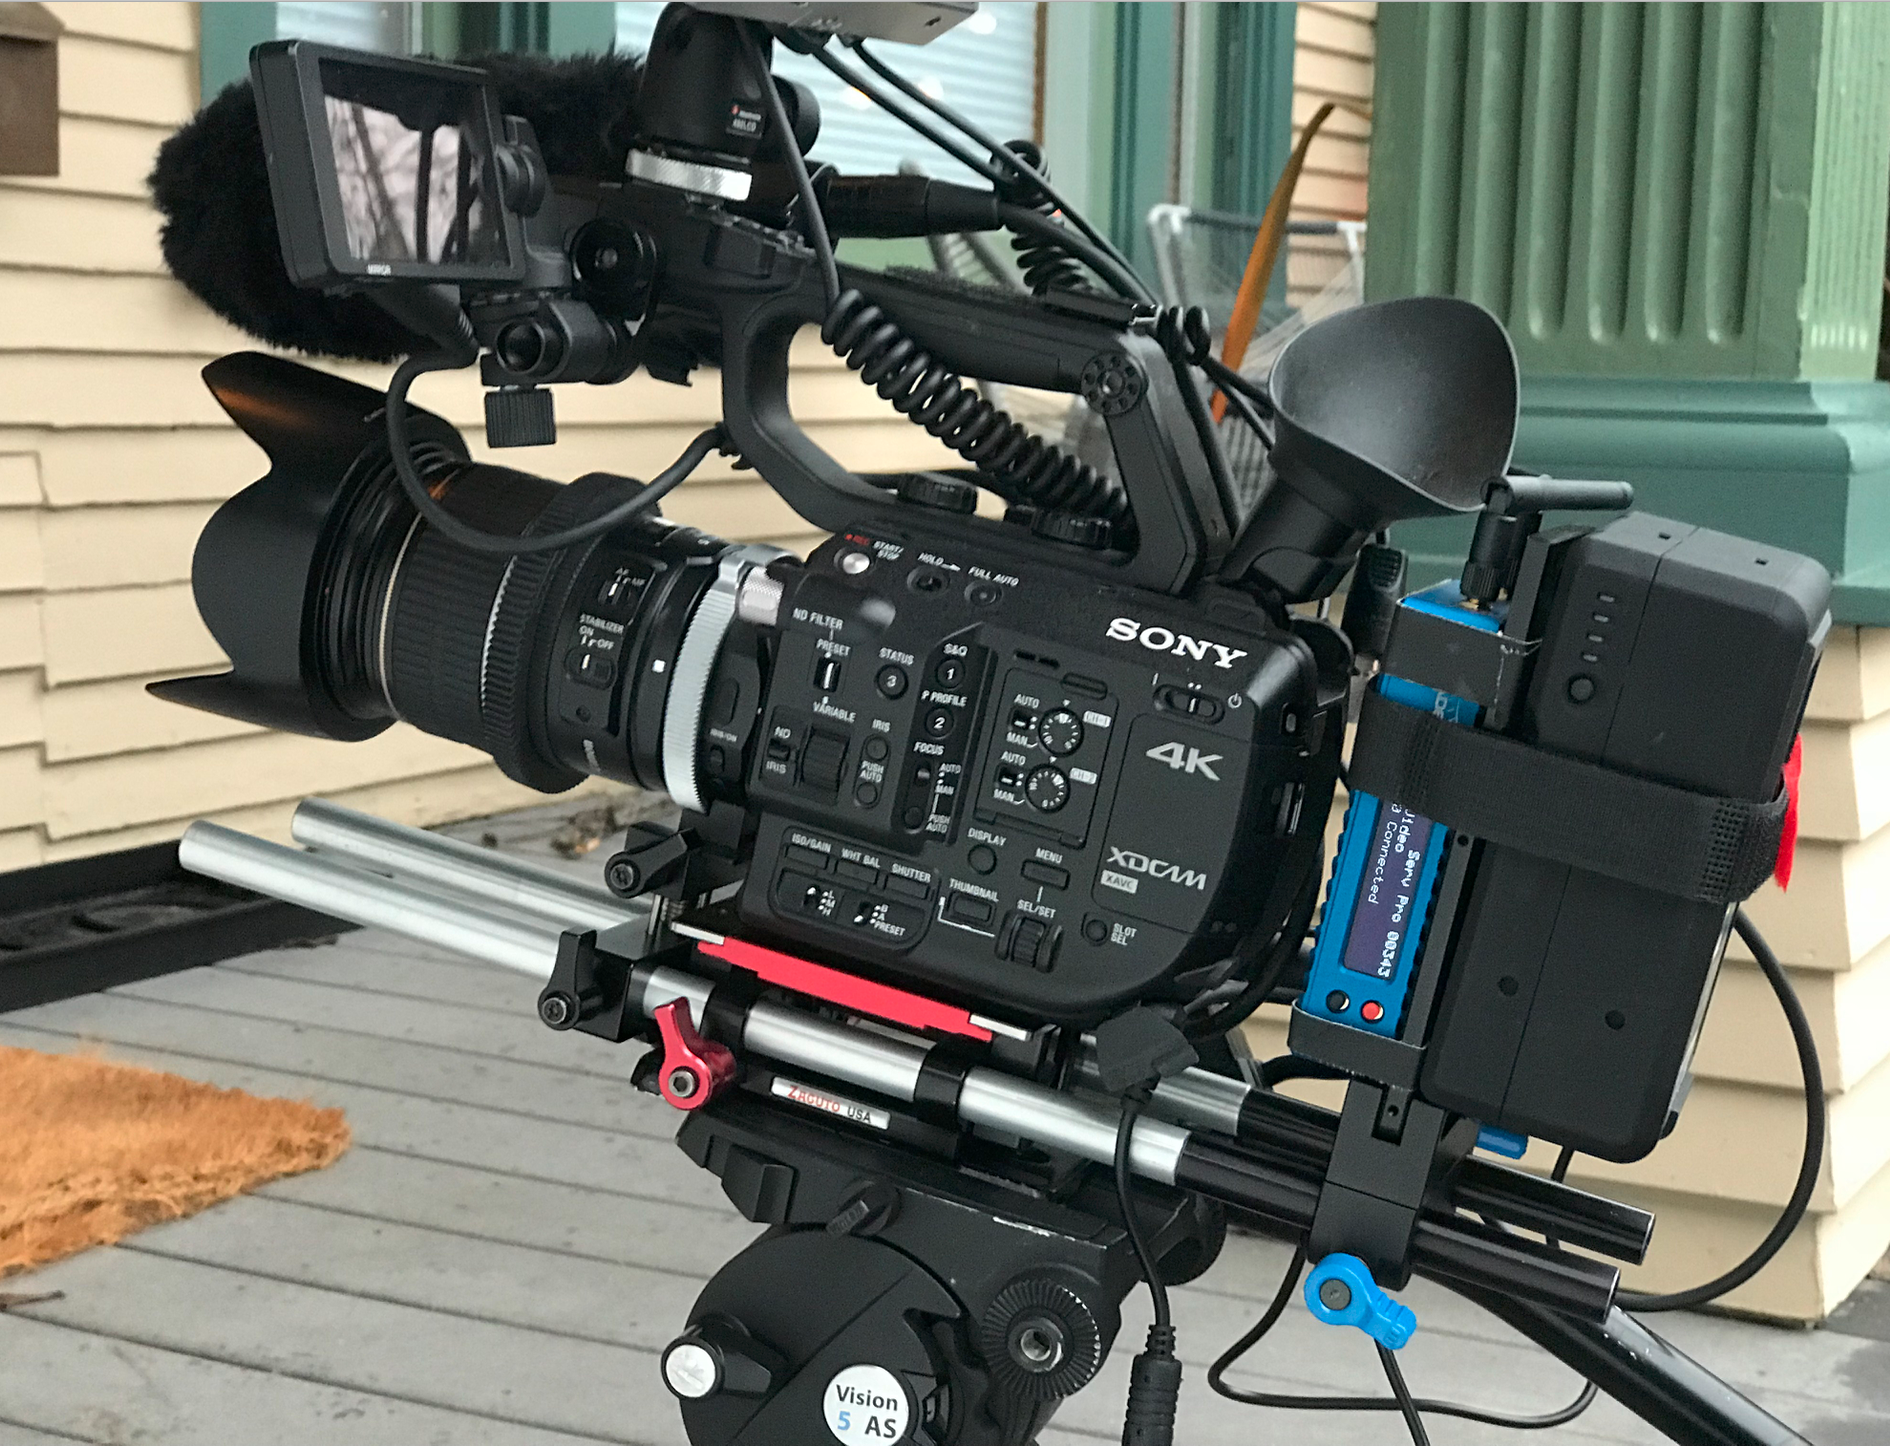
Sony FS5 with V-mount power solution
The best thing about the Sony FS5 is its small, ergonomically balanced design. It’s a lightweight camera that begs to be hand held. So why would you want to screw that up by adding a big battery?
Well, actually, there are some good reasons. I’ve recently discovered the magic of using a Teradek ServPro so clients can follow along during a shoot. And, I almost always use an external monitor. If you’re powering those things independently, you begin to spend a lot of time changing batteries instead of making pictures.
So I picked up an adapter cable on ebay for $26, bought a Redrock micro cheese plate, and started cobbling building a solution that could give me three or four hours between battery changes.
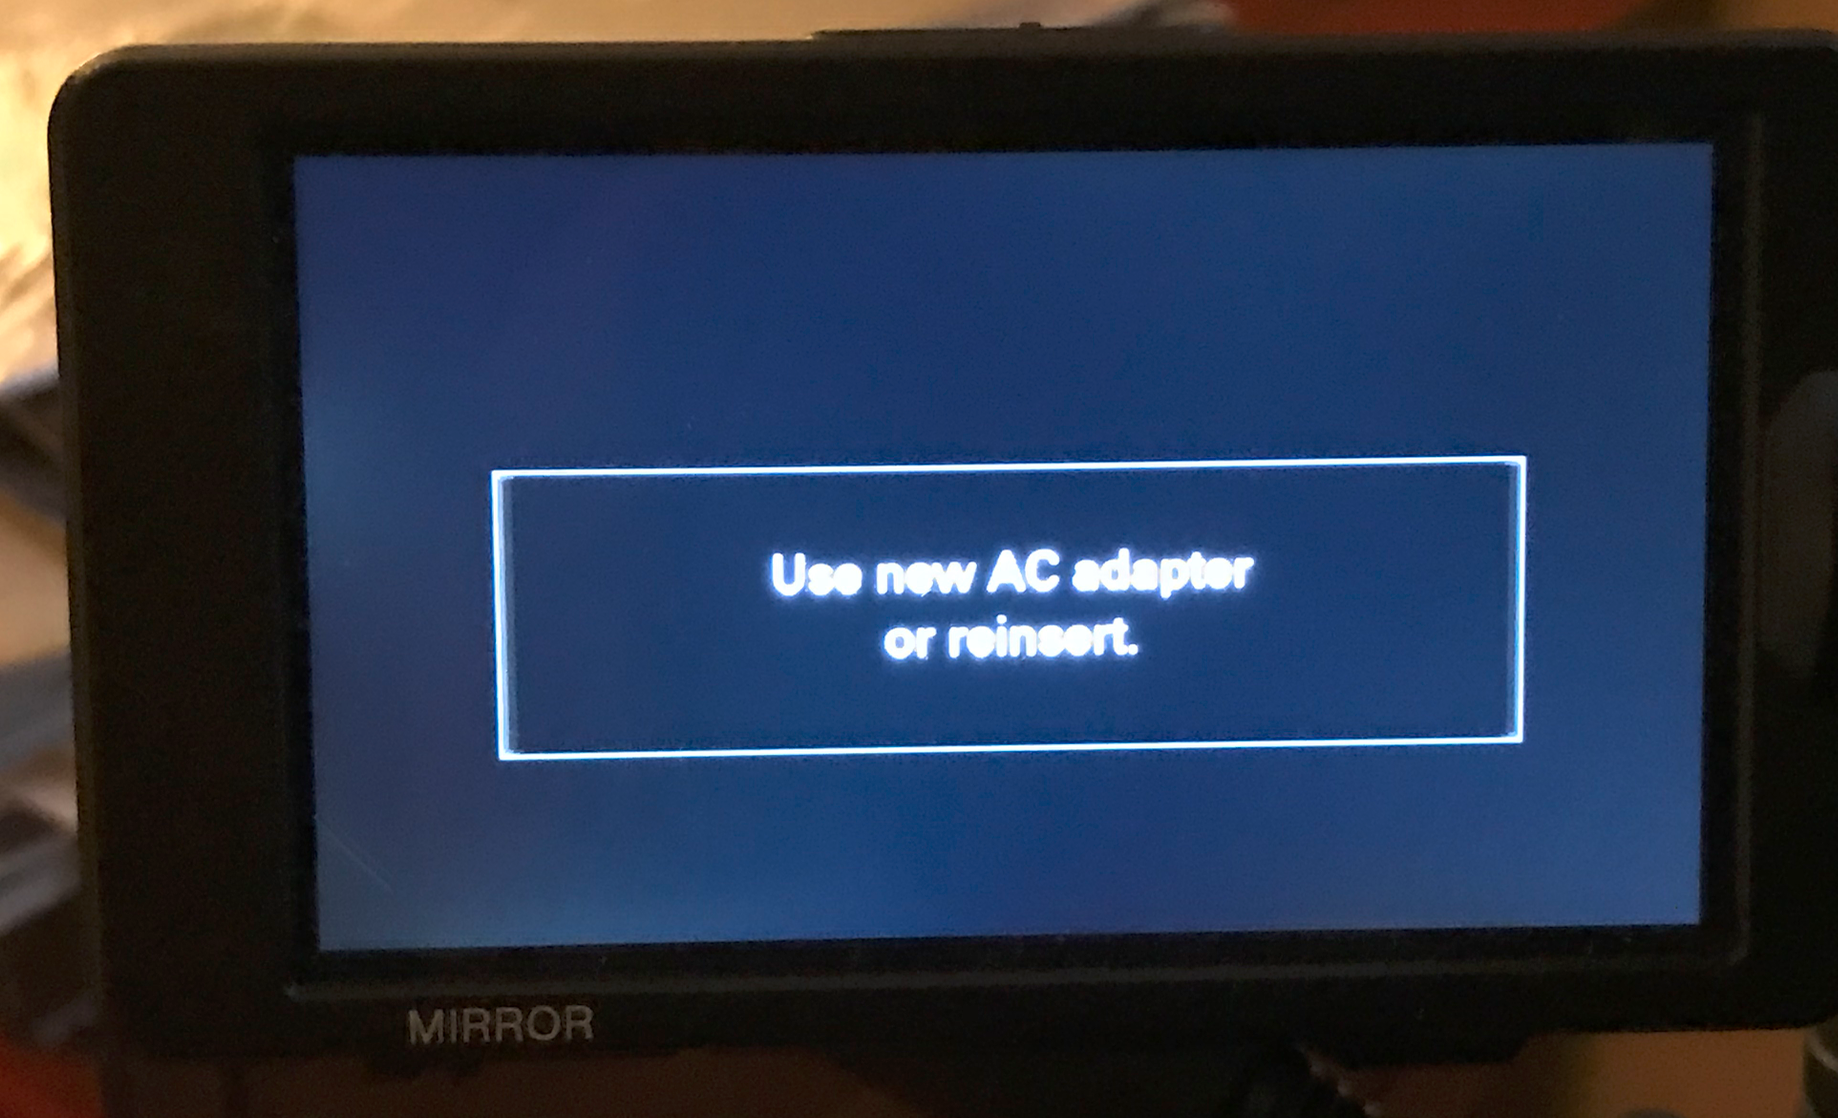
FS5 v-mount battery error
But when I plugged in one of my four v-lock batteries, the camera gave me an error (right):
Hmm. So what the heck? I tried another (also fully charged) battery. Same error. Then I tried a bunch of other more expensive things, like buying a battery plate from Wooden Camera. Same problem! Then I accidentally grabbed a battery that was partially discharged already, and boom! It fired up just fine.
After a little testing, it turns out that you have to discharge your battery for just a couple minutes, for the FS5 to recognize it. Don’t ask me why this is a thing, but it is.
To power your FS5 with an v-mount battery, buy an adapter, and a battery plate. And then, prime your batteries by discharging them for a few minutes by firing up the monitor and other devices, before turning the camera on. Good to go!
A better (albeit more expensive) solution
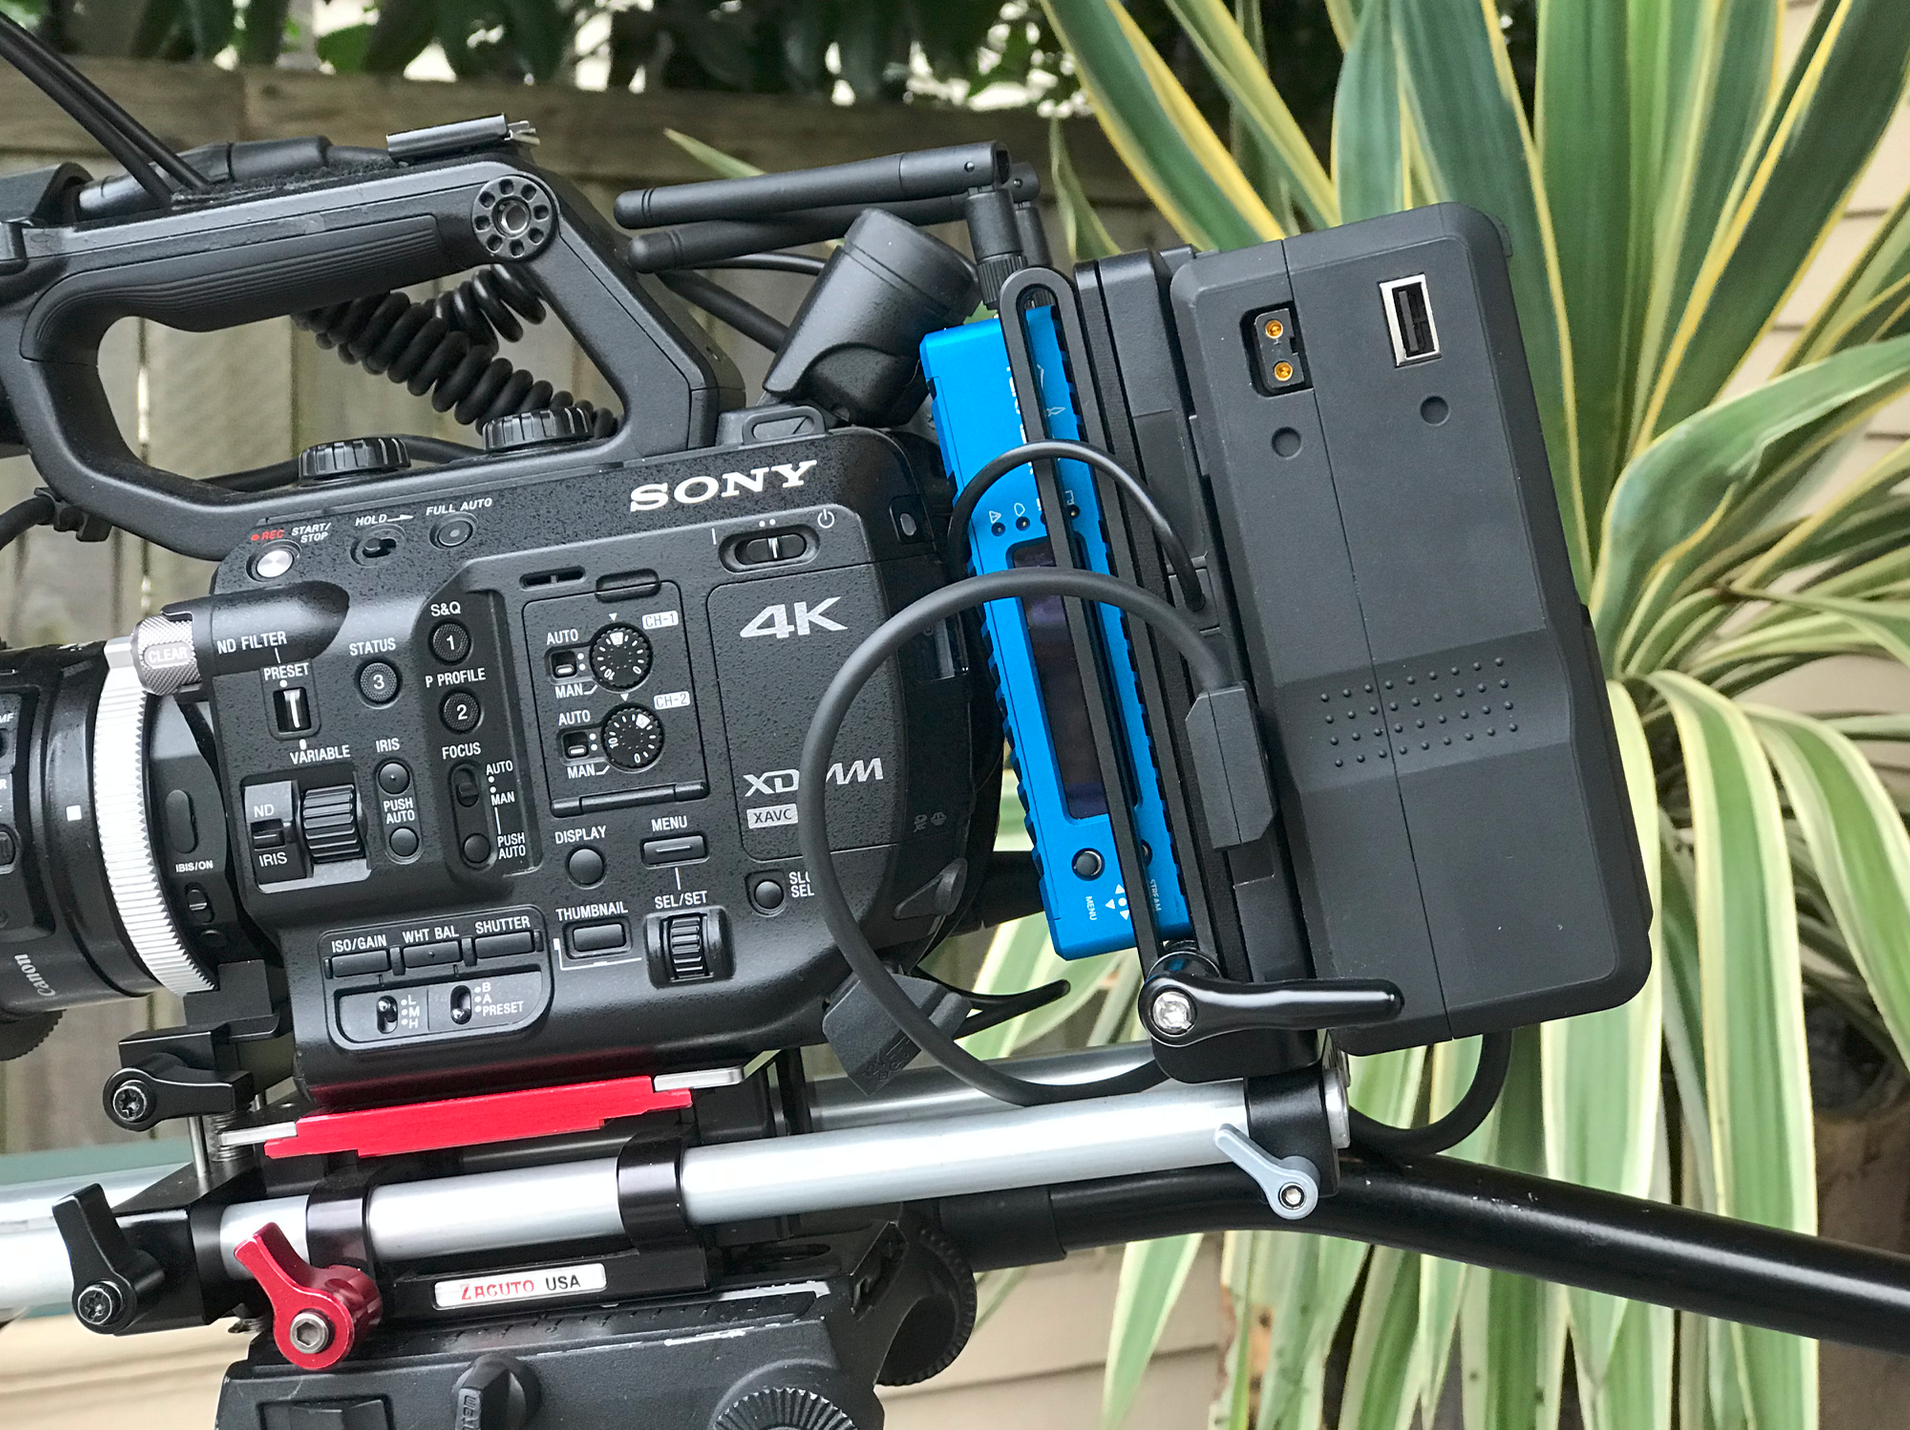
Wooden Camera battery plate for Sony FS5
I purchased a Wooden Camera V-Mount Battery Plate for Sony PXW-FS5/FS7, to see if that would fix the battery priming issue. It costs $195. The first one I purchased didn’t work at all. The helpful staff at Wooden Camera arranged a quick return. After the repair, the unit works flawlessly – without requiring battery priming. But you do have to purchase a Wooden Camera battery slide, for $193.03. So by the time you get done paying the bill, this proper solution adds up to $388.03. The Wooden Camera battery slide is also a pound lighter than the Redrock Micro cheese plate.
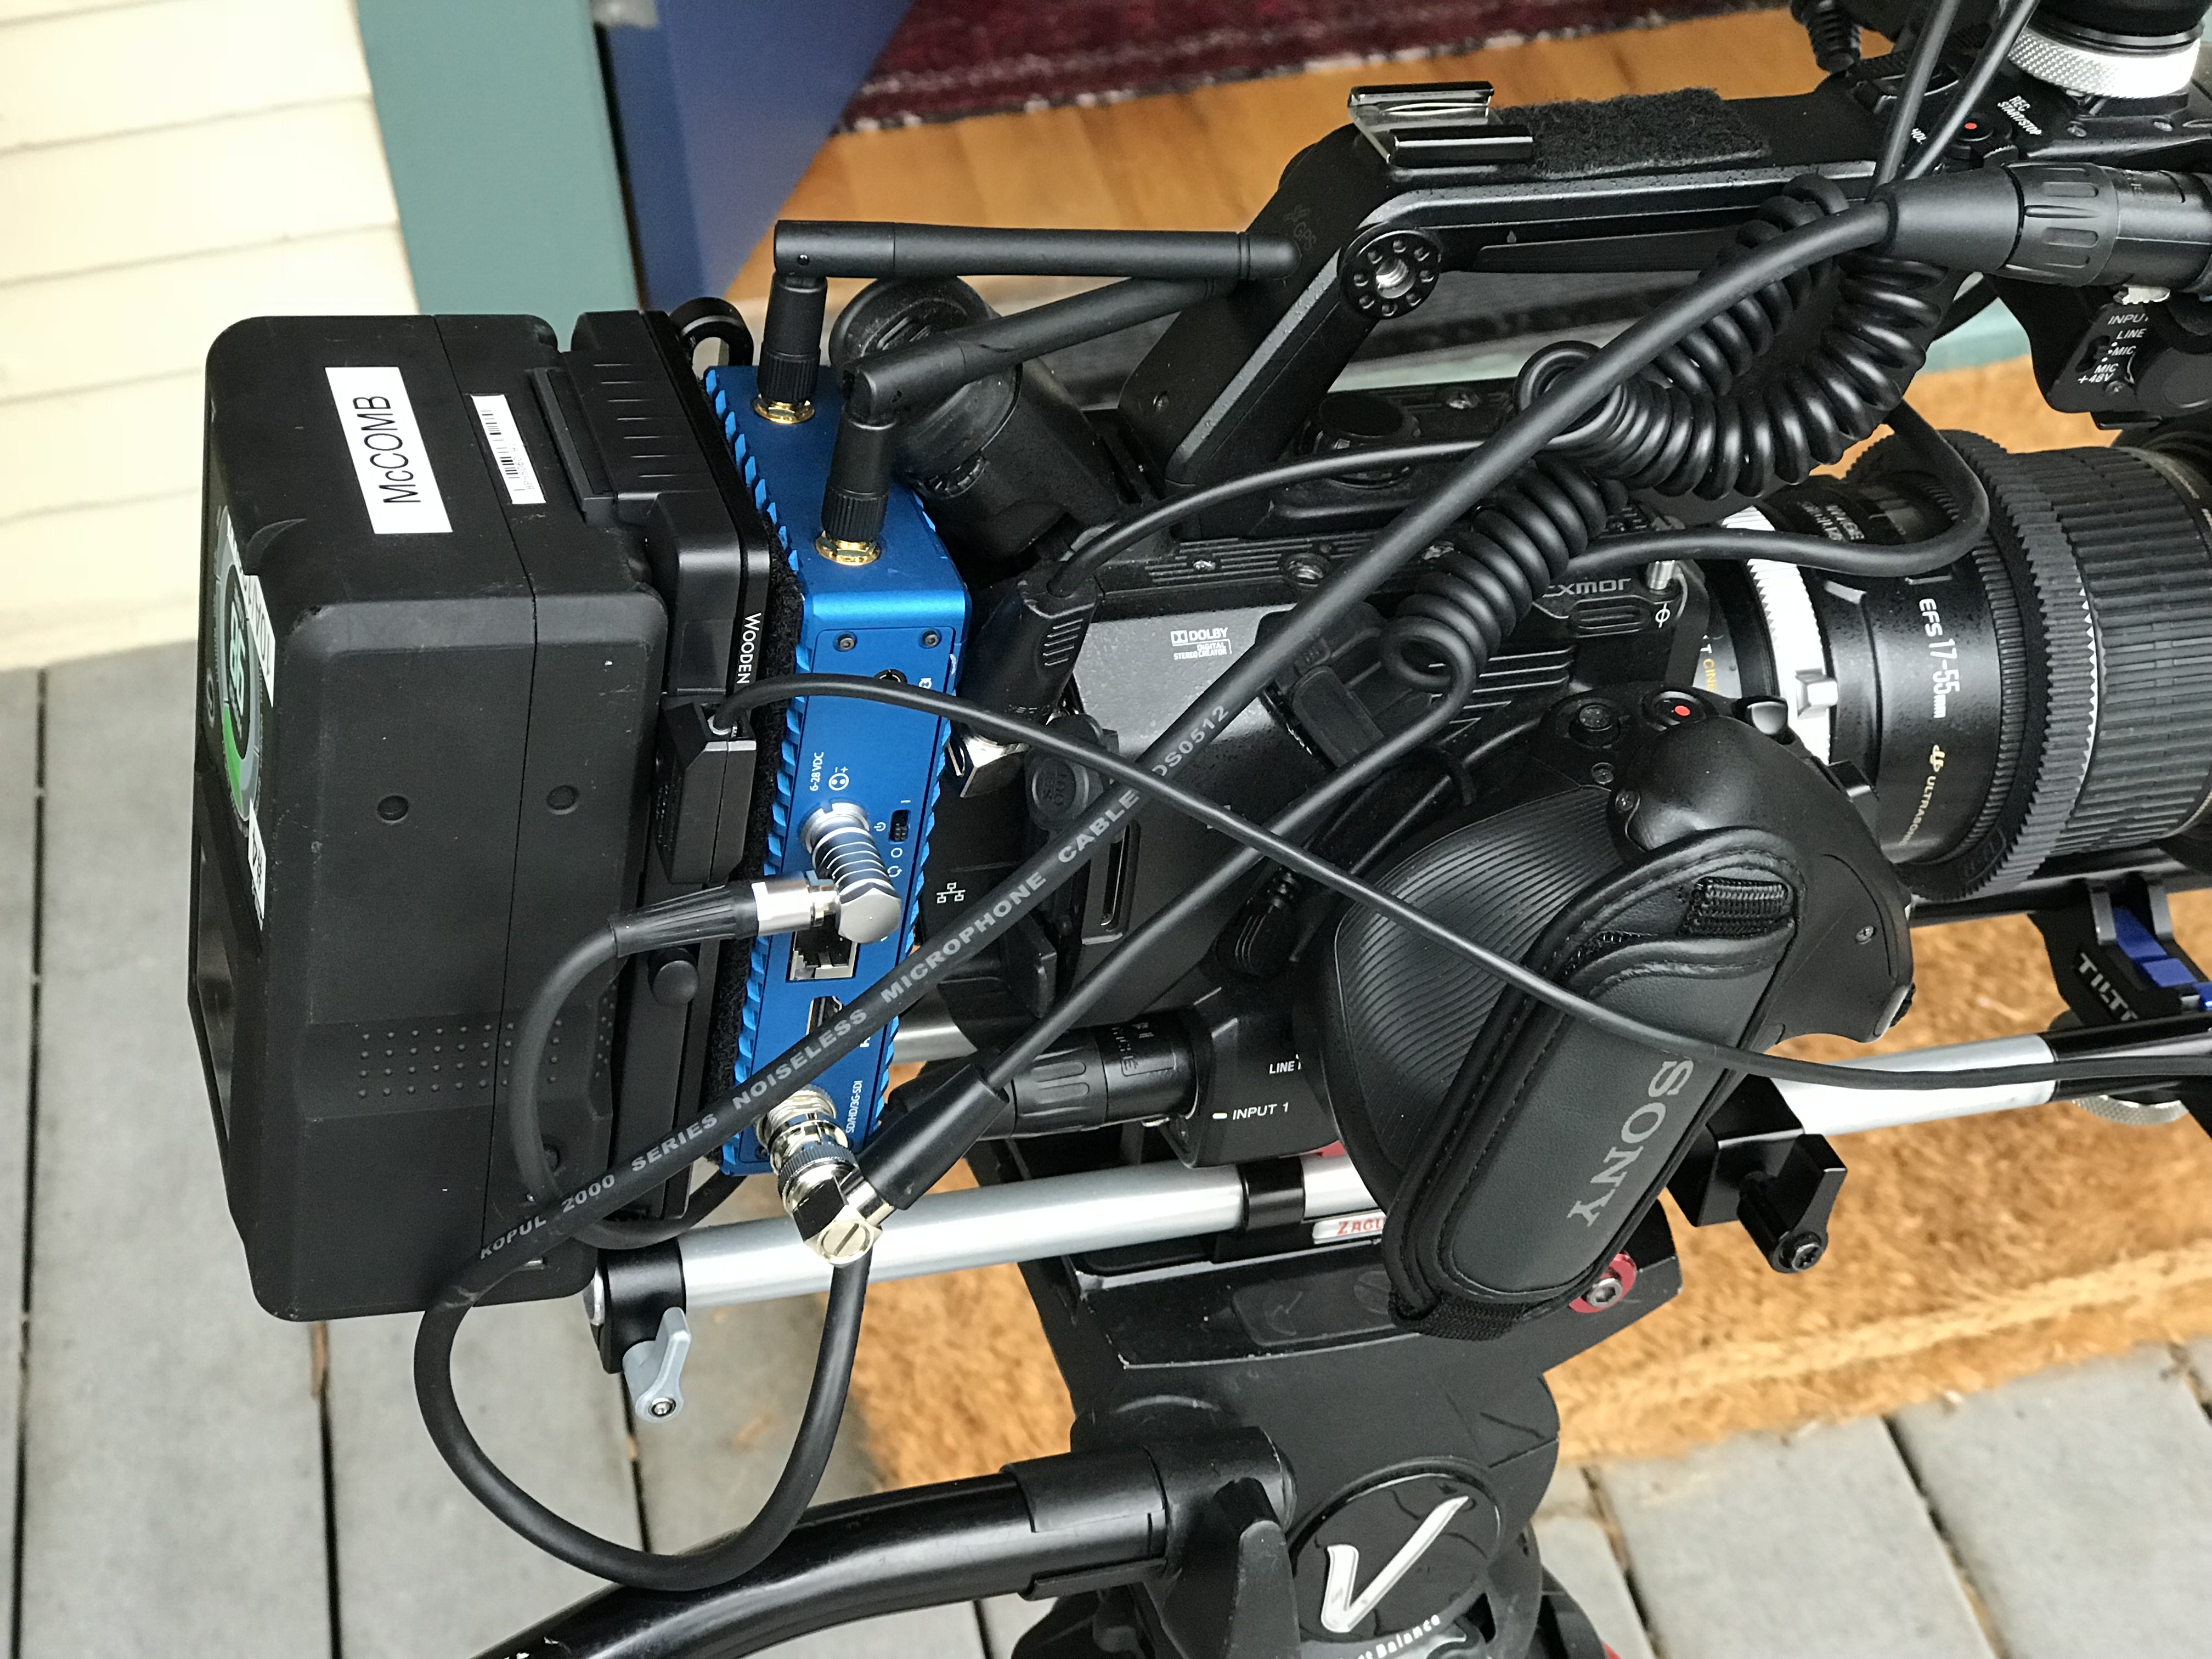
Wooden Camera battery plate for Sony FS5, reverse side. The Teradek ServePro is attached to the back of the battery slide with two strips of velcro.
Footnote: It turns out that the way I’ve powered the camera in these photos is actually quite dangerous. As I discovered later, if the brick battery dies while you are rolling, your clips won’t be saved to disk, and you’ll lose the shot. Luckily, there’s a simple solution.


