One of the things I’ve noticed now that I’m doing the bulk of my shooting on super 35 sensor cameras instead of a full frame DSLR is that my set of Contax Zeiss primes just aren’t getting used that much any more. Why? The lenses, most of which are f/2.8, just don’t look as good when adapted with the crop factor of f/1.5 using the Metabones IV adapter. So, why not just just use them with a Speedbooster?
Answer: because of protruding rear elements (see below) that prevent them from fitting on the Speedbooster.
It’s really quite extraordinary the difference in look that a full frame vs. a super 35 sensor makes with this glass. Using the IV adapter, my 35mm f/2.8 Zeiss becomes about a 52mm lens in terms of field of view. Sometimes the change in field of view is fine – when I want a longer focal length. But another thing happens that’s rarely desirable: what was f/2.8 on full frame now has the depth of field appearance of f/4. And the difference between apparent f/4 and f/2.8 on full frame? Huge.
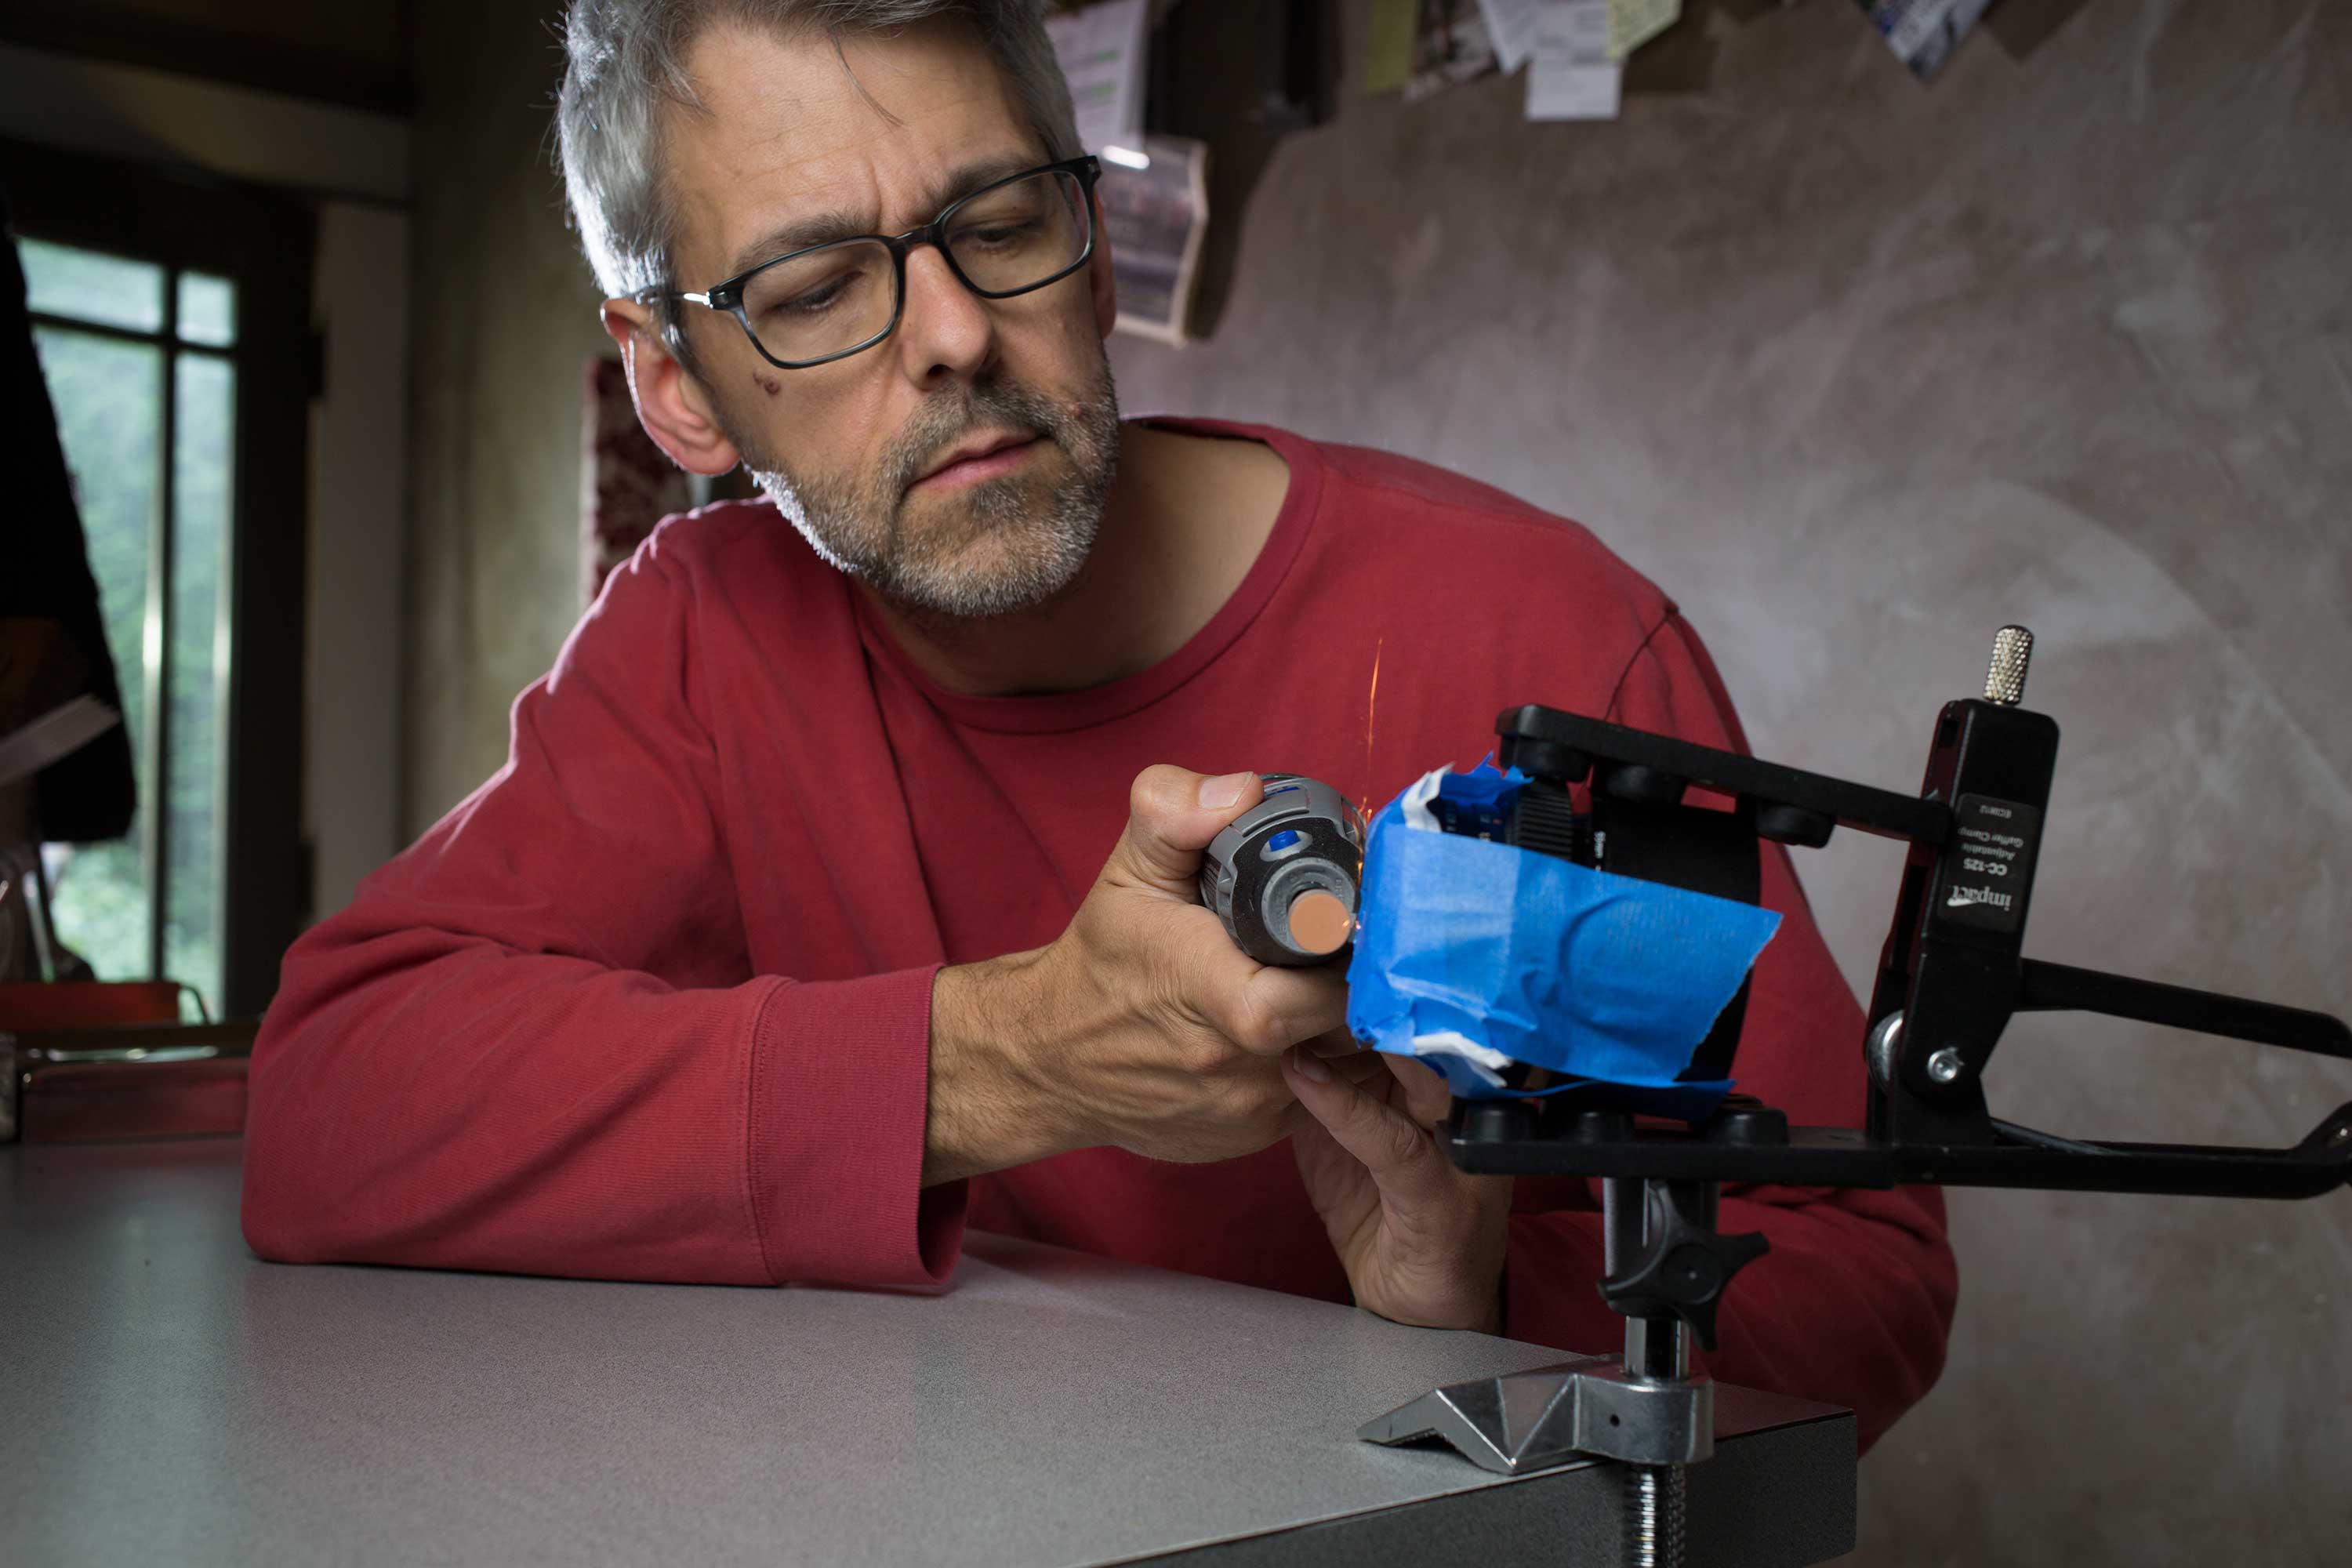
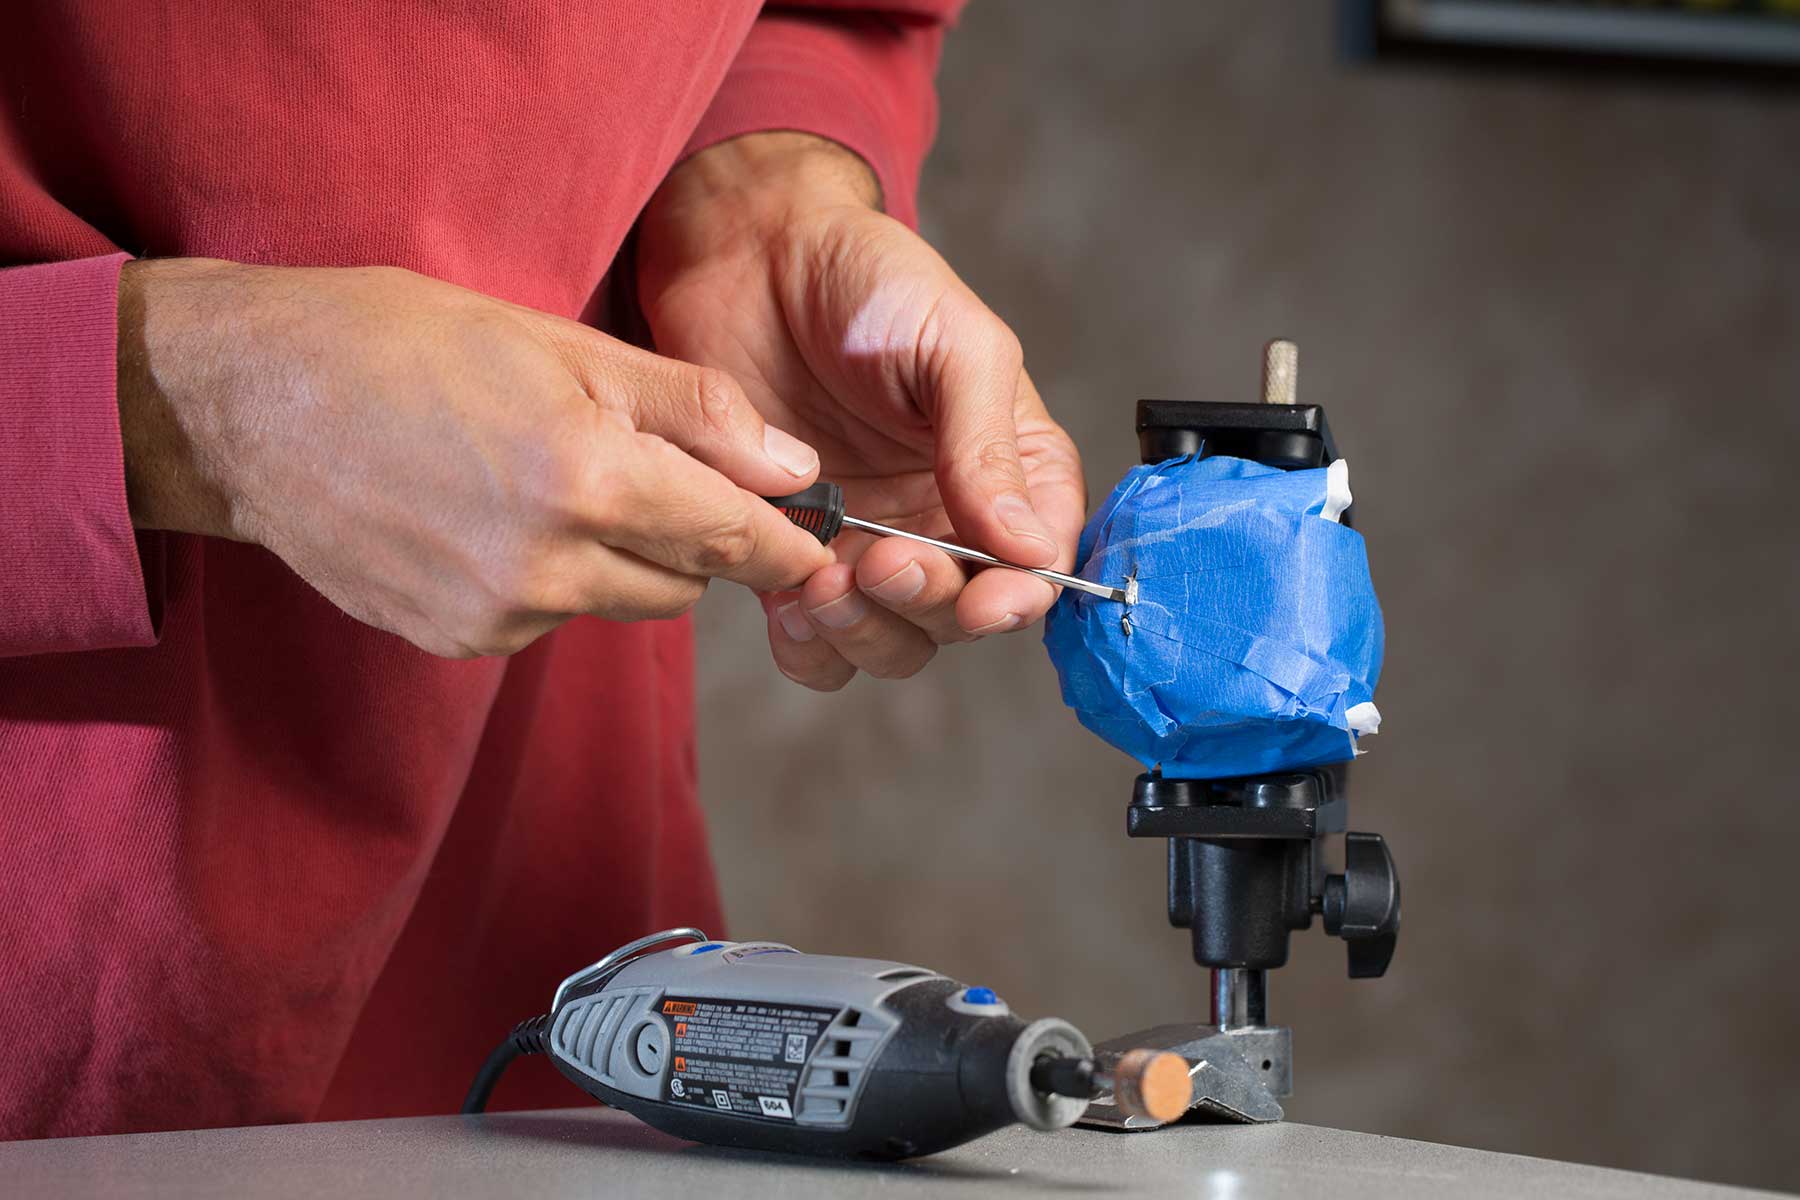
Over the weekend, it occurred to me that there might be a way around this impasse. Why not get a Dremel tool and grind those nasty rear elements out of the way? A close examination revealed that the elements are useless for video work anyway. I will never be using these lenses, which are permanently cine modified already, for shooting stills on a Contax camera. So I ran across the street to my hardware store and got busy.
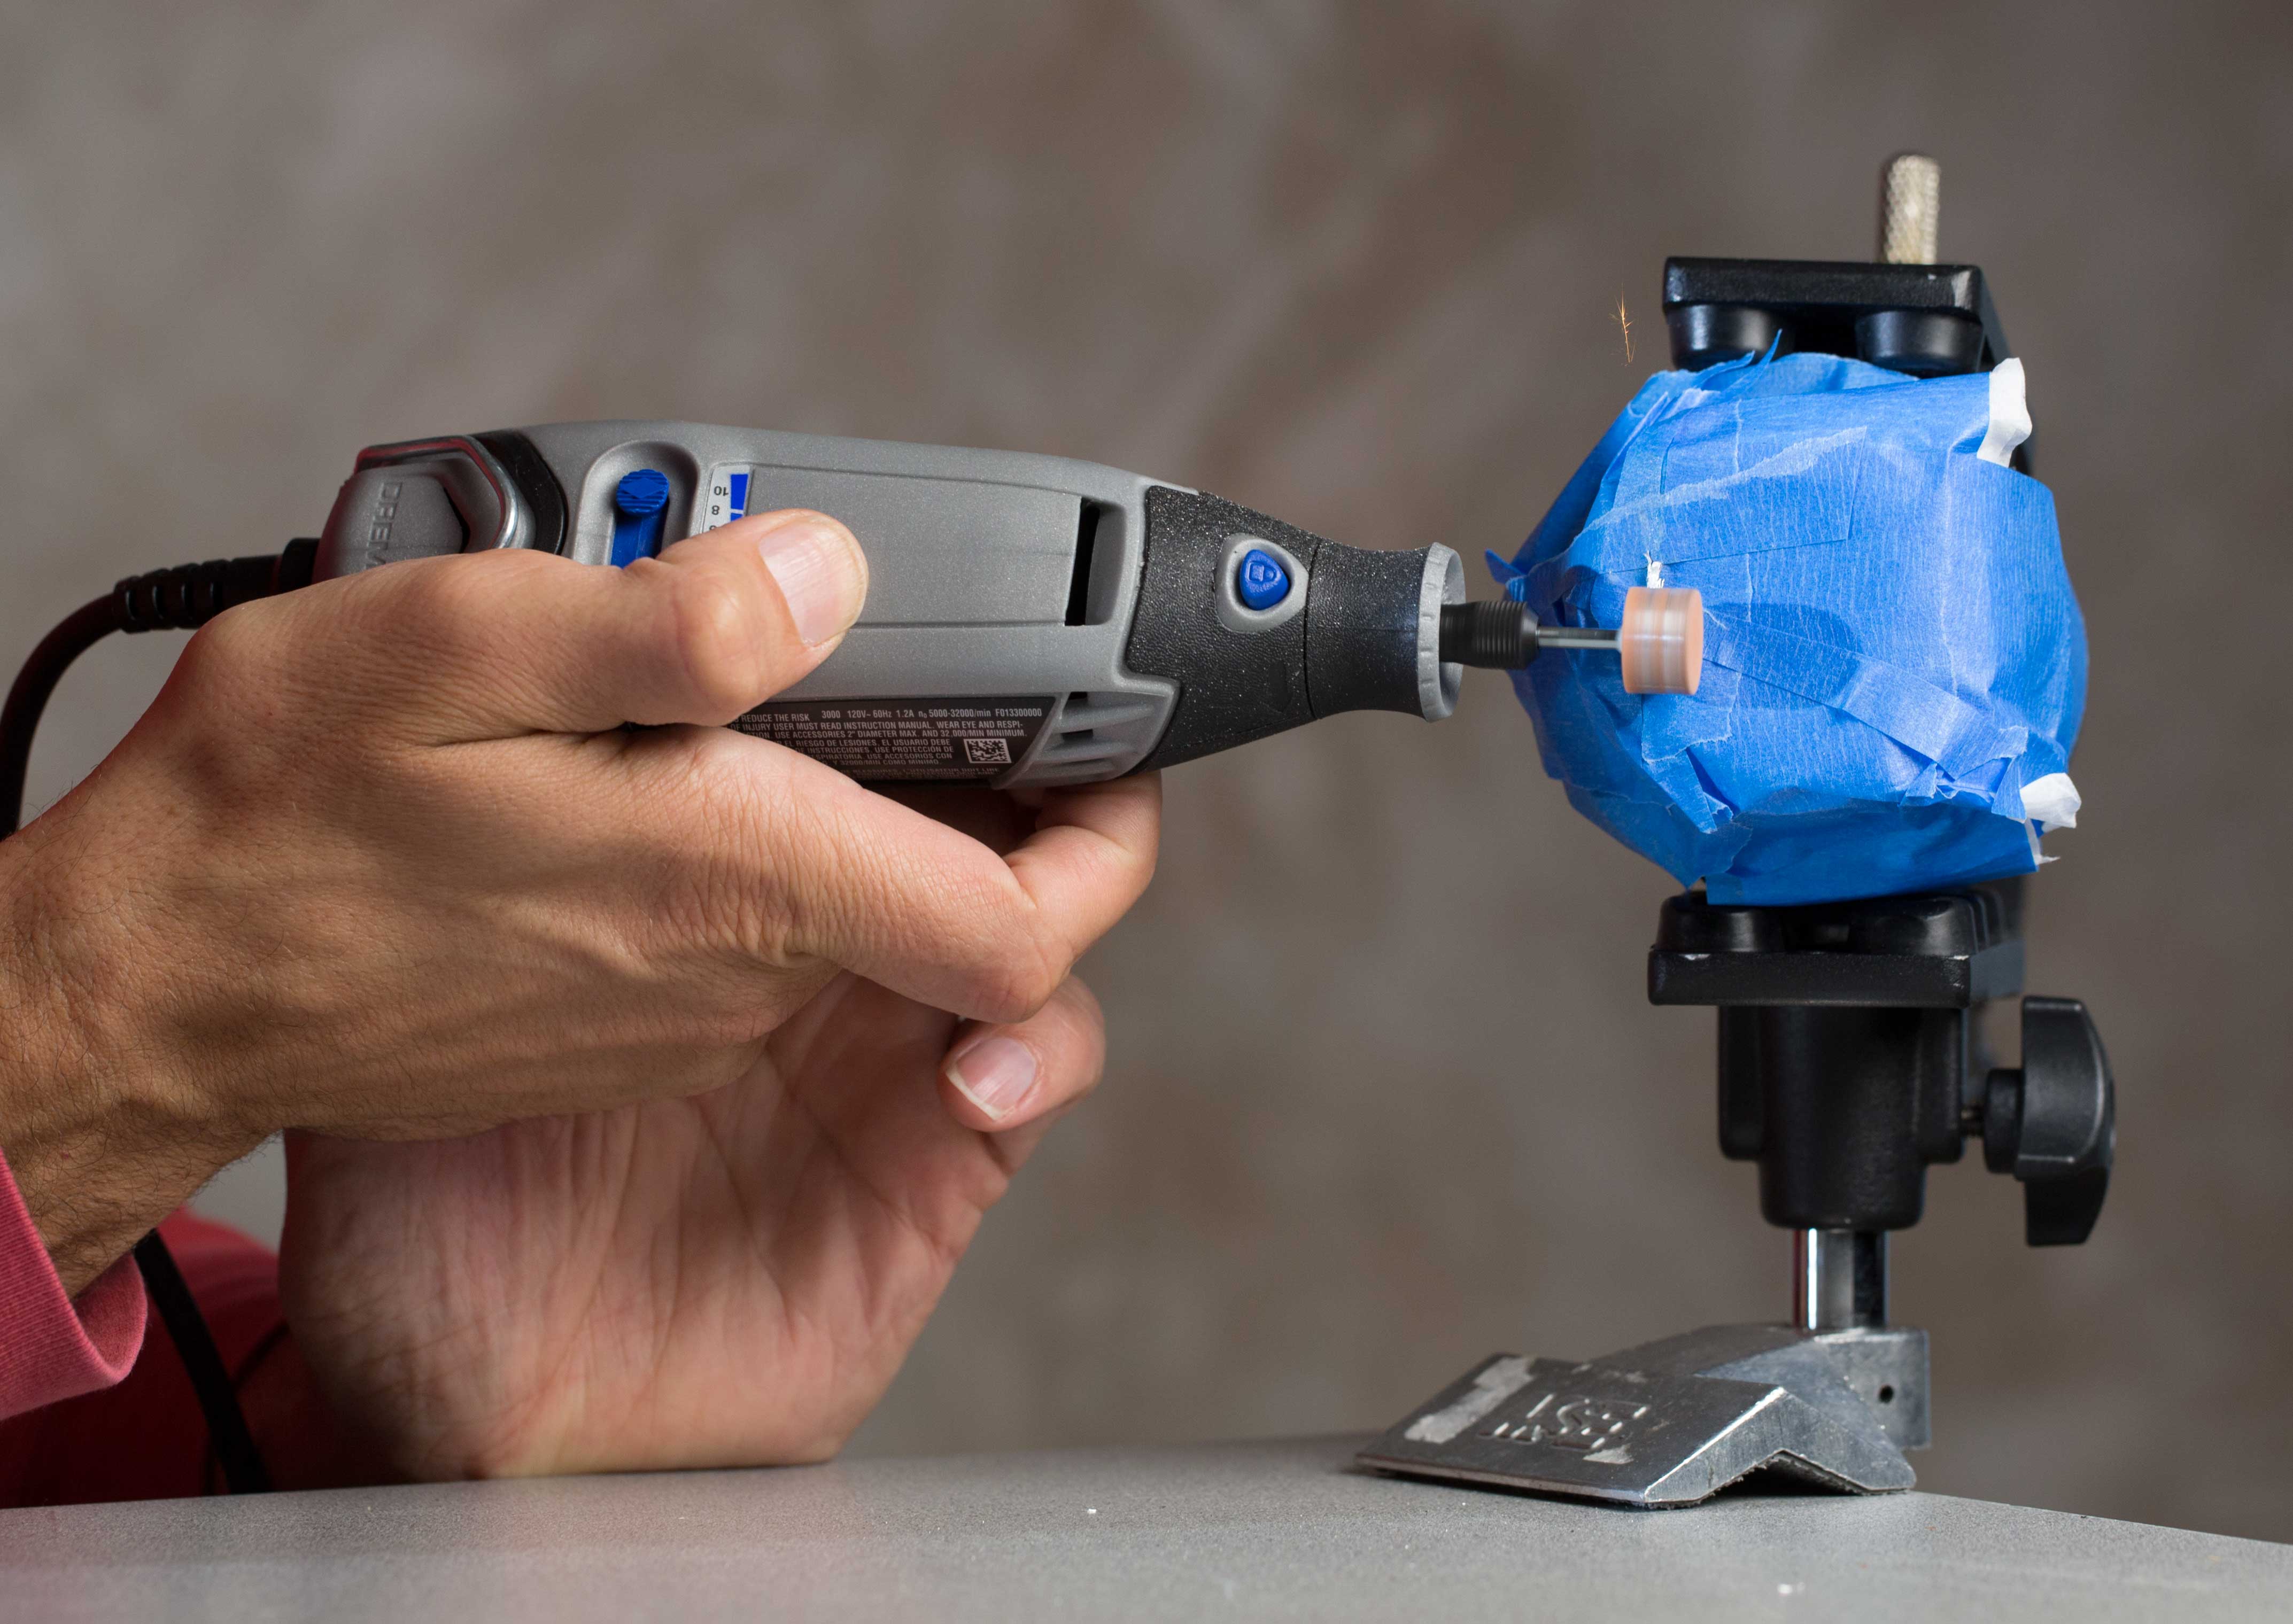
First thing was learning about griding wheels – turns out the one you want for this job is the aluminum oxide grinders that are designed for metal work. Pictured above is the B132 grinding stone, which worked great.
To prevent fine metal shavings from falling into the lens, I carefully used painters tape to mask off the rear elements of the lens and block the openings into the lens. Then I made sure my glasses were on, and got busy.

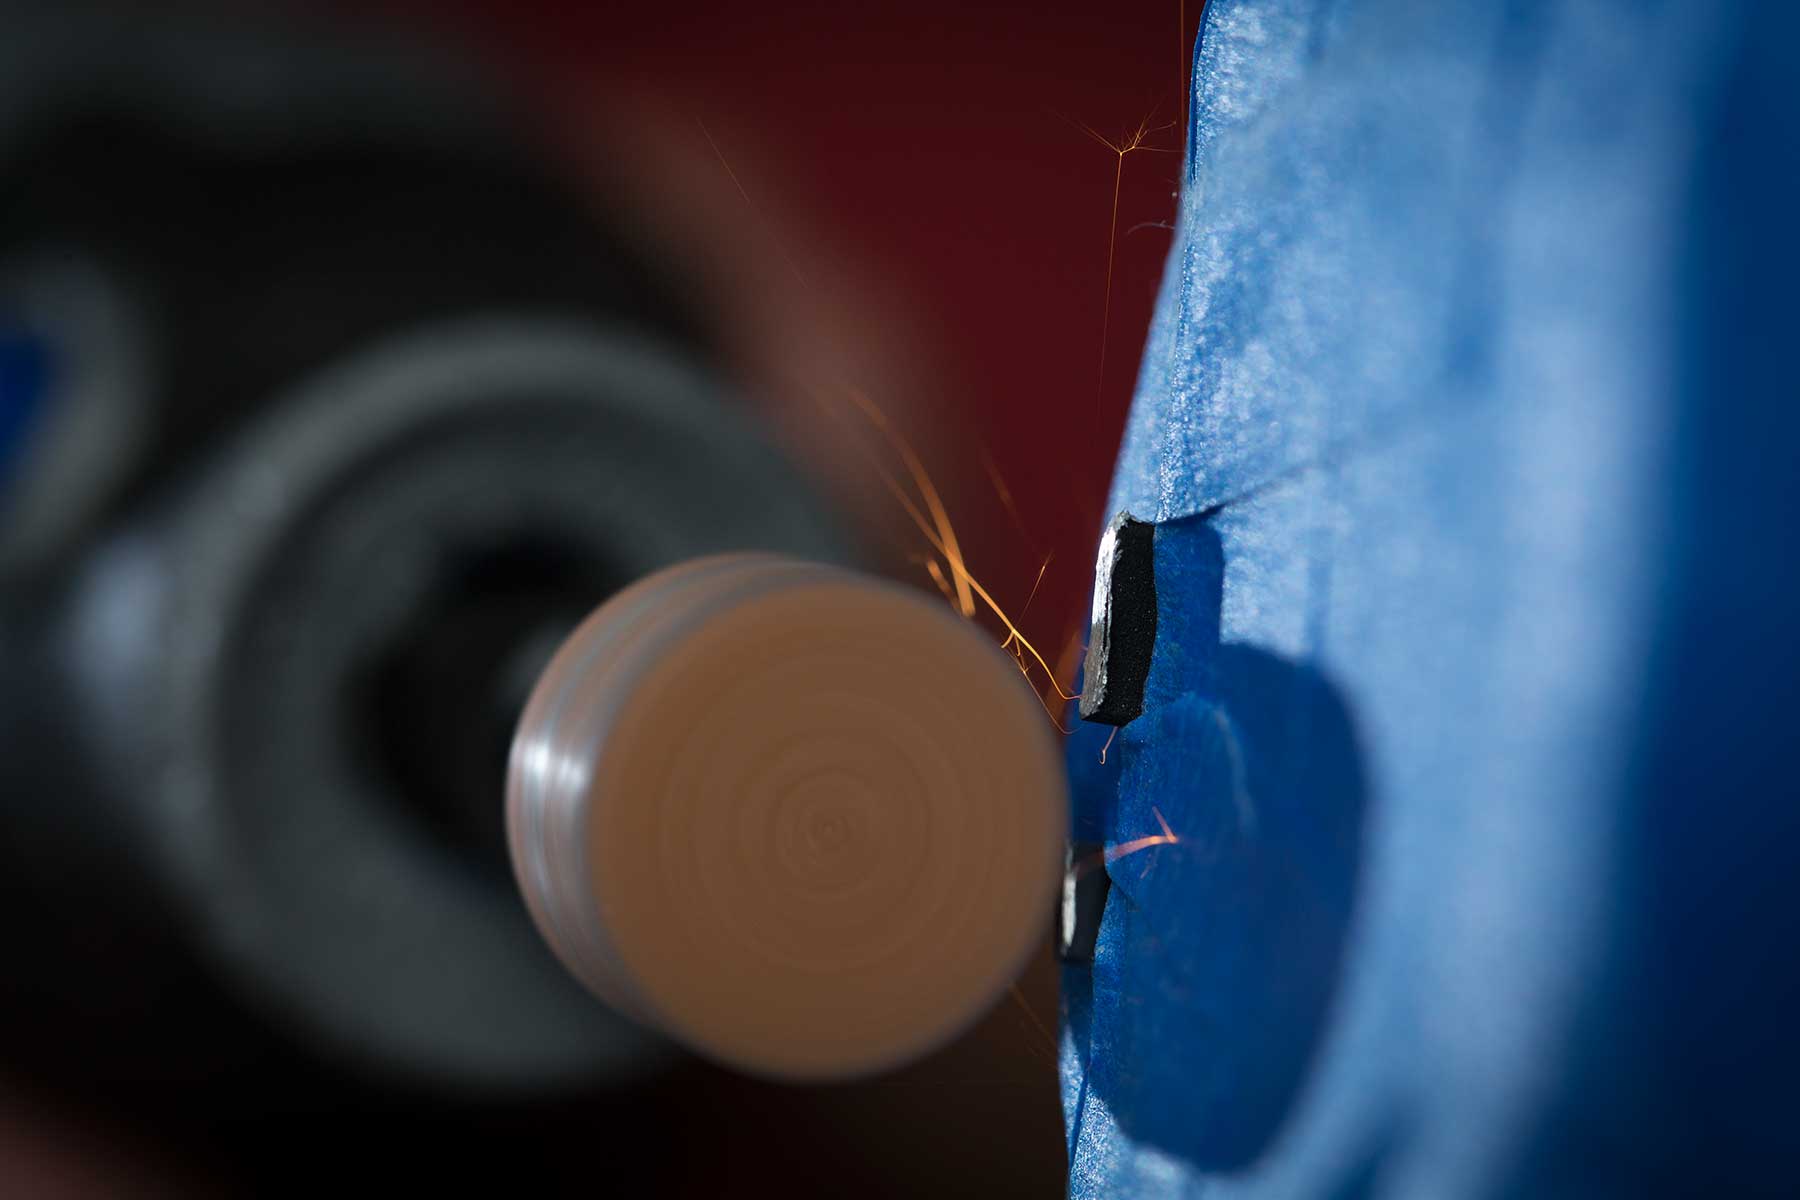
The metal pretty much just melts away with carefully applied pressure.
Bits of metal become flattened and hang over the sides of the real element, which I was able to scrape away with a small screwdriver. I also used a vacuum cleaner to suck out any stray metal dust.
Pulling away the tape reveals the flattened elements.

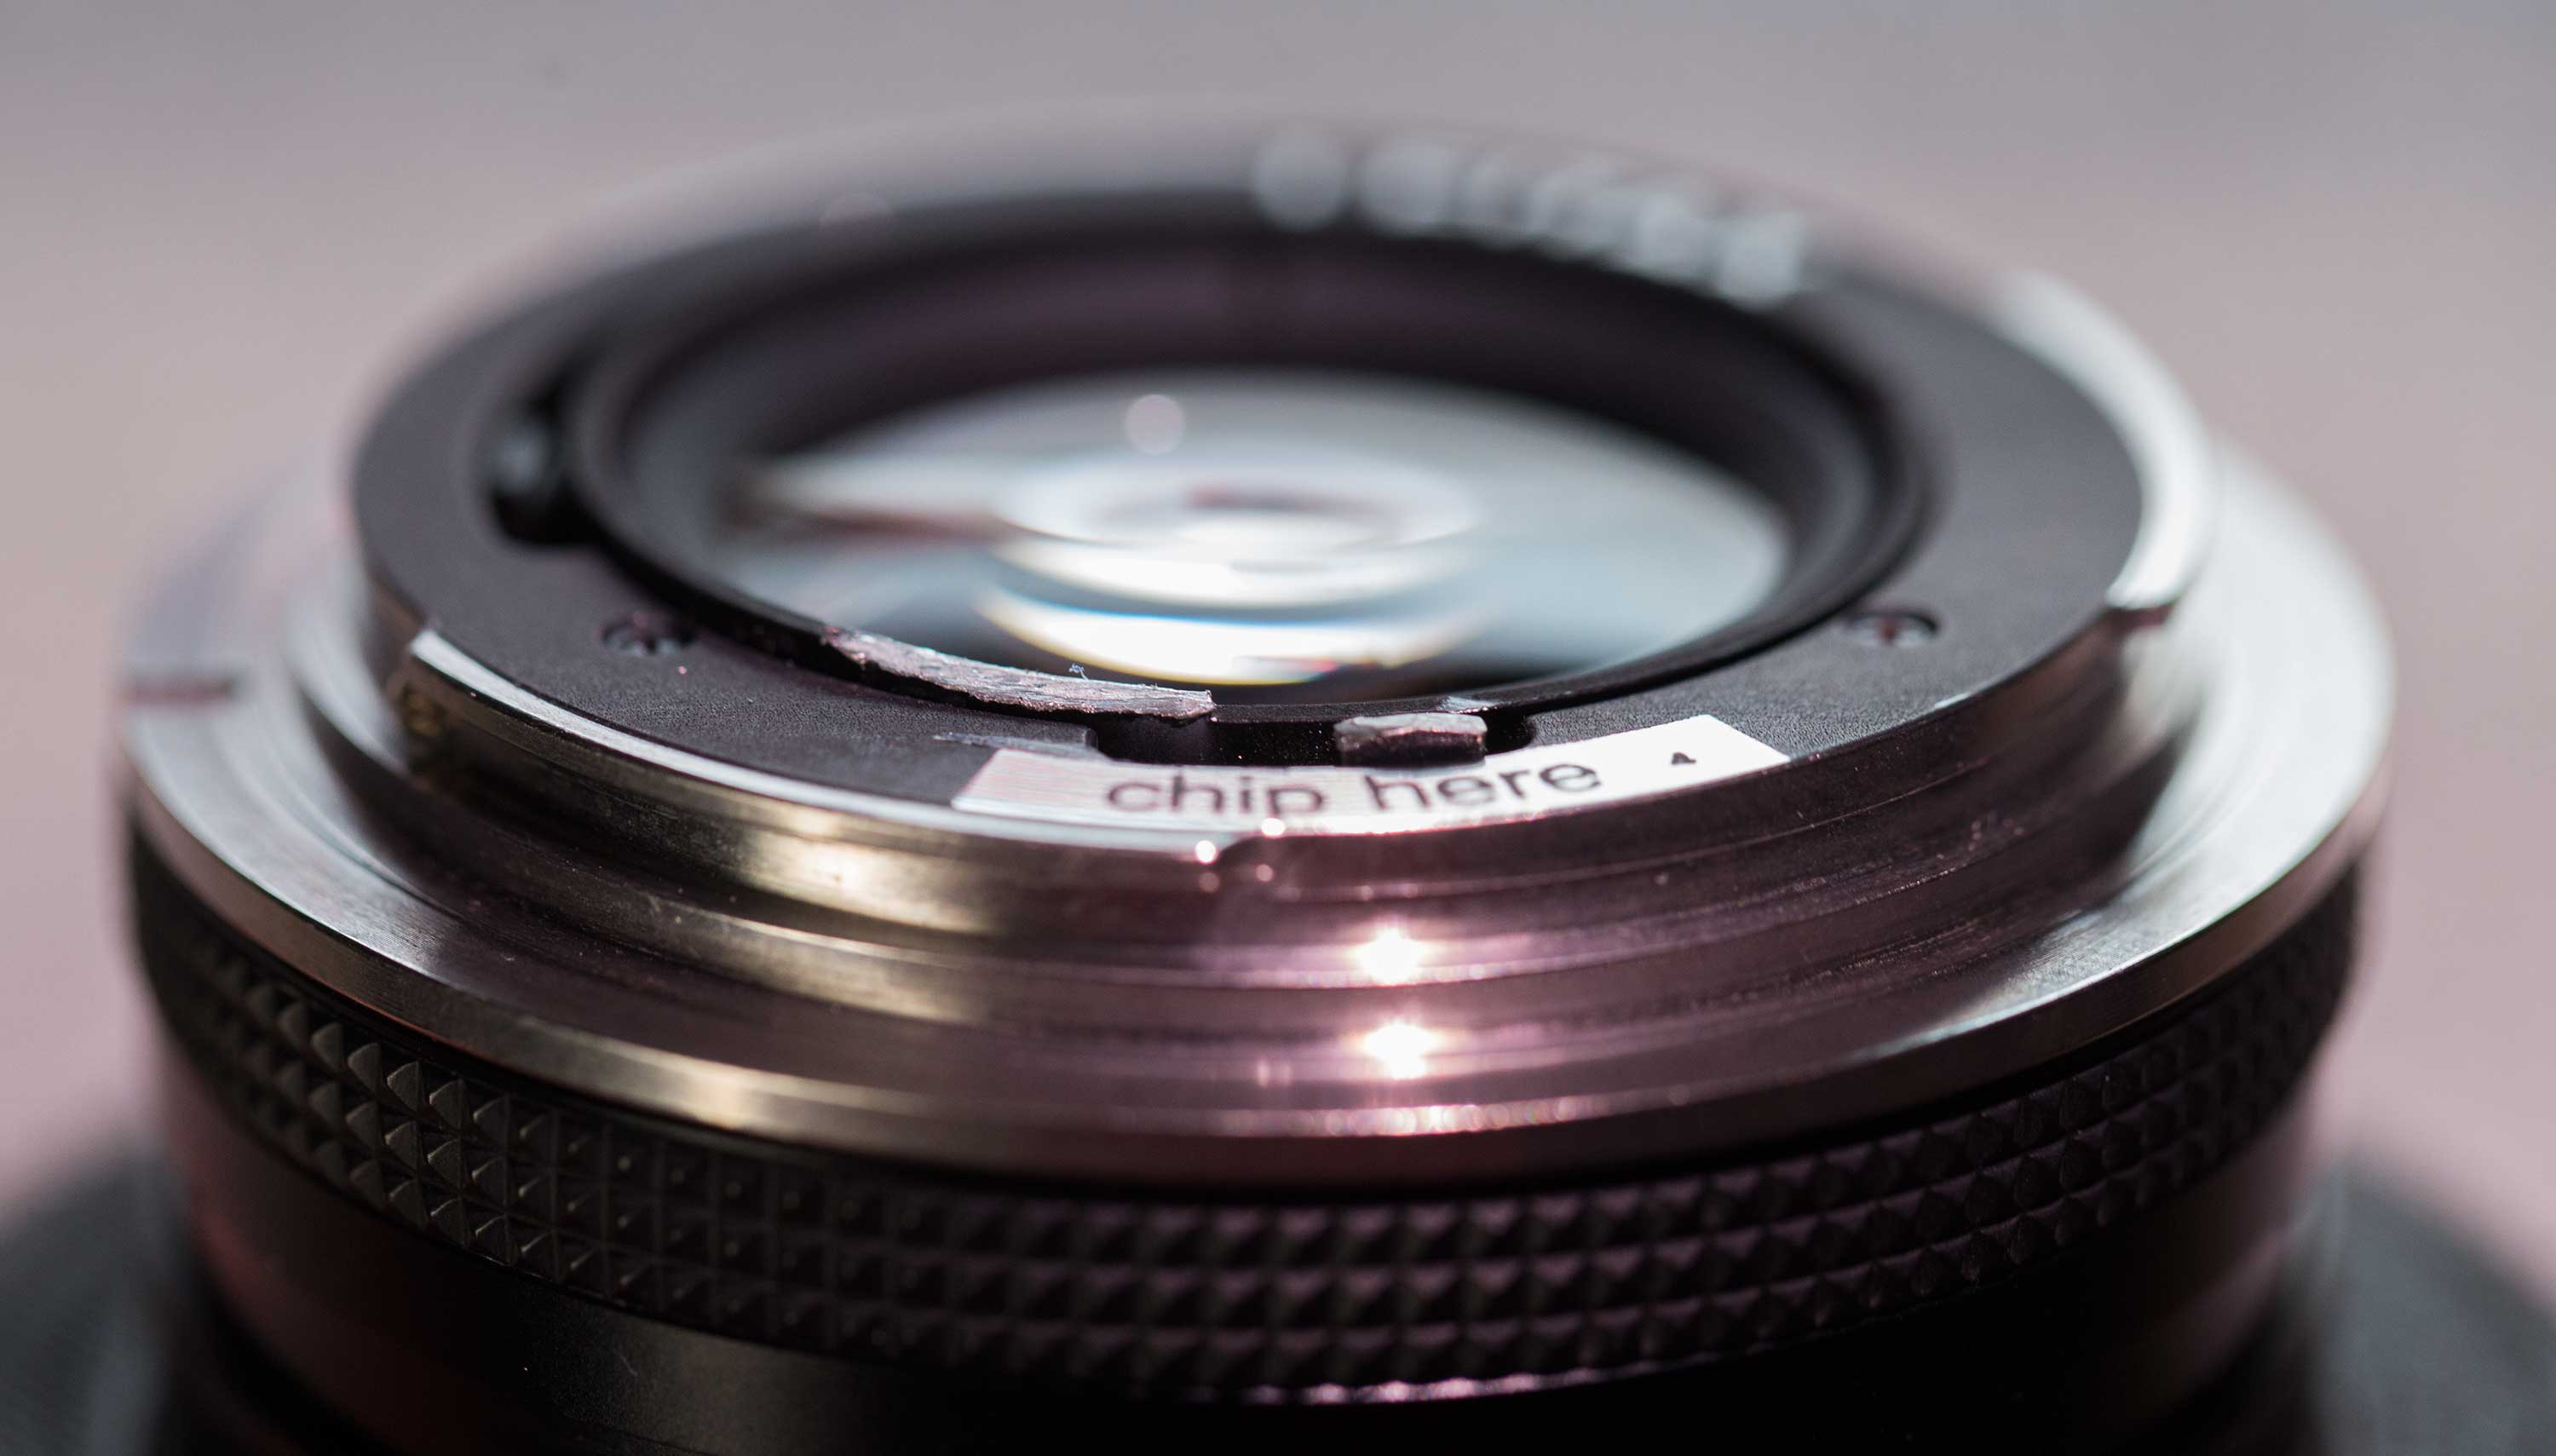
Now the moment of truth: It fits! I ground down all 5 of my lenses in my set (25mm f/2.8, 35mm f/2.8, 50mm f/1.4, 85mm f/1.4, 135mm f/2.8).

I tried all 5 of the lenses on, and all fit, but I noticed the 35mm in particular was very tight. This and the 135mm were the most difficult to work on, as they were very tight when attached to the adapter. But they seemed to fit OK after repeated grinding sessions. Woo hoo! I’ve got a set of dreamy Zeiss glass with the full frame look on my FS5!
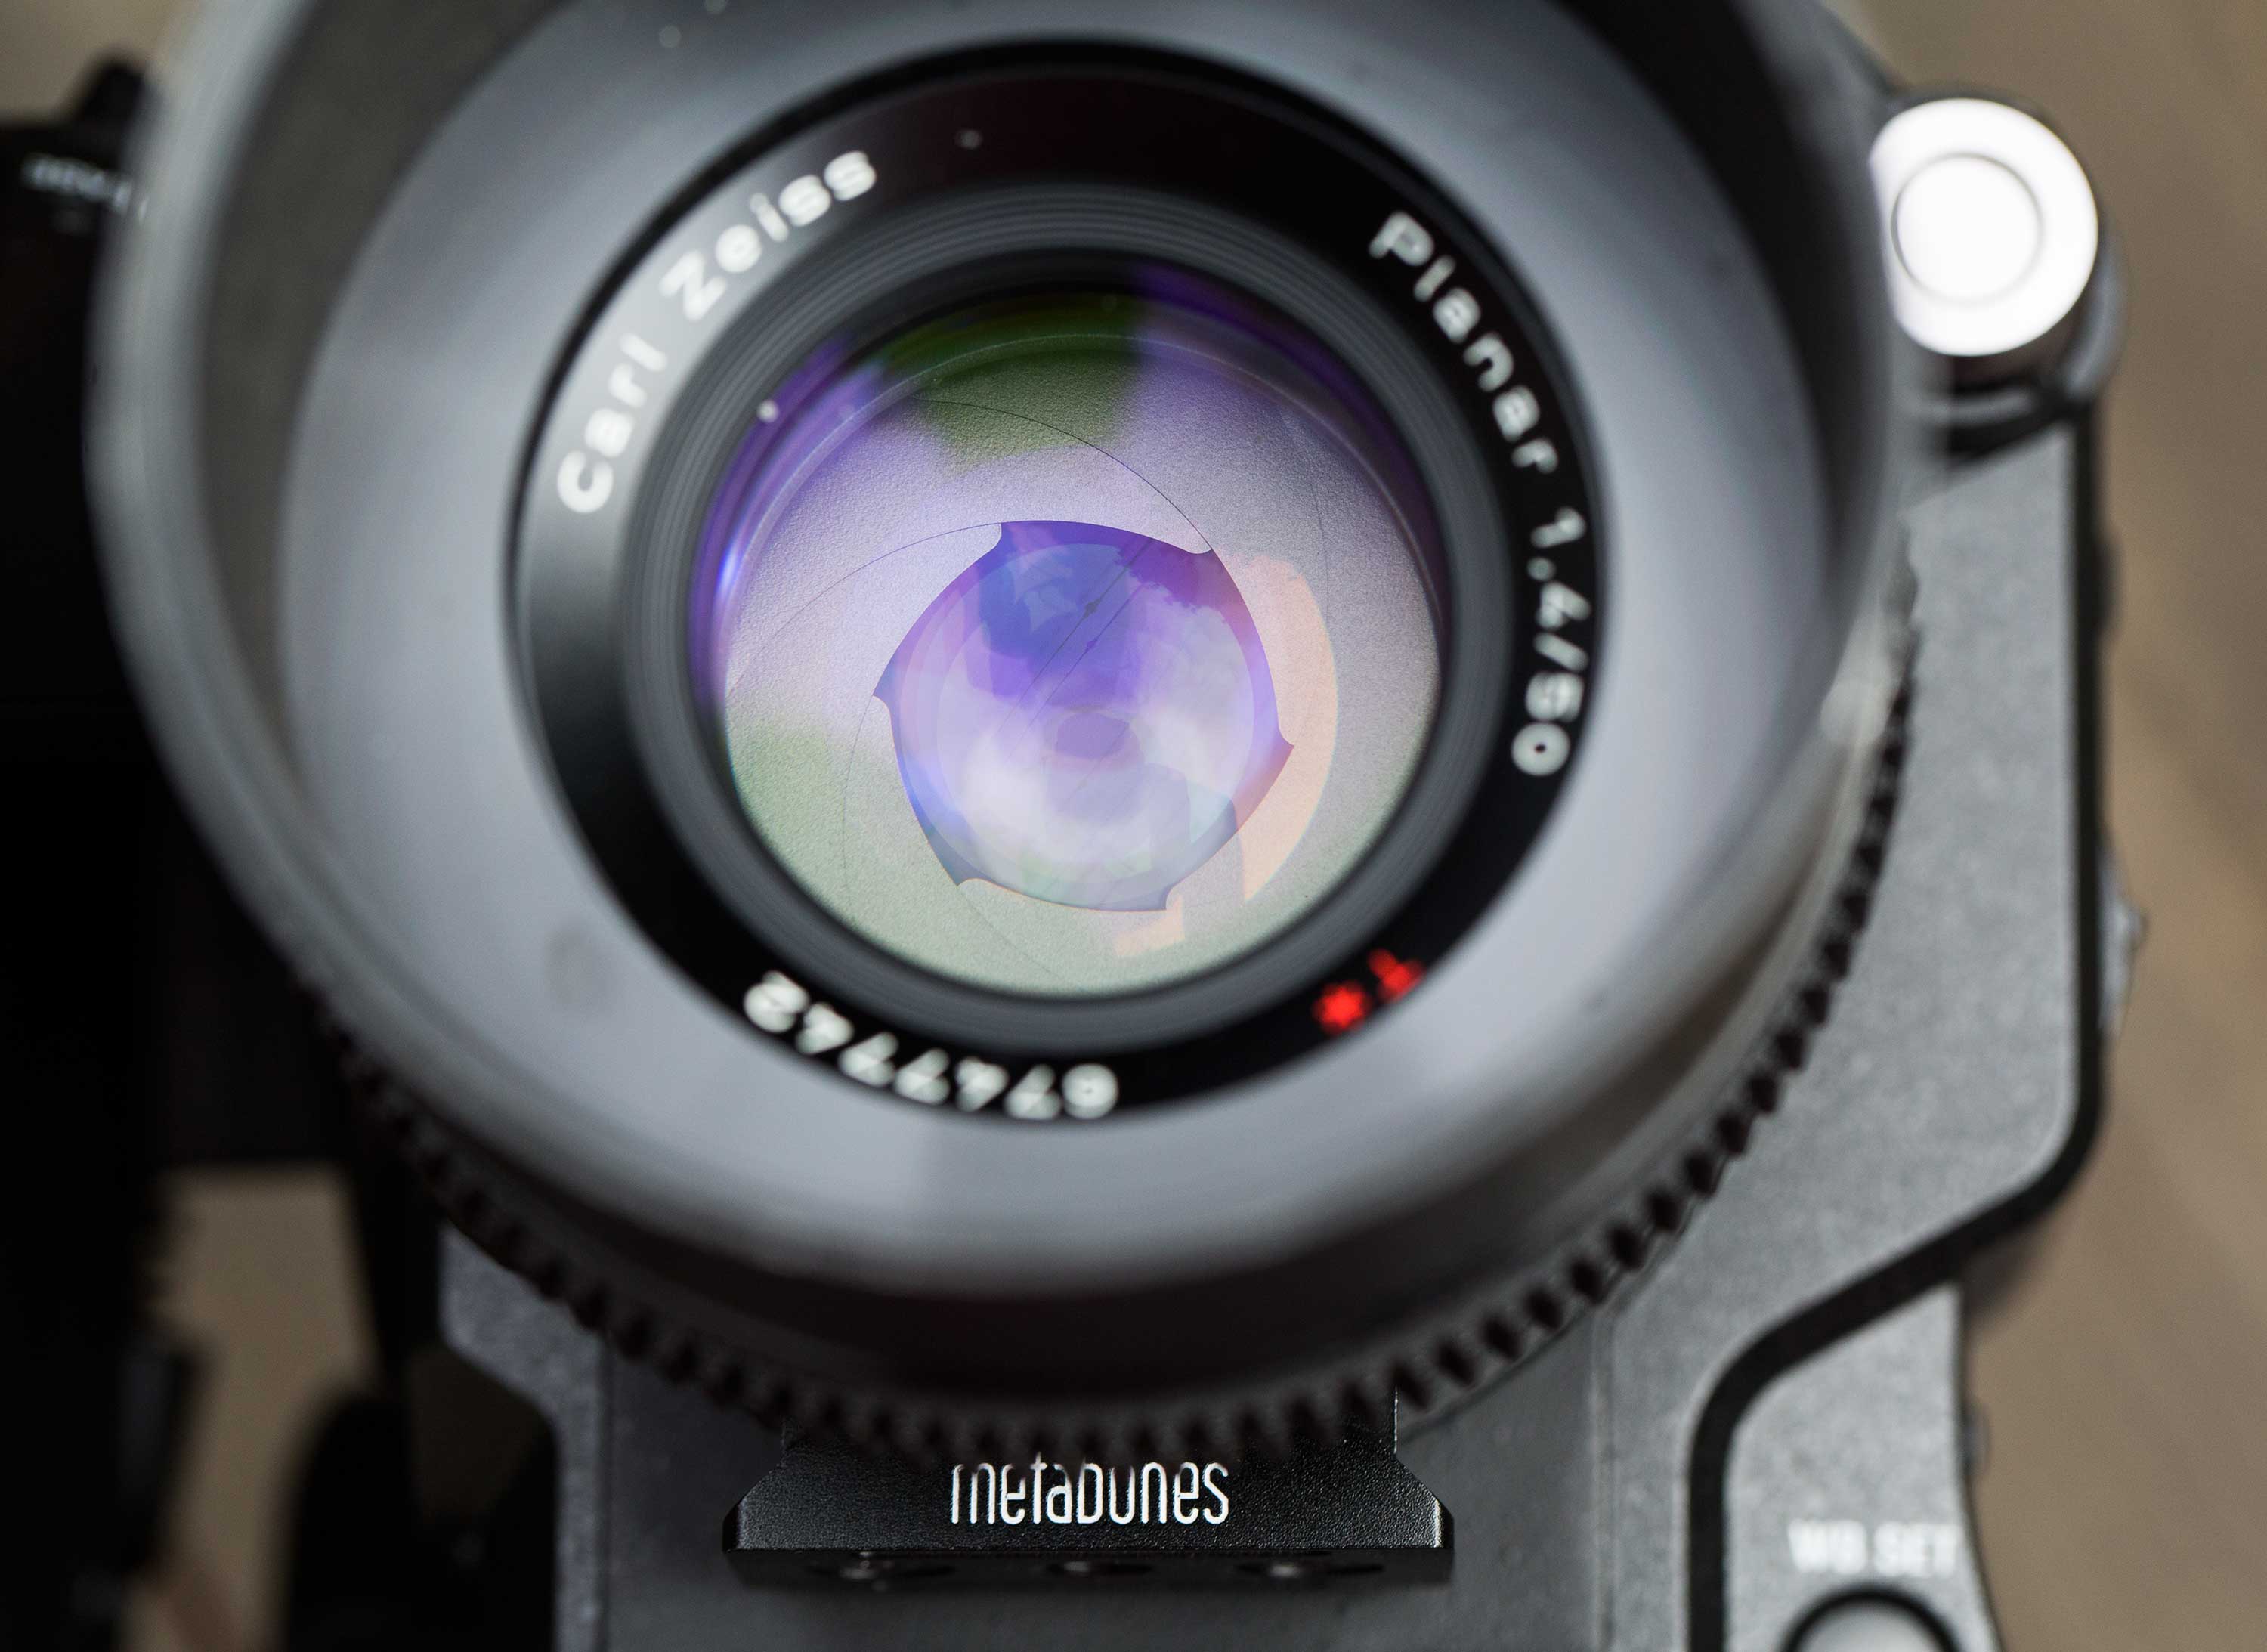
But before you get as excited as I did, let me tell you the rest of the story. When I put one of my Canon L lenses on the Speedbooster, everything seemed fine … except the image stabilization didn’t work. Crap. What did I mess up…
A close look revealed the despite my best efforts at grinding, something had remained on at least one of the lenses that tangled with the last contact in the row. For the Zeiss glass, it doesn’t matter – it’s all manual anyway. But for the Canon lenses, you need every one of those contacts in working order. Sigh.
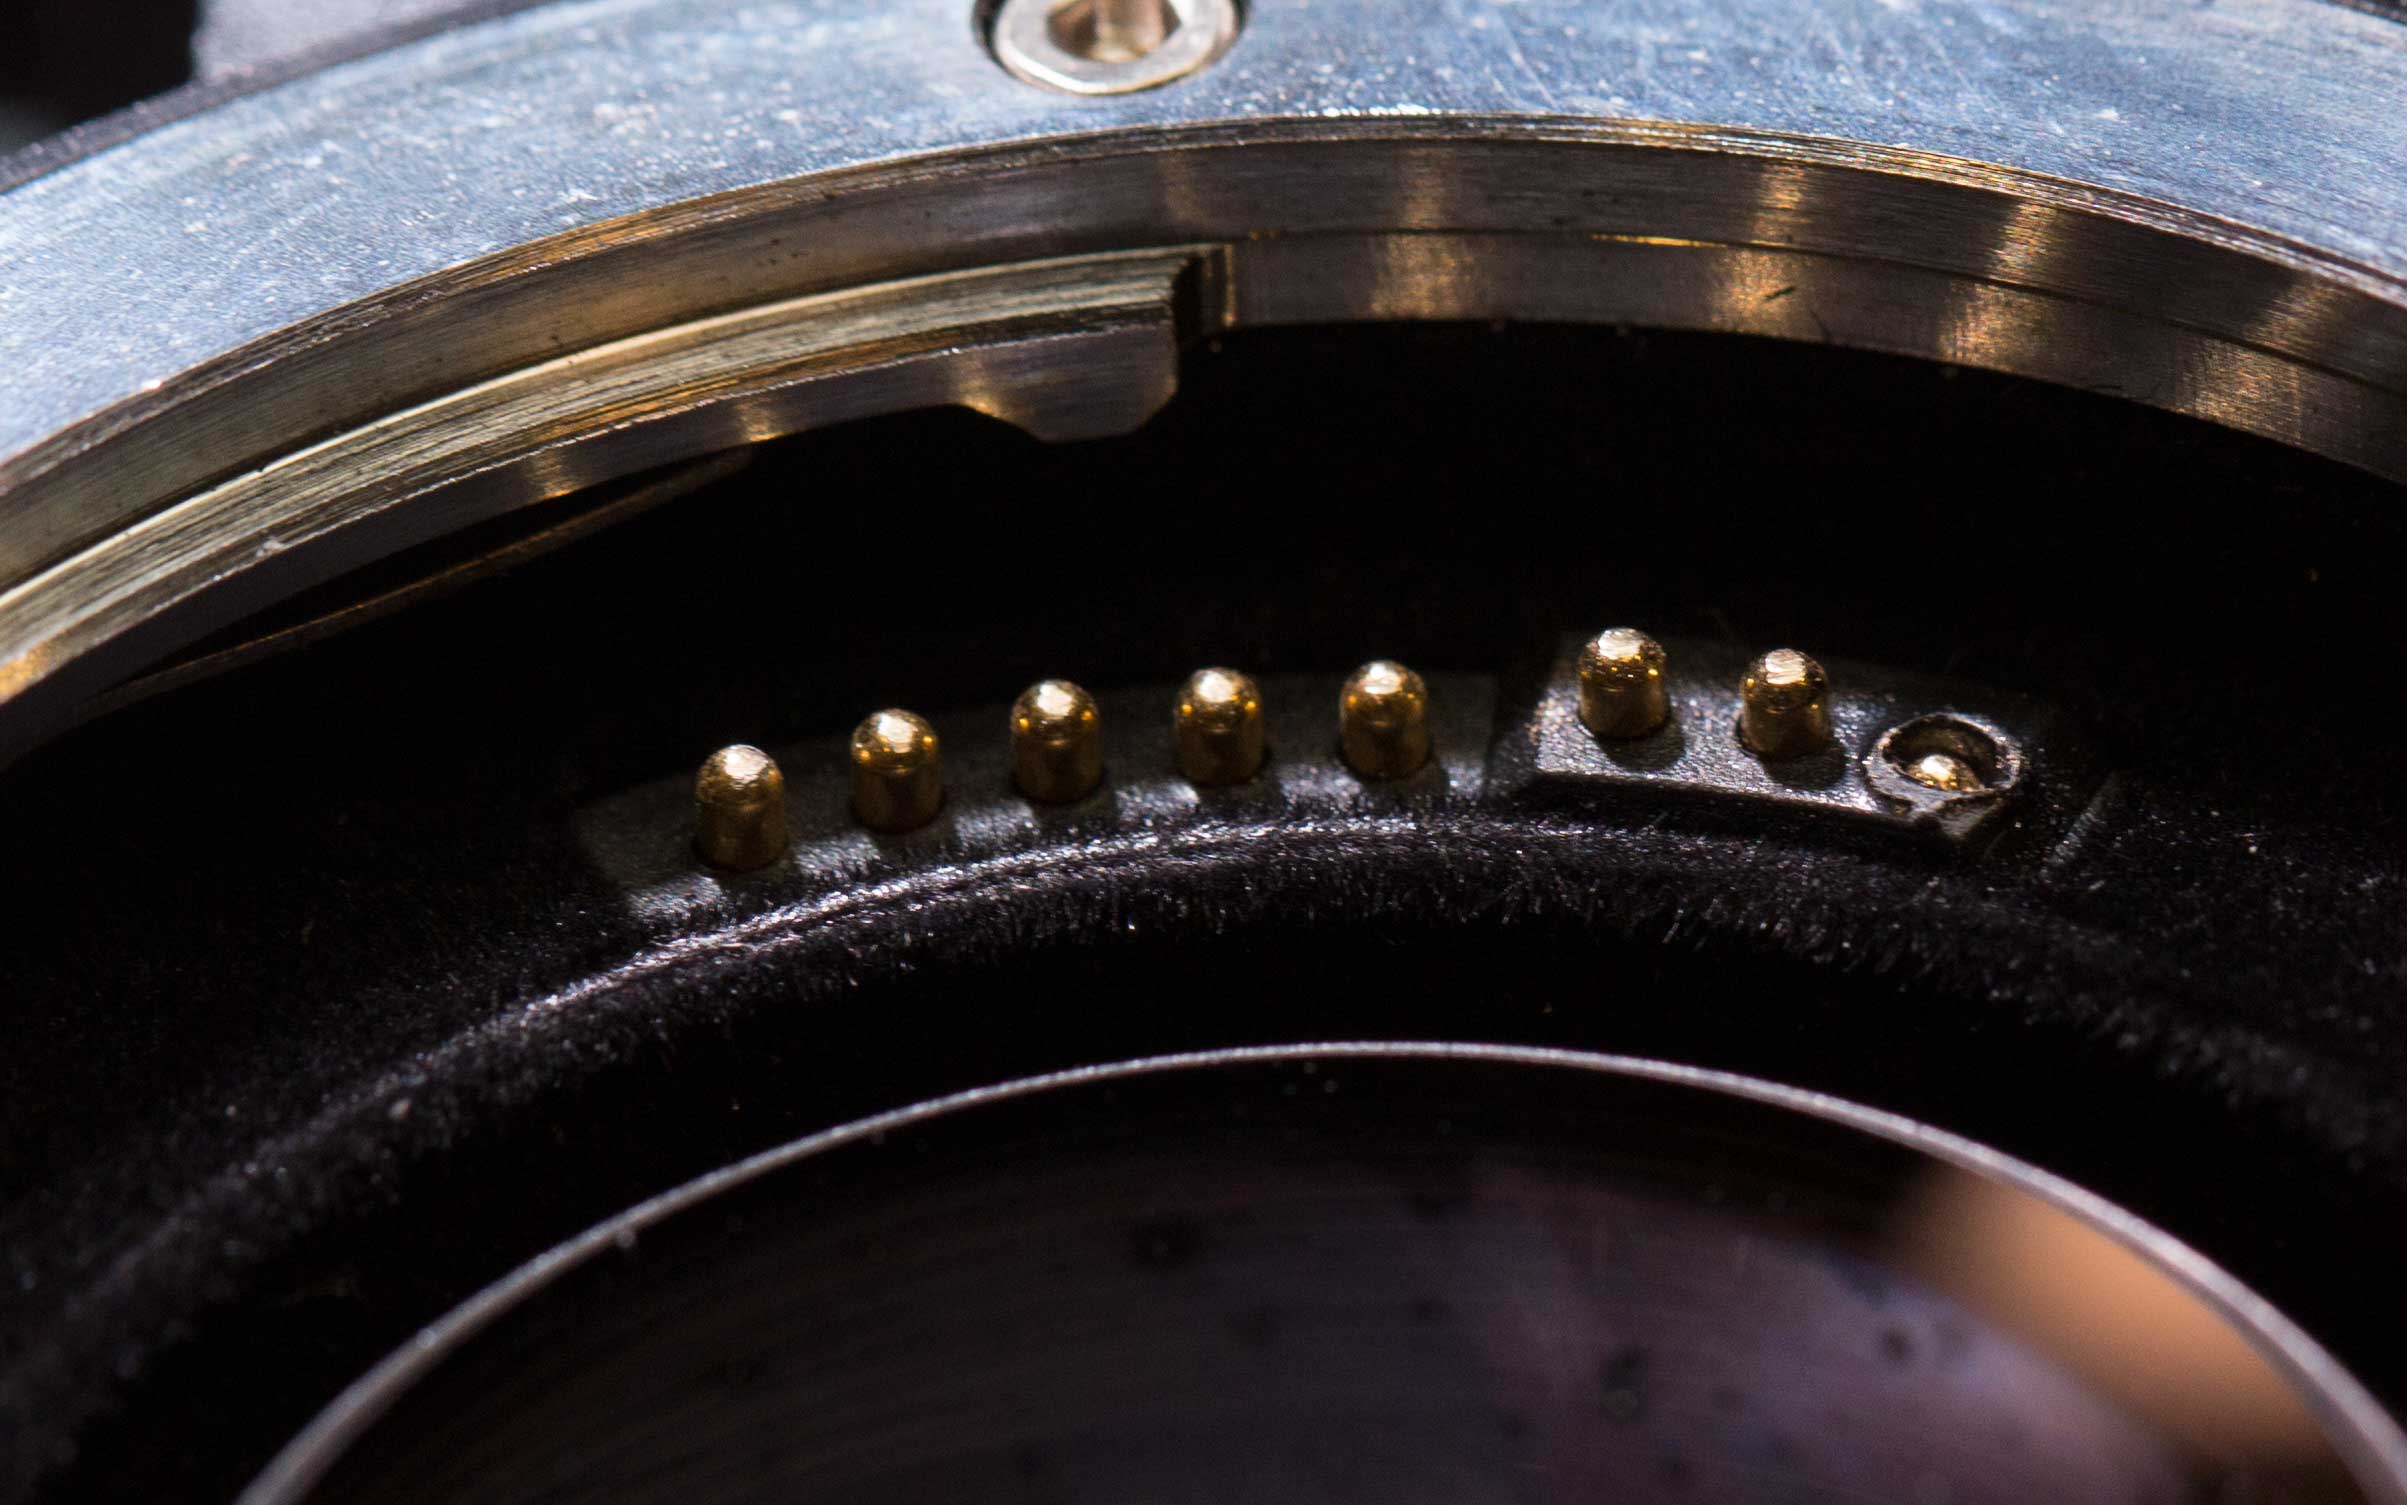
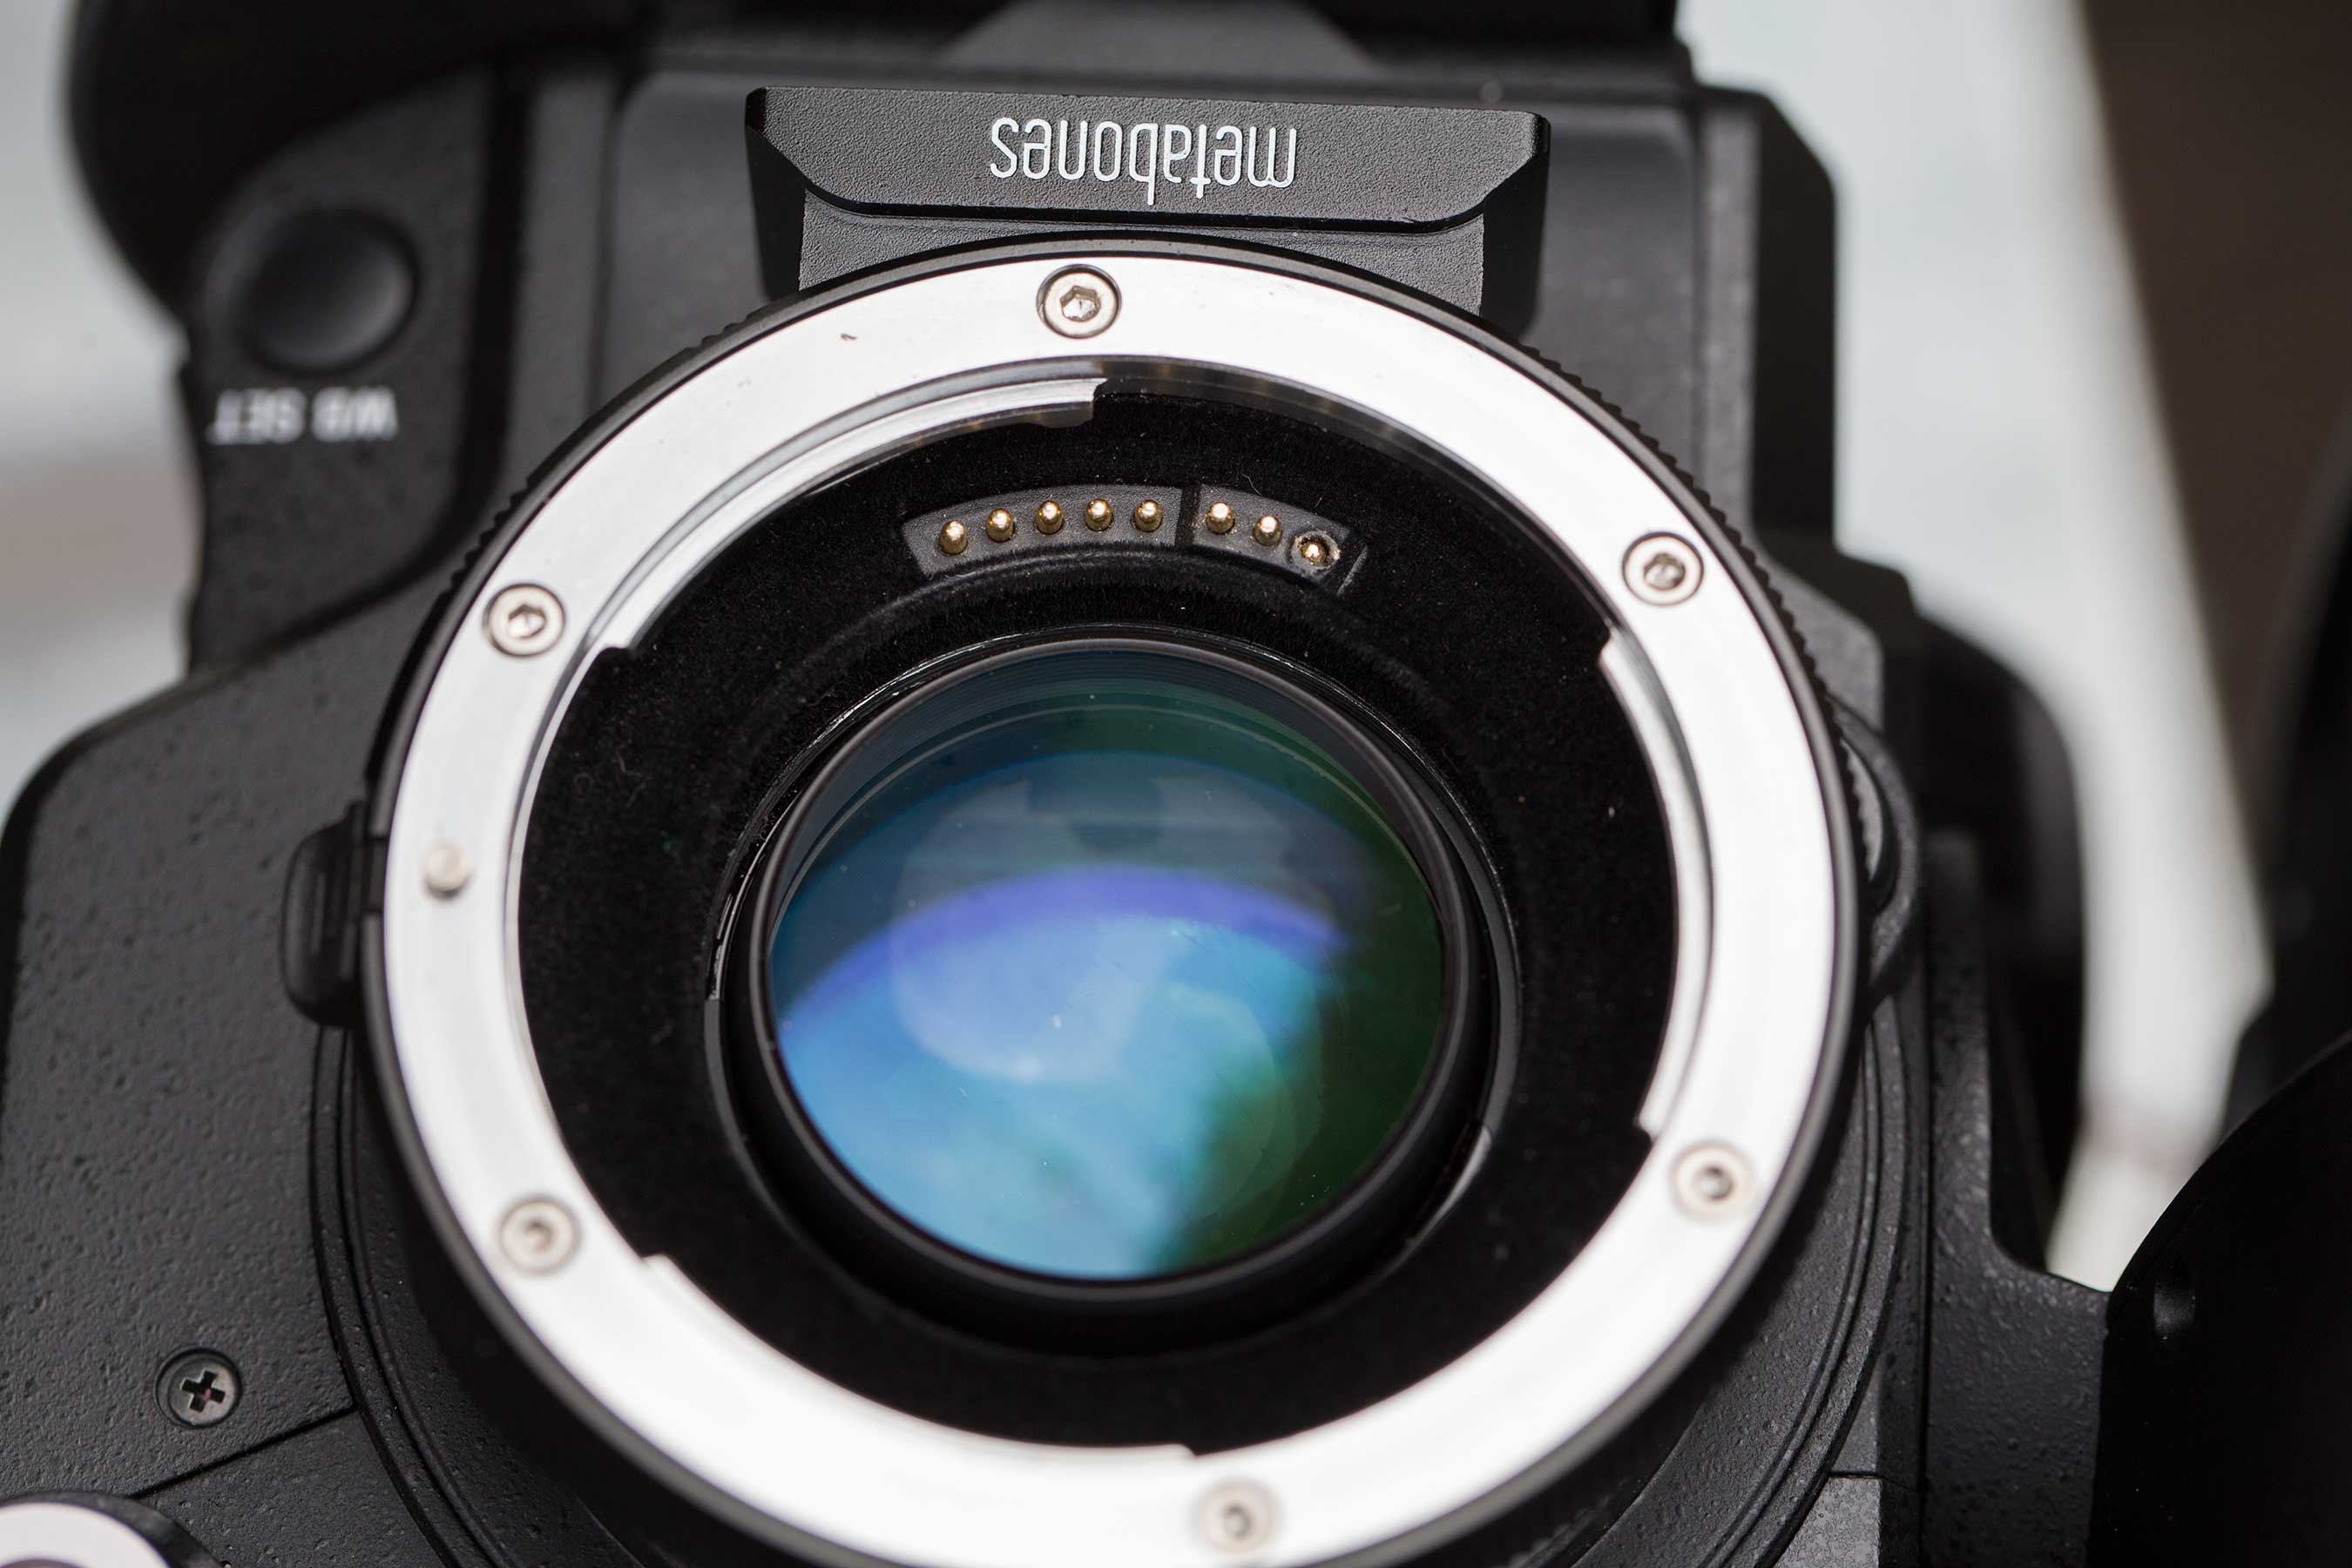
I’m still not sure what messed that up – but it obviously did. So my solution has to make this Speedbooster my dedicated “Zeiss only” adapter.
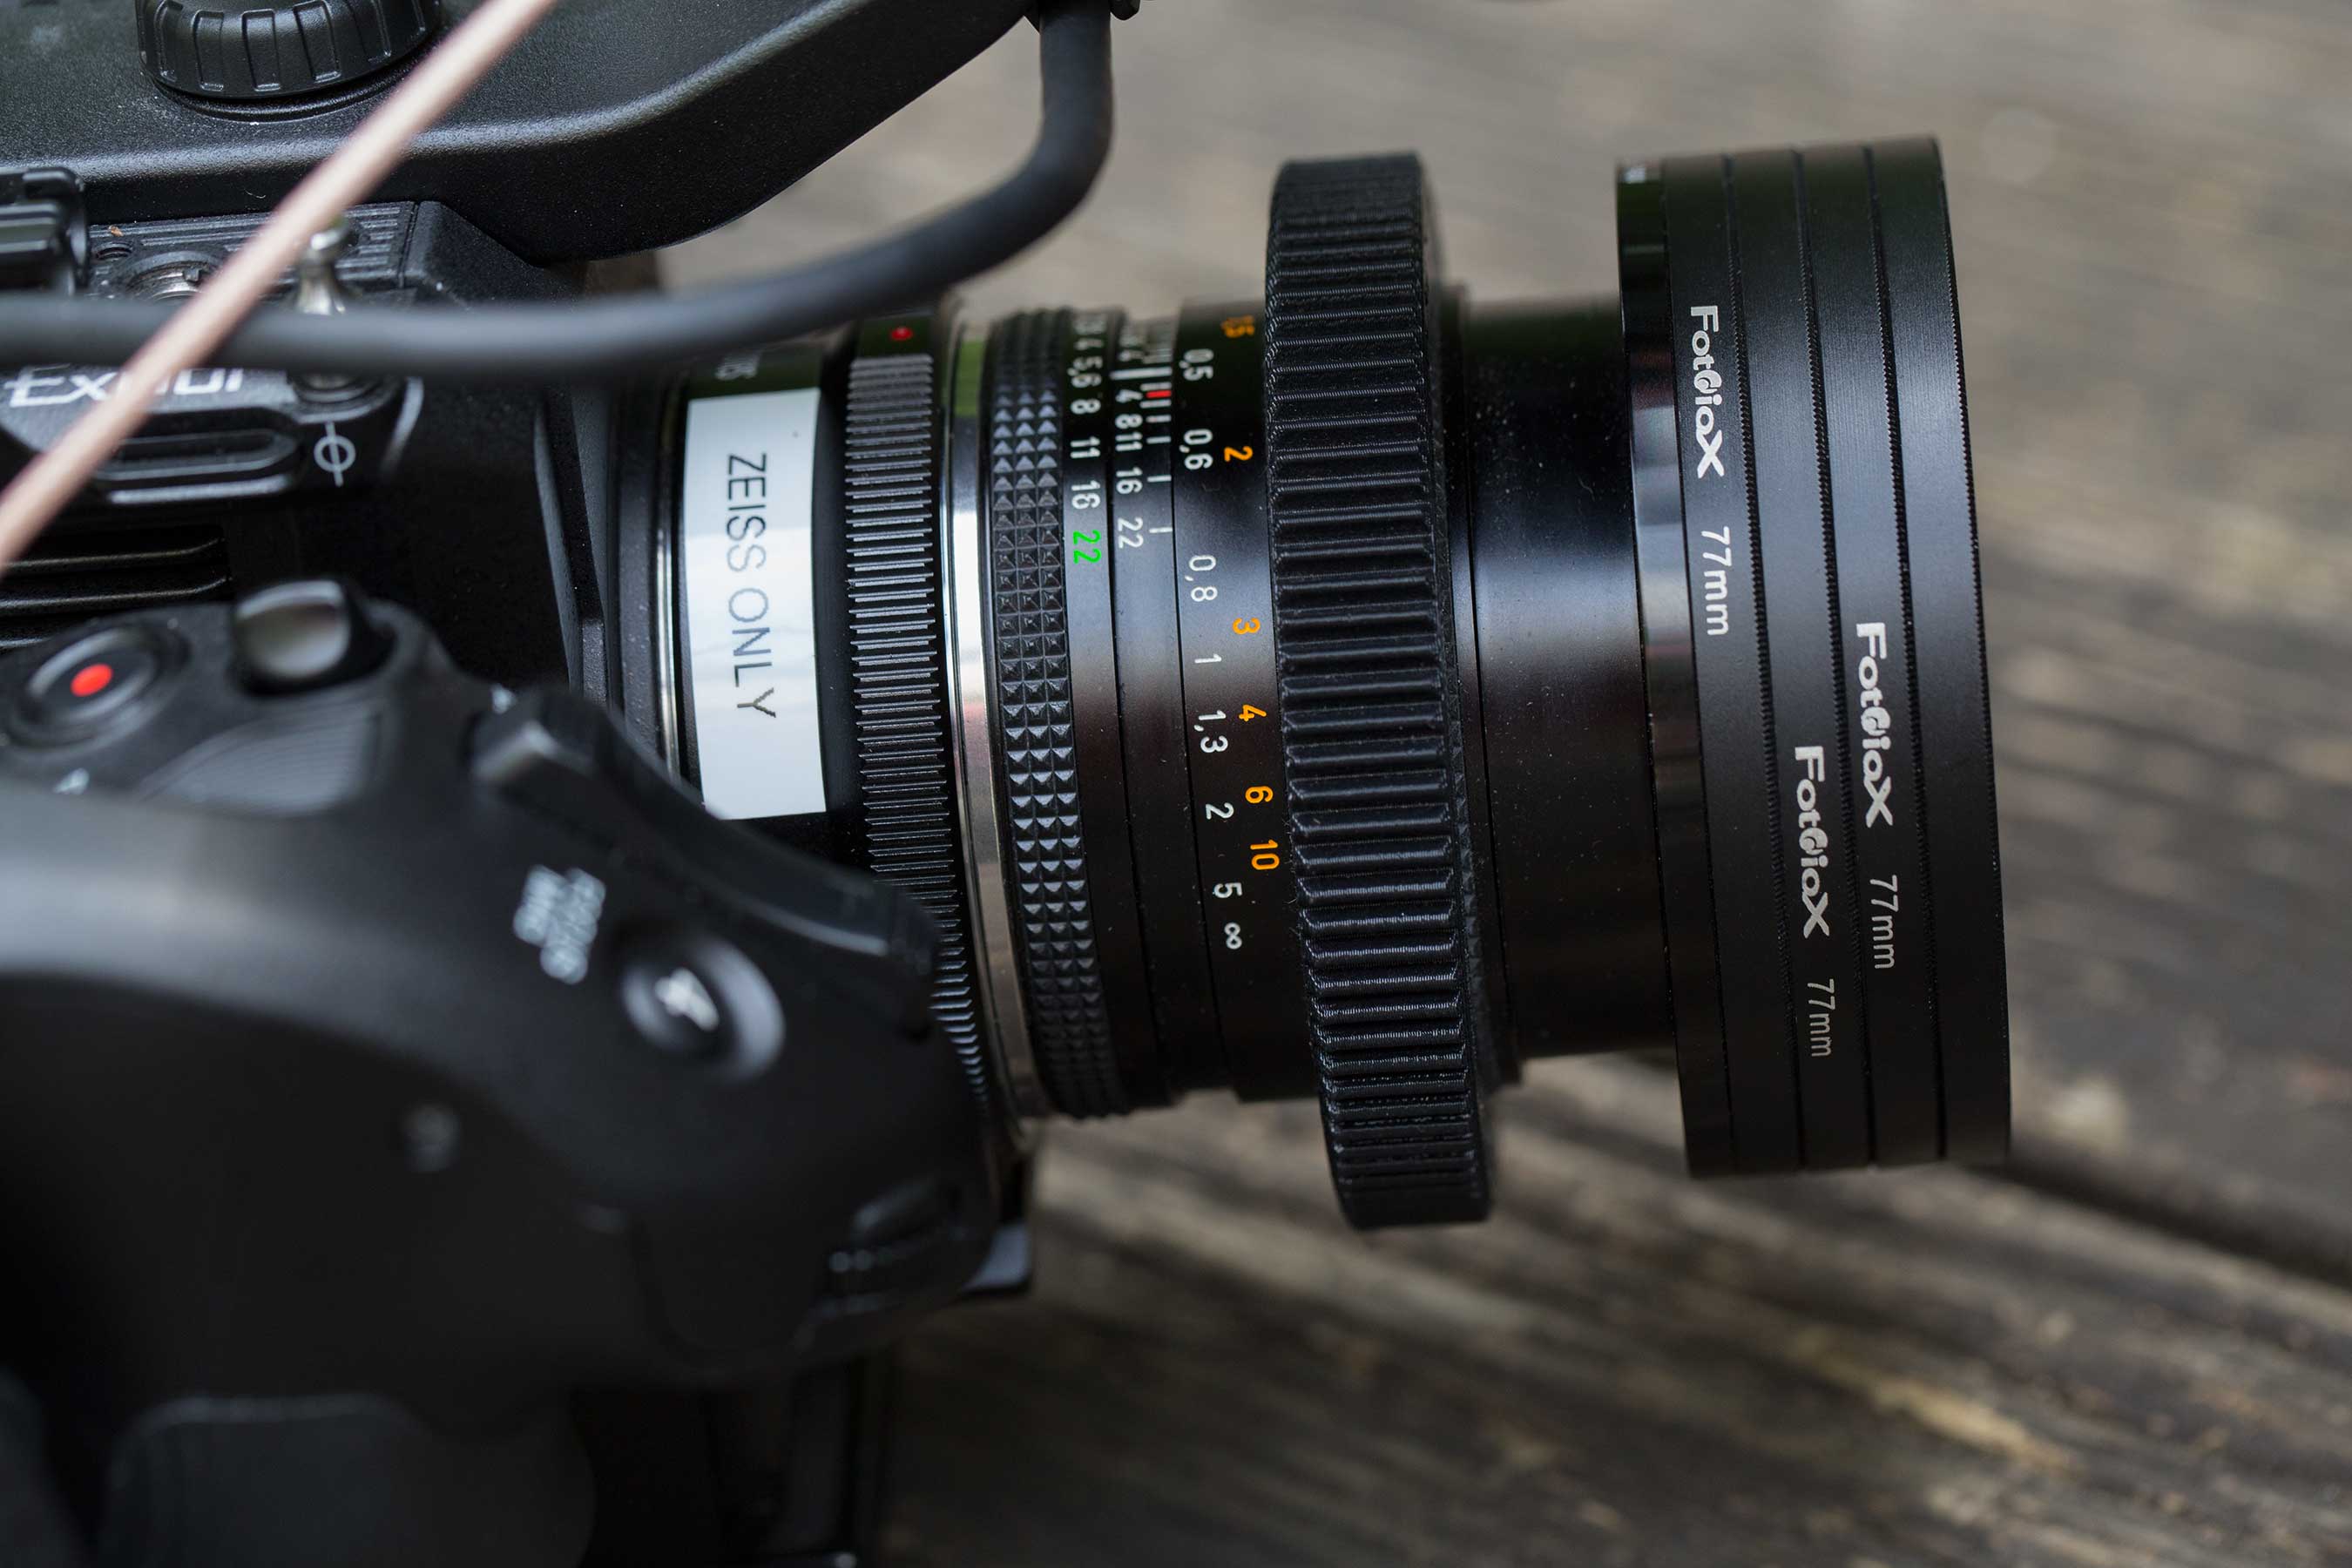
It now lives in the same Pelican case as the Zeiss Contax set. I had to spring for another one to use with my Canon L glass. If were going to do this over again, I’d start by purchasing one of the older Speedboosters (you can find them on Ebay for a few hundred bucks cheaper than the new Ultra Speedbooster that I used), and plan from the beginning to dedicate a Speedbooster to the Zeiss glass, instead of thinking I could continue to use the same one with L glass.

All in all, though, I’m thrilled to have the full frame look back with my Zeiss glass on Super 35 and am looking forward to shooting my next project with this glass. Here’s why:
25mm f/2.8 Zeiss adapted to Sony FS5 with Metabones IV adapter (1.5 crop factor makes approximate field of view of 37mm):
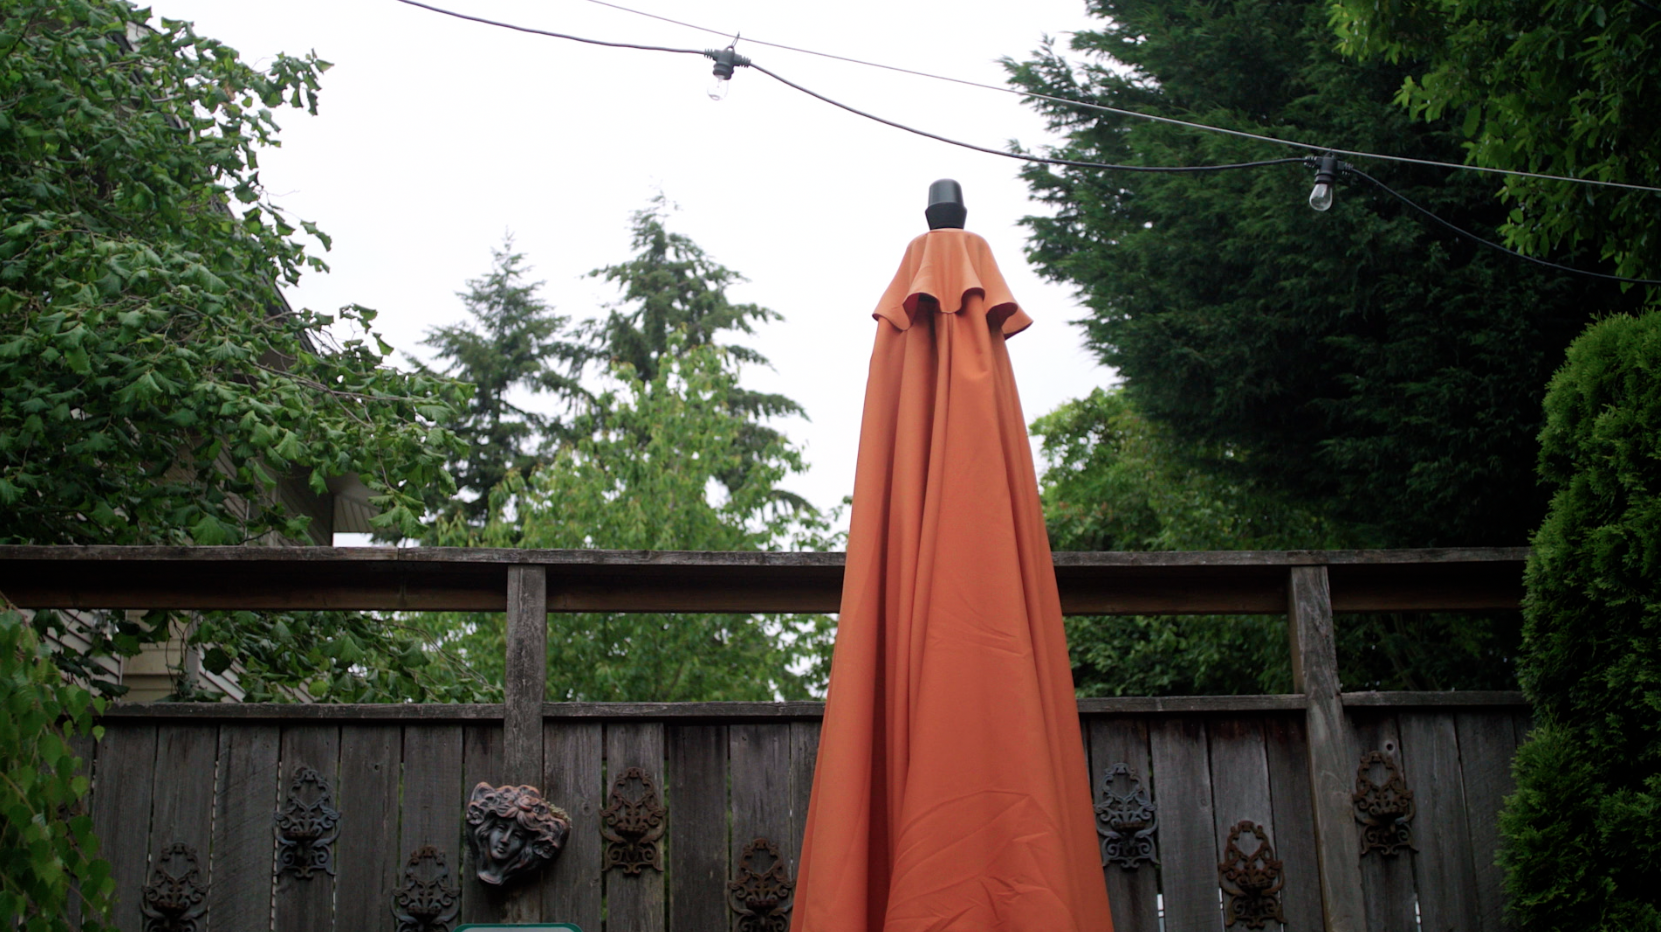
35mm f/2.8 Zeiss (after grinding) adapted to Sony FS5 with Metabones Speedbooster (.071 crop factor makes approximate field of view 37mm):

Notice how much more selective the focus is on the orange umbrella in the second frame. If you’re not noticing the difference, click on each image to view at full resolution.
PS. Since this post went live, I’ve learned that Metabones makes a Contax CY -> Sony E mount Ultra Speedbooster. Duh! I would have been much better off just buying that, saving the contacts on my EF Speedbooster, and leaving well enough alone. But then I wouldn’t have had anything to blog about, would I?
