Last summer I DP’d a short film written by Persephone Vandegrift. I’m in the basement preparing to shoot the scene we’ve been saving to the very end, in which Telisa Steen’s character destroys a dollhouse in a fit of grieving for her lost daughter. I’m a little nervous for three reasons. One, there would be no retakes, because the prop would be destroyed. Two, the home owners want us gone in an hour. And three, the ceiling in this bedroom is so low that I can reach up and touch it. So hiding a light is going to be a bitch. And I need something, fast, to separate Telisa from the background. What am I gonna do?
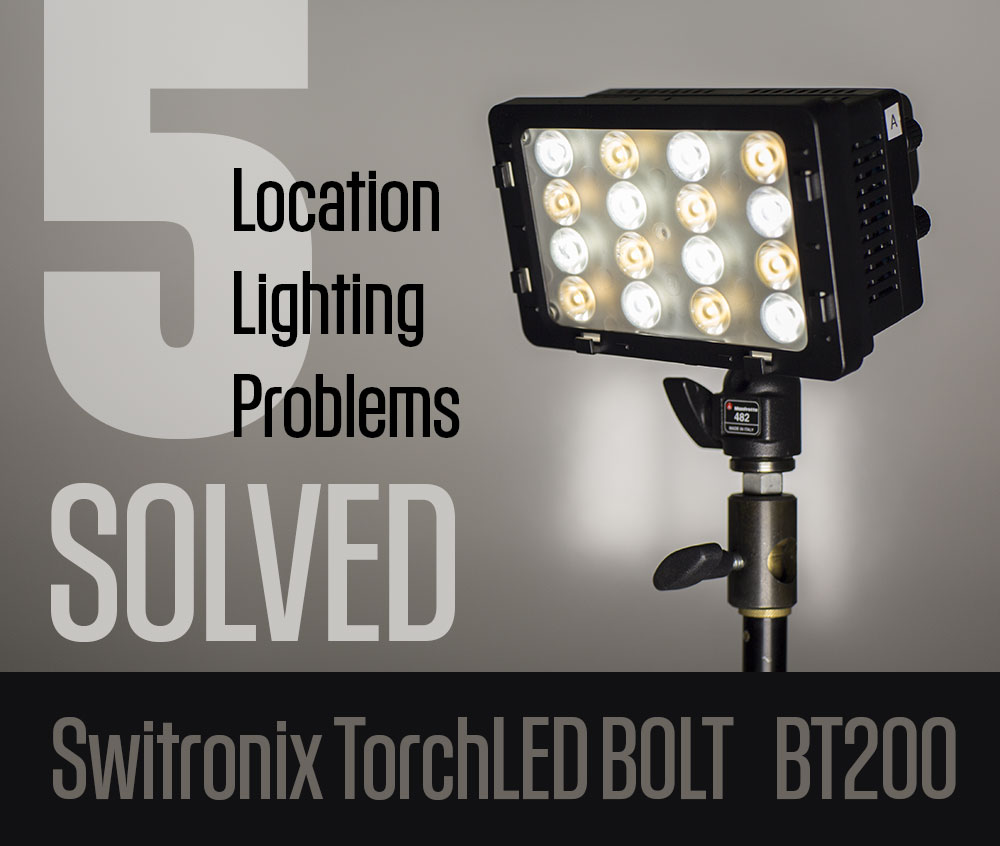
I reached for my “Peacemaker,” the sun gun that’s always within reach: a Switronix TorchLED Bolt. I’ll explain what I did with it in a moment. But first, I’d like to state that this post covers the TorchLED 200. I just learned that Switronix has announced an updated version, the TorchLED Bolt 220, that is 10 percent brighter, $120 more expensive (although B&H has steeply discounted it to $279 through dec. 4), and claims to fix a color mixing issue I discuss below.
The Switronix Bolt LED is hands down the most versatile video light I’ve ever used. In the 9 months since I got my hands on one, I’ve used it like a monkey wrench to fix all kinds of lighting problems. Here’s why:
- It’s powerful for its size.
- It’s tiny. So it’s easy take with you.
- It’s controllable. It throws a tightly focused beam a long way without interfering with other lights.
- It’s color adjustable. Two knobs allow you to select between 3200k tungsten and 5600k daylight.
- It’s strong battery powered. L-mount Sony batteries keep you going for more than two hours at full blast, or more than twice that when dialed down a bit. Connect them to a Switronix V-lock battery using the included adapter cable, and you can run all day.
- It’s inexpensive. About $250 including battery and cables.
| Distance | TorchLED | LitePanels MicroPro |
| 3 ft. | f/11 | f/2.8 |
| 6 ft. | f/5.6 | f/1.4 |
| 12 ft. | f/2.8 | – |
Just how powerful is it? Take a look at the numbers to the right. I broke out my light meter and compared it to a venerable LitePanels Micro Pro, and got these light meter readings at 50th/shutter at ISO 640.
I recently bought a second one and they go everywhere with me in my camera case. Maybe that’s why they get used so much – they are always handy when I need them. And because they are battery powered, with batteries that last for hours, I don’t have to think about running extension cords when I want to deploy a light. Sometimes that’s the difference between adding a light and getting by without it.
OK, so let’s go back to that low-ceilinged room and see what we can do with it.
Problem 1: Low ceiling – no room for placing backlight without getting it into the shot.
Solution: Hang a Bolt from an autopole.
With the clock ticking, my camera assistant David Fareti was able to attach a Bolt to an autopole with a Matthelini clamp. The only other light with us that might have worked was a Lowell ProLight, but it would be so close to the ceiling that it might have caught the place on fire. And there’s the time it would have taken to hide the power cable. So it simply wasn’t an option. In the end, our shot come up looking like this frame from the film:
Problem 2: Talent shows up for interview wearing wide-brim hat. No time to re-light.
Solution: Place Bolt on stand close to camera lens, at eye level with talent, and dial it to provide -2 stops fill.
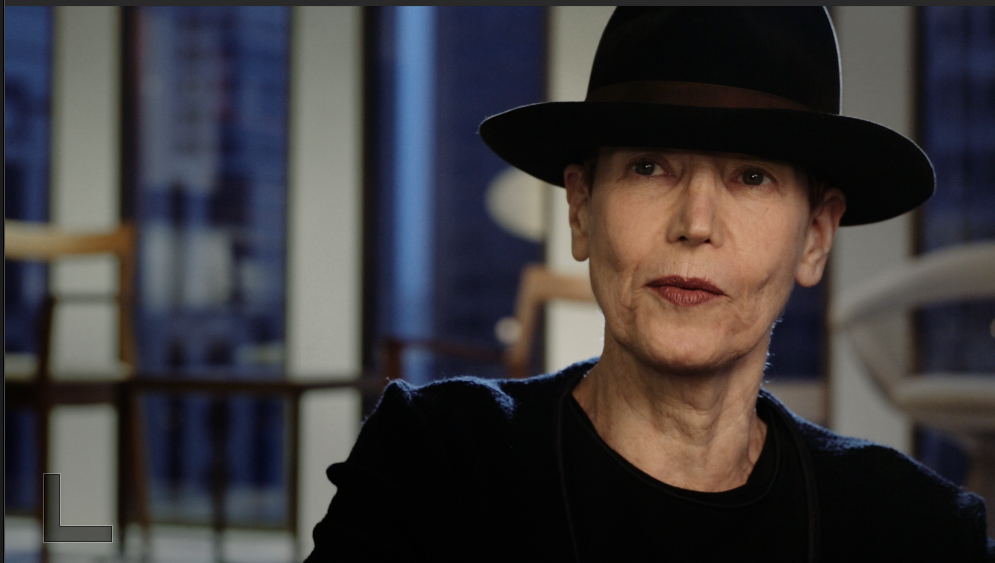
We’re filming a series of interviews with legendary graphic designers for the Seattle Design Lecture Series. Our first interview was with April Greiman, who arrived an hour late for the interview wearing this huge hat. We had to roll almost immediately because she was due to deliver her speech in about an hour. Gulp. I knew her eyes would go black under that hat, but I didn’t just want to lower the key and blast light up in there – the only thing worse than under lighting is over lighting. I have learned to keep a spare Switronix pre-mounted on a light stand for just kind of situation. I simply placed it just to my camera left at lens height, and dialed in about -2 stops of light. Like so:
Instantly, her eyes come to life with the catch light in them, and her expression emerges from beneath the brim. Yet, a sense of mystery is preserved. Despite the fact that the Bolt is a small hard light, you can get away with using it undiffused as fill. Oh, and that’s my other Swit sketching her hat and shoulders with rim light.
Problem 3: Strong sunlight on subject needs a quick fill.
Solution: Put Bolt on camera and crank it all the way up.
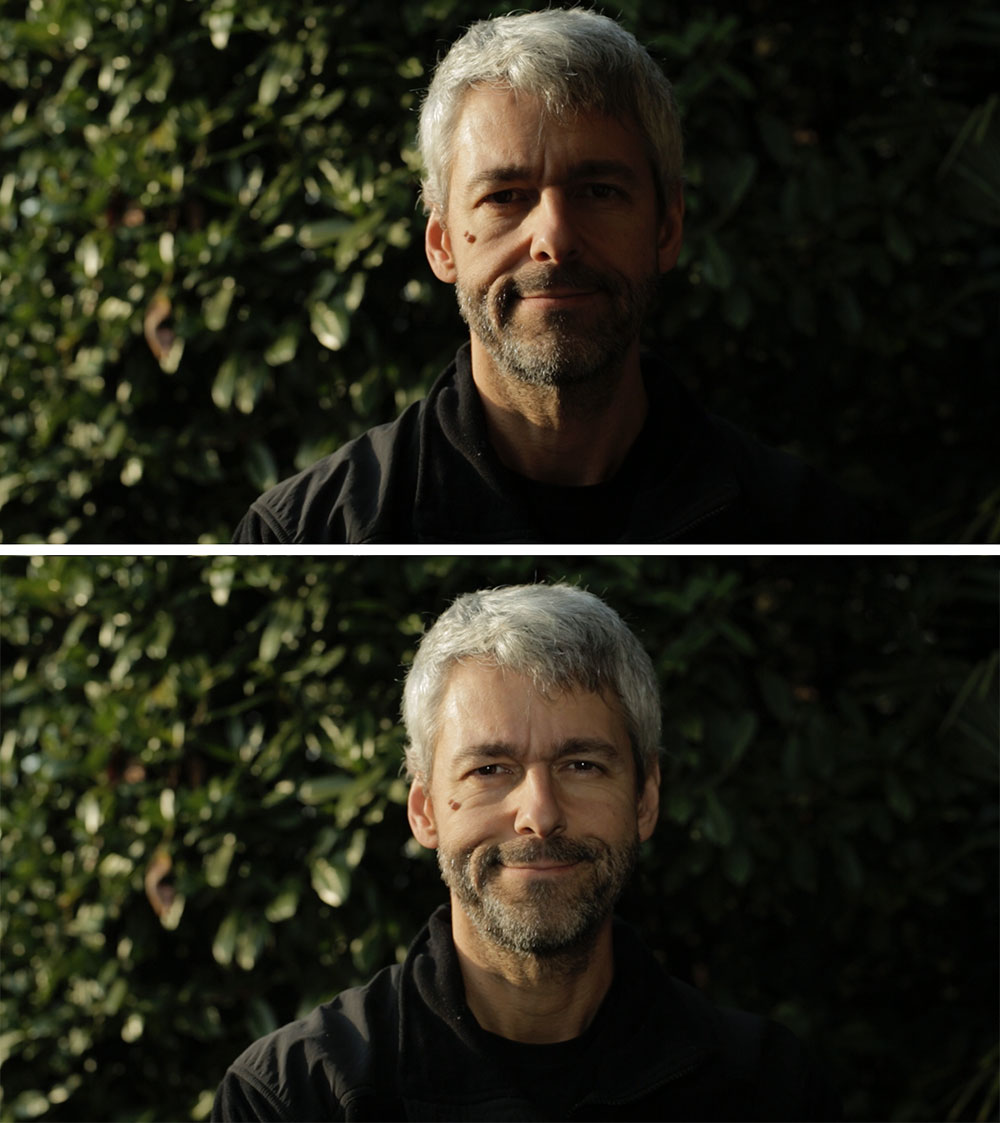
OK, so I wouldn’t normally light an interview like this. I’m showing you this to prove a point: for ENG-style interviews, the Bolt IS bright enough to fill direct sunlight…if you keep the subject within about 3.5 feet of the camera. For this selfie shot on my 5dmkiii, the Bolt was set to full power at 5600k, the aperture was at f/4.5 with a .9 ND filter (-3 stops) on 50mm lens, at ISO 160. Take that, sunshine!
Problem 4: Need a hair light but must avoid window reflections.
Solution: Clamp Swit Bolt to ceiling-mounted light track.
I recently had the pleasure of interviewing New York graphic designer Stefan Sagmeister for the Design Lecture Series put together by Civilization. I used quite a few tungsten lights gelled at 1/2 ctb, to get good color contrast with the blue window light that surrounded him. I couldn’t do what I normally do – place a light on a Manfrotto 420B boom arm for a backlight, because it would have been visible reflected in the glass windows behind him.
Luckily, there was some track lighting in the ceiling behind him, which wasn’t very sturdy. But it was strong enough for me to clamp a Bolt to it with a gaffer’s clamp. Lighting accomplished.
Problem 5: Need a quick kicker to add a little zest to otherwise good looking frame.
Solution: Swit on stand behind and beside talent.
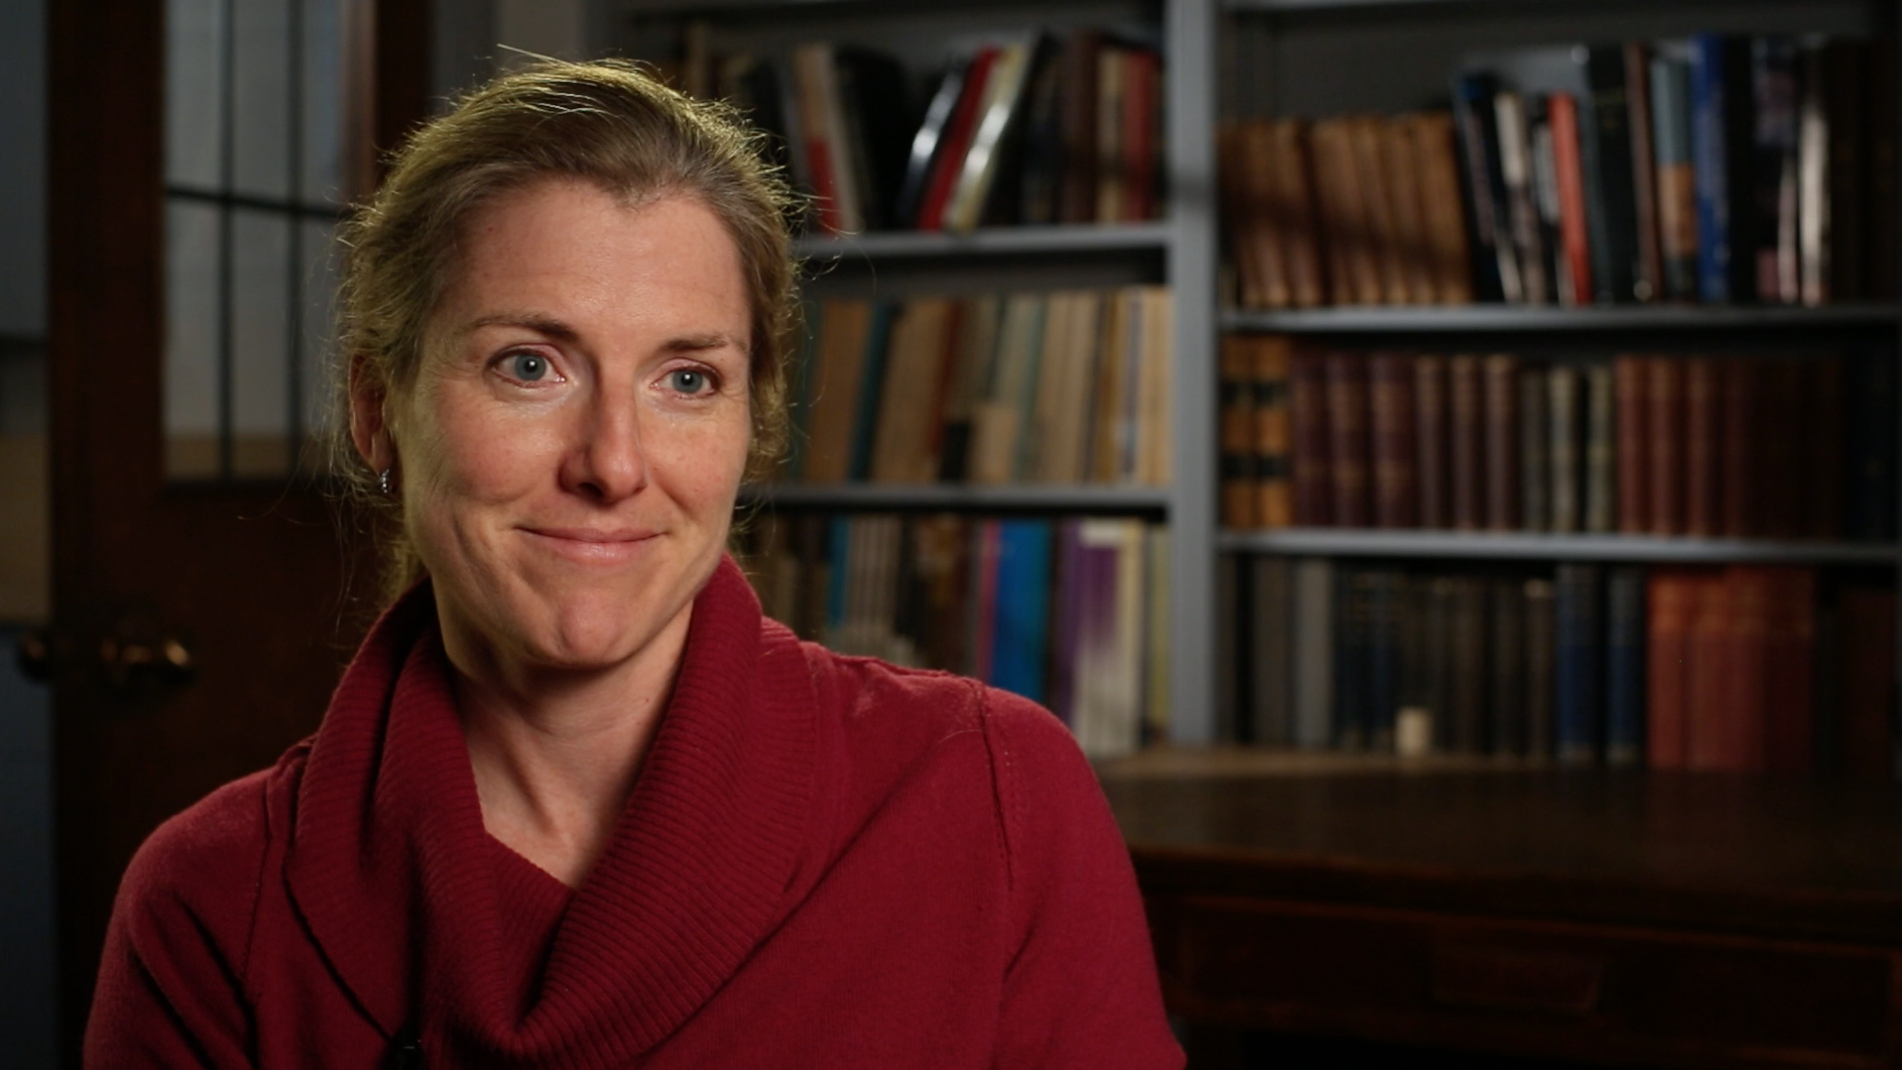
Here’s a shot that already looked pretty good with key light from a softbox, and background light pouring through a doorway window illuminating the books. But this UW professor wasn’t separating enough from her background. The solution was, you guessed it, two Bolt LEDs. The first I hung on a Manfrotto 420B arm which gave her a nice hair light, also illuminating her camera-right shoulder. Then I put a second Bolt on a light stand behind and beside her to camera left. This provided a kicker that also filled in the shadow side of her face a bit, and penciled out her shoulder. Roll camera.
A Phottix FTX2 Flash Bar allows placing two of these lights on a stand (this flash bar, which articulates at base, also allows mounting these lights inside an Apollo soft box). Conveniently, there’s a couple of slots for attaching a shoot-though umbrella. Pairing two lights through an umbrella, at 50th shutter and ISO 640, I get f/5.6 at 3 feet, f/2.8 at 6 feet, and f/1.4 at 12 feet. In practice, though, I rarely use them doubled up – that’s what my other lights (Arri 650, etc) are for, and these little problem solvers are better suited for use as kickers, rim and fill.
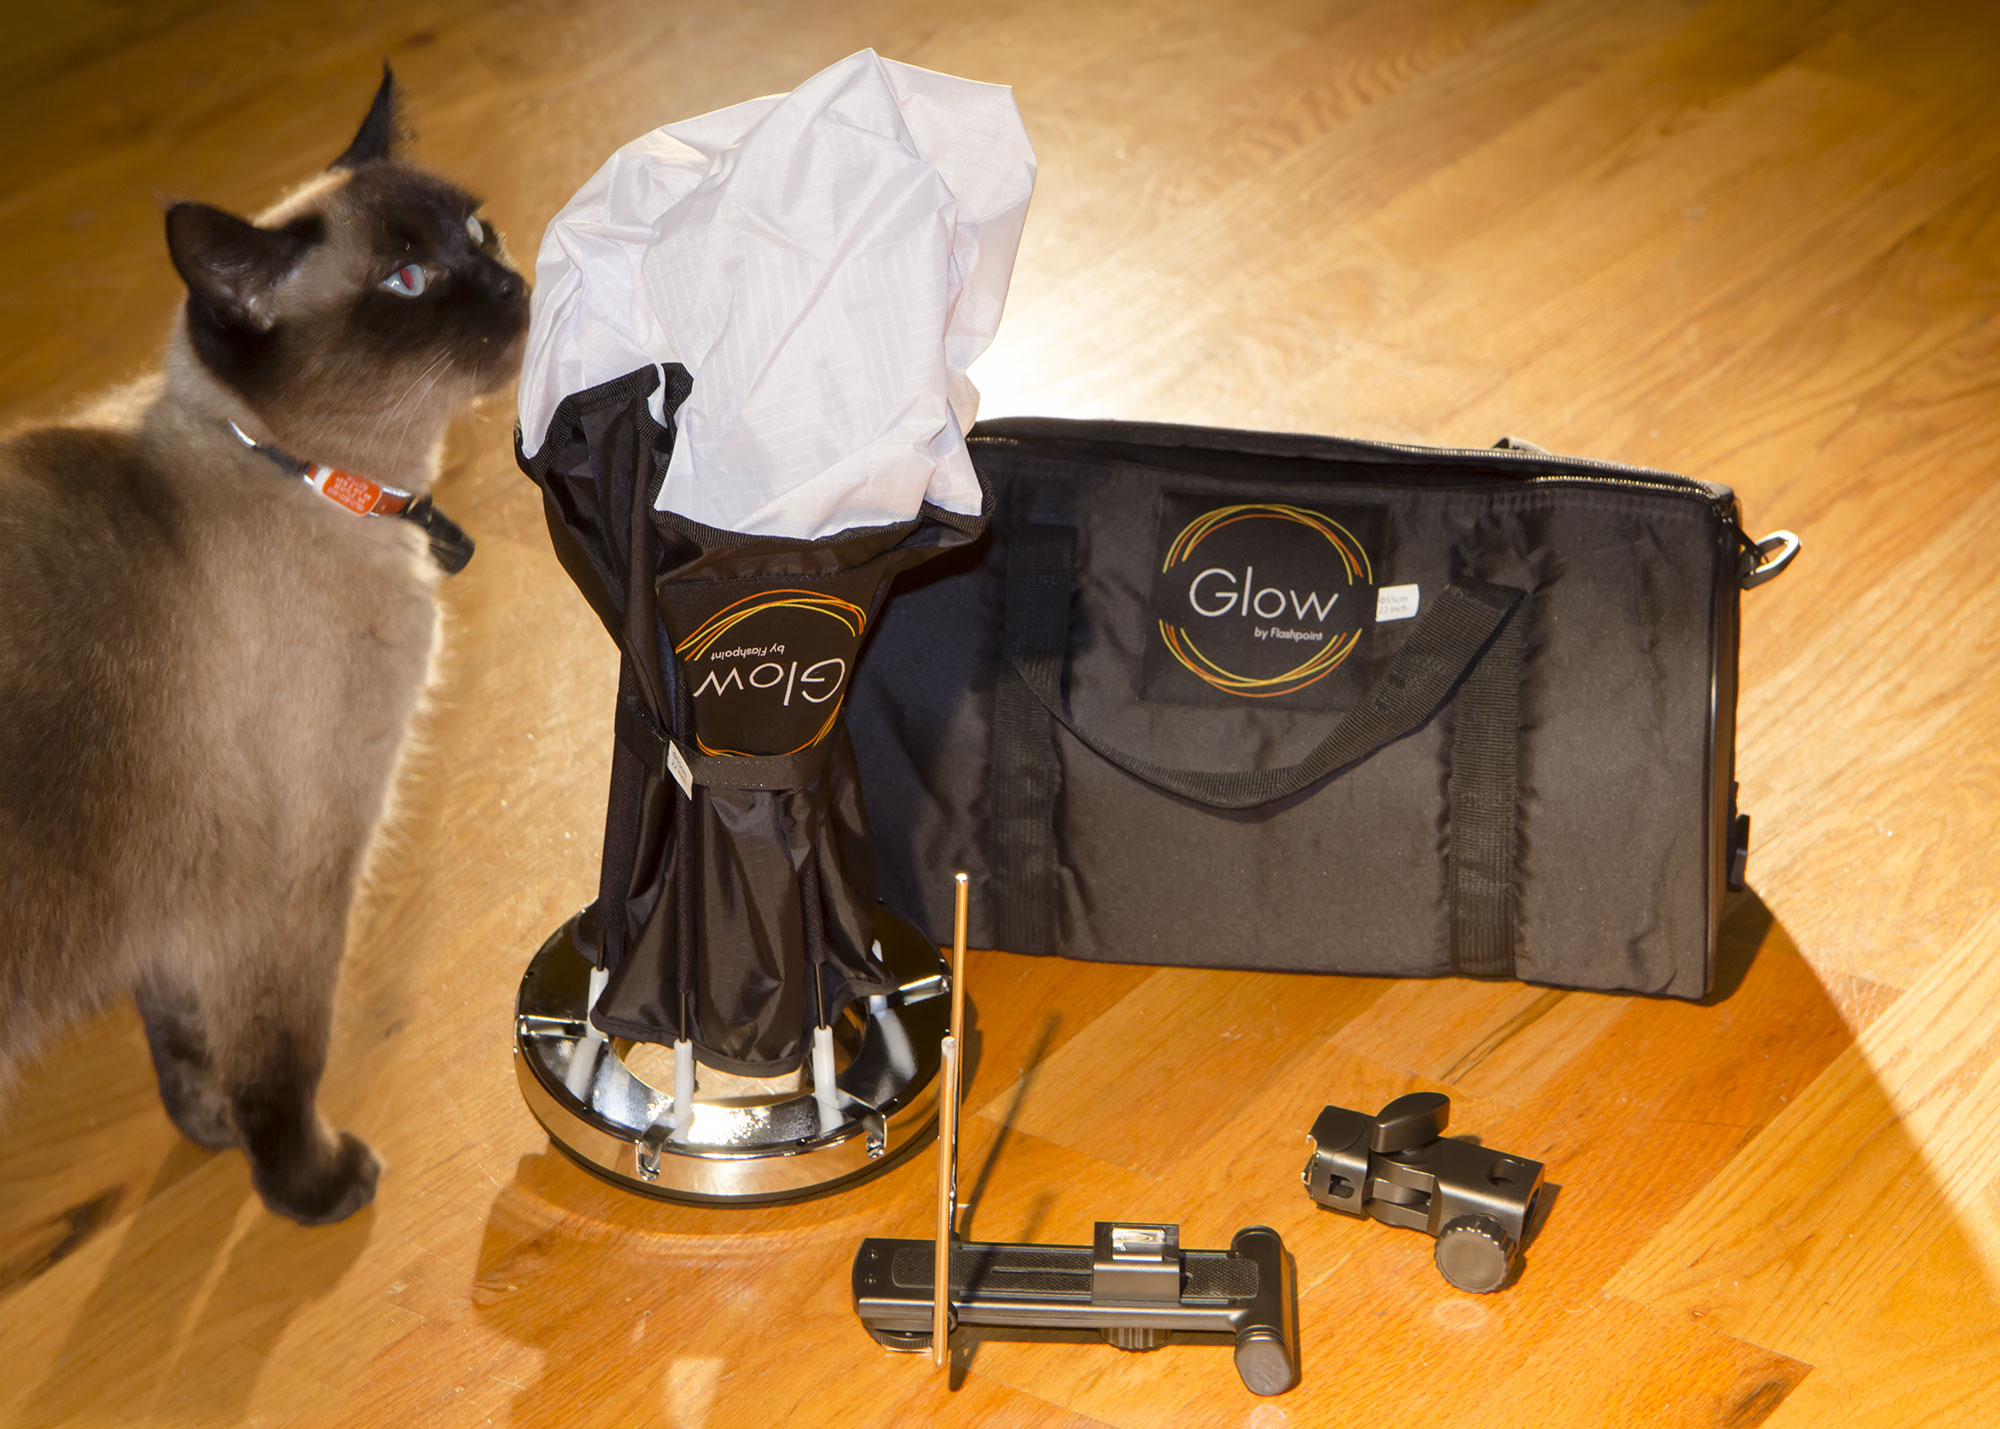
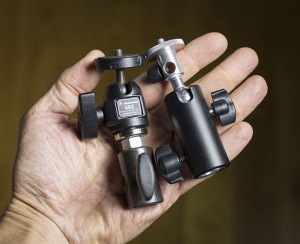 The Swit ships with a flimsy shoe-mount adapter, but for use on a light stand, you’ll need a stand adapter that has a ball head, like one of these. The one on the right is a flash swivel tilt bracket that you can pick up for about $12. And the other is a beefier 3/8″ stand adapter paired with a Manfrotto ball micro head that will run you $12 and $99 respectively.
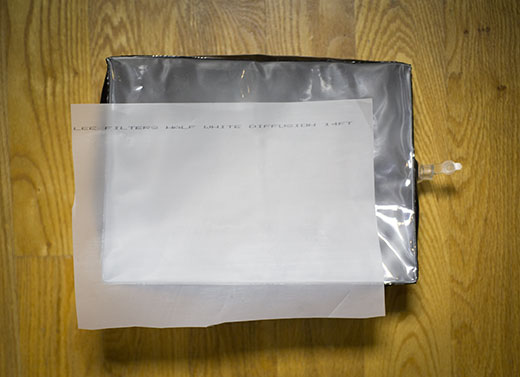
One more small accessory that’s worth having with this light: to soften the light, check out the Airbox.
In practice I tend to use the Swit without diffusion, because I appreciate the beam that it throws. Putting any kind of softener on this light really cuts its output. But, there are times when I just want some soft fill up close, and this has come in handy.
I have found that I need to tuck a sheet of 1/2 white diffusion gel into the sleeve on the front of the box, to get good diffusion. The clear vinyl alone doesn’t quite do it.
So, is everything amazing about this light? Almost. But there are a few things that I’m hoping will be improved with the next version of this light.
Drawbacks:
The batteries don’t exactly lock into place. You have to be very carefully placing these lights, or the batteries can fall out. I wish it had a positive locking mechanism.
Color mixing isn’t exact. The twin color-temperature dials on the back aren’t spot on with regard to color temp. I’ve noticed that I need to dial up about 1/3rd tungsten to 100 percent 5600 to get good daylight results – otherwise it’s too blue. The 5600k dial should be labeled the 6000k dial.
The diffuser card falls out. As with the batteries, there’s no way to lock the diffuser into place. Both of mine went missing very quickly. The same person at Swit seems to have designed this as and the battery plate. Seems like a small design change could fix both. My email to Switronix asking how to purchase a replacement has gone unanswered.
Bottom line:
Owning this light won’t make you a better filmmaker. Or will it? It’s made me a better one, because now it’s so easy to do the right thing – add that rim light, dial in that fill, tweak that color temp – that I’m actually doing it, instead of thinking about it. Having a Bolt in your bag arms you with a powerful light that delivers on the promise that LED lighting has been whispering for years: cool light when you need it, where you need it, no cords attached.
