Monthly Archives: June 2016

Shooting raw on Sony FS5 with Atomos Shogun Flame

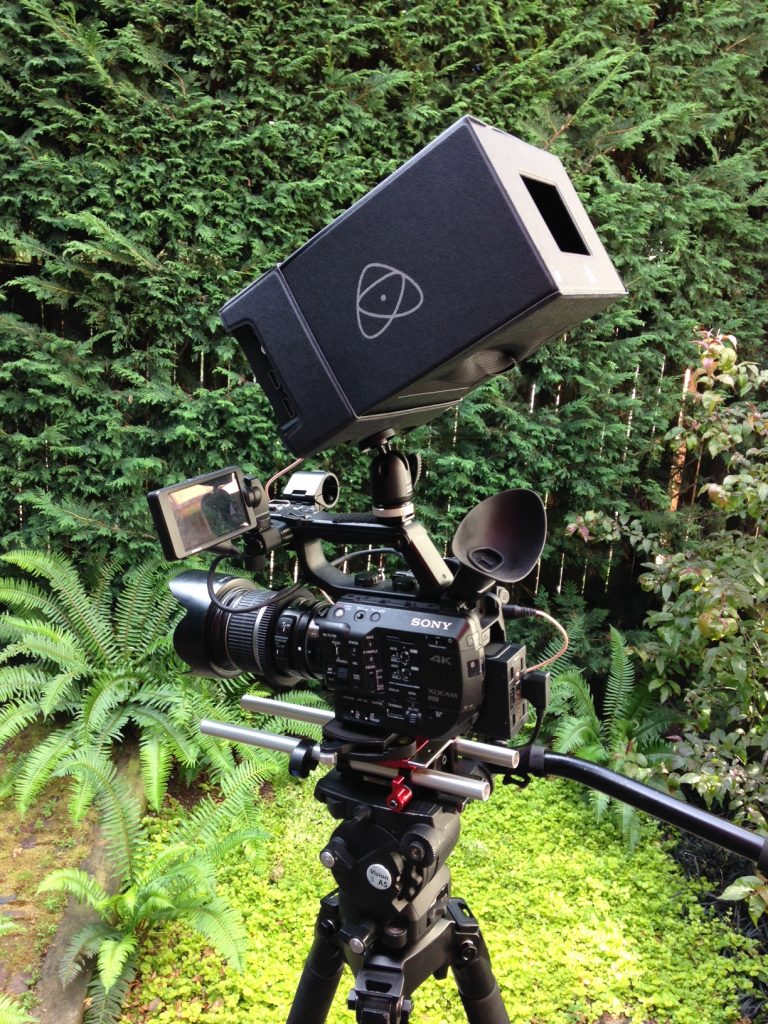
Atomos Shogun Flame with sun shade on Sony FS5

Atomos Shogun Flame with sun shade on Sony FS5

I have been eagerly awaiting the raw upgrade to Sony FS5 that was released last week. What does 12-bit 4K raw look like on this camera? I purchased the $600 CBKZ-FS5RIF upgrade as soon as I could, installed it, and over the weekend, had a chance to shoot a little on a music video project. Here’s my initial observations, based on recording with a Atomos Shogun Flame.

First insight: the Flame isn’t actually a raw recorder just yet. You are limited to recording 4K 10-bit ProRes or DNxHR from the Slog 2 or 3 12-bit raw signal that the camera sends. This means you don’t have the option, if you want it, to “develop” the digital negative to your liking from CDNG using raw tools like Resolve or Adobe Photoshop. Atomos says CDNG raw will be supported in a future firmware upgrade.

If you want 12-bit CDNG raw now, an Odyssey 7Q+ with the latest firmware and an FS5 will do the job. I look forward to testing that combination soon. However, from experience I know the Odyssey screen isn’t as bright as the Atomos Flame, and I love me a bright monitor. However, the Odyssey is OLED, which the Flame is not.

Atomos Shogun Flame sun shade

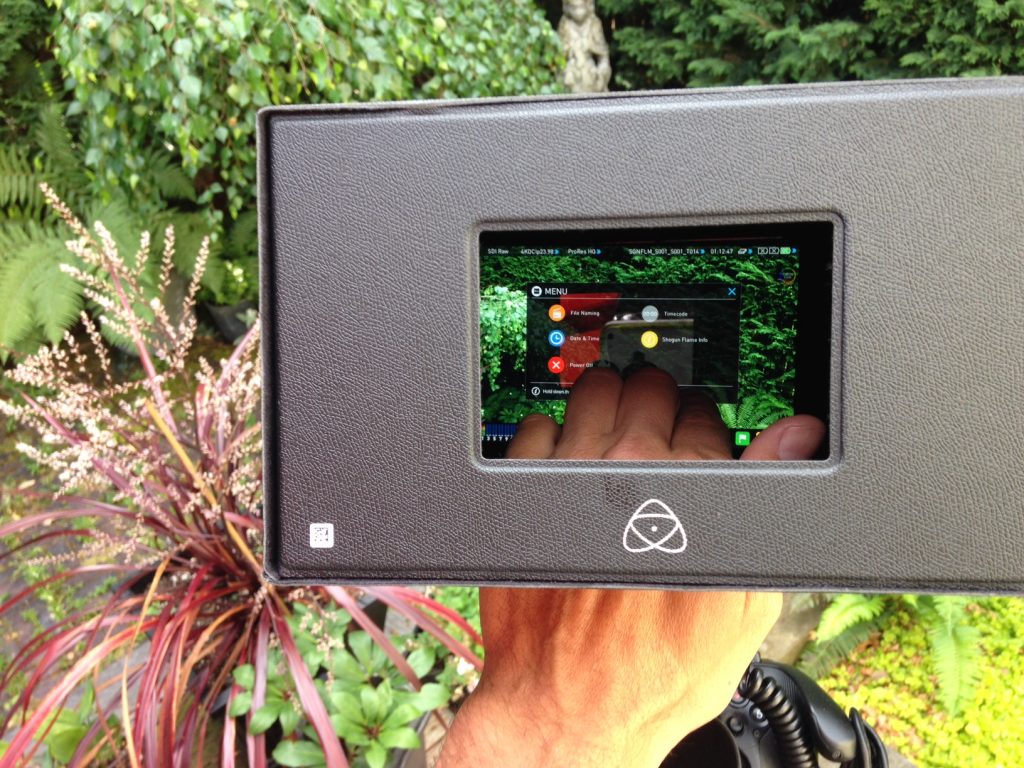
Atomos Shogun Flame sun shade allows touch screen to be accessed through an opening in the bottom.

So, just how bright is the Flame? The sun was shining in Seattle yesterday, so I had a chance to really work it. And I found that it’s noticeably brighter than a SmallHD 702 (1500 nits vs 1000 nits).  In direct sunlight, though, you still need the hood. That’s because the screen is highly reflective, and in glaring sunlight, you need to cut down on sources of reflection. The Atomos hood creates a box with a little window you can peer through, which effectively reduces the area of reflection to a small rectangle in the middle. I found that wearing a ball cap while operating further shades this opening, making it possible to view the screen pretty effectively even in direct sunlight. But the best option? Shade the camera and operator with a flag or umbrella.

The HDR mode is…interesting. It does look cool, visibly brighter than in rec 702 mode. But it feels a little 1.0 to me. The pixels aren’t OLED, so brightness feels like it’s coming from over cranking the LCD pixels. I’ve seen a real OLED Sony HDR monitor, and wow, it blew me away with its brightness. This monitor doesn’t even come close. It’s more like a preview of coming attractions than the real deal. But it’s a start, and I applaud Atomos for shipping it as soon as possible, because HDR is going to be amazing when it gets here and is widely supported on consumer monitors.

There’s a display mode on the Flame that tries to convert Sony SLOG2 or SLOG3 to Rec709 using Sgamma 3 or Sgamma 3.cine color modes. The problem is, it doesn’t really work for me, because I (properly) overexpose my SLOG. To visualize that, you need a LUT, and the Flame happily does support LUTs, allowing you to load up to 8 custom ones.

I found that the LUT I normally use with SLOG3 looked slightly different when applied to the raw signal of the FS5. So that will need some tweaking. But the good news is that your LUTs will work and can be applied, not only to the screen view, but you can burn them in to the recorded footage if you choose.

Slow Motion is a non-starter on this Shogun. The Flame will display a 60p signal, but the record button is disabled, meaning it does not support any slow motion frame rates above 30p. The Flame doesn’t display anything but noise when the S&Q option is enabled on the camera. You’ll need a Shogun Inferno to record at 4K 60p, in burst modes, and in the 2K slow mo mode.

There’s also no way to down-convert the raw 4K -> 2K on this recorder, which means you HAVE to record 4K, fwiw. Not a big deal since you can record 10-bit on the camera’s sd card. But it would be nice sometimes for workflow reasons to go straight to ProRes in 2K instead of having to transcode the footage first, something the Odyssey supports.

Neither SDI nor HDMI output is available when shooting raw, which means you can’t send a feed to a director monitor (at least not to the SmallHD 702 I used for testing).

Battery: The Flame chews through batteries. Bring lots of them if you plan on shooting for very long.

Sound: The Flame has a fan, but it runs nearly silently after noisy boot up.  In a hot production environment, this might be an issue.

So, how about that 4K image? Jury’s still out. I definitely noticed the same kind of noise in the shadows that you see with SLOG recorded in-camera. Apparently 10 bits isn’t enough to solve for that. I’ve been told that 12 bits isn’t enough either – that you need 16 bits before those shadows really come clean right out of the camera. So just be aware that you will still need to overexpose the same way you do with in-camera 8-bit or 10-bit SLOG. Beyond that, the benefits of shooting 4K in 10-bit are all there: you can push the file around in post more without degrading the image, you get better color information and no macro blocking and artifacting that you can see when pixel peeping your XAVC footage.

Conclusion: I wouldn’t buy this recorder, but I would happy rent it again – until the Inferno is available.

Update: I finally got a chance to test out the Inferno. In a nutshell, it’s the same recorder as the Flame, but it allows you to record up to 60p in 4K with the FS5. It still doesn’t allow you to record slow motion at frame rates above 60p, and it doesn’t yet support 12-bit raw recording to CDNG files. Choose the Odyssey 7q+ if you want any of those features.
Chasing perfection with a probe lens for beer promo

A few months ago I had an opportunity to shoot some ingredients for a Sierra Nevada beer video using a probe lens. The results of the work are now public, and I’d like to share the process we used to make a few of the images with this unconventional optic.

Director Mark Bashore had most of the road trip footage for this spot already in the can, but he wanted some super sexy shots of the ingredients that go into the beer, and a beauty shot of the beer itself. So he convinced his wife that it would be a good idea to set up a studio in their living room for a few days and go crazy with lights, track, and cameras. Fun stuff!

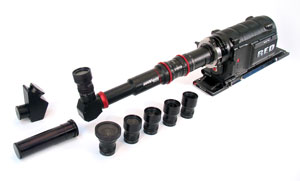
Mark wanted shots that literally felt like flying through the ingredients, and he had the idea to use a probe lens. I’d never heard of a probe lens before. Turns out it’s a specialty lens, designed for special effects and tabletop photography. It’s basically a long telescope-like snout that optically allows the lens to sit on the tip, apart from the camera. This allows for otherwise physically impossible shots, such as driving the lens through openings that are too narrow for a camera body. Incidentally, this type of lens was used to shoot many of the special effects in the original Star Wars.

probe2pluspic3I went searching for a rental house that carried such a beast, and after researching the options, I picked Innovision Optics, an LA based company that helped pioneer the development of probe lenses in the 80s. They sent us their Probe II + package, which covers Super 35mm sensor cameras and comes in PL mount. I hooked it up with my Sony FS5 camera with PL adapter, and everything tested out great.

The kit comes with a full set of miniature lenses, that vary in focal length from 9mm up to 55mm. In testing I found you really want to be shooting wide when you’re doing tabletop shooting, because it’s the wide focal lengths that give you that immersive experience with the subject. I initially wasn’t overly confident that the tiny lenses could produce great results, but I was very impressed by what I was seeing on the monitor.

One of the nice features of separating the lens from the camera is that it allows you to get the lens dirty. The snout is designed to be waterproof (according to Innovision), so splashes of ingredients on the lens and lens housing could easily be wiped off between takes, while the camera stayed dry. However, I don’t think you’d want to fully immerse it in water.

I rigged the lens with a DJI Focus wireless follow focus, to allow focusing the lens during pushes without touching the rig. The prevented unwanted camera shake, and worked flawlessly. But one note of warning: if you’re renting the DJI Focus, be sure to allow plenty of time to familiarize yourself with the unit beforehand. It’s not immediately intuitive how to calibrate it and get it responding to pulls just the way you want.

So let’s take a look at a few of the shots:

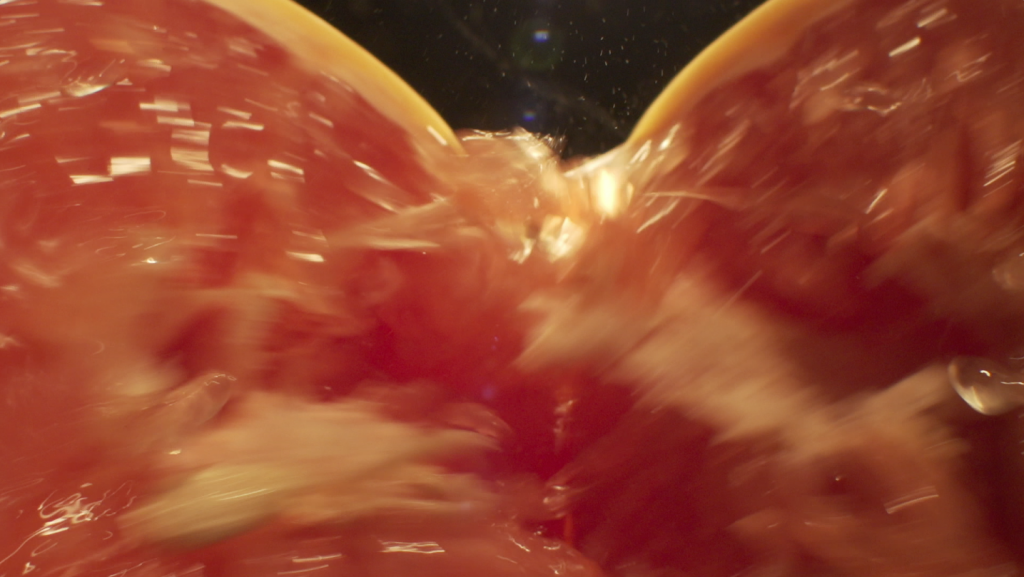
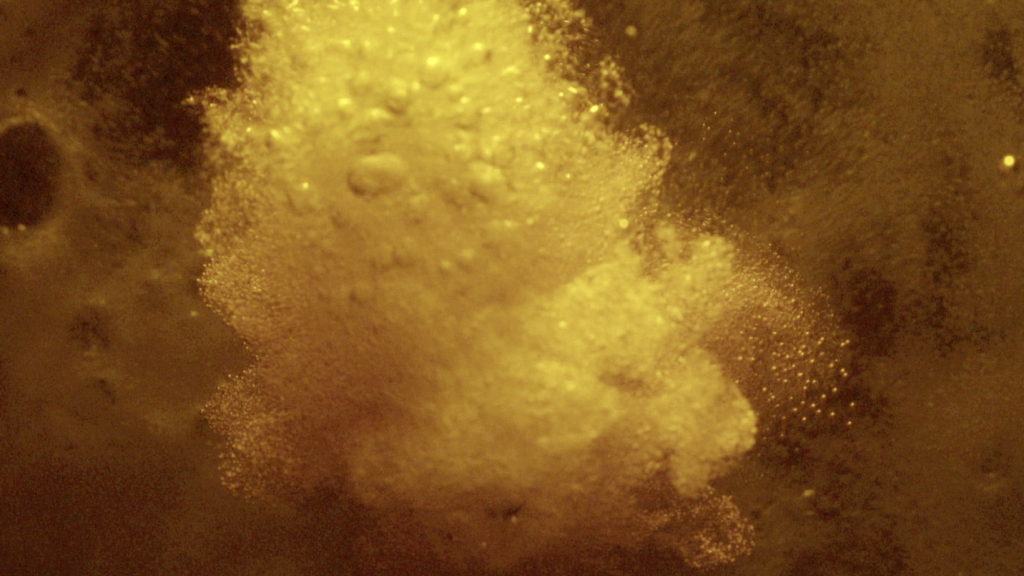
Grapefruit being ripped apart while lens pushes through the middle

Grapefruit being ripped apart while probe lens pushes through the middle

Mmm. Isn’t that a mouthwatering shot? We had to do a lot of takes to get just the right energy, and we went through a lot of grapefruit in the process. The lens was seriously sticky by the time Mark moved on to the next shot. I placed a Arri 650 as the backlight (which you can almost see providing the rim light) and filled with a LiteGear LiteMat2 at 3200K. Notice the lovely flare the probe lens produces, and the tiny details. The grapefruit, from this perspective, becomes a monumental presence.

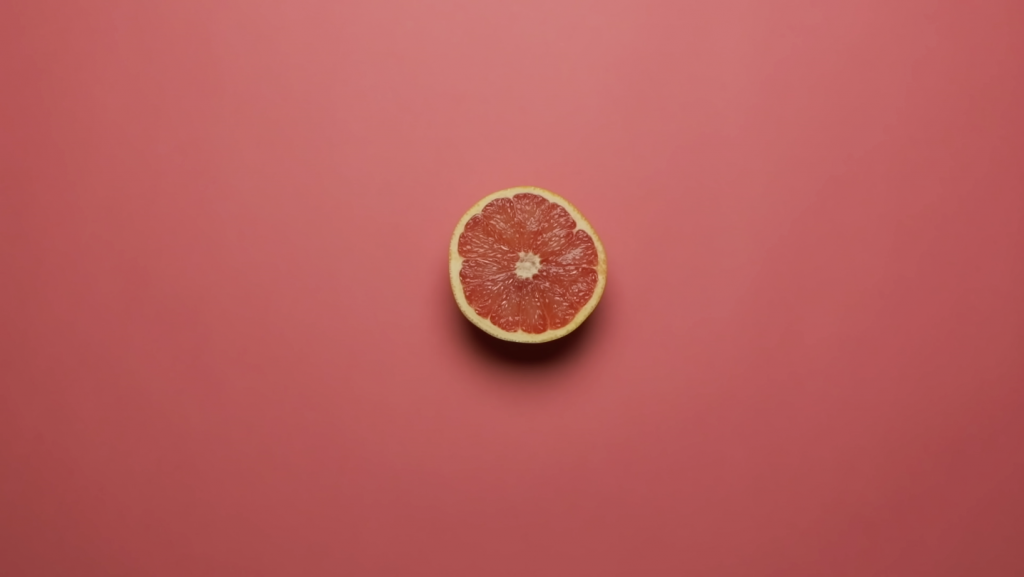
Grapefruit push in shot

Grapefruit push in shot in 4K

For the pink grapefruit on pink background, I rigged the camera on an arm and rolled on it in 4K with the FS5. It’s lit from one side by an Arri 650 bounced into a 4×4 foam core, with bounce on the opposite side. The push was done in post. That 8-bit 4K works great as long as you expose correctly!

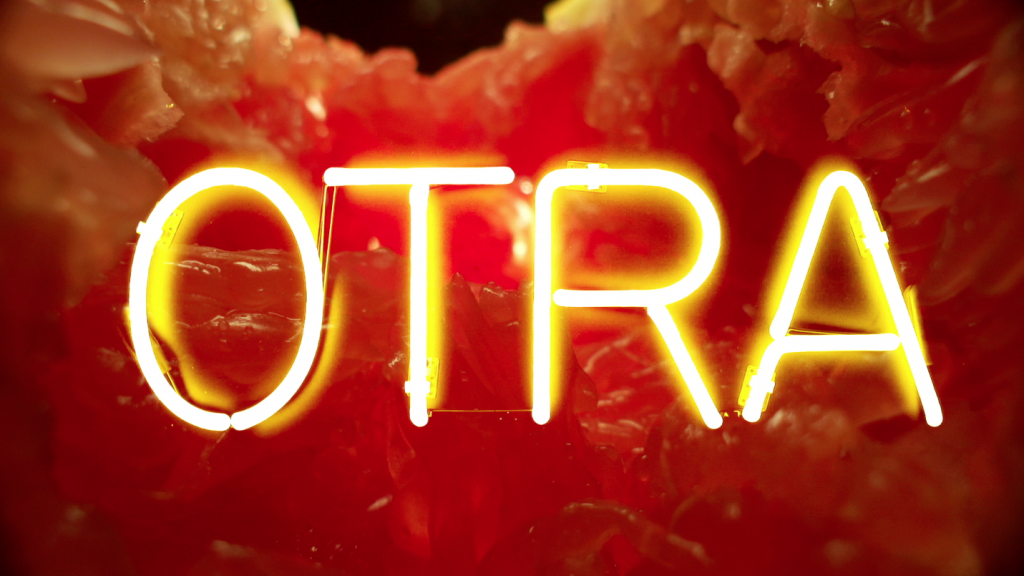
composited grapefruit with neon sign

Composited grapefruit with neon sign

For the grapefruit in this composited shot, we used my Rhino Motion slider as a dolly for the grapefruit. It was easier to control the motion by moving the ingredients for shots like this than it was to move the camera. To create the platform, I mounted a Matthews laptop table on the Rhino slider’s 3/8″ spud using a ball head.

The neon sign is real, and was made specifically for the shoot. We shot it against black foam core. The compositing was a little painful for this, requiring each frame to be individually selected in Photoshop to clean up edge artifacts.

Beer shot in an aquarium

Beer shot in an aquarium

Beer poured into an aquarium

Beer poured into an aquarium

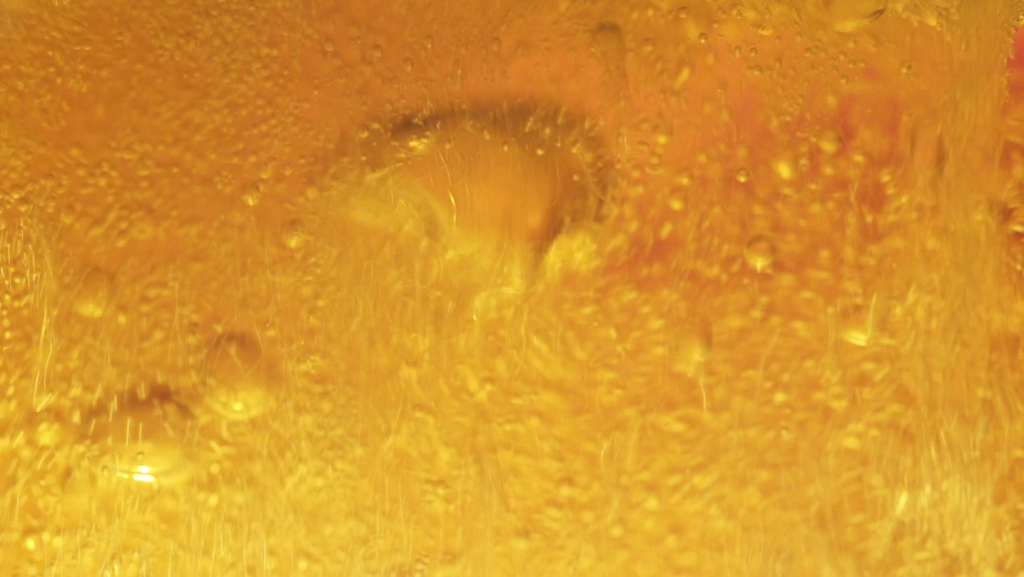
For the beer shots, we poured a lot of beer into an aquarium, and tried lighting it different ways. Most of these shots are played unnaturally – i.e., backwards, upside down, or sideways, which supports the larger than life vibe of the piece.

We shot most of these at 240 frames per second with the Sony FS5. I used CineGamma 3 for most of these shots, because we were pushing the limits with the light. I wanted as much depth of field as possible, so I was stopping down here to like f/11 and it was everything my pair of Arri 650s could do to push enough light. We were using the lights without any diffusion, just blasting at the tank from above, below and beside at different times.

slow push into glass of beer

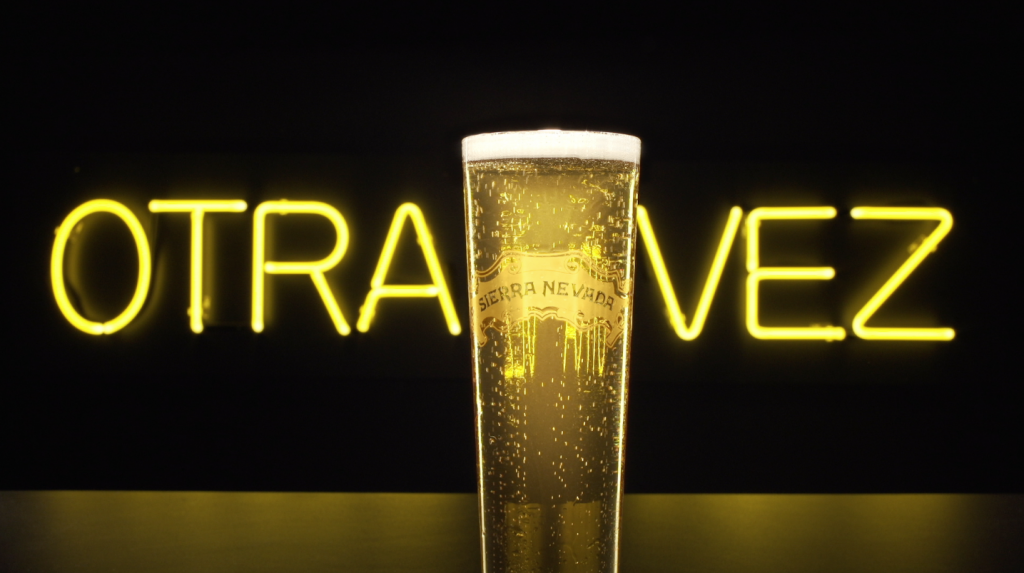
The Money Shot: a slow push into carefully lit glass of beer

We spent a LOT of time trying to get the lighting right for this shot. I had the camera on a Dana Dolly, with I think a 35mm Zeiss Contax prime lens on IV Metabones adapter. I was shooting at about f/11 or f/16 to get as much depth on the sign as possible. To get the lovely rim light down the side of each glass, I used a pair of Kino Flo single-lamp 4′ fixtures, which were very carefully flagged to be just out of frame on the right and left. It has to be almost visible to get that rim light. To get the beer to glow in the middle was the hardest part of all. It required backlighting, of course, but every angle we tried wasn’t working. The light was always hitting the black plastic counter and blowing it up. After about an hour of trying things, it hit me: cut a custom flag for the backlight, basically a notch in a piece of black foam core. Then the light would fall only on the glass and not on the counter. It worked.

Tabletop photography is an exercise in patience and repetition. It’s tedious as hell, and requires more light stands than I think I’ve ever used for any other project! Every imperfection becomes visible, and has to be taken care of. So tons of flagging, and very specific lighting throughout the frame. But the results can be very, well, refreshing! Luckily we had lots of Otra Vez beer on hand during the shoot, and no, we weren’t just shooting it!

Have you ever shot with a probe lens? How did you get the best results?