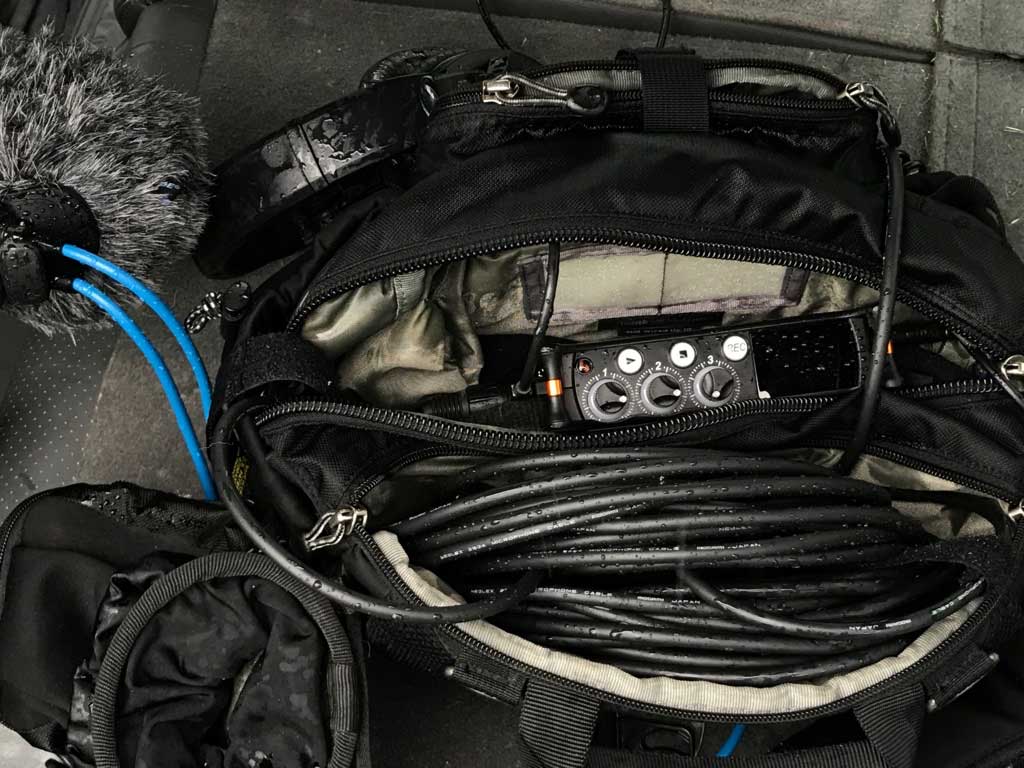
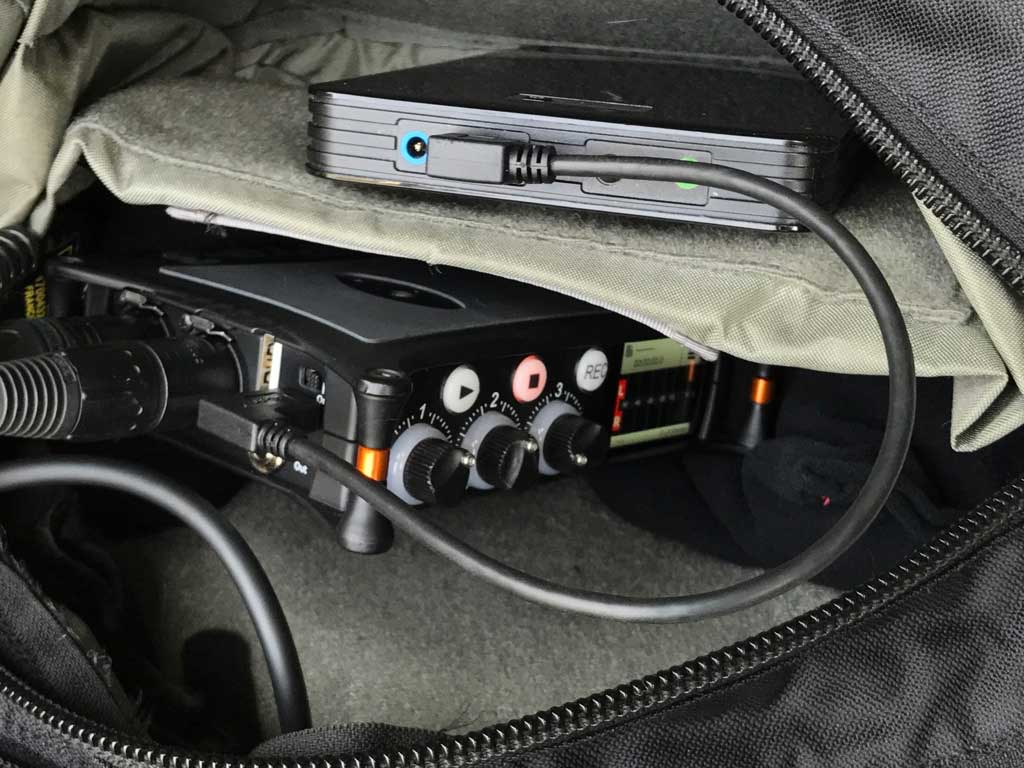
MixPre-3 at home in my sound bag
When the Sound Devices MixPre-3 announcement dropped at NAB 2017, I got excited. For years I’ve been dreaming about a device as small as my original MixPre, but with built-in recorders. Could this be it? I hit the pre-order button but didn’t expect to actually hold one in my hands until summer, despite Sound Devices promising delivery before the end of the month. So when this box from B&H arrived with a couple of days to spare, I was thrilled:
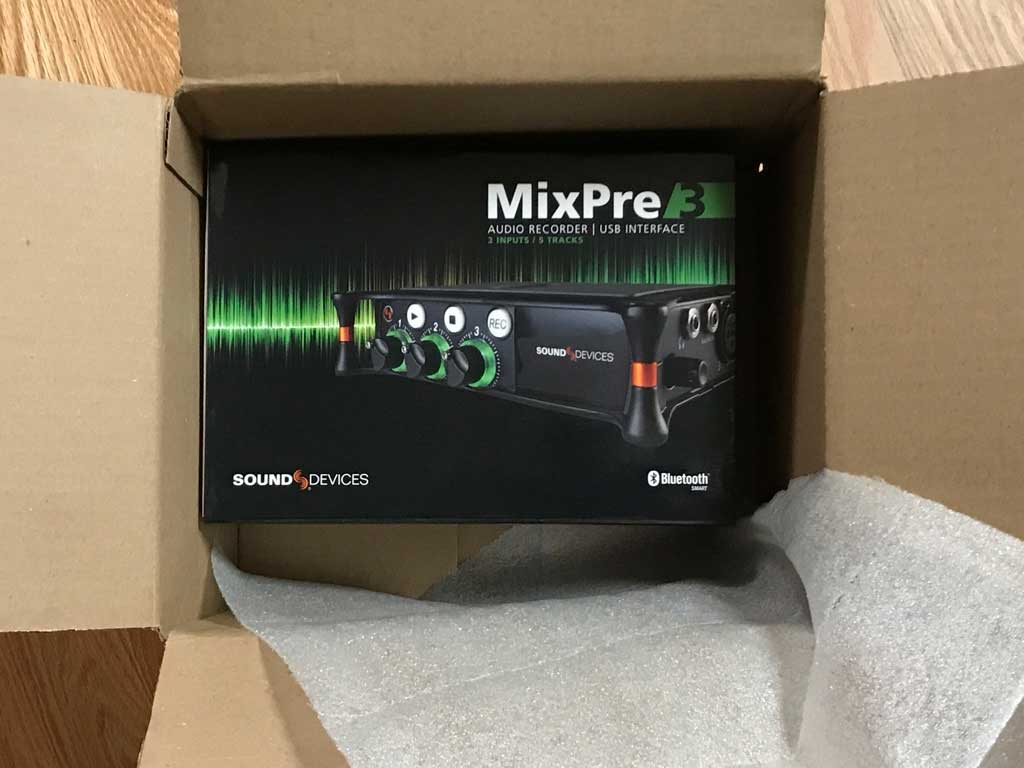
MixPre-3 in box
First impression: Sound Devices delivers on time.
Next impression: This recorder is tiny. About the size of a sandwich:

The MixPre-3 is tiny.
Included is a Y cable that allows you to use the MixPre-3 as an audio interface while also powering the unit when attached to two USB-A ports. You also get two stickers – one “Sound Devices” logo and one that says “Video Devices.”
 Powering the MixPre-3
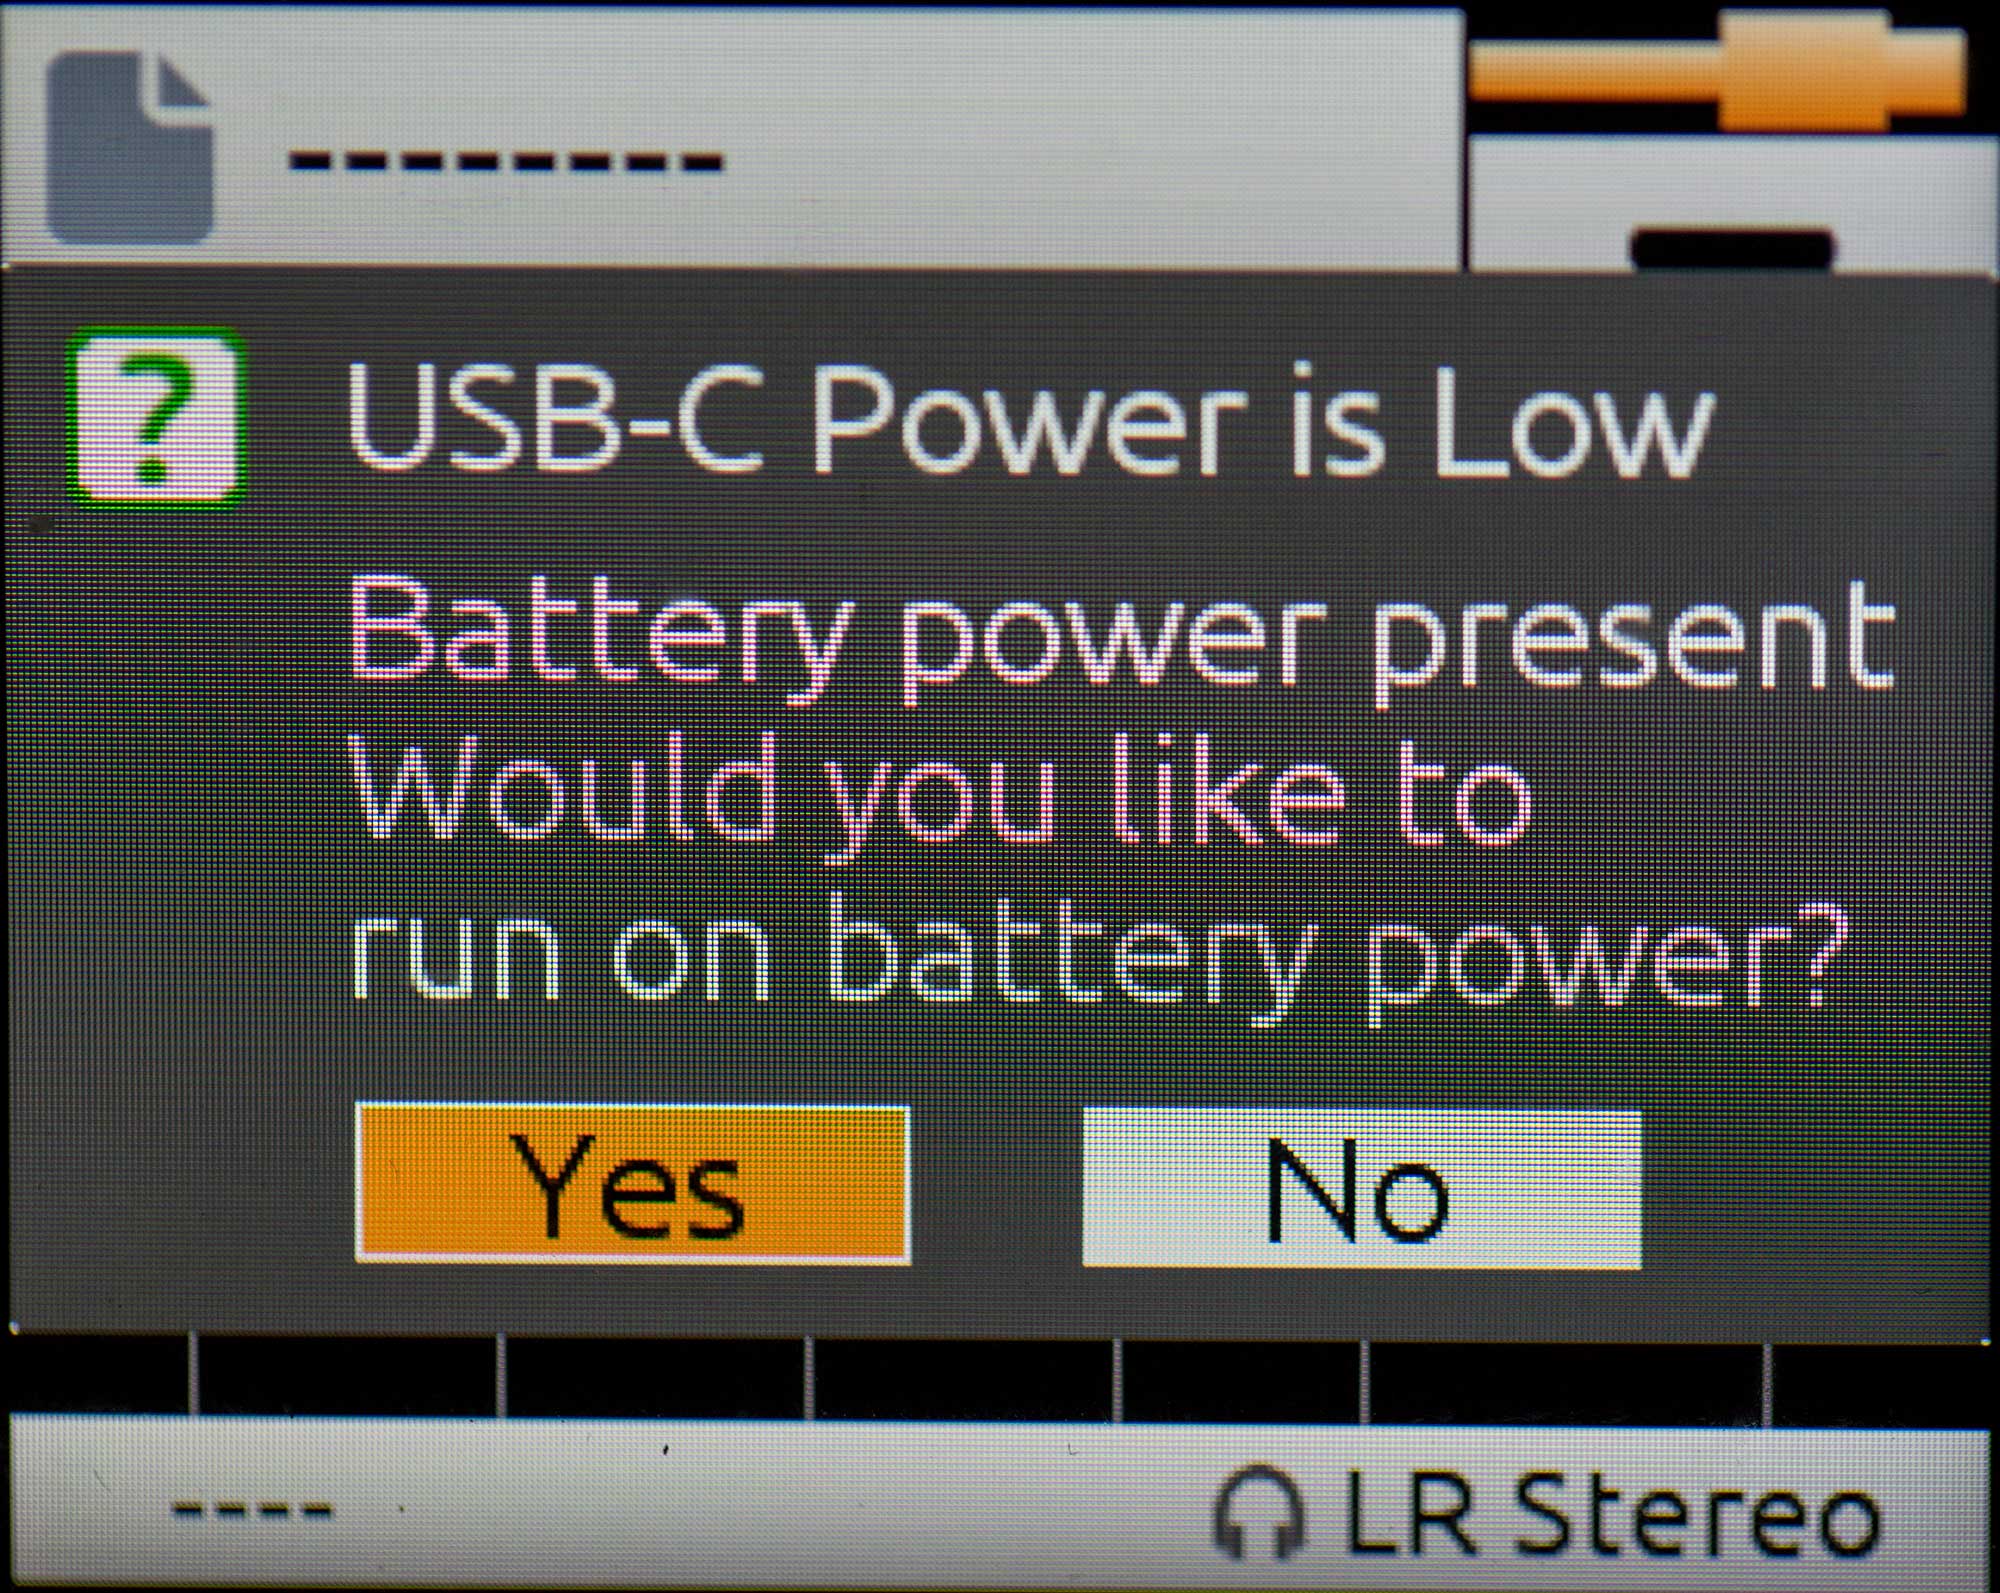
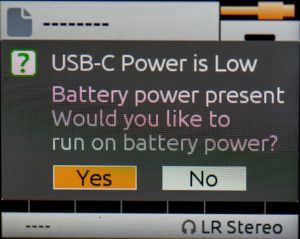
I had previously ordered a USB-C to USB-A cable for powering the device, so I plugged that into my Energizer XP1800A and turned on the MixPre-3. I was greeted with this screen (see right):
Huh? The battery was fully charged. My first thought was that there was some sort of incompatibility with the current supplied by the Energizer. But it had worked just fine with my first-gen MixPre, so I figured something else must be going on. I pressed the Yes button, thinking that meant it would try to use the external battery. Instead it switched to the internal batteries. So I restarted, and this time when the screen came up I hit “No.” The result was that the screen slightly dimmed, but everything seemed to work fine.
MixPre-3 powered by USB-C to USB-A
I later learned (by reading the MixPre-3 user guide) that a single USB-C to USB-A connection isn’t capable of supplying the full power requirements of the MixPre-3. When it’s powered in this way, it enters a power-conservation mode that allows it to function at the expense of a few features. It turns off the USB-A port, dims the LCD, and won’t supply phantom power to on track 3, to name a few. Otherwise, it works perfectly fine. You can tell it’s in this mode because the USB cable icon in the upper left of the screen turns orange. The icon is green when fully powered.
To fully power the unit via USB-C, you need a USB-C to USB-C cable, and a power supply that supplies 7.5 watts to the MixPre. There aren’t a ton of these on the market right now, but I’m sure there will be soon. I went with the Anker Power Core+ 20100mAh charger, which comes with the required usb-c to usb-c cable. It’s a good value at $65. However, it takes forever to charge unless you also purchase a Anker Quick Charger.
Sound Devices has posted an exhaustive list of all the MixPre powering options.
Battery life?
Don’t even think about running the MixPre-3 off the standard 4 AA batteries. If you’re using phantom power, you’ll get like 20 minutes of record time before it sucks the life out of them. You definitely will want a robust battery option like the one I’ve described above.
How does it sound?
I performed a little changing-of-the-guard ceremony in my sound bag, pulling out my venerable MixPre and my Tascam DR-70D to make room for the new sheriff in town. Then I grabbed a Rode Stereo Videomic X and headed to the beach, where as luck had it, a thunderstorm was brewing. Here’s what it sounded like on the MixPre-3 (with no tweaks other than normalizing levels in post):
I look forward to trying this mic out with dialog in a very quiet recording environment to see if the Kashmir preamps live up to their billing. But I sure like what I hear so far.
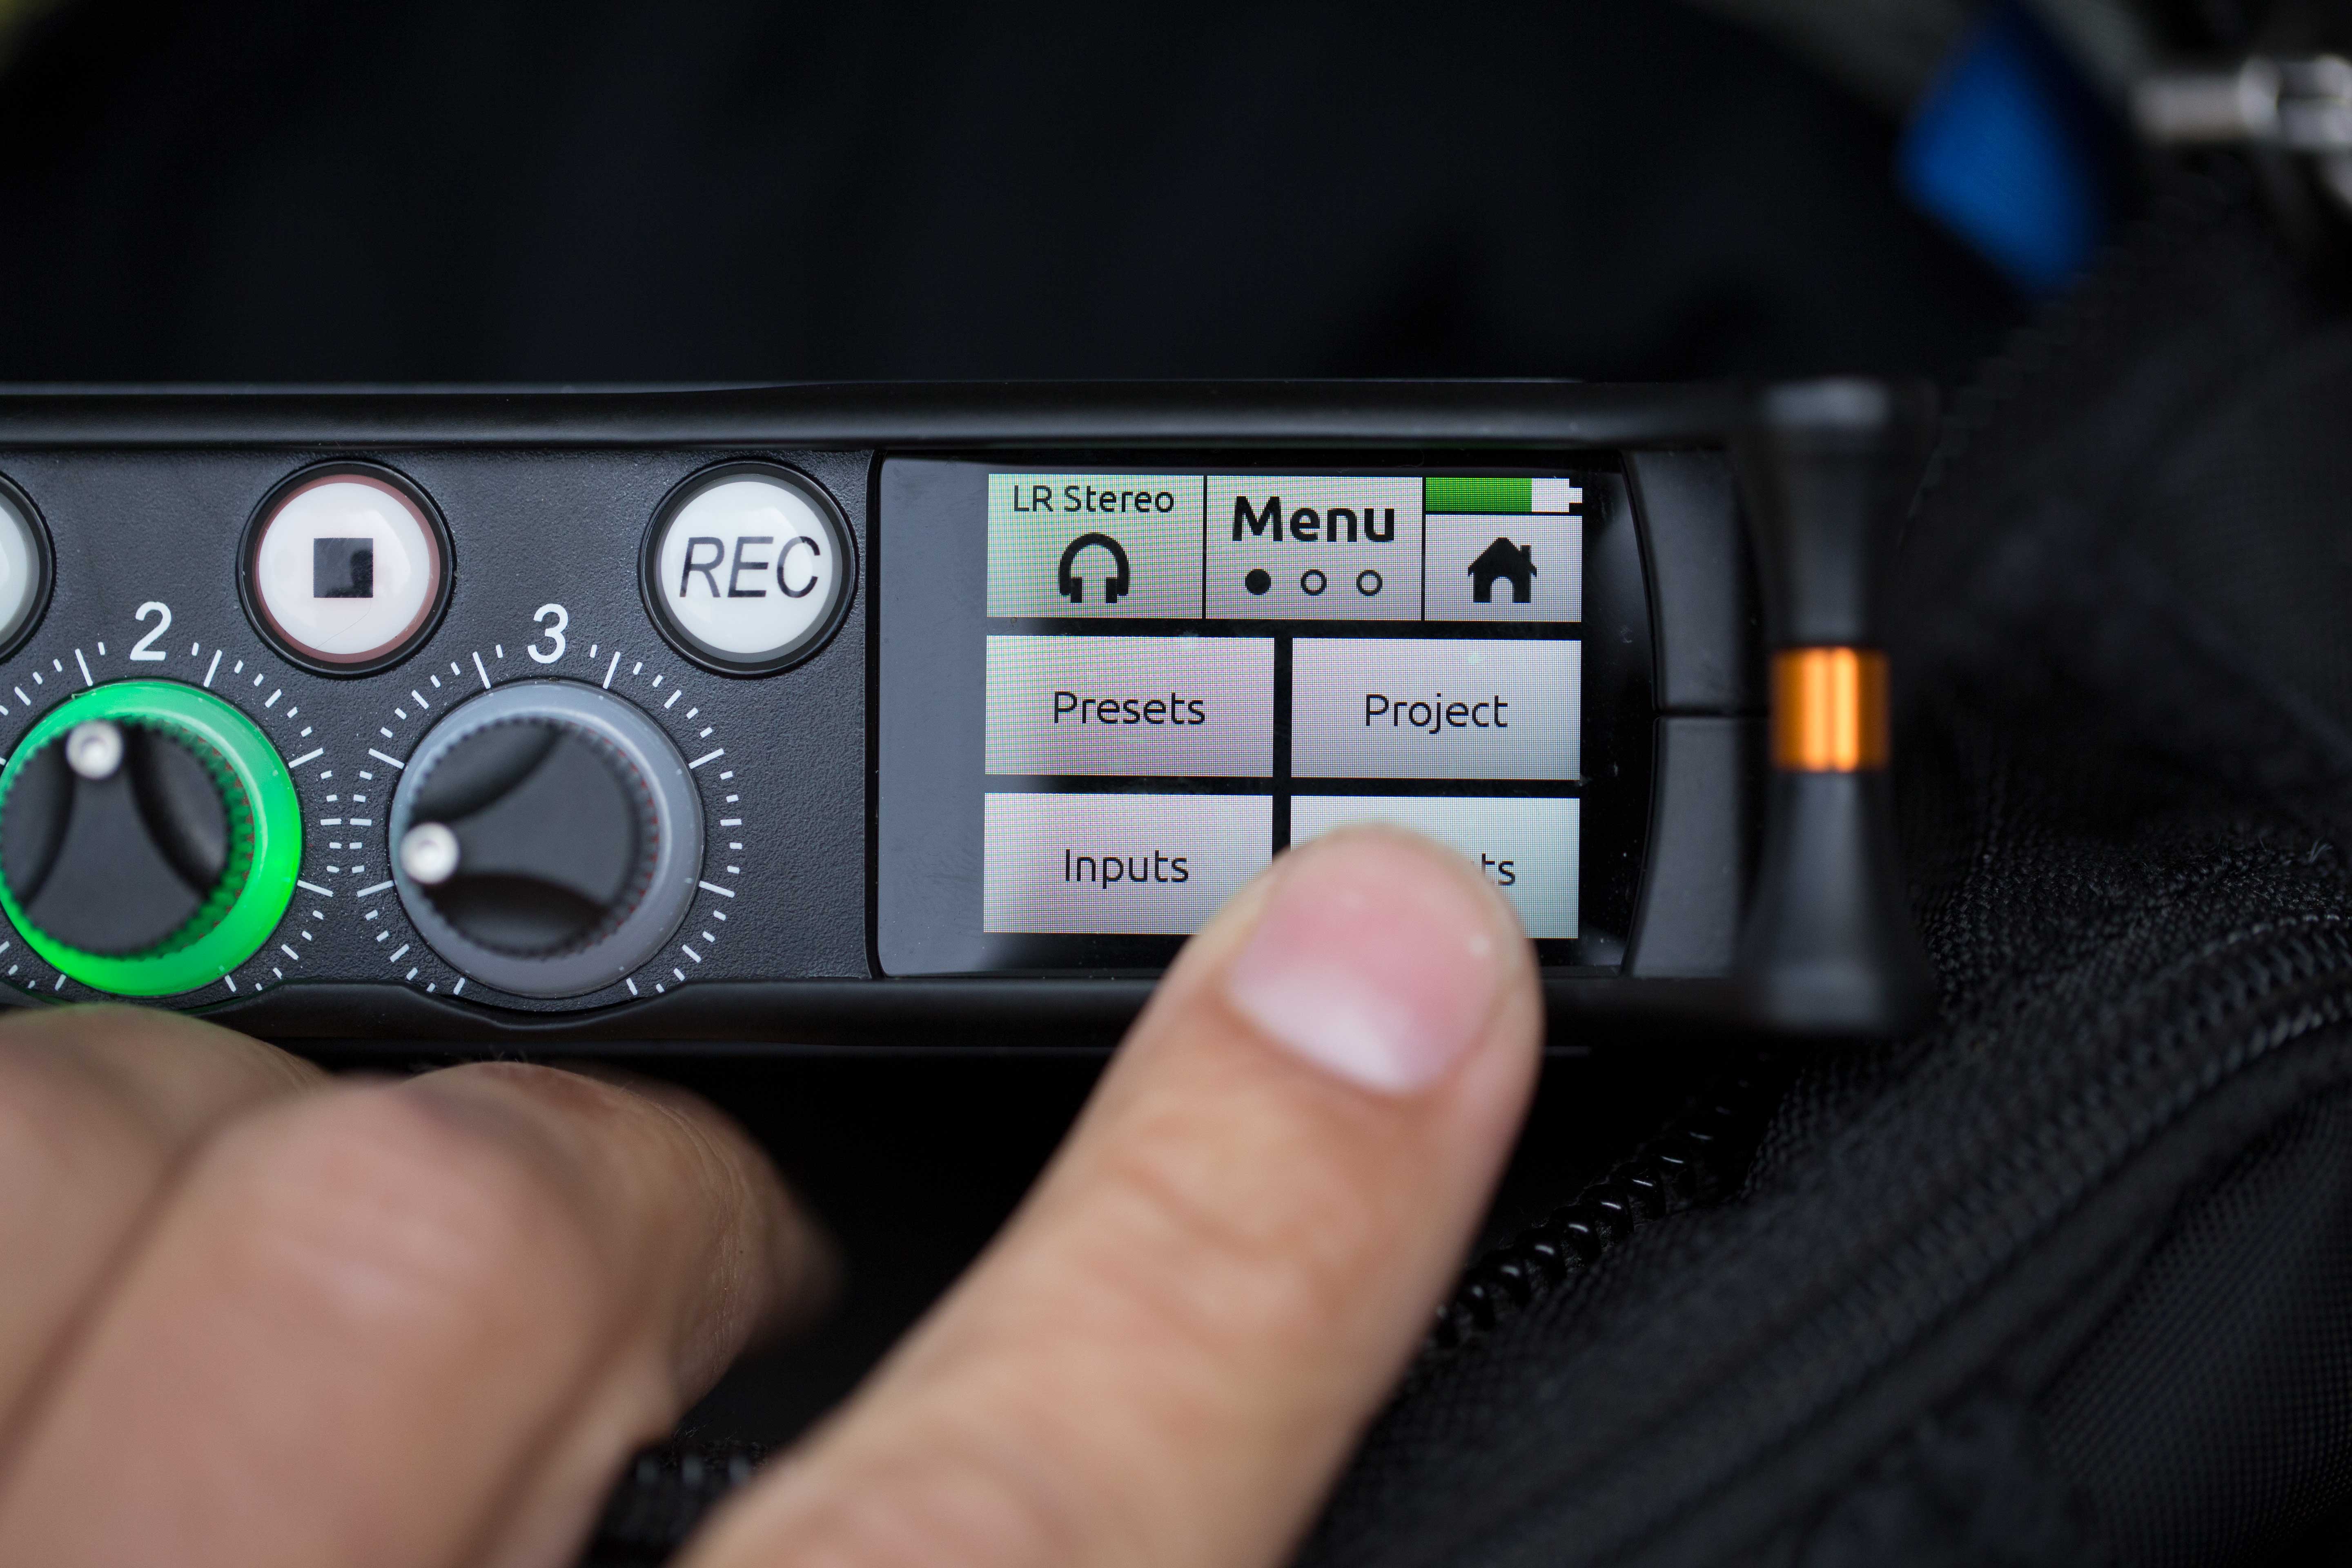
Touchscreen size
MixPre-3 touchscreen is small, but you get used to it quickly
The touch screen at first seems way too small to be functional. But after a little getting used to it, I found it worked just fine. However, I wouldn’t want to spend any time entering metadata this way. So it’s nice that you can do that via the Wingman app, OR by attaching a USB keyboard to the USB-A port.
Setting recording levels
It takes a little getting used to setting levels on the MixPre-3. Out of the box, they seemed much lower than on the original MixPre, on which most of my mics run hot. To get the levels up to where I expected them, I had to crank up the gain on the inputs to 41db (out of a possible 76db). On the screen this shows as middle-gain (see green Gain icon below):
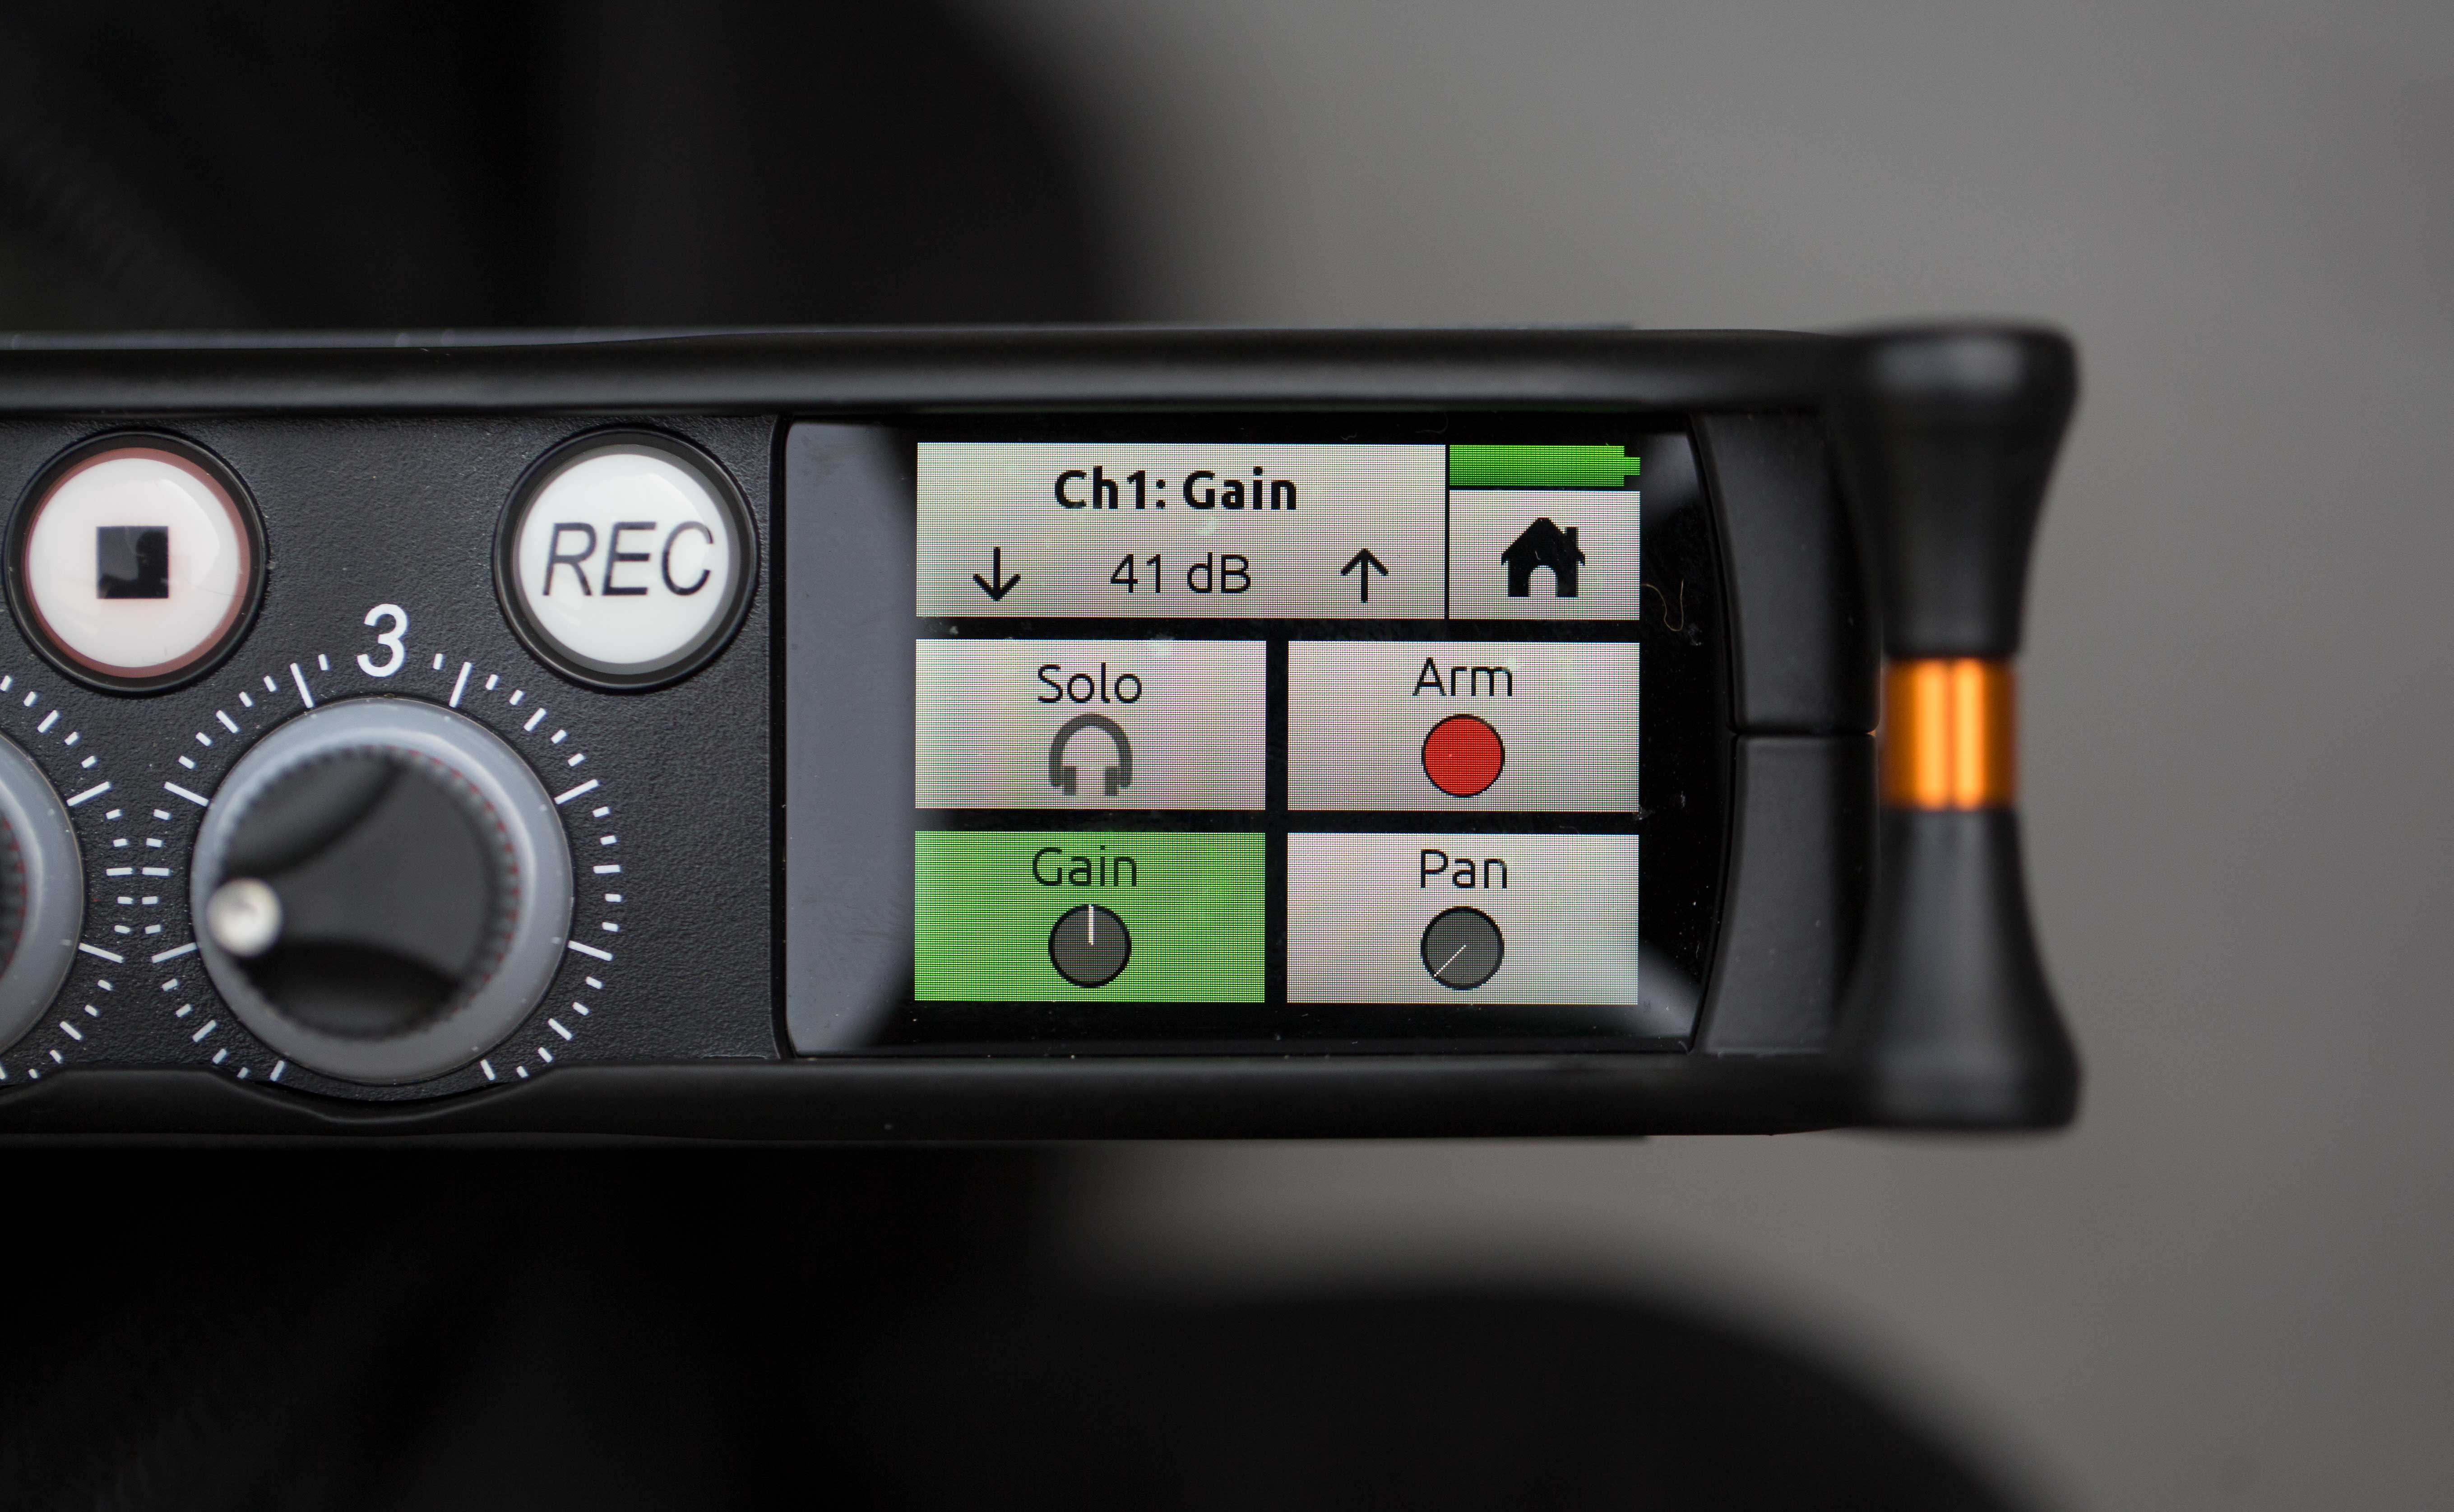
Gain controls
Then I realized that the MixPre-3 is actually using an entirely different approach to the interface than the old MixPre. The old one was entirely analog – the new one is a mix of analog and digital. On the old mixer, you turned up the gain knobs until you found your levels. Done. On the new one, you set the base recording gain level digitally, then use the fader knobs to make minor adjustments during recording.
After working with the MixPre-3 for awhile, and looking at the files it creates, it became clear how to set the levels correctly. The steps are:
- Set fader knob to 0 (with silver dot at top).
- Plug in mic.
- Use gain screen to set levels a little lower than you would typically set them.
- Use fader knob to make minor adjustments.
- Record.
It’s very important to note that the adjustments you make with the fader will ONLY be applied to the mix tracks, and not the iso tracks. The iso tracks are recorded PRE fader. It’s a little confusing, because on your screen, your ISOs are labeled tracks 1, 2 and 3. When you open your files in post, the first two tracks, 1 and 2, are your mix tracks. Tracks 3, 4 and 5 are the ISOs.
For me, this whole idea of a mix track takes some getting used to. I prefer to cut with iso tracks. With my Tascam DR70D, I’m used to recording each stereo pair (or dual mono pair) to it’s own two-track file, and there’s no such thing as pre- or post fader. And, I WANT to control the levels on the iso tracks. So I suspect they way I’m going to actually use the MixPre-3 for most dialog recording is to set up the lav on the left, the shotgun on the right, and then pan them so they are isolated from each other on their own track anyway.
Nice touches
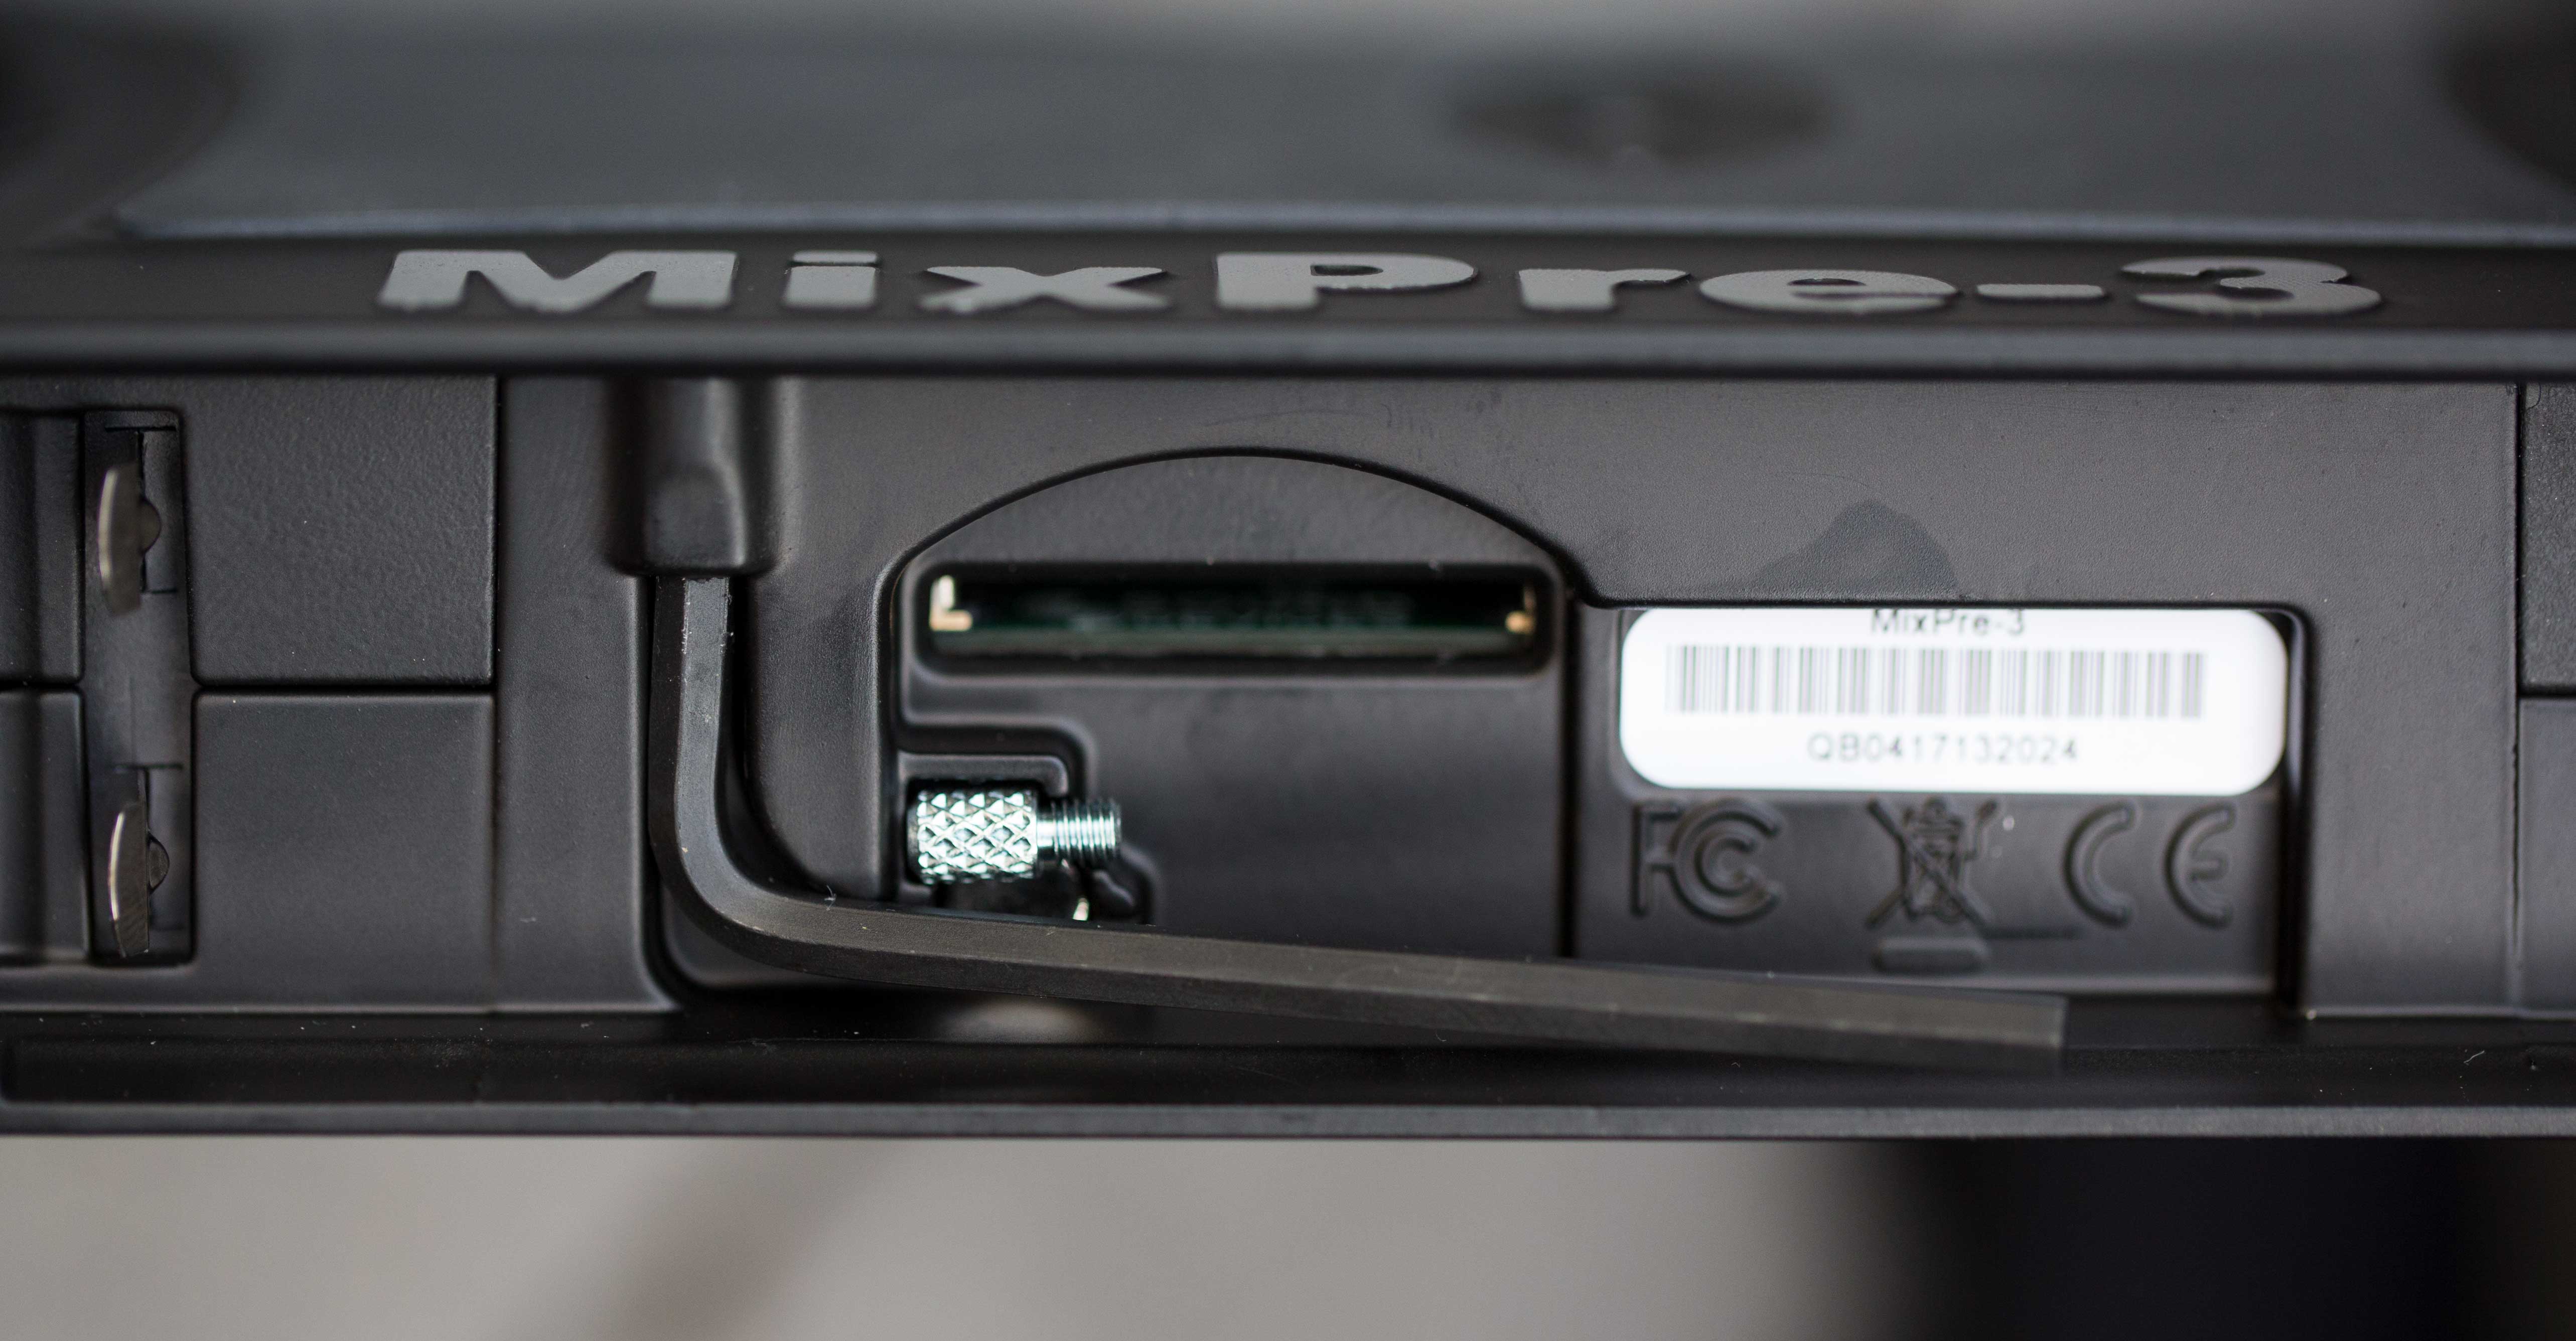
Tools included
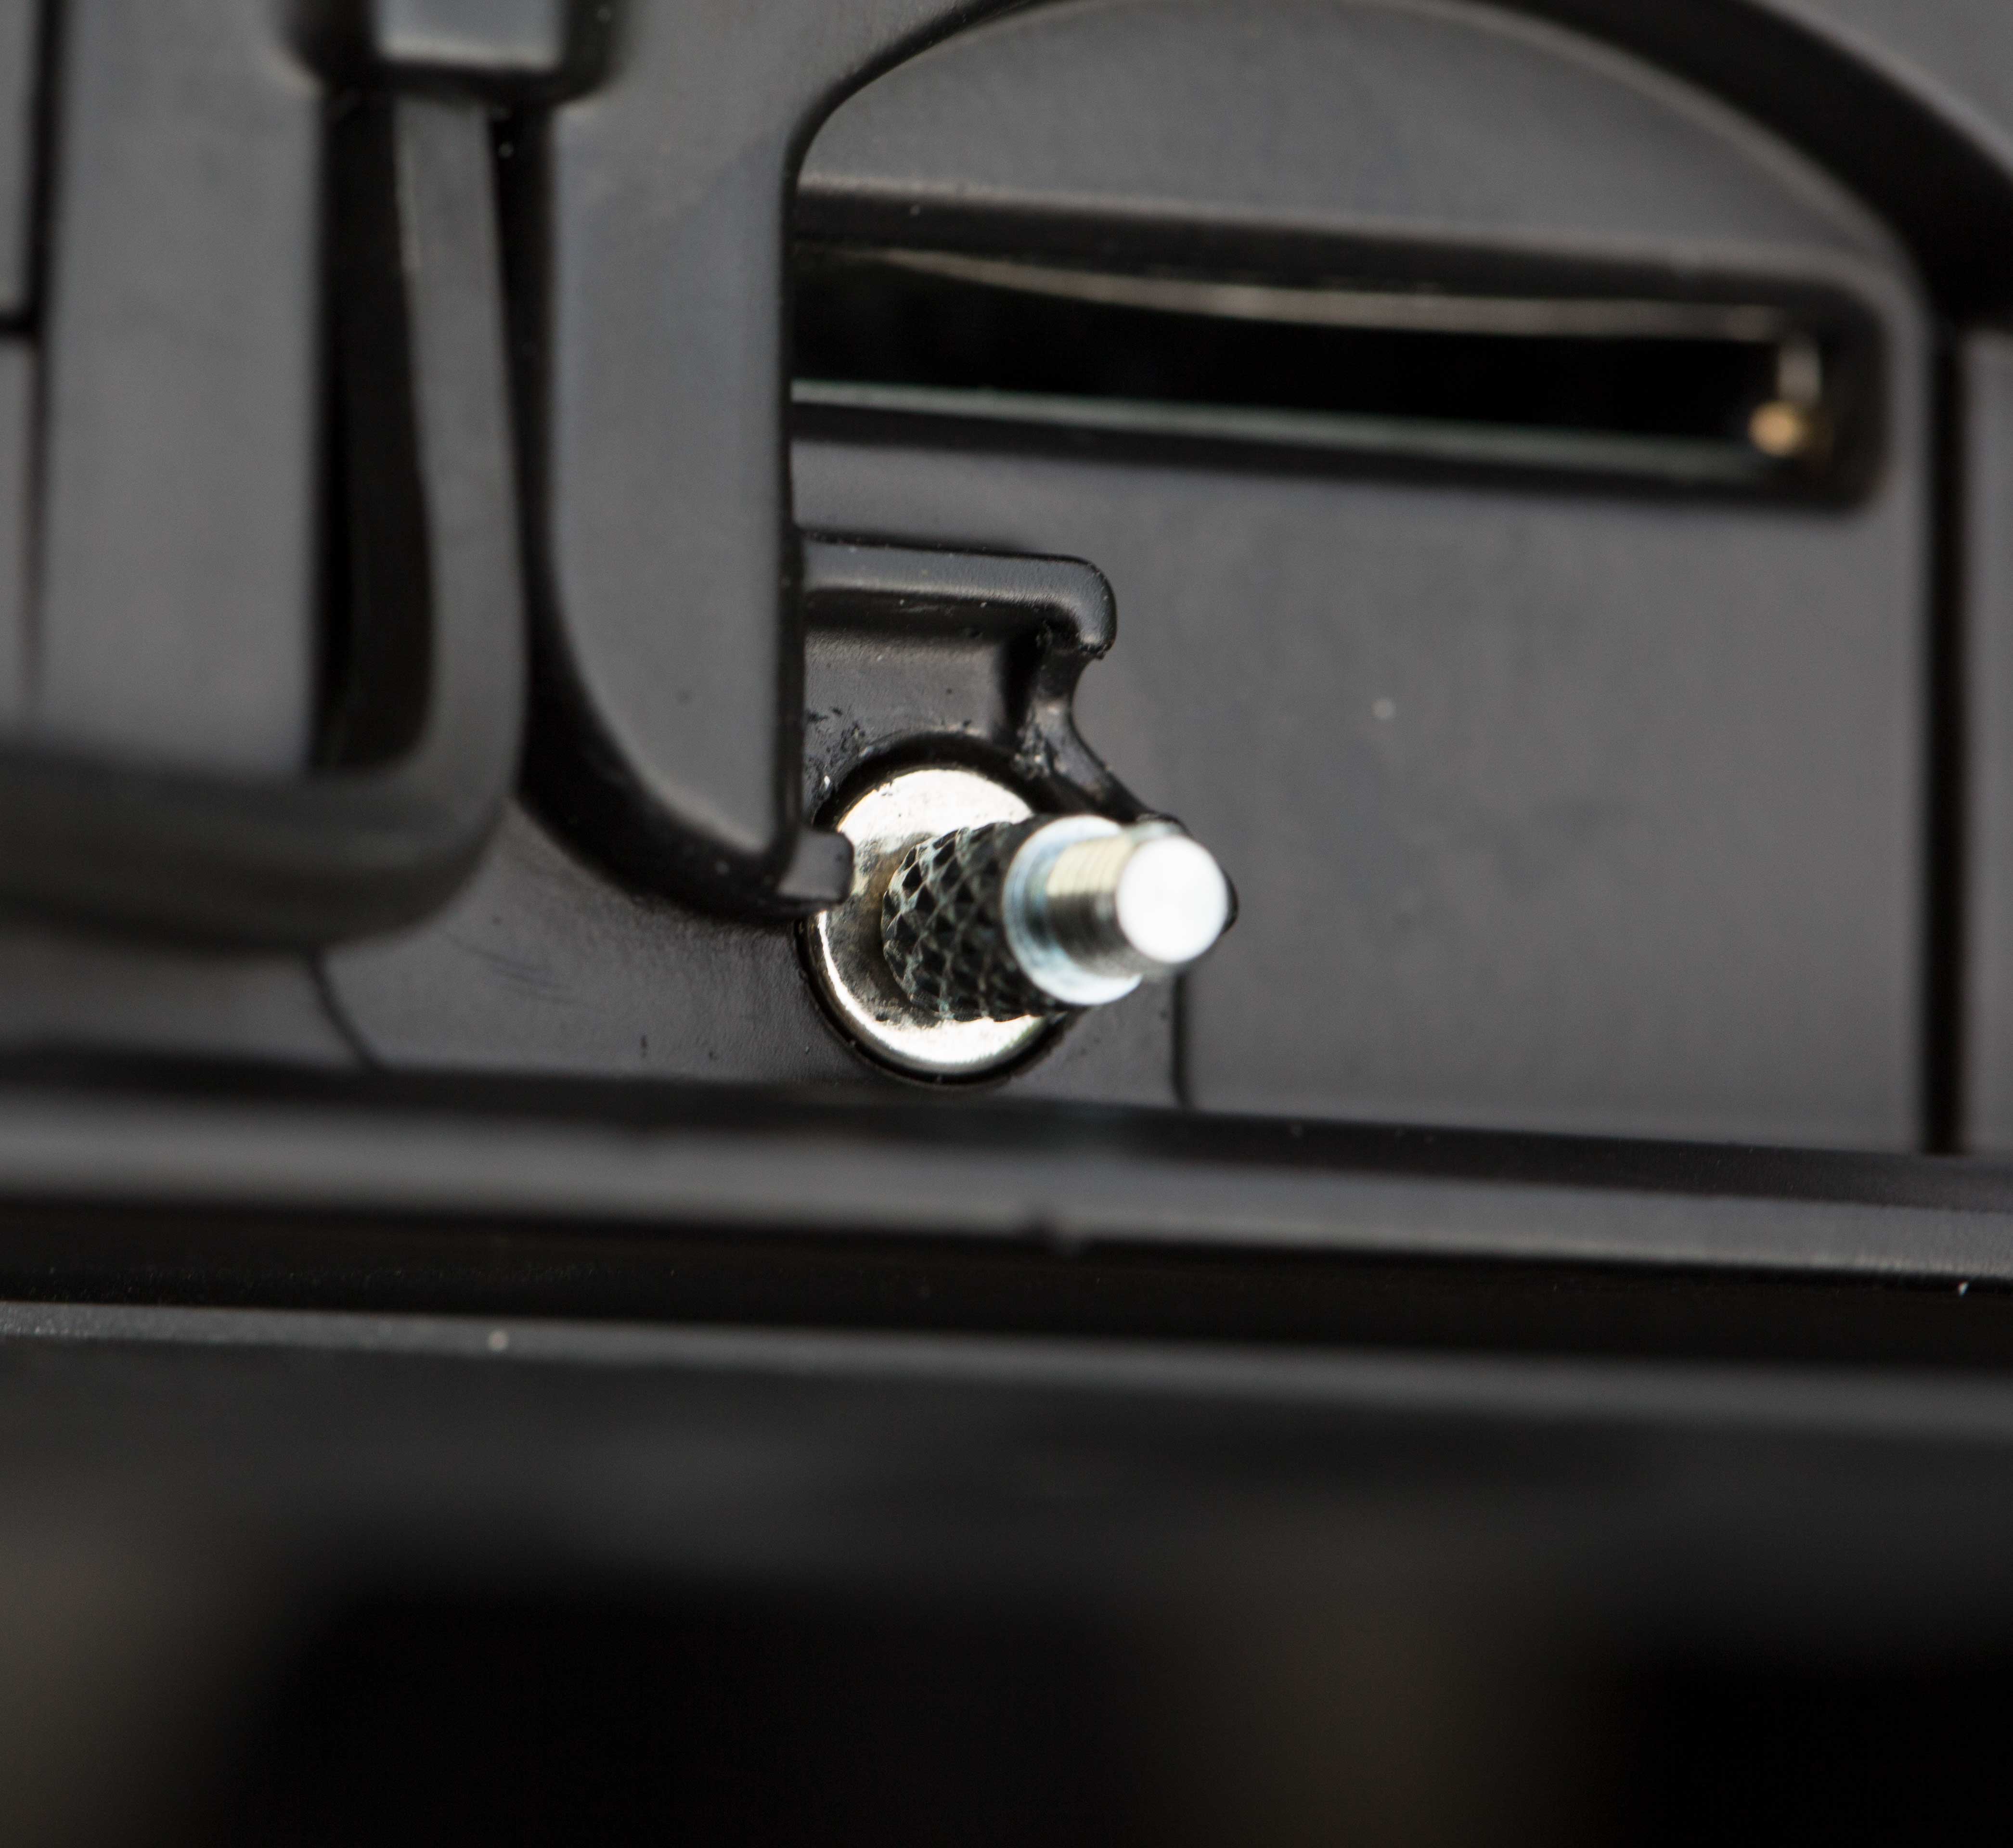 It’s abundantly clear that the engineers at Sound Devices put a lot of love into this project. As an example, check out the flexible options for attaching the recorder to a video camera. They’ve included a centering pin and a hex key required to turn the 1/4 20 screw.
But wait, there’s more! See that little round metal dot? It’s a very powerful magnet, which holds both the pin and the hex key in place, making it less likely you’ll lose them. I love that sort of attention to detail.
Wingman app
 The Wingman app connects automatically to any MixPre-3 in the vicinity right out of the box. You can add a password to the MixPre if you want to secure it. The app gives you everything you need to enter basic file names and add notes, even while a clip is still recording.
It also reveals which tracks are armed (that is, which are actually being recorded) and gives you the ability to arm and disarm tracks by tapping on the left side of them (turning them red when armed and black when disarmed).
However, the UI is a little lacking. For example, the timecode displays on the screen in HUGE numbers, while the elapsed time is shown in tiny little numbers that are hard to see. I wish I could toggle between these, because I want my producer to take notes based on elapsed time of each clip. If you turn the timecode off on the MixPre-3, the big numbers just turn in to dashes, and the elapsed time remains so small that it’s hard to see by anyone over 50.
Nevertheless, the ability to see the elapsed time at all is a big step up for us. Our previous system involved my producer starting a stop watch at the same time as the sound recordist started rolling.
Working with the files in post
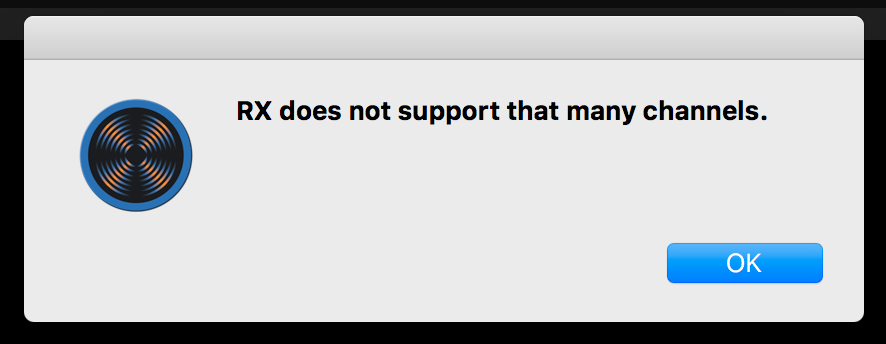 The MixPre creates polyphonic files. Thats a fancy way of saying that your files contain multiple tracks, and your NLE may have some issues with this. When I tried to drop the files into iZotope RX 6, for example, I get this error (see right):
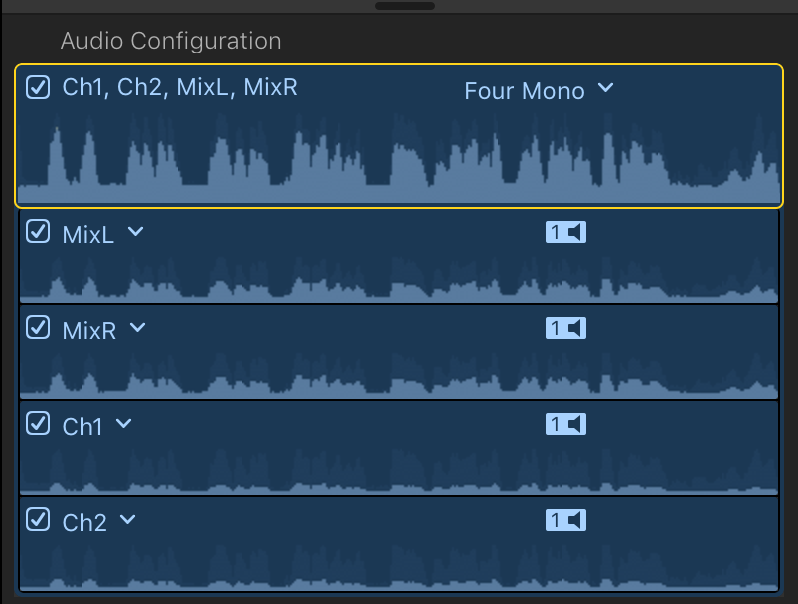
FCPX interpretation of polyphonic files
Also, when I drop stereo files that I recorded with MixPre-3 into FinalCut Pro X, it interprets them as 4 mono files. It’s easy to fix this – you simply change the file type to stereo, and disable the redundant tracks.
But what if you want it clean from the start?
There are several ways to resolve this. First, you can simply disable any tracks you don’t want before recording, using Wingman, or directly by pressing the fader for that track and disarming it. If you want to control the mix levels, you want to disable tracks 1 & 2, which is a little counter intuitive, since that appears to be disabling the track you are trying to record. But that’s not the case – you will find your MIX recorded on tracks 1 and 2 when you open the file in post.
There are advantages to letting MixPre-3 do it’s default thing, however, which is to record your mix AND lay down numbered iso tracks (which are recorded PRE fader, as we discussed earlier). That way, it’s like you have a backup recorded at a slightly lower level in case things get loud. But you still need to split those tracks up before importing them. How?
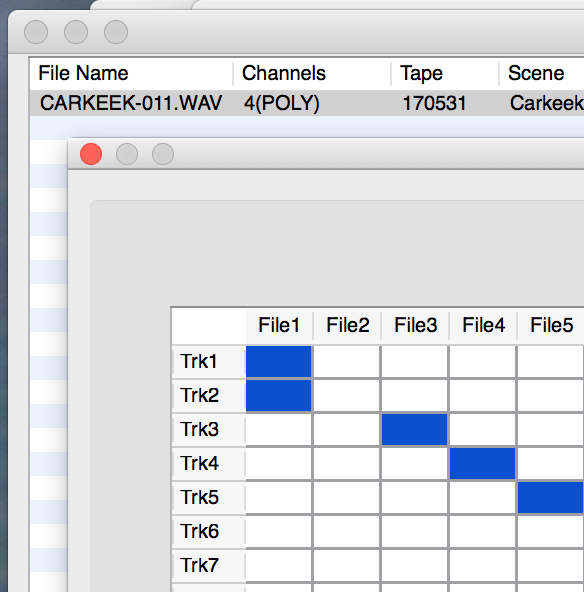 Sound Devices has foreseen this dilemma, and they created a free tool called WaveAgent. It lets you split out and export just the tracks you want, all nice and tidy. It also gives you a great interface for appending metadata to your audio files, should you wish to.
You can tell at a glance how many channels your file contains, the bit depth it was recorded at, etc.
To export tracks 1 and 2 into a single (stereo) file, for example, you click under File1 in Trk1 and Trk2. Then you select the file format you wish to export, select a location to save it, and export.
Presets are awesome
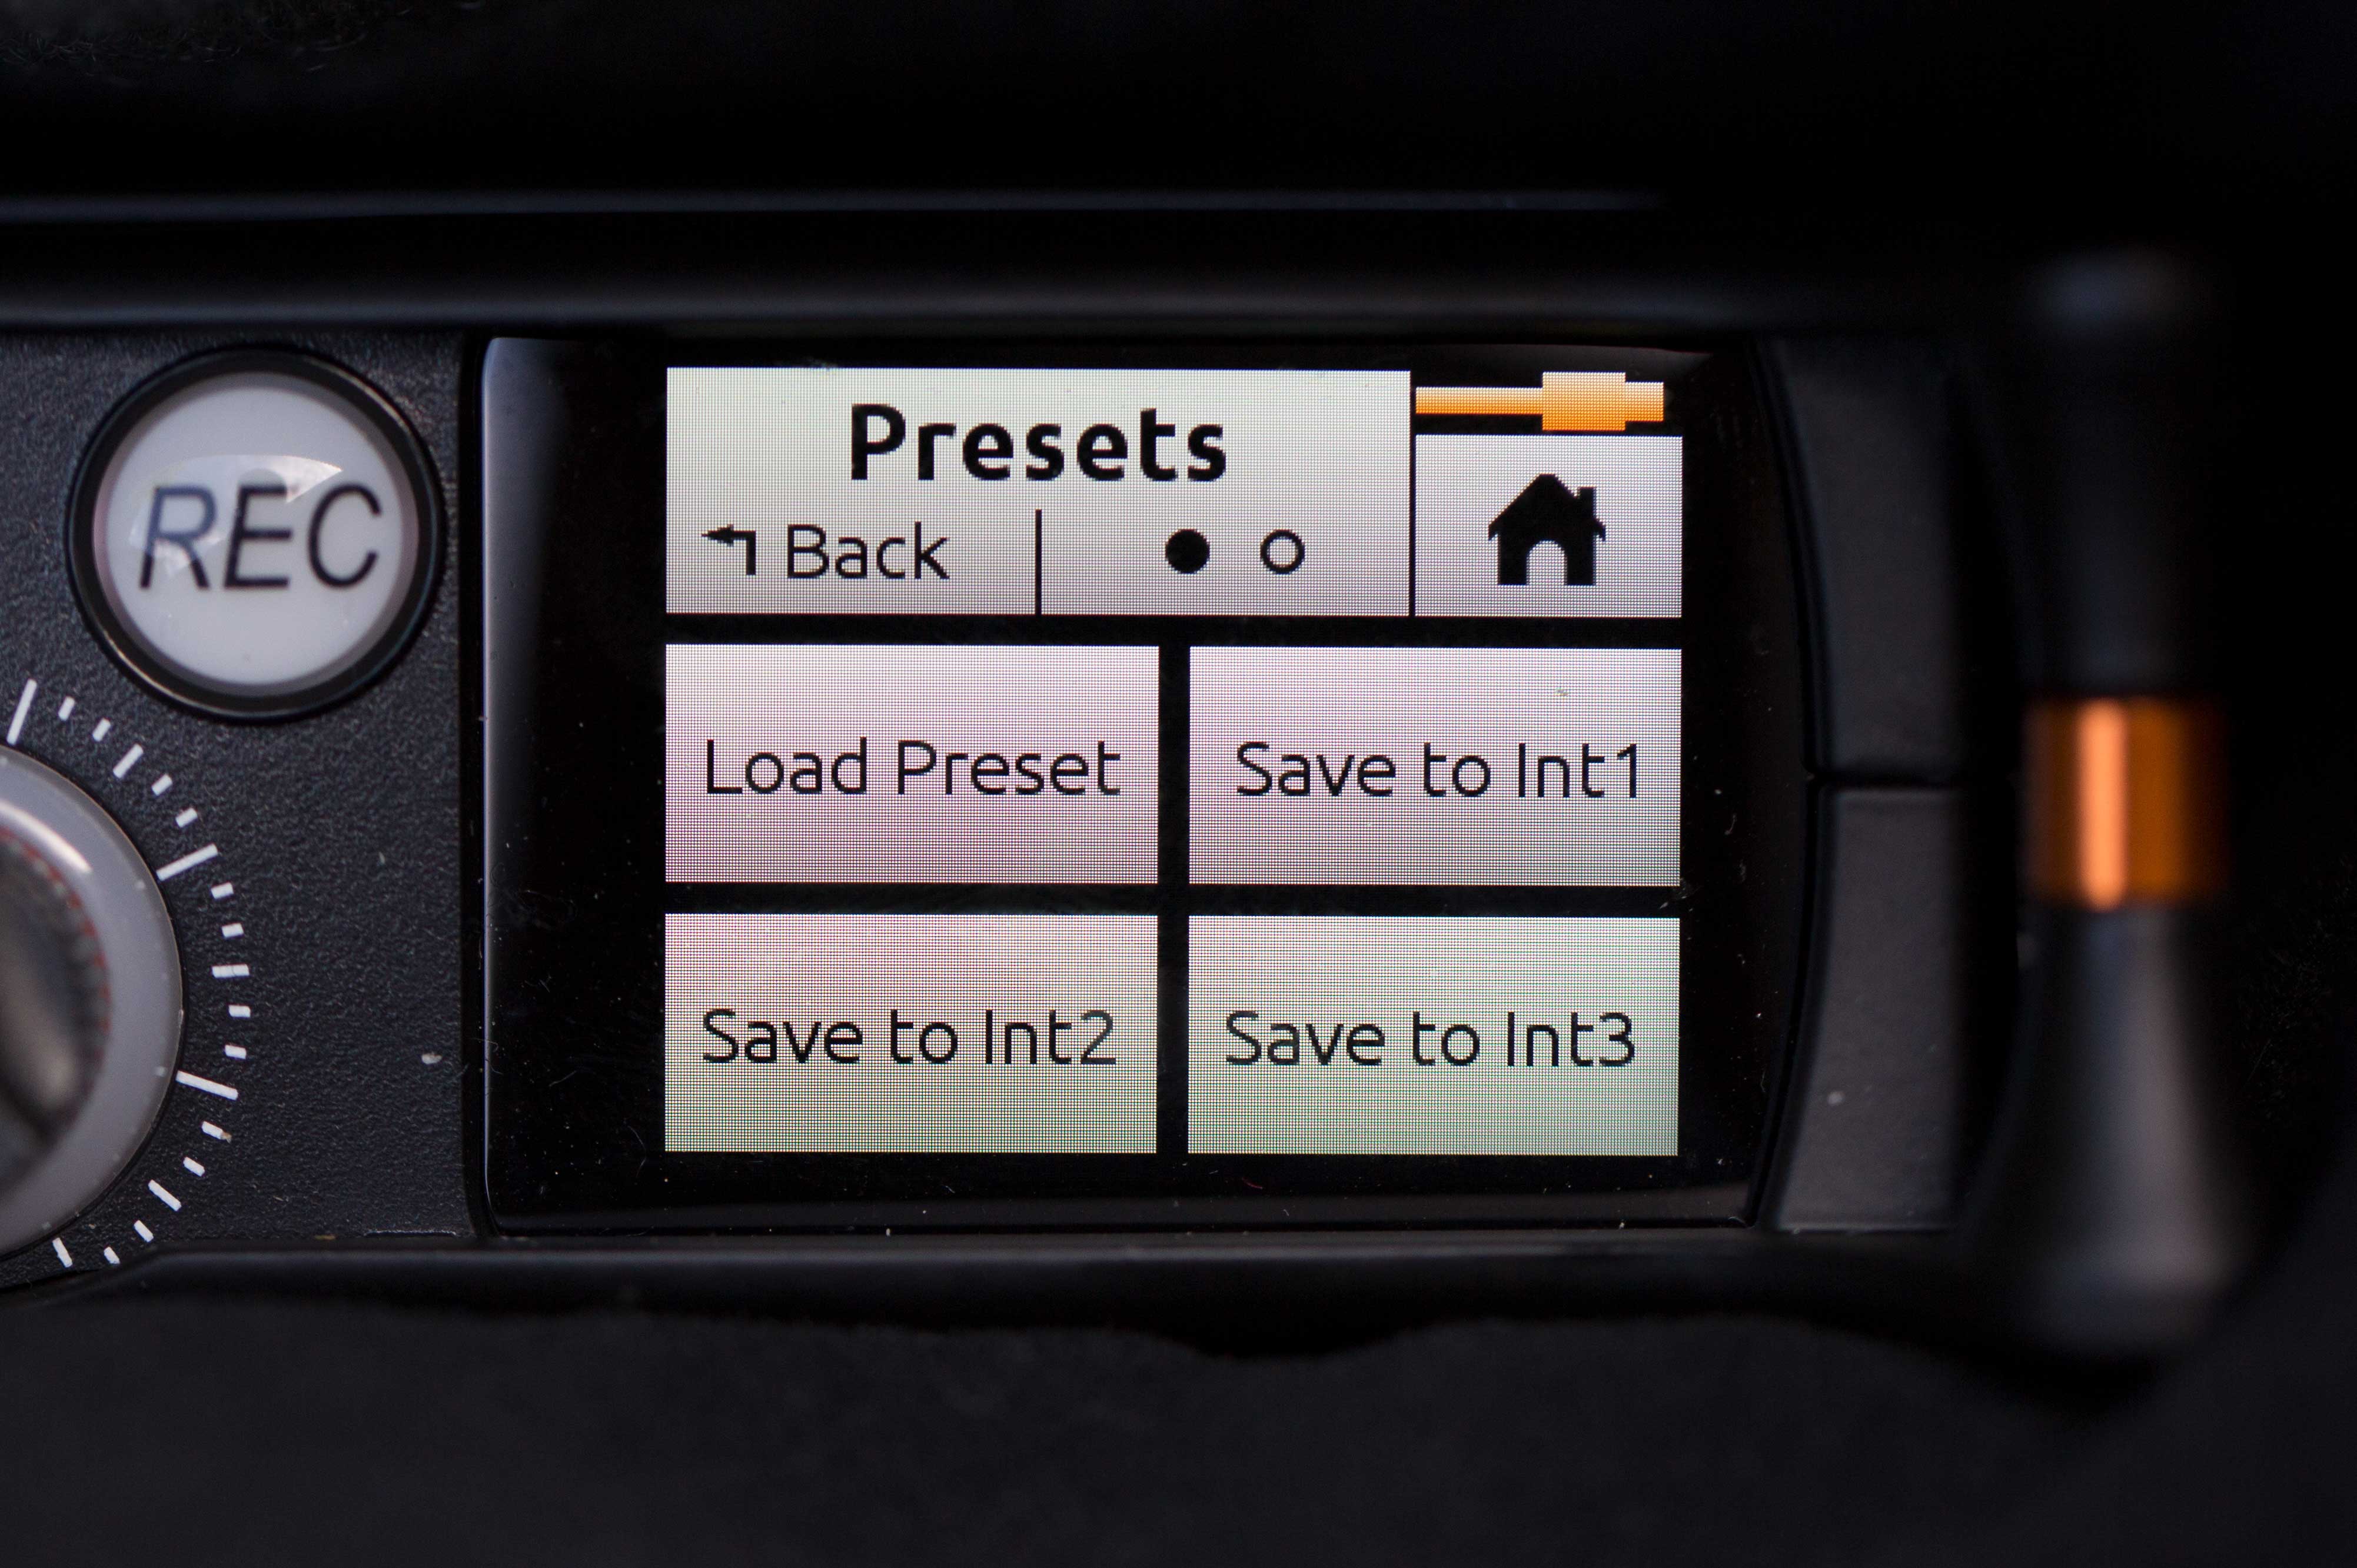 It used to be that when you got your mixer all set up correctly, you didn’t want anyone to touch anything. They could easily mess it up.
With the MixPre-3, those days are over. You just set up your mixer however you like – arm some channels, disable others, set levels, pan, etc.- then store that setting as a preset.
When you’re ready to use that configuration, you simply navigate to the present menu, dial down to your setup, and load it. Done!
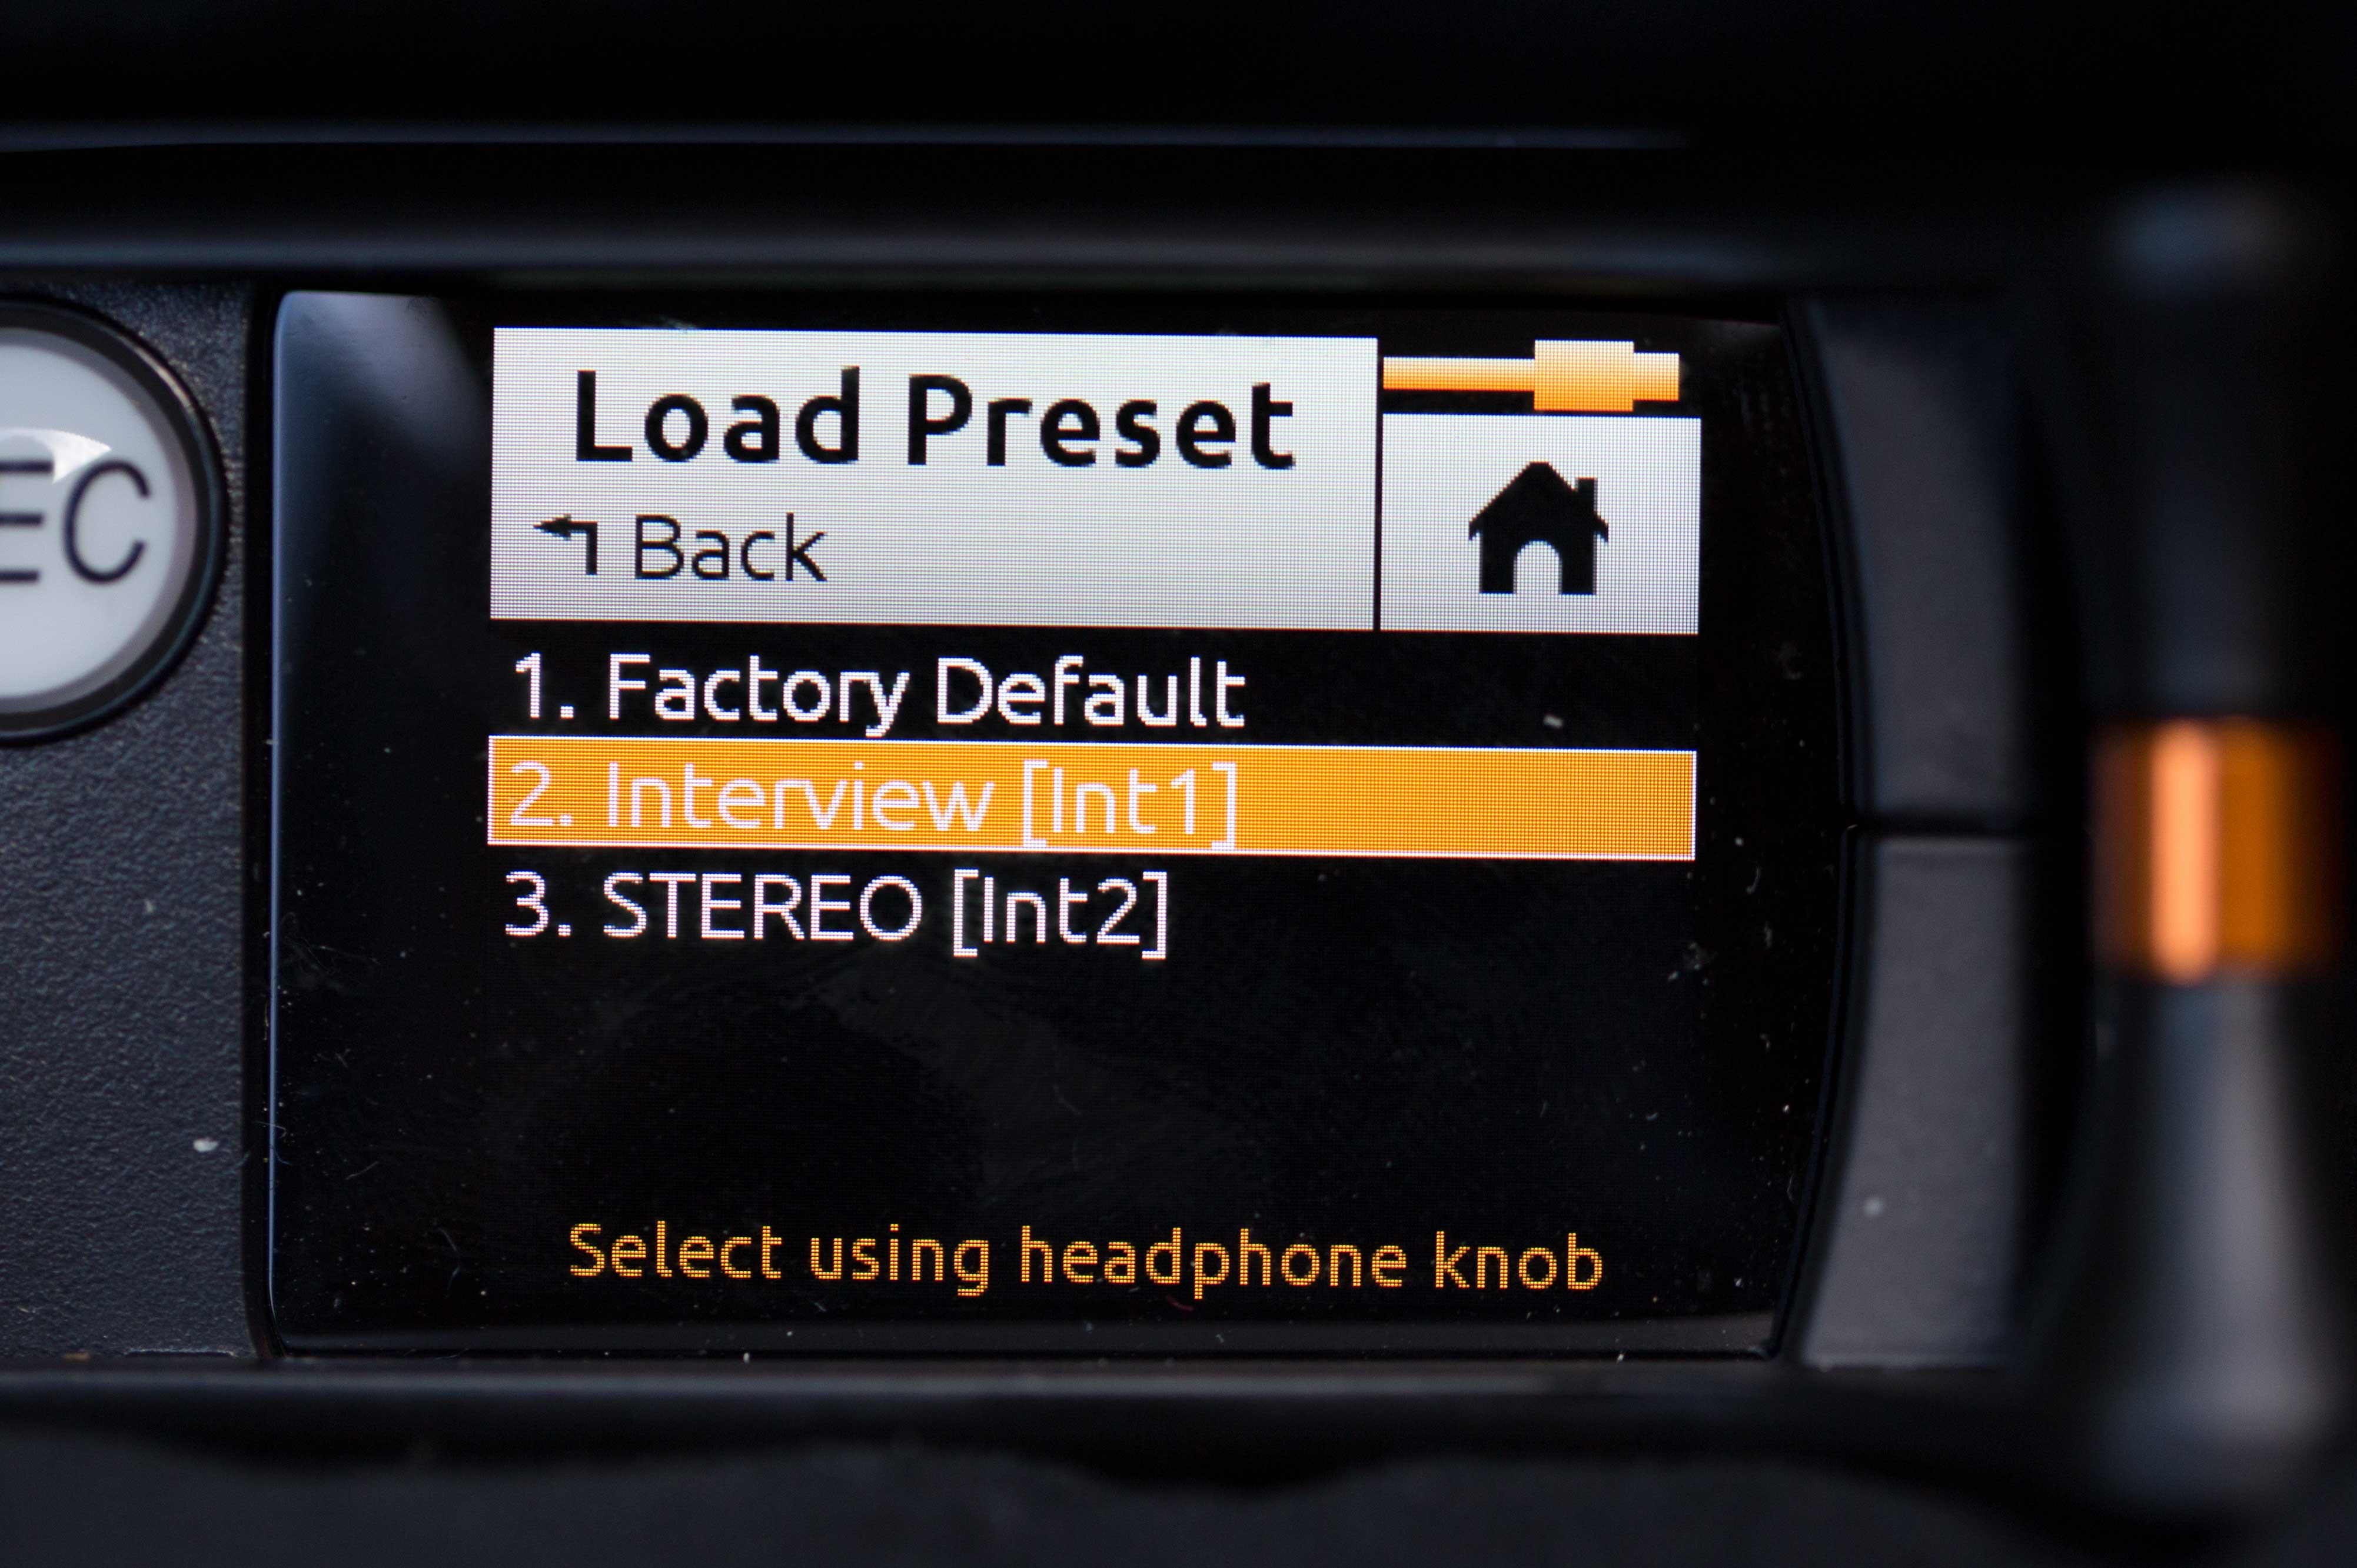 I’ve set mine up with two presets – one for recording sound effects and ambiences with my Rode Stereo Videomic X, and another configured with the lav for interviews. On the left channel I’ve got a lav without phantom power, on the right a shotgun mic with it. If you label the preset by it’s function, it makes it very fast to set up your recorder to match the situation you’re working in.
A new benchmark for documentary sound?
I will be using the MixPre-3 heavily in production in the coming weeks, and I’ll post a more thorough review when I’ve had more time with it. But if initial impressions bear out, the MixPre-3 could easily become the new benchmark in documentary film audio. If you’re a stickler for sound, but you want to spend more time thinking about your story than you do about your tools, the MixPre-3 was made for you.