Last night’s Super Moon brought the moon close enough to Earth for NASA to call it 14 percent larger and 30 percent brighter. That was enough to send dozens of people, including me, scrambling for a place to stand to observe the rare spectacle. I headed to Seattle’s Gas Works Park, thinking I’d shoot a timelapse of the action from atop Kite Hill.
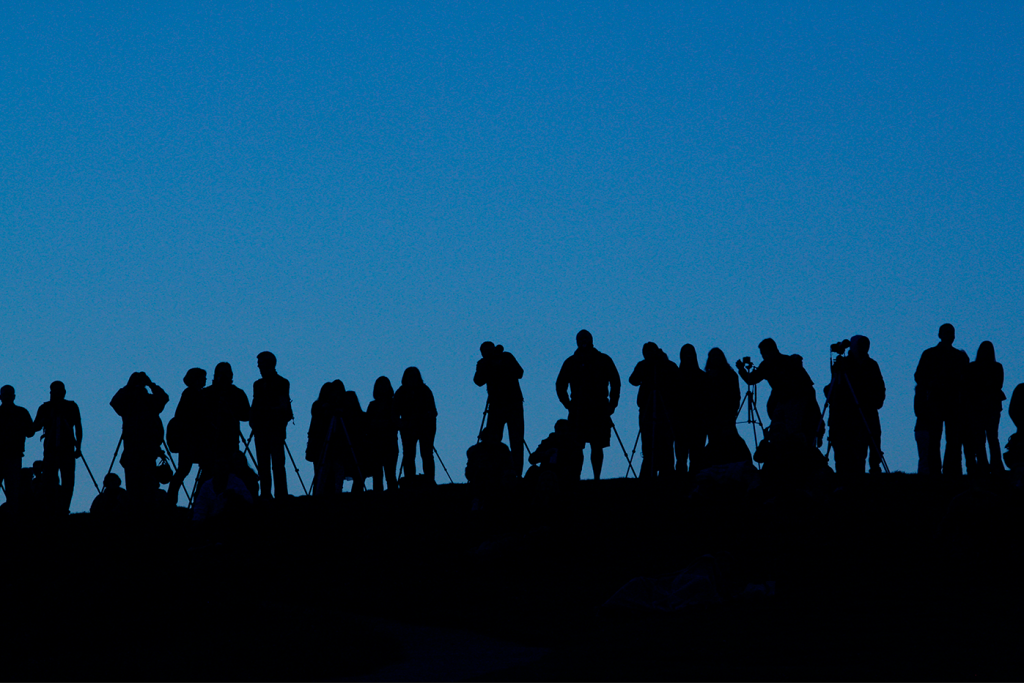
But when I arrived, I discovered the hill was already packed with moon seekers. So I set up my tripod from a more humble vantage, halfway down the hill, next to a couple of other late arrivals. Sometimes it pays to be late! Just before the moon appeared, the guy next to me said “I’m sure the moon’s going to be great and all, but I think the better photograph is that way,” pointing behind us. I turned around and saw this:
A nice shot, for sure. But with a little room for improvement.
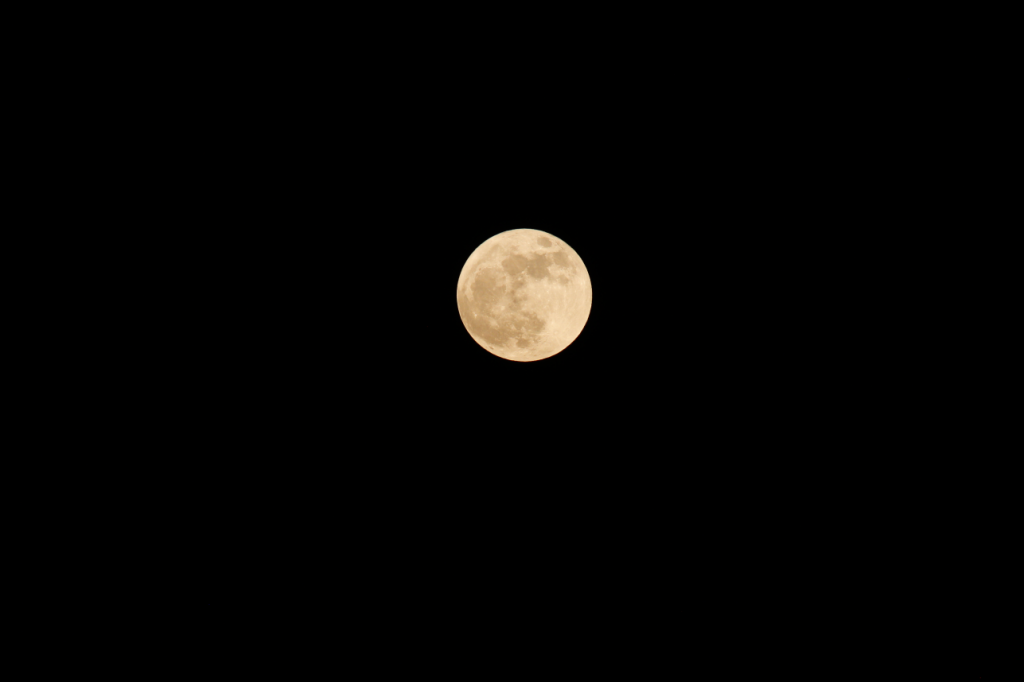
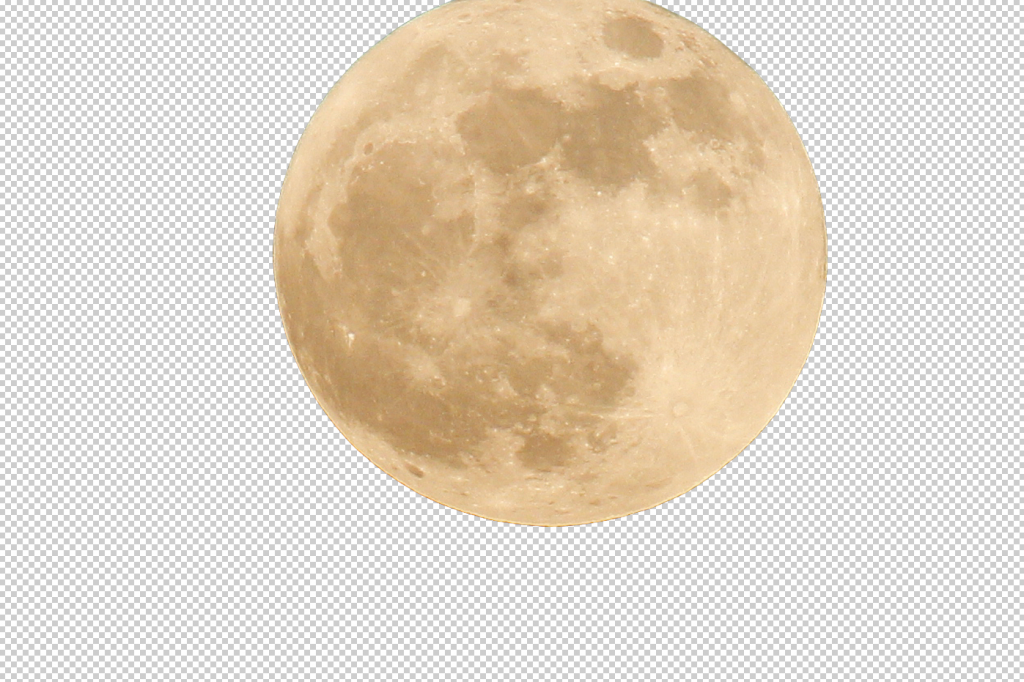
After the moon came up a few minutes later, I shot this frame with a 300mm Nikkor f/4. This is the uncropped version, just as it appeared through my camera’s viewfinder.
After the excitement of watching the moonrise was over, I went home, and imported my two shots into the Beta version of Photoshop CS6 that I recently downloaded from Adobe. My timelapse, incidentally, didn’t turn out at all. But I saw a lot of potential in these two frames. Here’s what I did to bring the magic together:
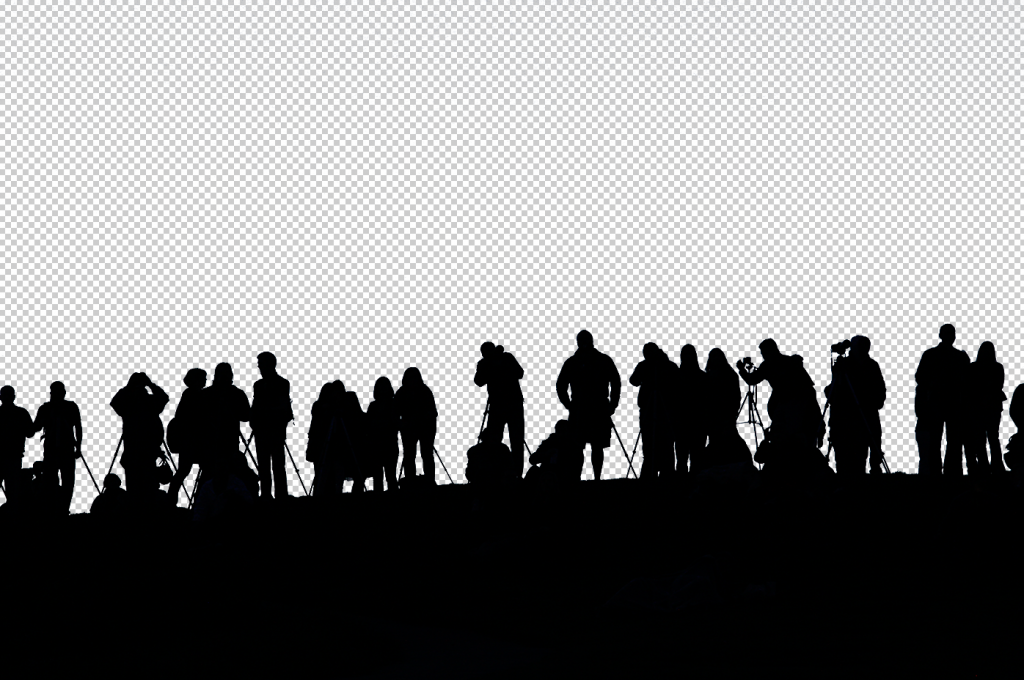
1. Rather than blow up the moon to appear larger in the frame, I started by down-sampling the people shot. It was destined for the web, so it didn’t need to be high resolution. I chose 1400 pixels wide. Using selective color, I made a selection of all the blue sky. The I pressed command-shift-i to select the inverse (the people), and commend-j to create a new layer with the selection. Here’s what it looked like:
2. Next I opened the moon, which was easy to get on it’s own layer similarly, by using selective color to drop out the dark sky, and after a little refine edge work, it looked like this:
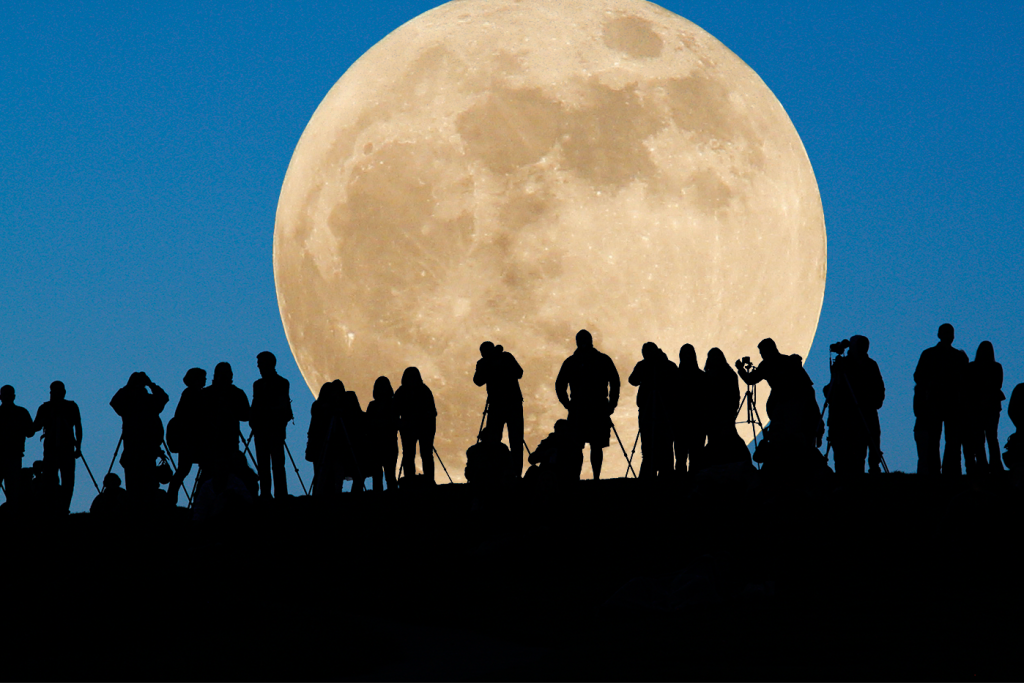
3. I placed them together, on separate layers, with the moon behind, to get this:
4. I had saved a copy of the original shot of the hill on it’s own layer, all the way in the background. Turning it on makes things looks like this:
5. Something didn’t look quite real about this. With normal lenses, the evening sky typically appears darker toward the edges of the frame, and that was missing from my original shot of the skyline, because it was shot with a longish 105mm lens. To get that feeling back, I needed to add a gradient. This took a little playing around – I tried several kinds of gradients, and ultimately settled for a standard black, white gradient, at 58 percent opacity, using “multiply” as the layer blending mode (which darkens only). Here’s how it looked, along with the settings I used in the layer:
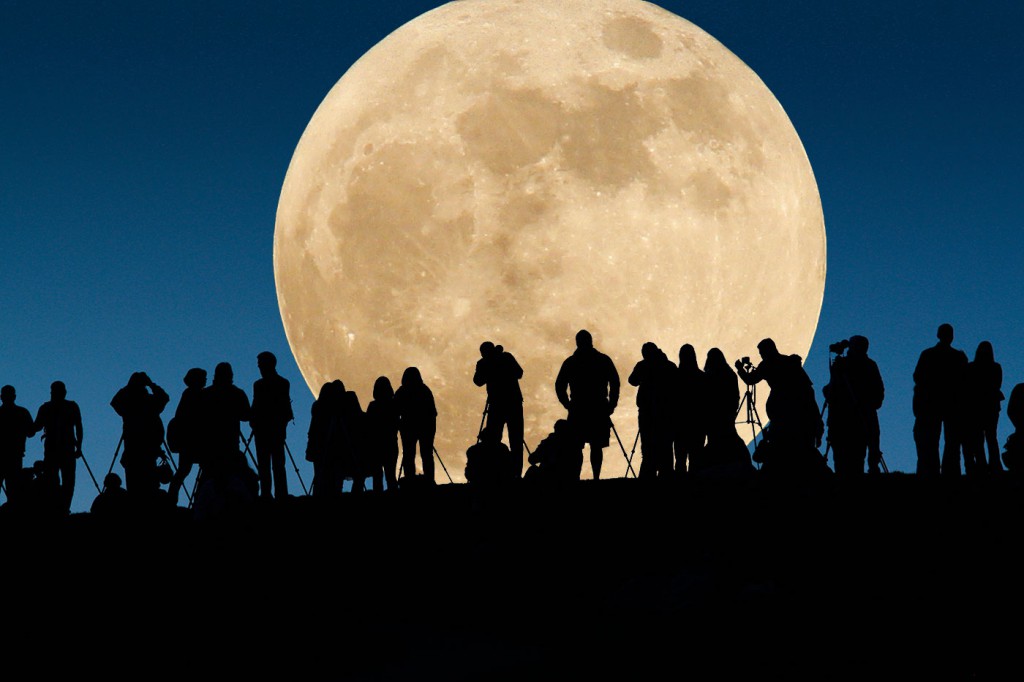
6. Turning all the layers on reveals the finished shot: a whole bunch of photographers gathered to shoot one super big moon. Enjoy!


More then beautiful