I’m a fan of the inexpensive CN-900 led lights. Not because they are the greatest thing on the market – but because they are damned good, at a price I can afford ($450 vs. $1,800 or so for LitePanels that incidentally aren’t as powerful). I liked the first one I got so much that I got another one. But when I unpacked it and set it up next to the first one, it was immediately clear that the low price didn’t include matching the lights to each other: the two lights were visibly different in color temperature.
Rather than allow this to be a show stopper, I decided to test the lights using the excellent vector scopes built into Final Cut Pro X, and add color correction gels to bring them into balance with each other. With a little work and a few gels, I was able to match them. Here’s how.
1. Get a grey card (although a white piece of paper will work fine, as long as it’s pure white (be careful of expensive writing paper which could be warmer than pure white, but you could use cheap writing paper in a pinch if you need to save money).
2. In a darkened room (or after dark) that has neutral colored paint on the walls (white walls or grey walls are ideal), set up your first light on a stand. Make sure it has the included magenta filter in place, which is necessary to match daylight. Set up a second stand that has grey card clamped to it (or just tape it to the wall), and light the grey card roughly evenly at a 45 degree angle.
3. Set up your camera on a tripod in front of the grey card. Fill the frame with the grey card (it doesn’t matter if it’s in focus; just fill the frame). Make sure house lights are all off, so that only light hitting card is from your LED panel.
4. Custom set your camera’s white balance to 5400K, which is what these CN lights are supposed to be.
4. Roll 30 seconds of video or take a still with your camera (either is fine; I prefer still photo because I shoot with DSLR and that way I don’t have to loop footage in next step, but either is fine).
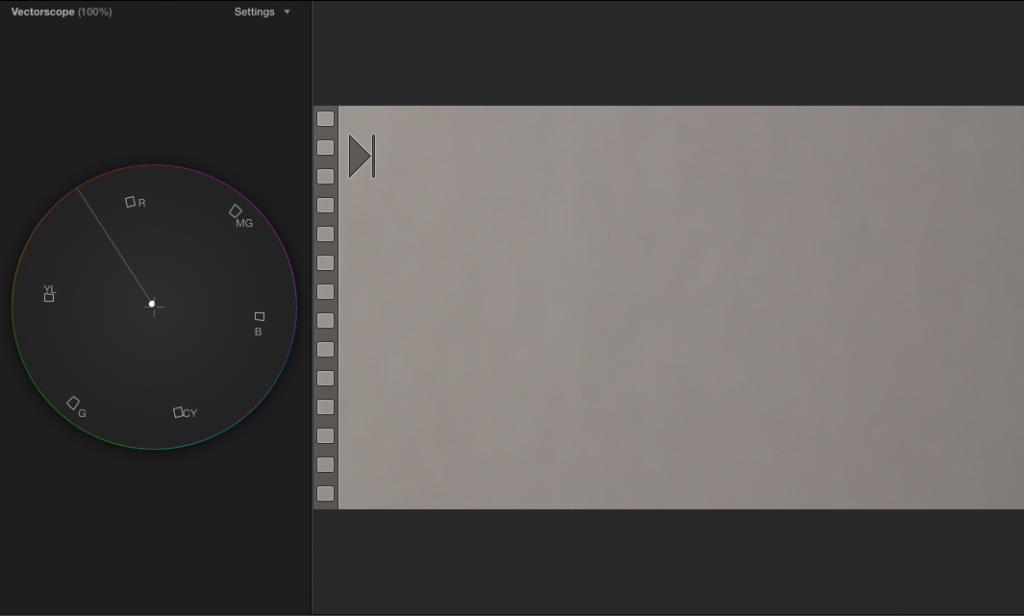
5. Import the still or video into your editing suite (I use Final Cut Pro X). Open the clip. Turn on your video scope. Your scope should show something like this:
Basically, you want to see a dot that is right in the middle, which means that your light is balanced correctly at 5400K, with no color cast to the image.
If you see this, then you are good to go with this light, and now you can perform this same test on your second light.
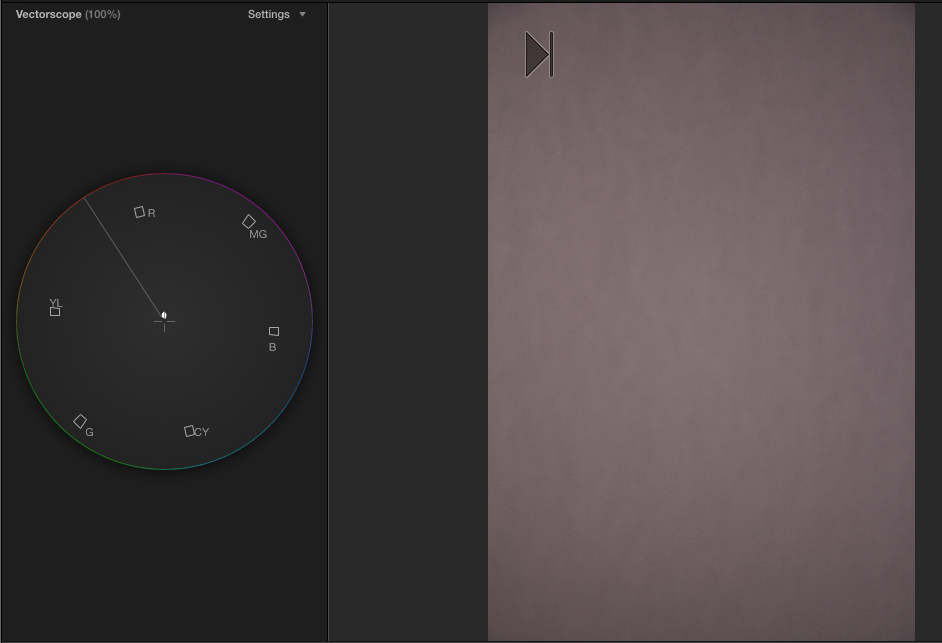
However, chances are good that your first light, and your second, won’t hit the circle perfectly. Here’s what I see on my A light:
My A light has too much red in it.
To get the red out, I needed to pull the light in the opposite direction of red. On the scope, that shows as Cyan. So if you had access to cyan filters, you could add a small amount of cyan, say 1/8th or 1/4, then test to see which brings you closest to the target.
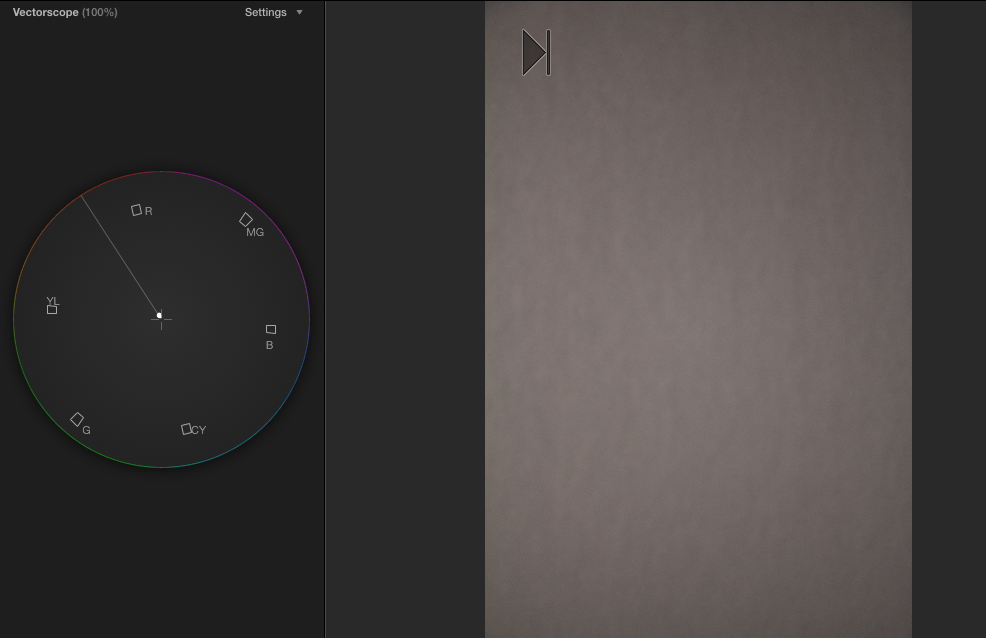
In my case, I didn’t have access to cyan filters at my local camera shop, which has the much more common colors: CTO (redish yellow), CTB (blue), and plus green. Here’s how the scope reads after I’ve added 1/4th plus green:
It’s brought us closer to our crosshairs, but in doing so, it’s pulled us toward green. I need to go a teeny bit further, and get rid of the green. To do that, I added 1/4 blue:
Now we’ve gone too far to the blue. So let’s try a 1/8th blue (which, incidentally, is the smallest increment in which you can buy gel filters):
Bingo. This is as good as it gets. So to balance my A light to 5400K, I’ve permanently added 1/4 plus green and 1/8th plus blue gels by taping them to the magenta gel that ships with the CN units.
My B light looked a little different when I tested it:
So I only had to make one correction to it: I simply added 1/8th plus blue, and it’s all set, and now both lights match each other.
Hope that helps. The CN-900s are outstanding lights that will save you a ton of money if you’re willing to invest a bit of effort into matching them.


Good-Day Dan !
Quick question…
For the gels , did you use a 12″x12″ gel or did you cut to the exact size ? {ie: 14×12}
Thanks for the great reviews and solutions 🙂
Cheers,
Barrie
Hi Barrie,
I cut mine a little larger than that, about 16-18″, so that there is a little larger surface overhang. The trick with diffusion is to create the largest surface possible, and I’ve found that size is about as big as you can easily clip to the lights without too much trouble.
Hello again Dan !
Thanks for the response. 🙂
I was referring to the color corrections;
“” So to balance my A light to 5400K, I’ve permanently added 1/4 plus green and 1/8th plus blue gels by “taping” them to the magenta gel that ships with the CN units.””
So in retrospect I guess you cut these to the exact size ?
If so , does the magenta gel still slide in and out ?
I ordered 3 , that’s why I’m asking…
I also ordered a bunch of different gels.
Hopefully there’s not TOO much variation ?
Cheers !
Barrie
Ah, yes, that’s correct Barrie – I cut them precisely to fit the magenta gel. The magenta gel will still slide in and out, but I have to be a little careful with it not to tear the tape.
One thing I definitely recommend is testing your light with the gels to be sure you’re getting the temperature of light that you expect in advance.
1/3 minus green is all you need. Skip the filters that come with the light.
Unfortunately my two lights don’t match each other, so they need to be corrected individually.