
I like to cook. But shooting a cooking show? It’s never been on my must-do list. However, when Pearl producer Heather Olson emailed me a few weeks ago asking if I were interested in DPing a web series about cooking with cannabis, I was intrigued. Legal marijuana is, after all, the fastest-growing industry in the country. When I learned the proposed show would be hosted by an 84-year-old grandmother, I was in.
The challenge: small space, white walls. The location was an AirBNB rental, a garage that had been converted into a two-story house. It was cramped. And white walls are a terrible color because the brightest object in any frame gets our attention. And usually you want that to be the actors, not the background.
LOCATION SCOUTING PHOTOS

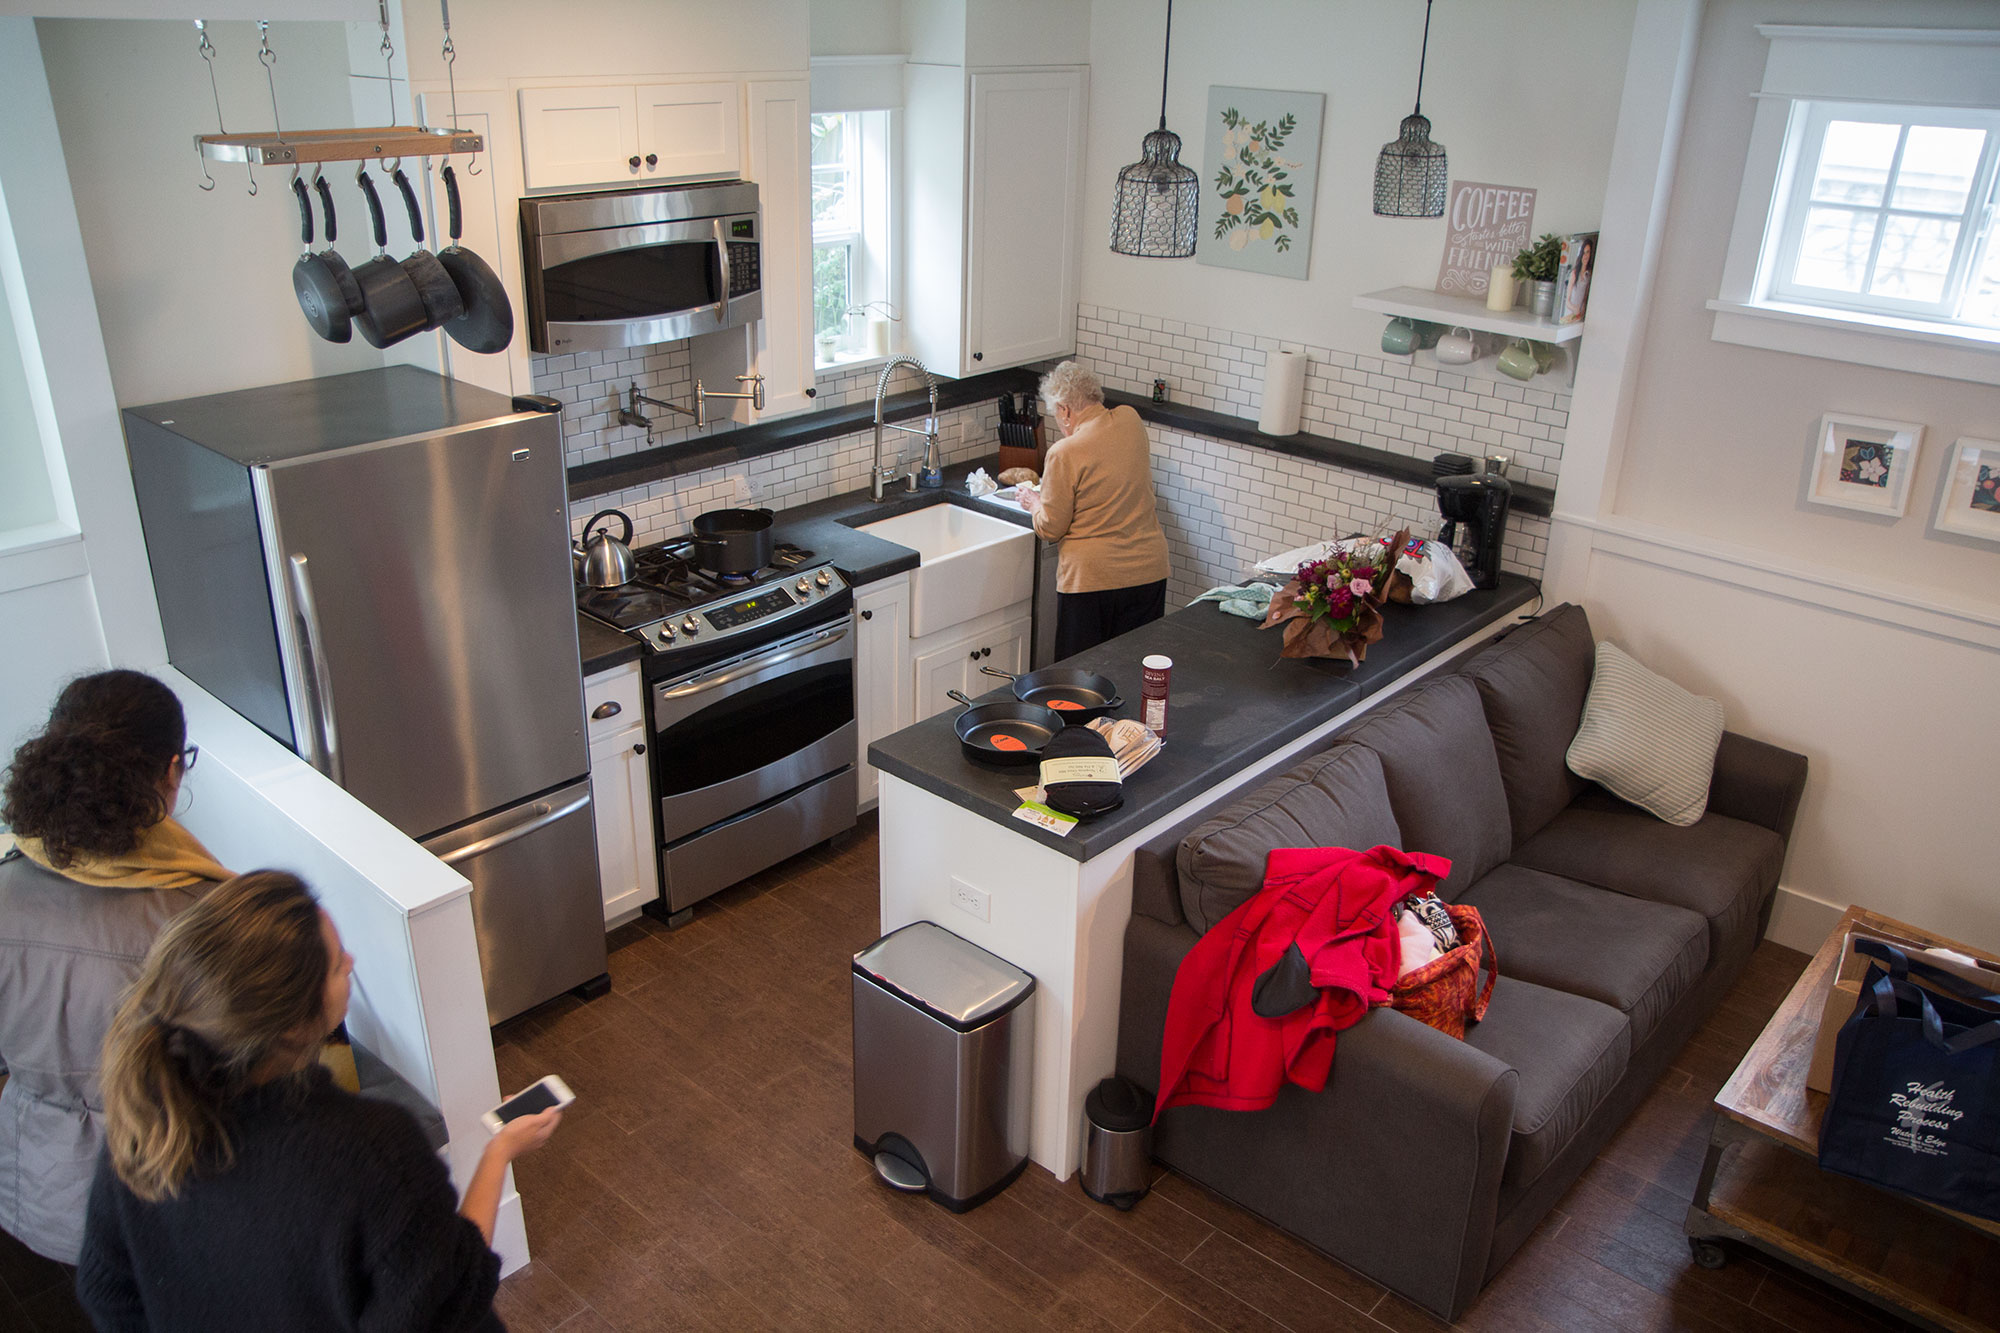
The second photo makes the space look MUCH larger than it really is. But it also reveals the challenge: no way to get lights on the camera-right side of the kitchen. I decided to go with a big, soft source on camera left, an active fill next to camera on left side, and just let the white walls take care of the rest.
Working with gaffer Vince Klimek was a treat. He didn’t talk much, and didn’t have any help. He just backed his 3-ton grip truck as close as he could to the location, and started slinging stands, cables and lights. I wish I could work with a gaffer like him more often.
I told him the vibe I was going for – big soft side light, filled on the same side, using the white walls of the space as natural bounce to do the rest of the job. He bounced an Arri M8 hmi into the camera-left wall, further diffusing it through an 8×8 light grid cloth. Then he put a Kino 2×4 close to camera, high on left side, to wrap the key light. There wasn’t any room to place back lights, so we skipped that.
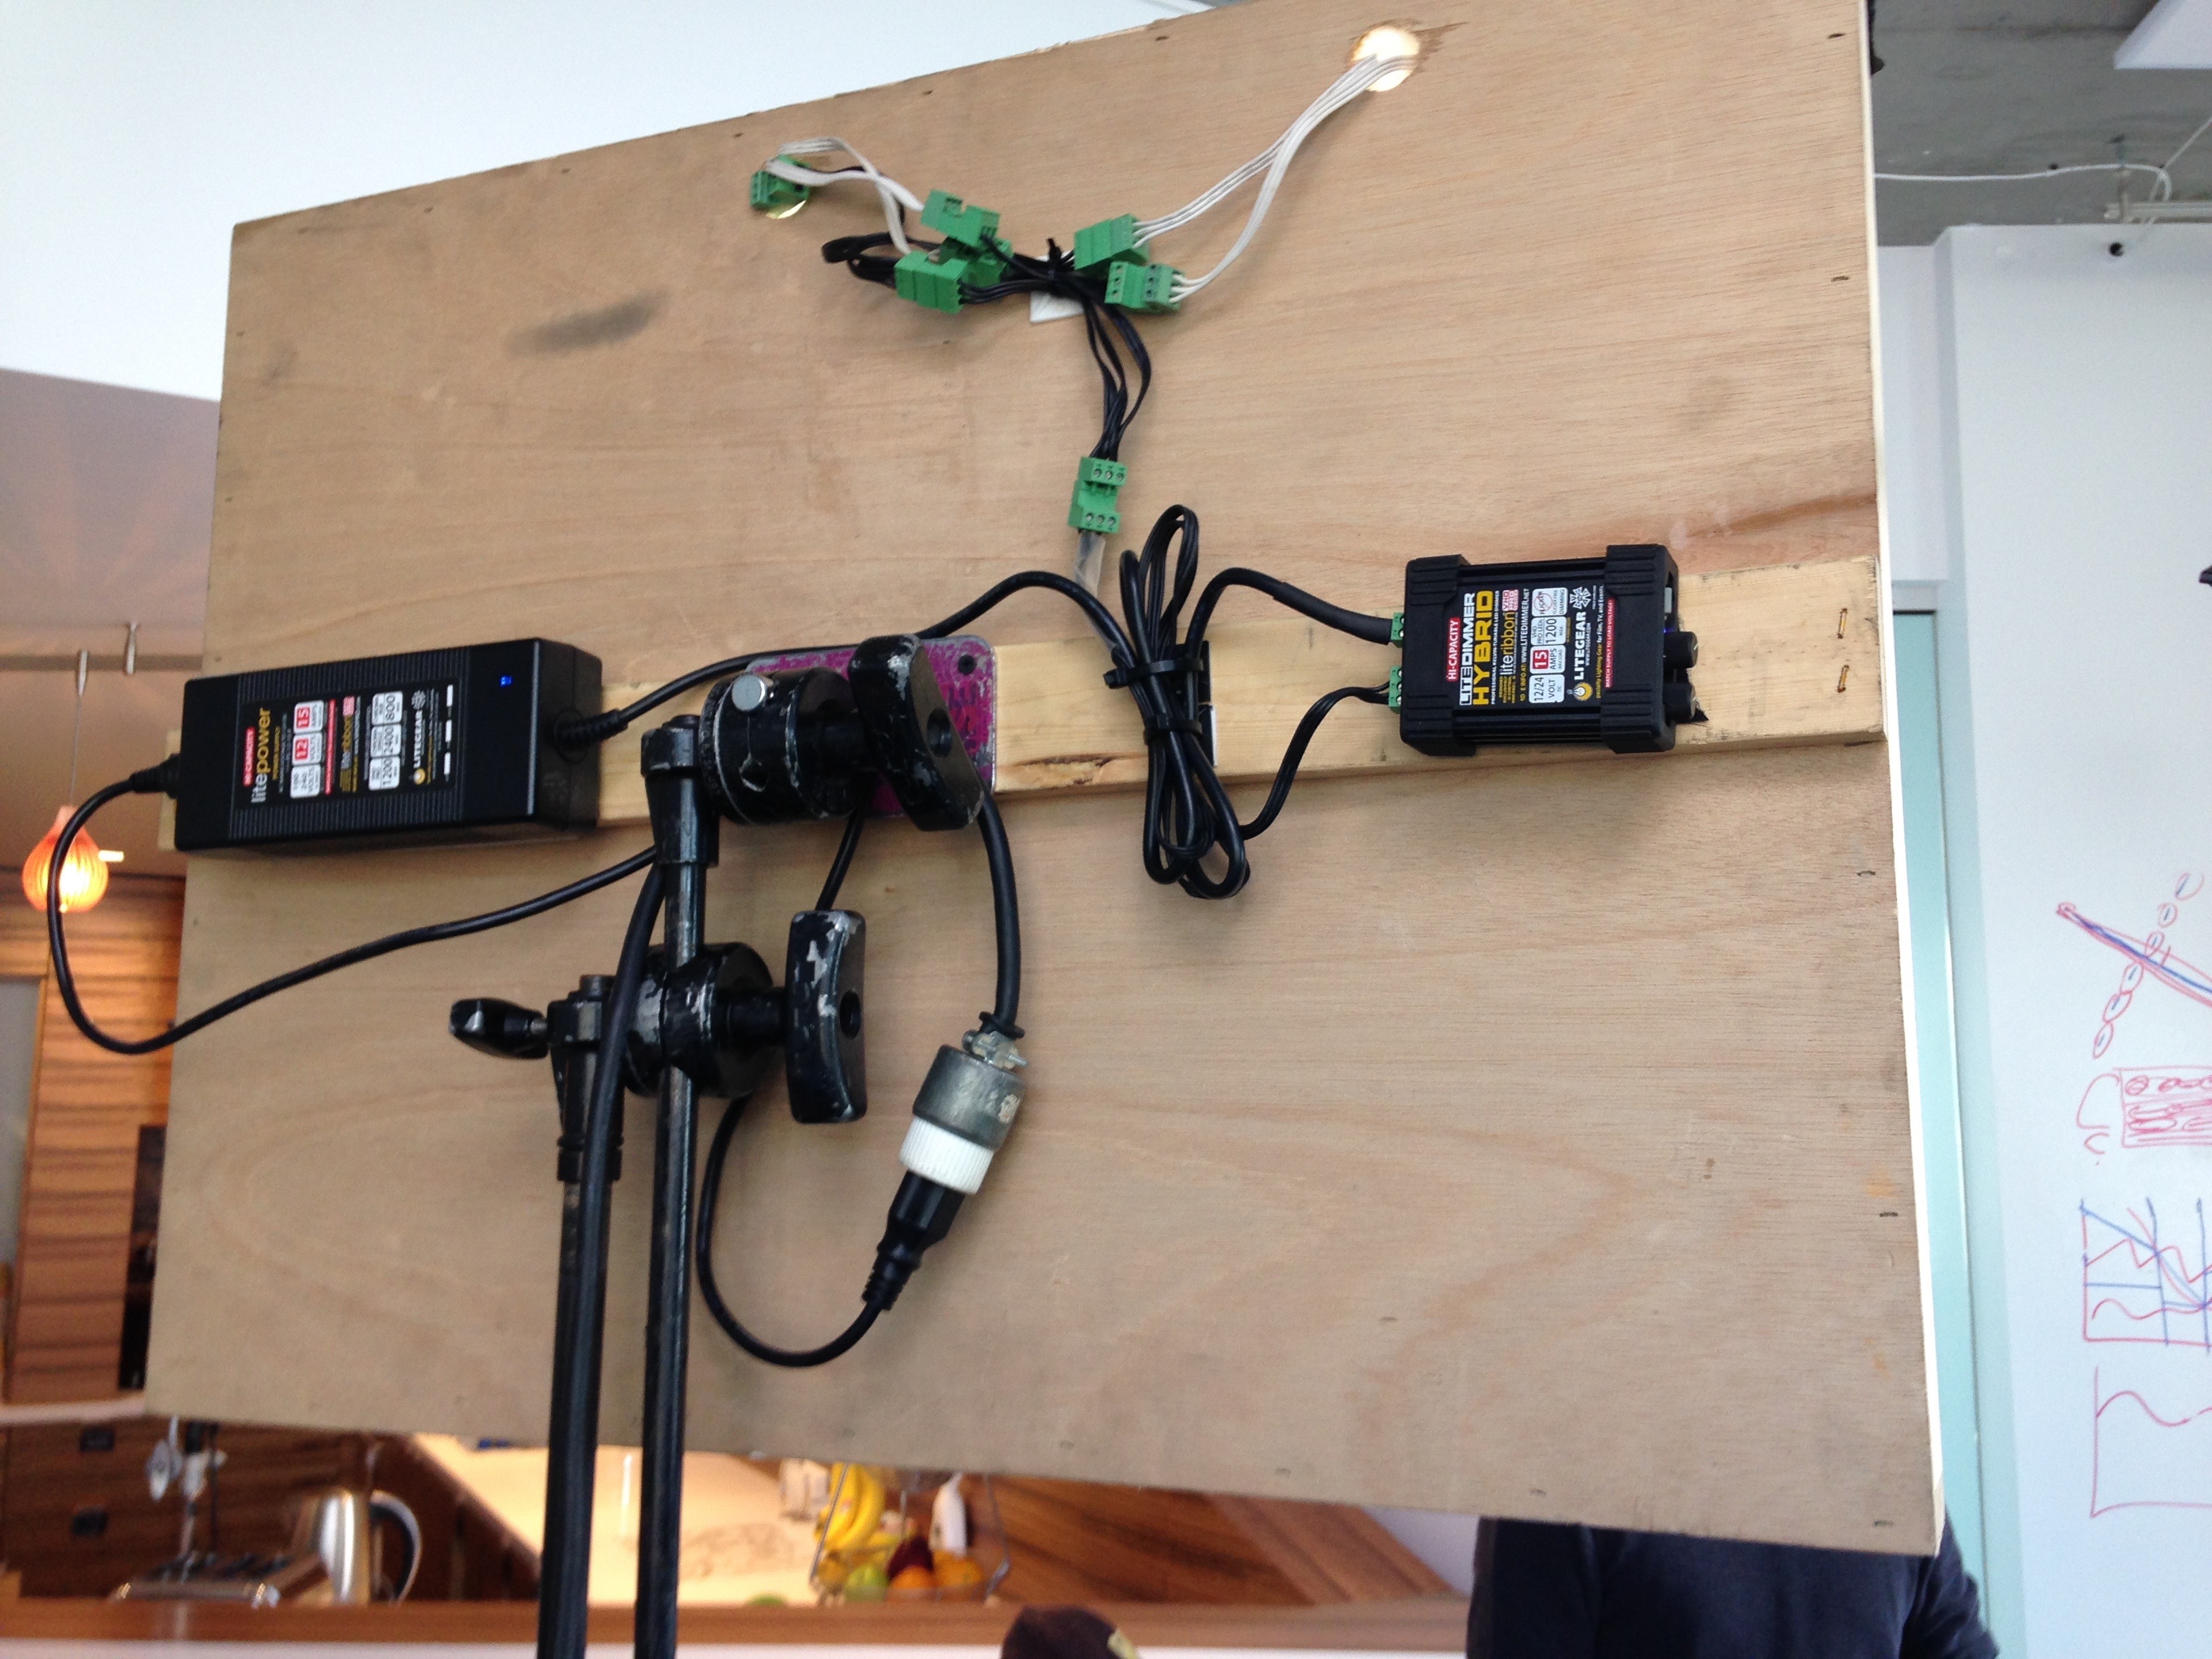
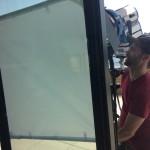
To illuminate the window, he used an Arrisun hmi to brighten the greenery outside the window, and to spill a sliver of sunlight into the background window frame. He spotted a Joleko hmi into the wall behind my camera-left side, to bring up general ambience. Finally, Vince came up with the idea of putting a little light into the alcove under the microwave, using Light Gear LiteRibbon. And with that, we were ready to shoot.

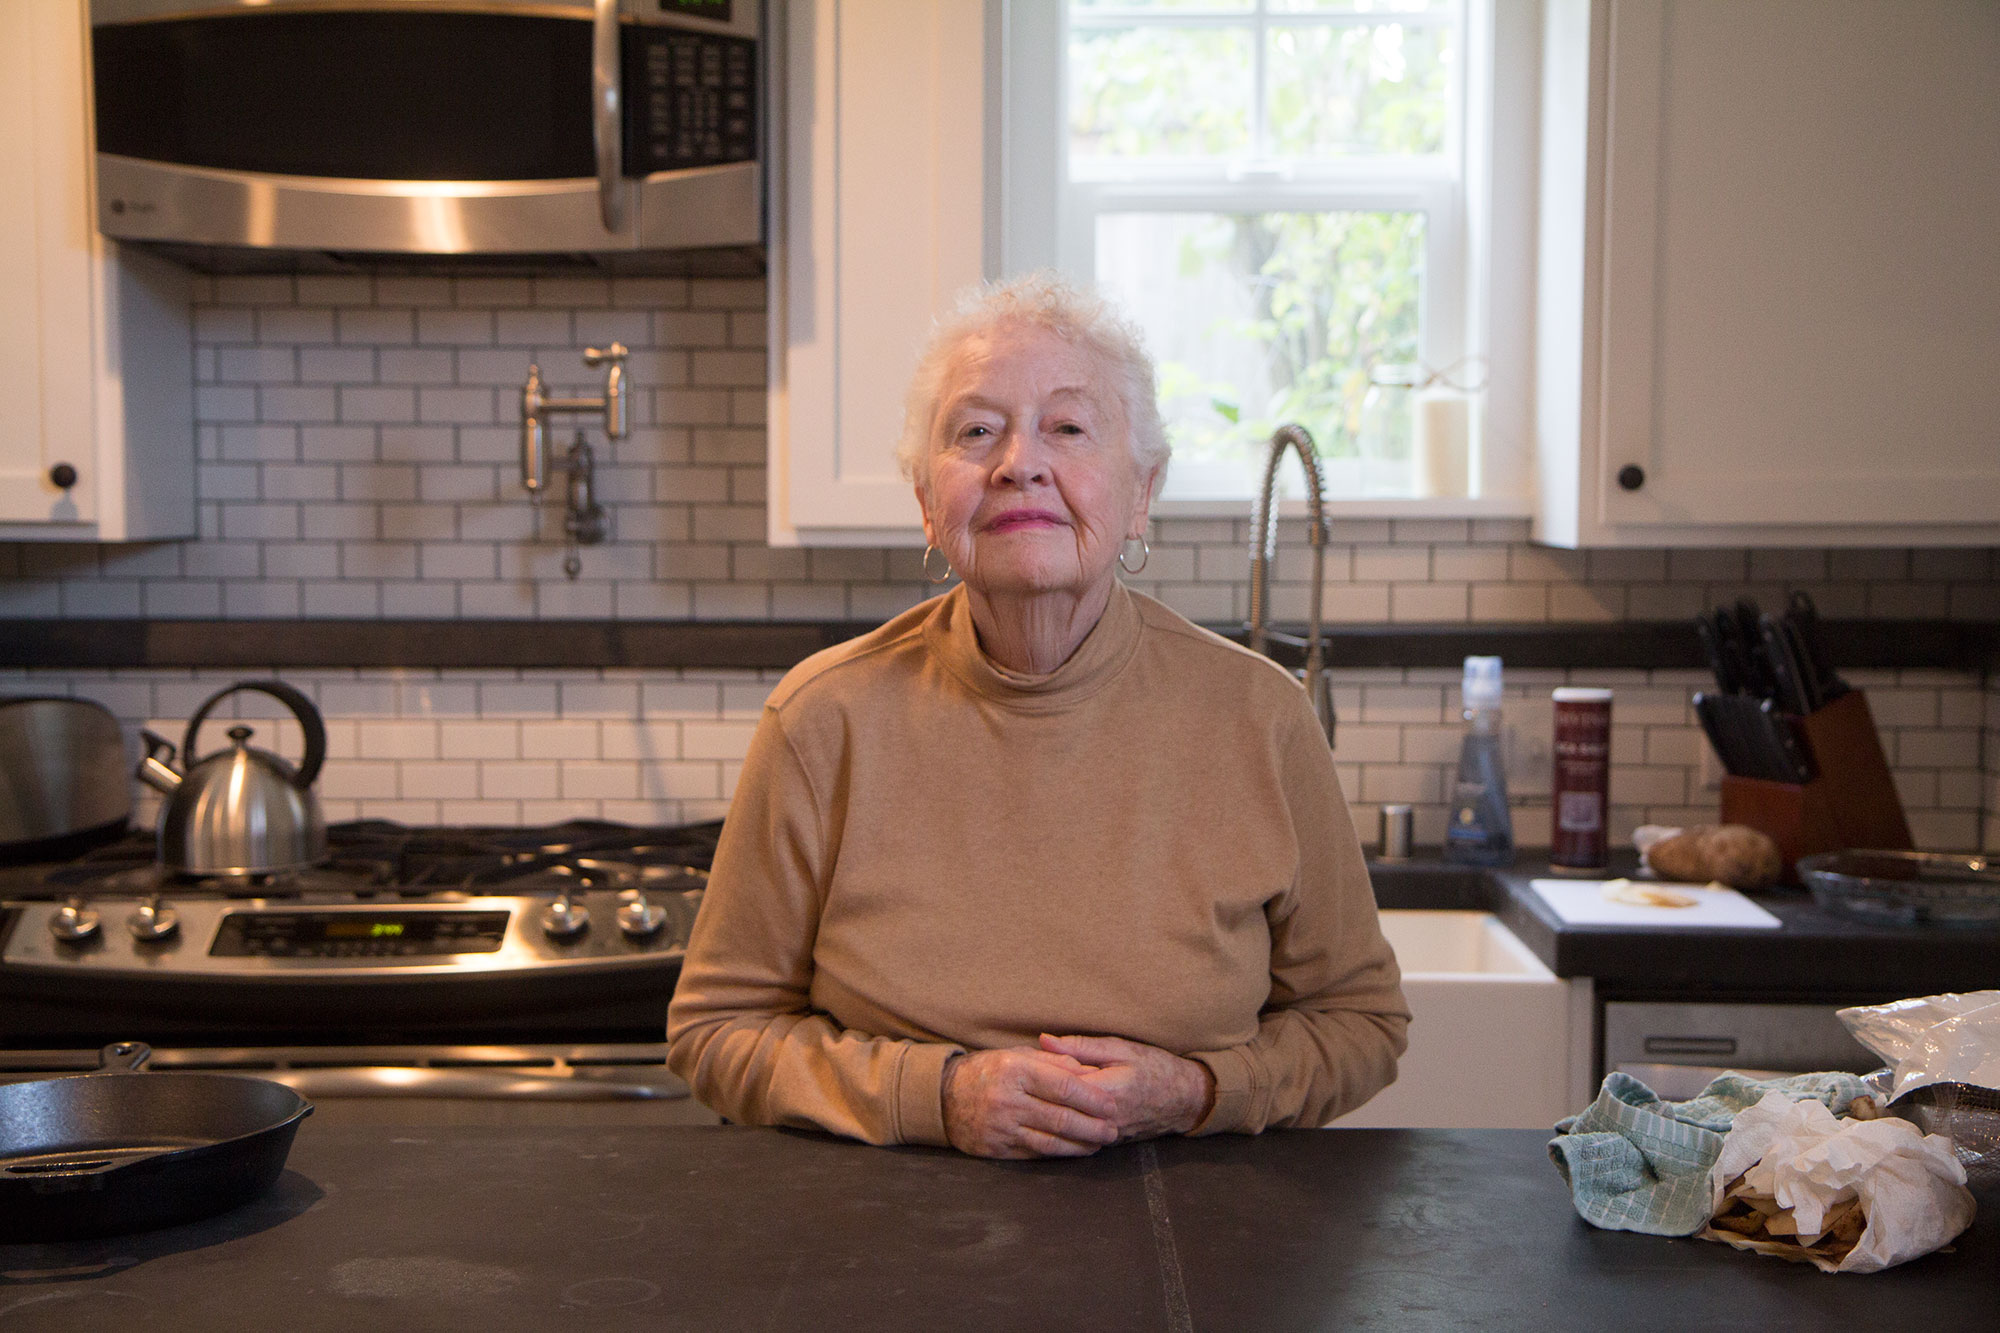
The fully lit set
Camera department
We went with a pair of Sony FS7 cameras for this gig, primarily because our second shooter, Chris McElroy, owned one and we wanted the cameras to match. Certainly, the FS7 is a very capable 4K camera, especially when paired, as we did, with the Odyssey7Q+ recorder/monitor. Shooting 4K gave us the option to get two shots from the A-camera: a wide shot establishing the kitchen, and a medium shot for cut-in to the talent.
We used Canon-L glass for the shoot, with Metabones adapters. For A-cam we shot with my Canon 17-55mm f/2.8 EF-S zoom, which was a perfect range. Chris mostly shot with a Canon L-series 24-70 f/2.8 zoom, which equated to 36mm – 105mm in full frame terms, perfect for grabbing detail shots off his shoulder-mounted camera, which was positioned at a 3/4 angle near the edge of the counter on camera left.
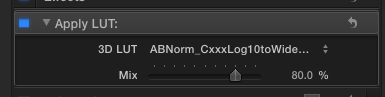
The Odyssey has an excellent set of LUTs for the FS7, including two that provide exposure compensation. I chose to rate the cameras at ISO 1000, a stop below the camera’s base ISO of 2000. This pull reduces noise in the image overall, particularly in shadows. So I selected the SONY_EE_SL3C_L709A-1.cube LUT, which mimics the low-contrast look of the Alexa, and provides a stop of exposure compensation. Rating the cameras at ISO 1000 gave me f/4 with our lighting setup, which provided enough depth of field to make nailing focus easy, while giving us a little separation from the background.
To get the LUT into the viewfinder required loading it via the SD card slot, and importing it via the file menu as an MLUT. With that step complete, the viewfinder image exactly matched the LUT’ed image on the Odyssey. Here’s a great LUT tutorial for the FS7 that taught me everything I need to know about shooting in Cine EI mode.
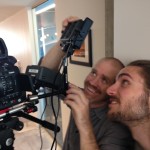
I rented a couple of XDCA units so that we could get a raw feed over SDI for the Odysseys. In my testing, this worked great. But we hit a major snag on the day, when it turned out that Chris hadn’t purchased the raw option, which costs an extra $1000, for his Odyssey. So we had to remove the XDCA and send a 4K signal from his HDMI into his Odyssey’s HDMI-in. Simple, right? But there was just one problem: The monitor LUT stopped working, which was kind of a big deal, because he would be shooting off his shoulder most of the day, making it tough for him to focus and judge exposure, with everything a stop overexposed.
I later learned that sending a 4K stream out of the FS7’s HDMI disables viewfinder MLUTs. Always something with cameras.

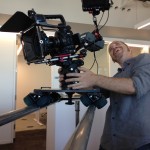
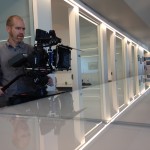
Chris with his FS7 rigged to send 4K over HDMI to Odyssey, which was located in video village.
One
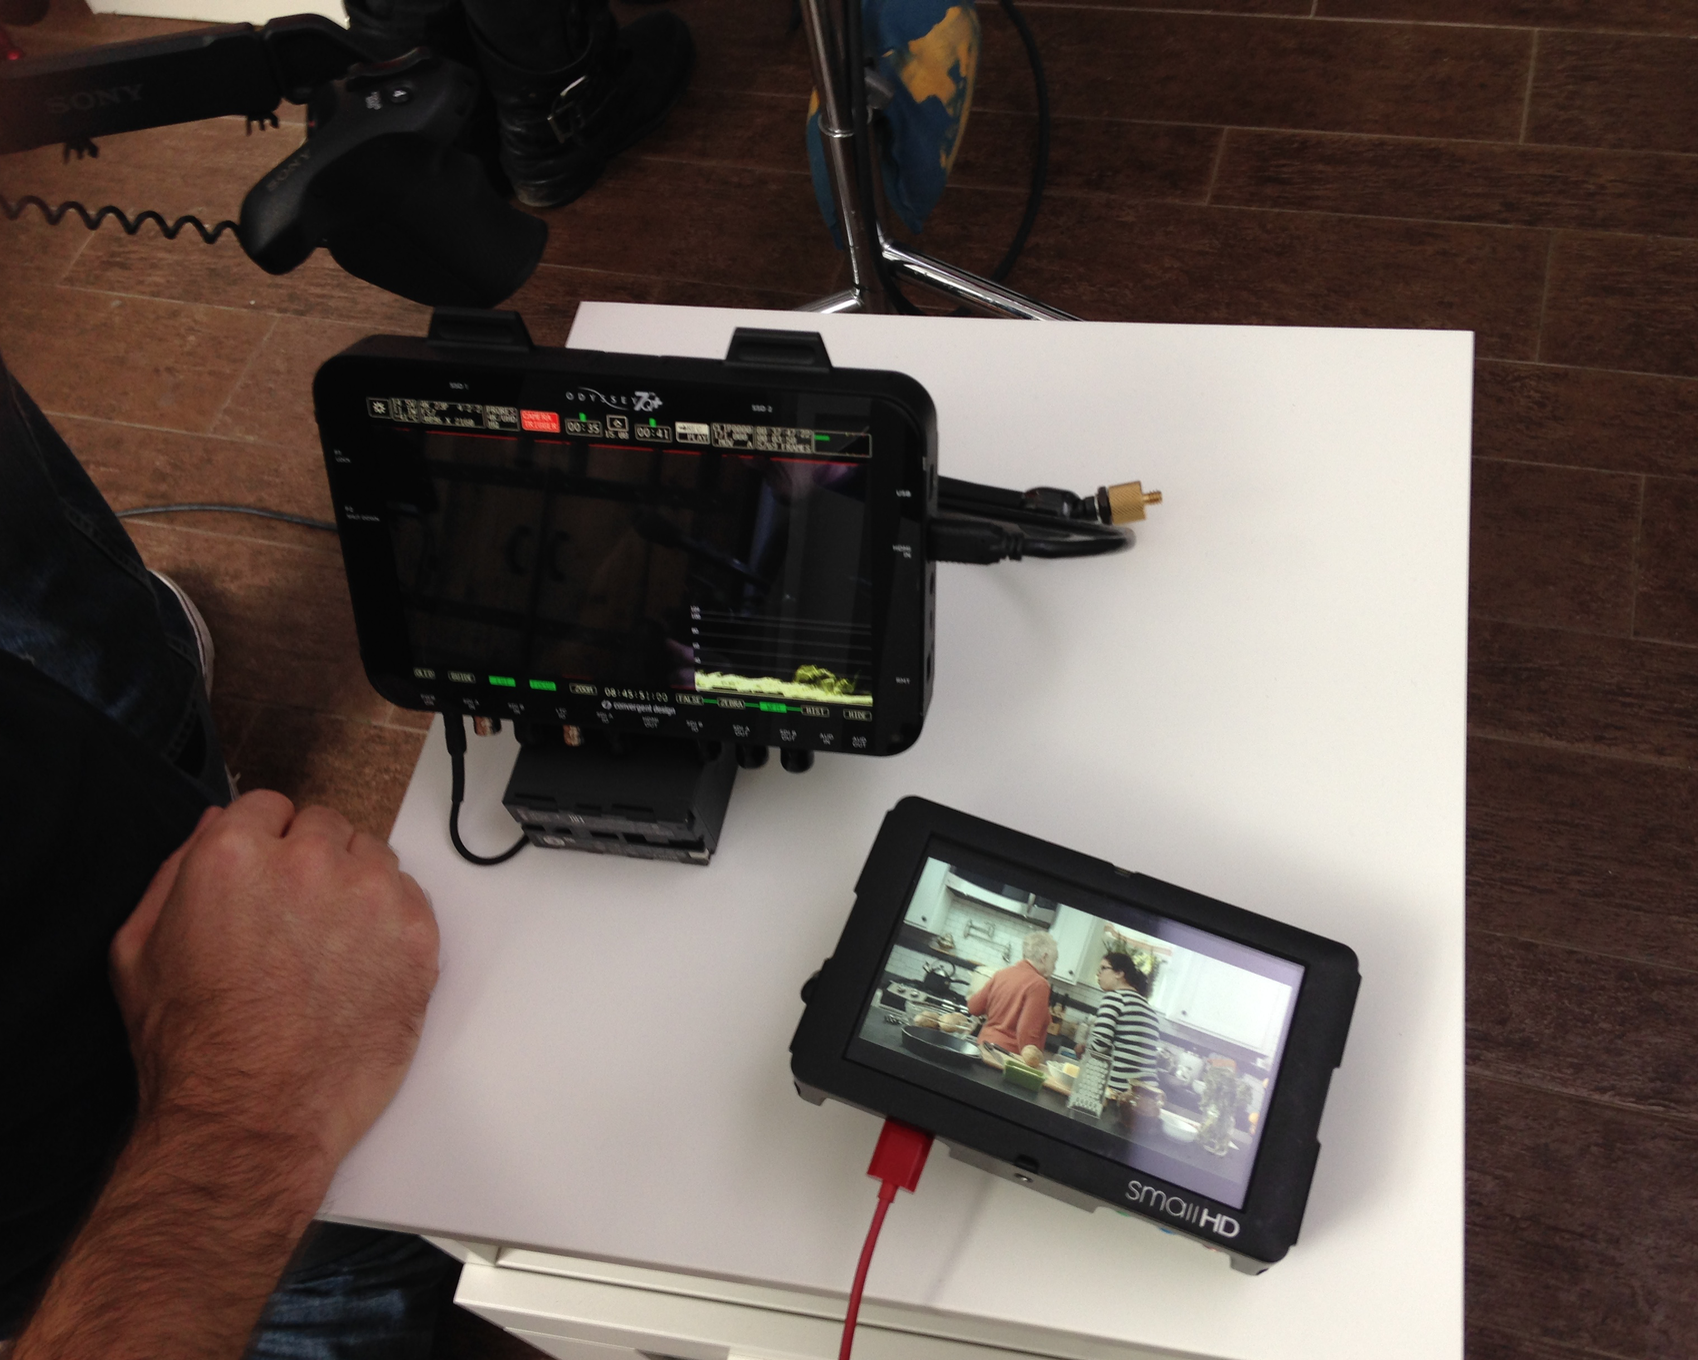
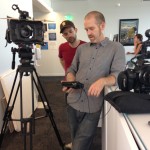
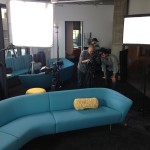
Our small video village setup allowed director to monitor the shots
A much more serious problem with sending HDMI to the Odyssey is that HDMI cables tend to work their way loose from the camera accidentally, and this can cause all kinds of problems when you’re recording the signal downstream. So we had to closely monitor that. To make a long story short, next time we’ll definitely be paying the $99 daily rental fee to get raw over SDI into the Odyssey.
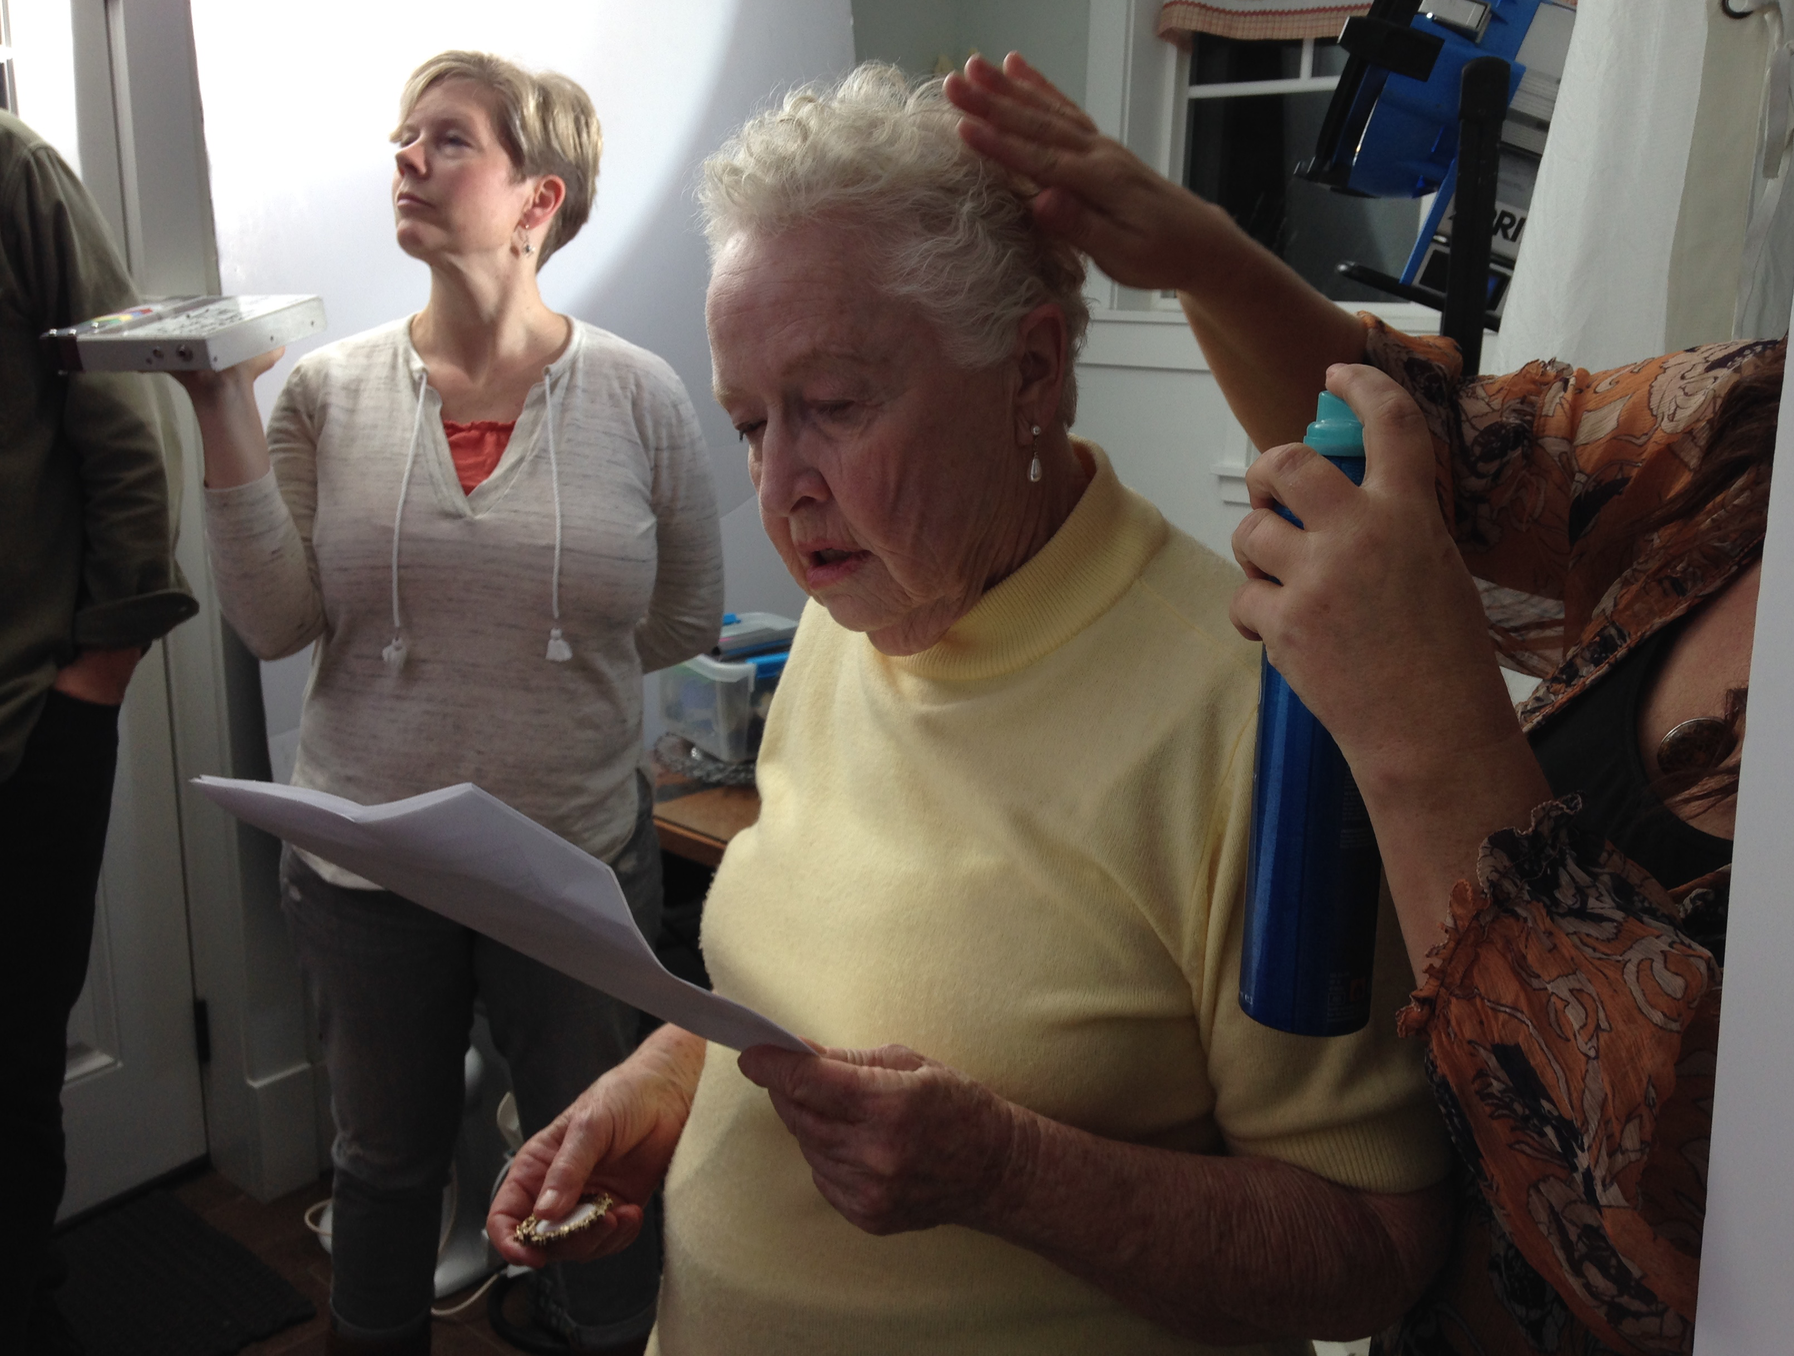
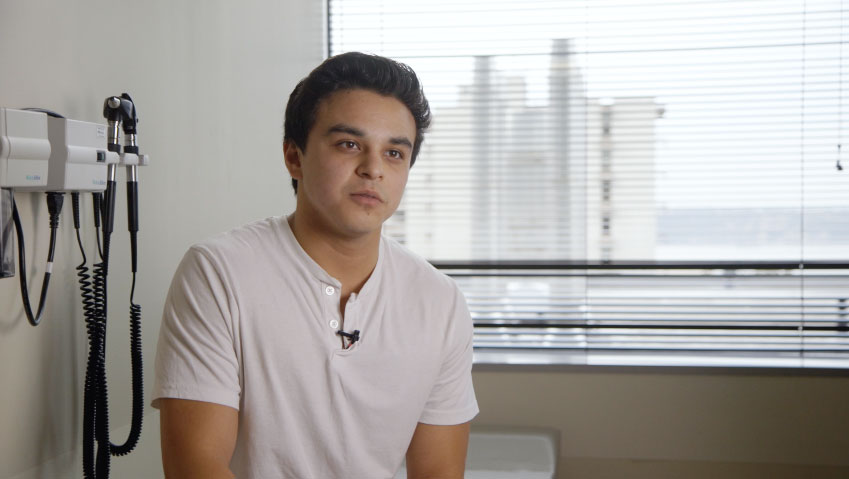
Patsy gets ready to roll on set of Baked
The plan with this show is to use the pilot to attract sponsors from local cannabis shops. Interested in supporting the show? Here’s your chance.
With funding in place, the plan is to rent a location for a week and shoot as many episodes as possible. I’m looking forward to taking everything to the next level when that happens, and helping to introduce the joys of cooking with cannabis to a mainstream audience.

 I
I

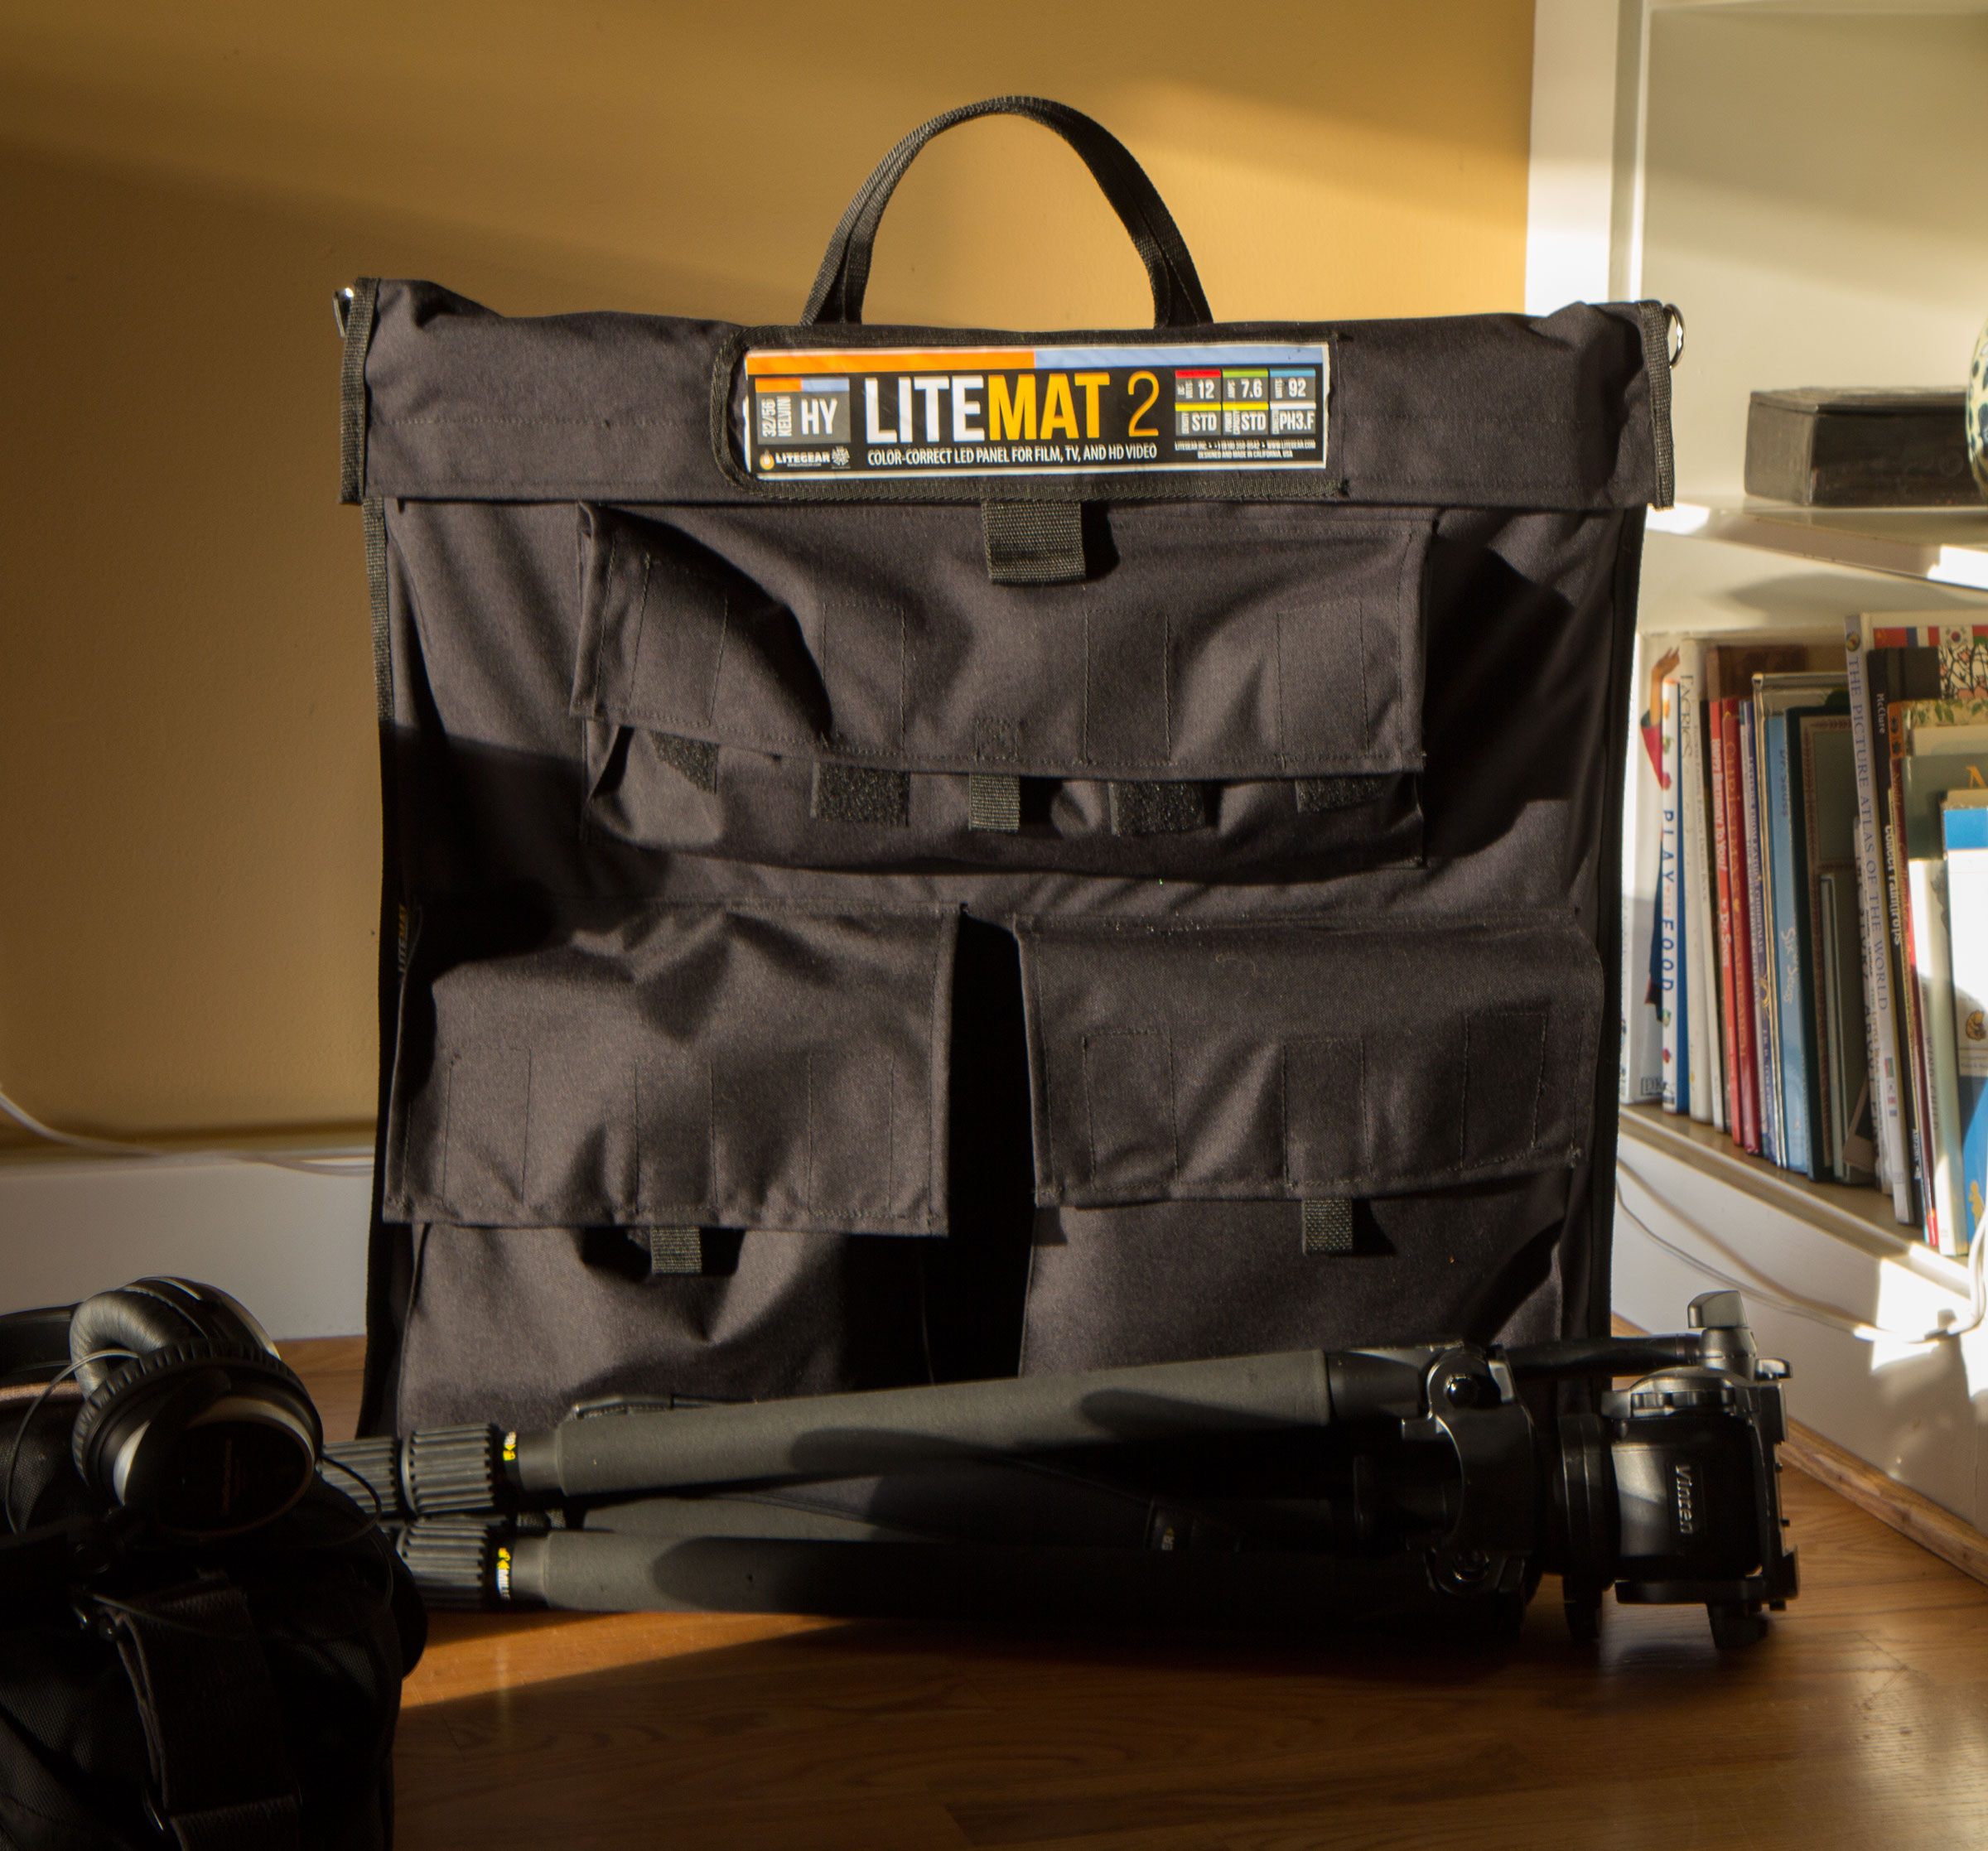


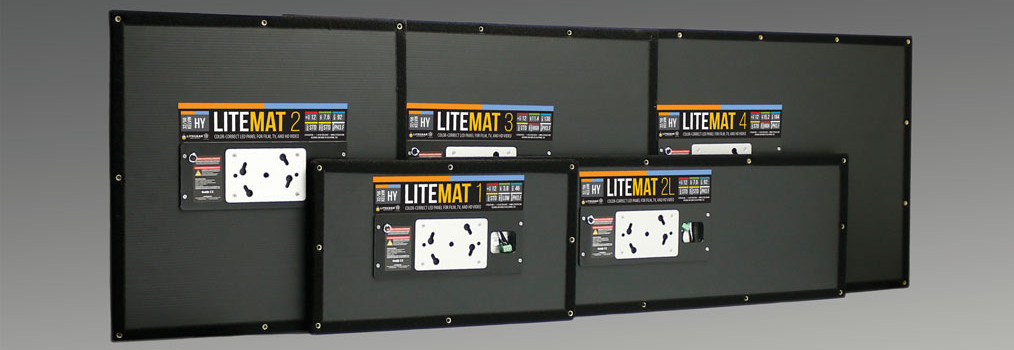
 LiteMat2 used as key-side fill to wrap light around face from window with 1/4 grid cloth and crate
 4. The image stabilization is really good, but it’s not a silver bullet. I found that it was possible to handhold footage up to about 35mm, maybe 50mm (in full frame mode); beyond that, it’s Movi time. And forget trying to shoot handheld with Super 35 crop mode – the rolling shutter is just too noticeable. Still, it’s the first time I’ve been able to seriously consider using a DSLR to handhold anything other than hybrid stabilized lenses like my Canon 100mm 2.8 macro IS. So that’s really something.
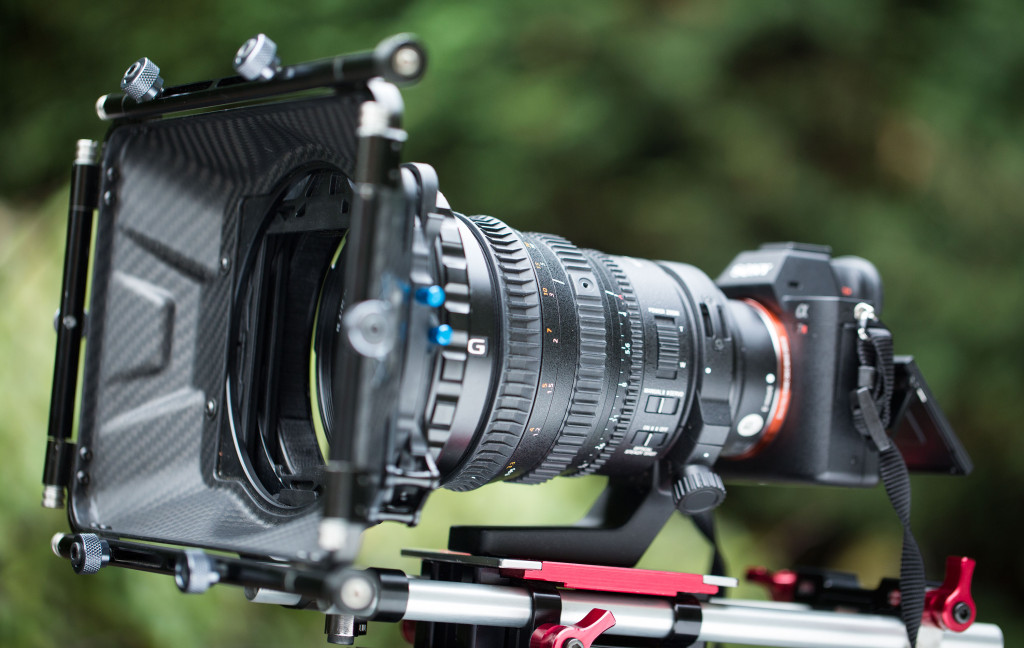


 With the Phantom 3, you get the ability to set the response curve of the sticks (see graphic at right) without connecting to a computer. All the configuration options are a few swipes away in the DJI Pilot app.