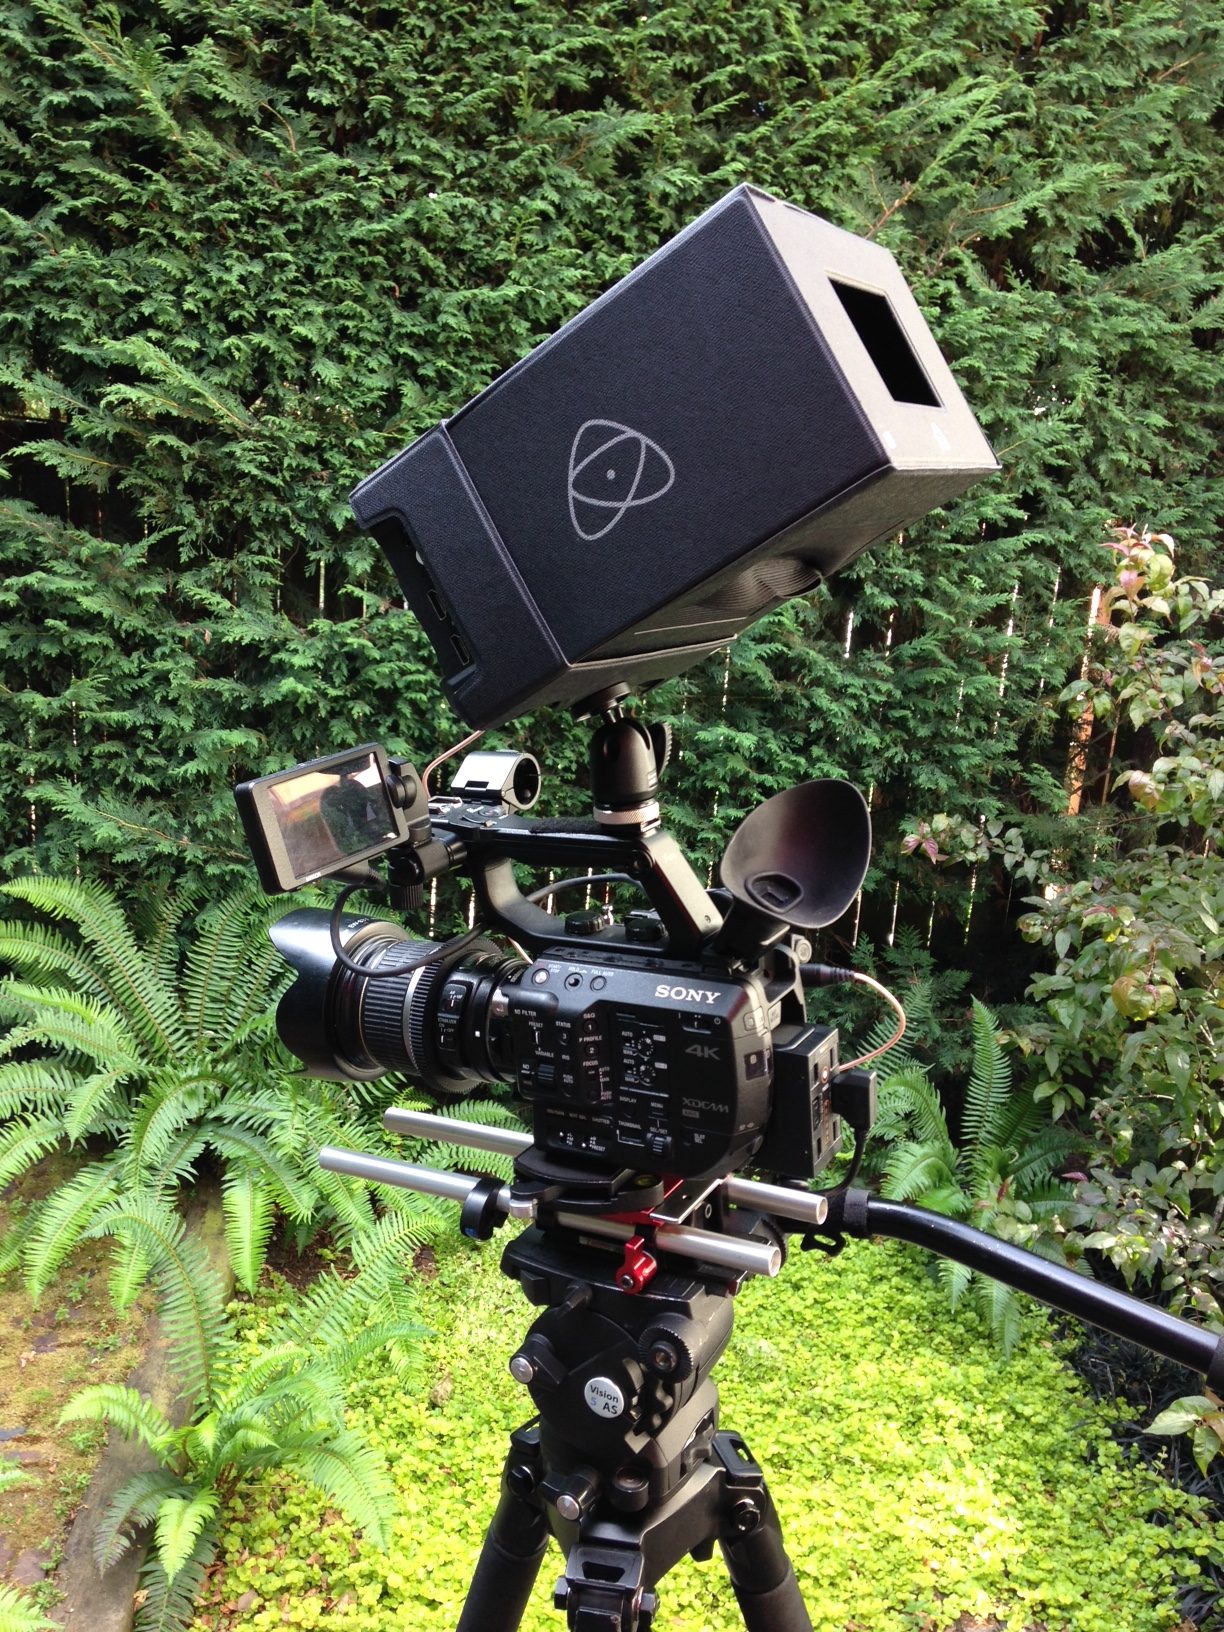
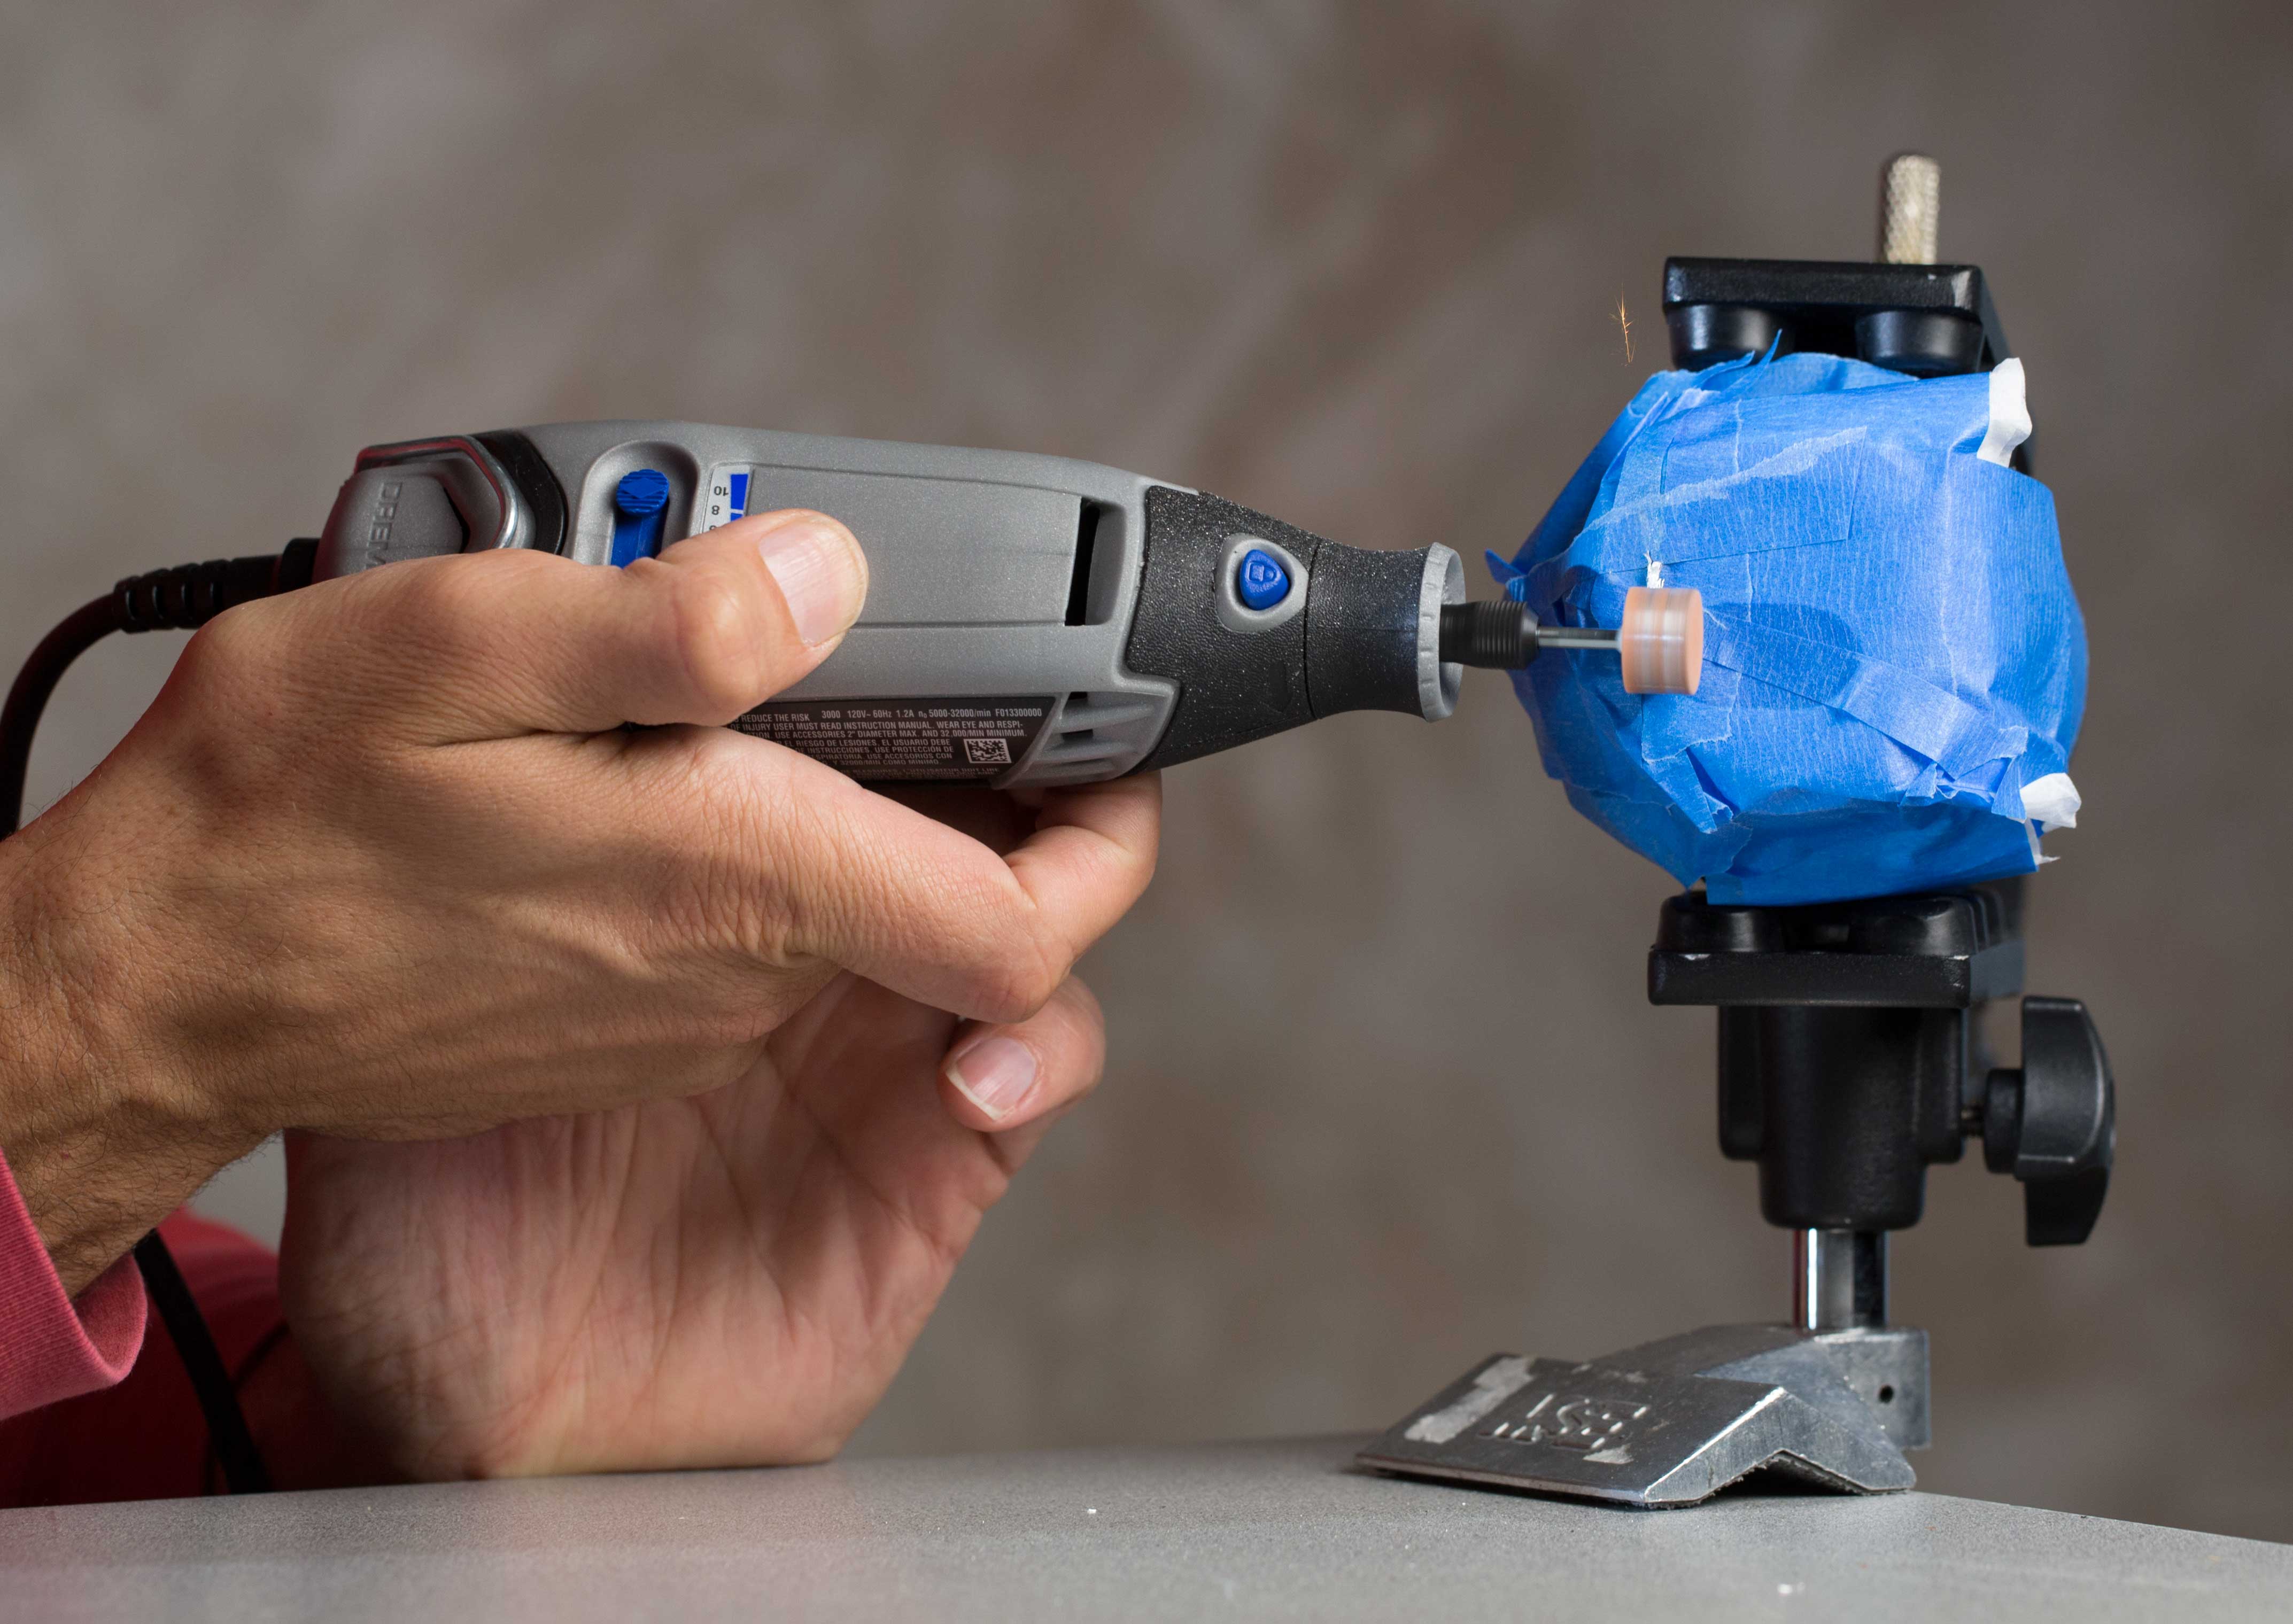
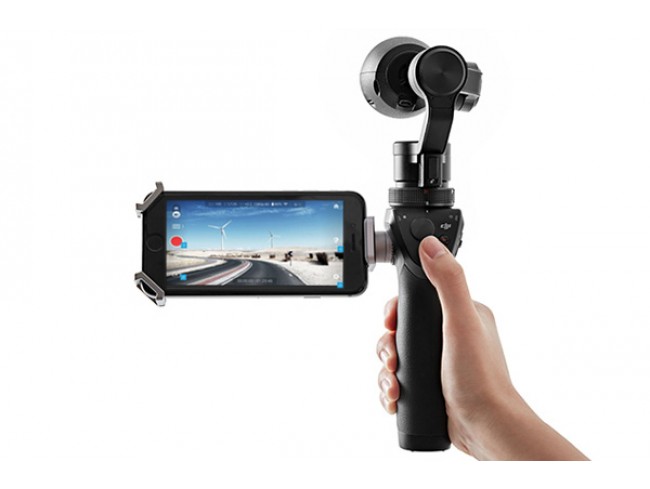
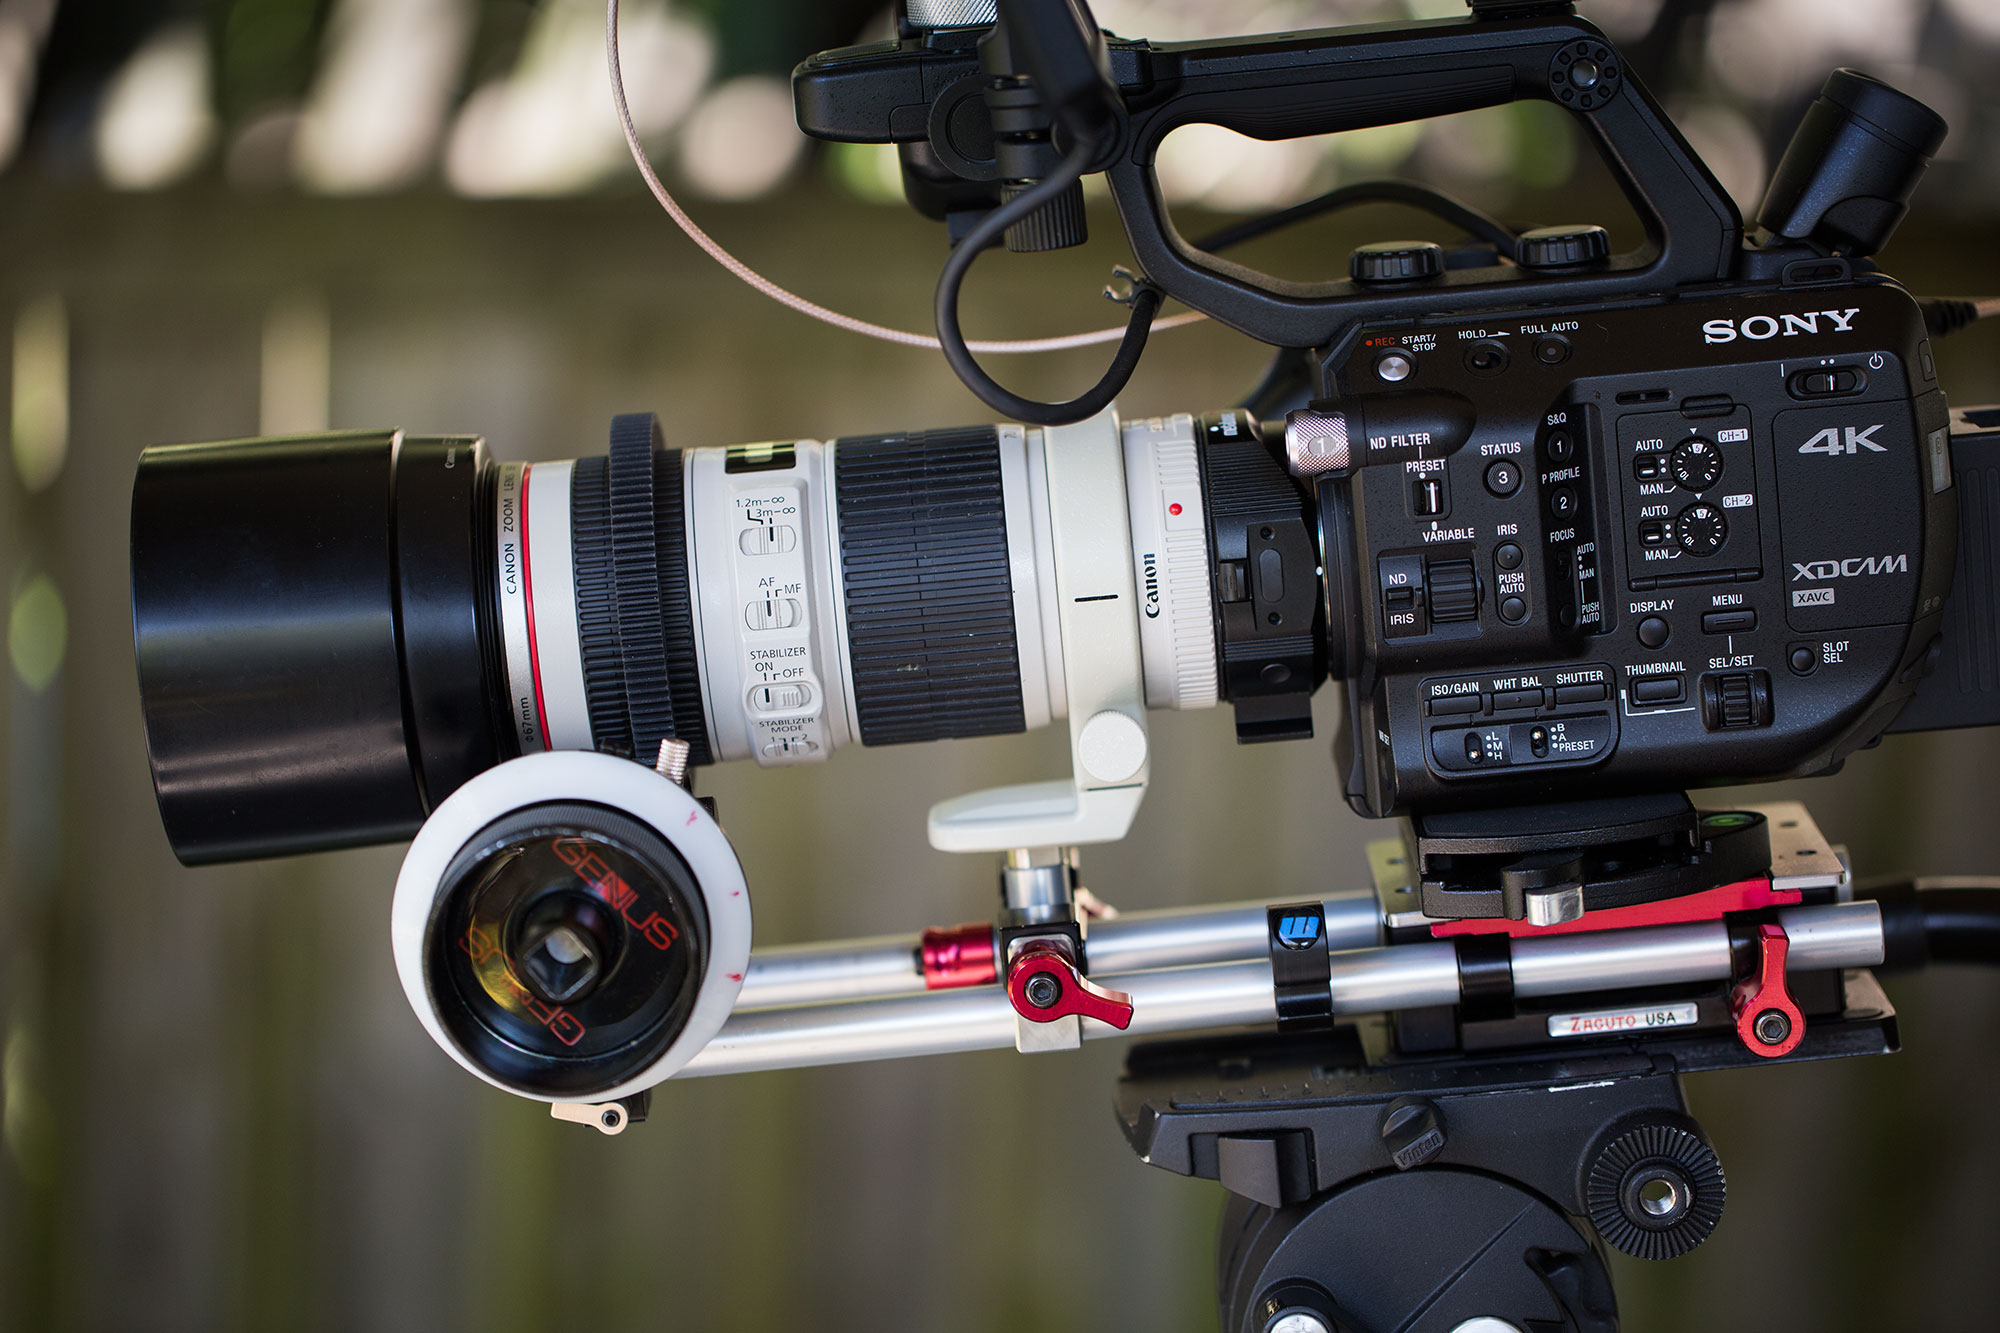
Atomos Shogun Flame with sun shade on Sony FS5
I have been eagerly awaiting the raw upgrade to Sony FS5 that was released last week. What does 12-bit 4K raw look like on this camera? I purchased the $600 CBKZ-FS5RIF upgrade as soon as I could, installed it, and over the weekend, had a chance to shoot a little on a music video project. Here’s my initial observations, based on recording with a Atomos Shogun Flame.
First insight: the Flame isn’t actually a raw recorder just yet. You are limited to recording 4K 10-bit ProRes or DNxHR from the Slog 2 or 3 12-bit raw signal that the camera sends. This means you don’t have the option, if you want it, to “develop” the digital negative to your liking from CDNG using raw tools like Resolve or Adobe Photoshop. Atomos says CDNG raw will be supported in a future firmware upgrade.
If you want 12-bit CDNG raw now, an Odyssey 7Q+ with the latest firmware and an FS5 will do the job. I look forward to testing that combination soon. However, from experience I know the Odyssey screen isn’t as bright as the Atomos Flame, and I love me a bright monitor. However, the Odyssey is OLED, which the Flame is not.
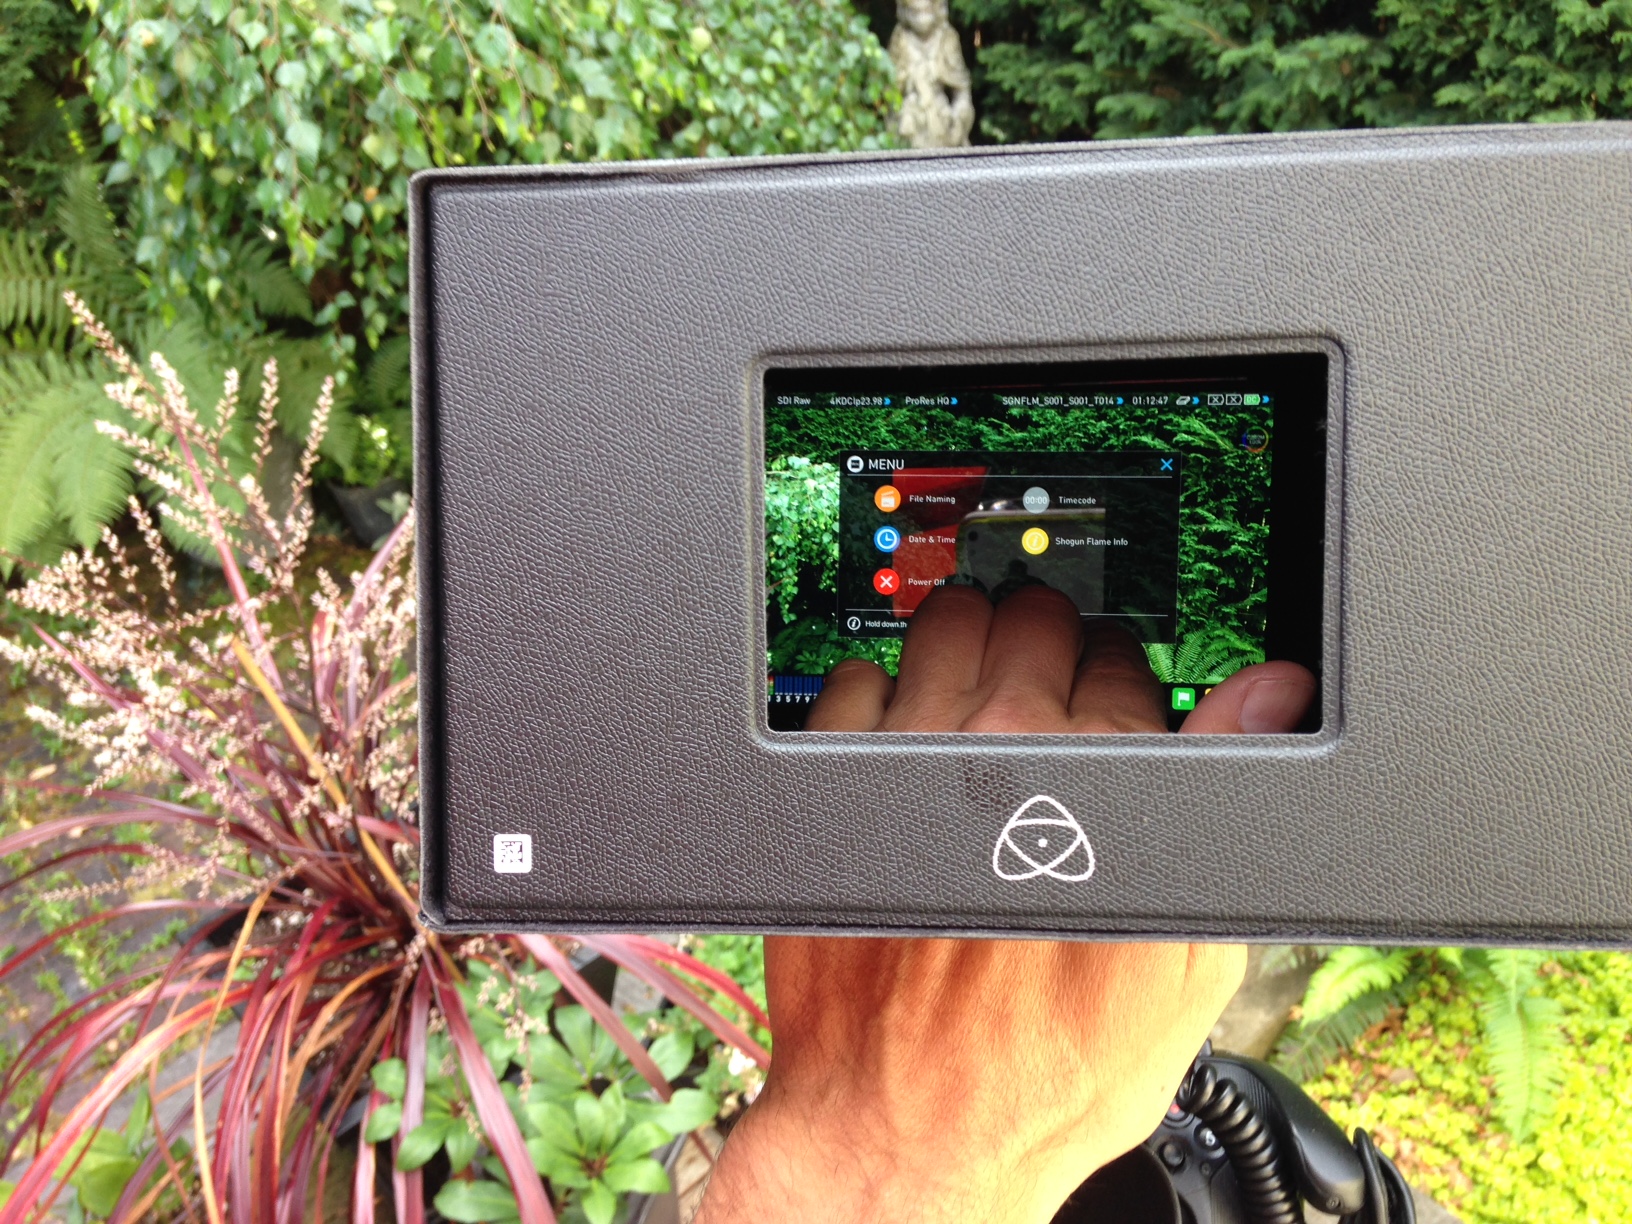
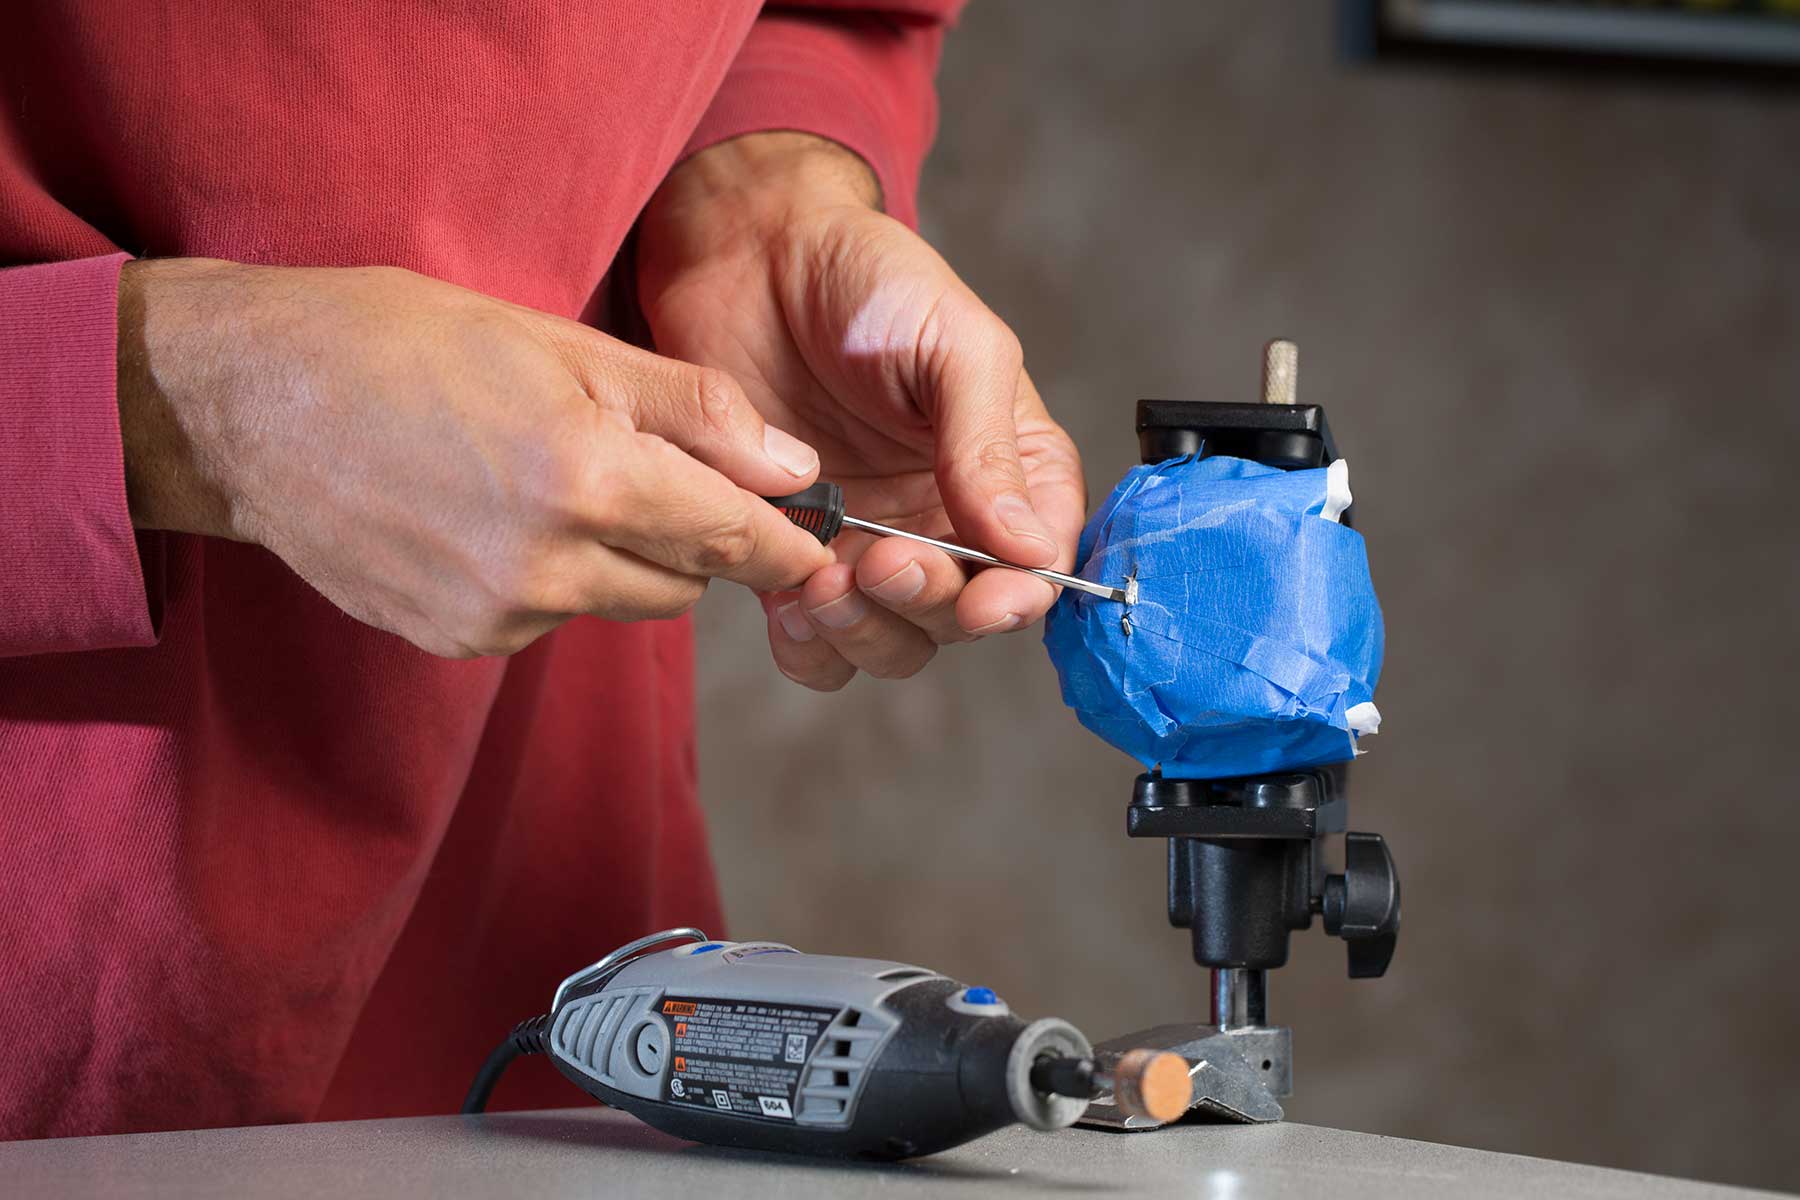
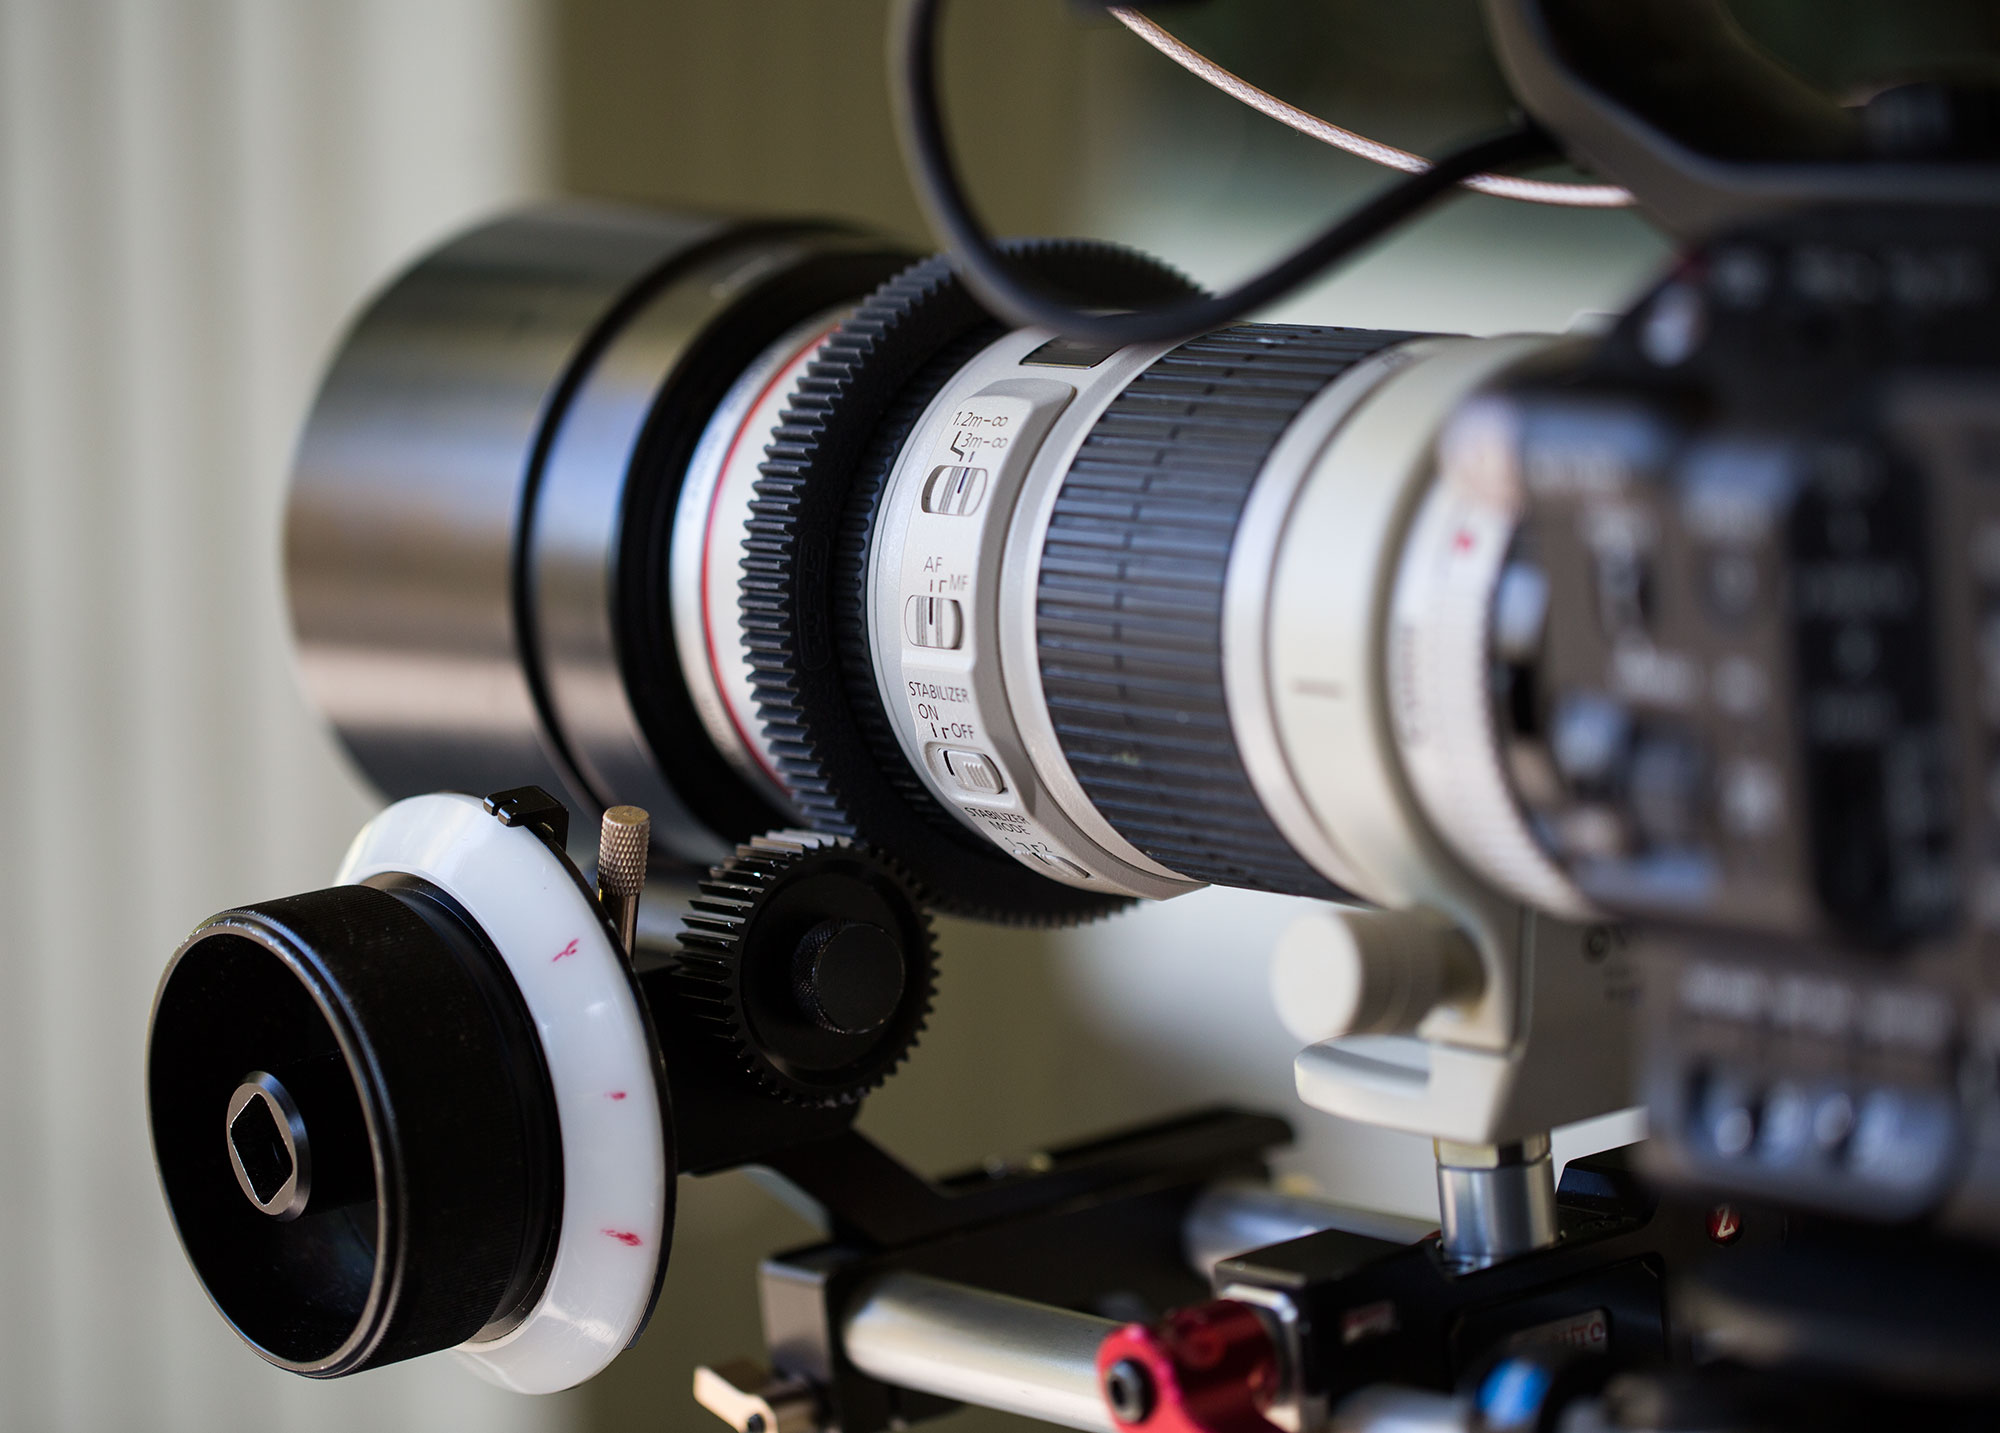
Atomos Shogun Flame sun shade allows touch screen to be accessed through an opening in the bottom.
So, just how bright is the Flame? The sun was shining in Seattle yesterday, so I had a chance to really work it. And I found that it’s noticeably brighter than a SmallHD 702 (1500 nits vs 1000 nits). In direct sunlight, though, you still need the hood. That’s because the screen is highly reflective, and in glaring sunlight, you need to cut down on sources of reflection. The Atomos hood creates a box with a little window you can peer through, which effectively reduces the area of reflection to a small rectangle in the middle. I found that wearing a ball cap while operating further shades this opening, making it possible to view the screen pretty effectively even in direct sunlight. But the best option? Shade the camera and operator with a flag or umbrella.
The HDR mode is…interesting. It does look cool, visibly brighter than in rec 702 mode. But it feels a little 1.0 to me. The pixels aren’t OLED, so brightness feels like it’s coming from over cranking the LCD pixels. I’ve seen a real OLED Sony HDR monitor, and wow, it blew me away with its brightness. This monitor doesn’t even come close. It’s more like a preview of coming attractions than the real deal. But it’s a start, and I applaud Atomos for shipping it as soon as possible, because HDR is going to be amazing when it gets here and is widely supported on consumer monitors.
There’s a display mode on the Flame that tries to convert Sony SLOG2 or SLOG3 to Rec709 using Sgamma 3 or Sgamma 3.cine color modes. The problem is, it doesn’t really work for me, because I (properly) overexpose my SLOG. To visualize that, you need a LUT, and the Flame happily does support LUTs, allowing you to load up to 8 custom ones.
I found that the LUT I normally use with SLOG3 looked slightly different when applied to the raw signal of the FS5. So that will need some tweaking. But the good news is that your LUTs will work and can be applied, not only to the screen view, but you can burn them in to the recorded footage if you choose.
Slow Motion is a non-starter on this Shogun. The Flame will display a 60p signal, but the record button is disabled, meaning it does not support any slow motion frame rates above 30p. The Flame doesn’t display anything but noise when the S&Q option is enabled on the camera. You’ll need a Shogun Inferno to record at 4K 60p, in burst modes, and in the 2K slow mo mode.
There’s also no way to down-convert the raw 4K -> 2K on this recorder, which means you HAVE to record 4K, fwiw. Not a big deal since you can record 10-bit on the camera’s sd card. But it would be nice sometimes for workflow reasons to go straight to ProRes in 2K instead of having to transcode the footage first, something the Odyssey supports.
Neither SDI nor HDMI output is available when shooting raw, which means you can’t send a feed to a director monitor (at least not to the SmallHD 702 I used for testing).
Battery: The Flame chews through batteries. Bring lots of them if you plan on shooting for very long.
Sound: The Flame has a fan, but it runs nearly silently after noisy boot up. In a hot production environment, this might be an issue.
So, how about that 4K image? Jury’s still out. I definitely noticed the same kind of noise in the shadows that you see with SLOG recorded in-camera. Apparently 10 bits isn’t enough to solve for that. I’ve been told that 12 bits isn’t enough either – that you need 16 bits before those shadows really come clean right out of the camera. So just be aware that you will still need to overexpose the same way you do with in-camera 8-bit or 10-bit SLOG. Beyond that, the benefits of shooting 4K in 10-bit are all there: you can push the file around in post more without degrading the image, you get better color information and no macro blocking and artifacting that you can see when pixel peeping your XAVC footage.
Conclusion: I wouldn’t buy this recorder, but I would happy rent it again – until the Inferno is available.
Update: I finally got a chance to test out the Inferno. In a nutshell, it’s the same recorder as the Flame, but it allows you to record up to 60p in 4K with the FS5. It still doesn’t allow you to record slow motion at frame rates above 60p, and it doesn’t yet support 12-bit raw recording to CDNG files. Choose the Odyssey 7q+ if you want any of those features.


 So I’m thrilled to see that Rhino is hosting a meet up in my neighborhood, at Gas Works Park, on Monday, March 21.