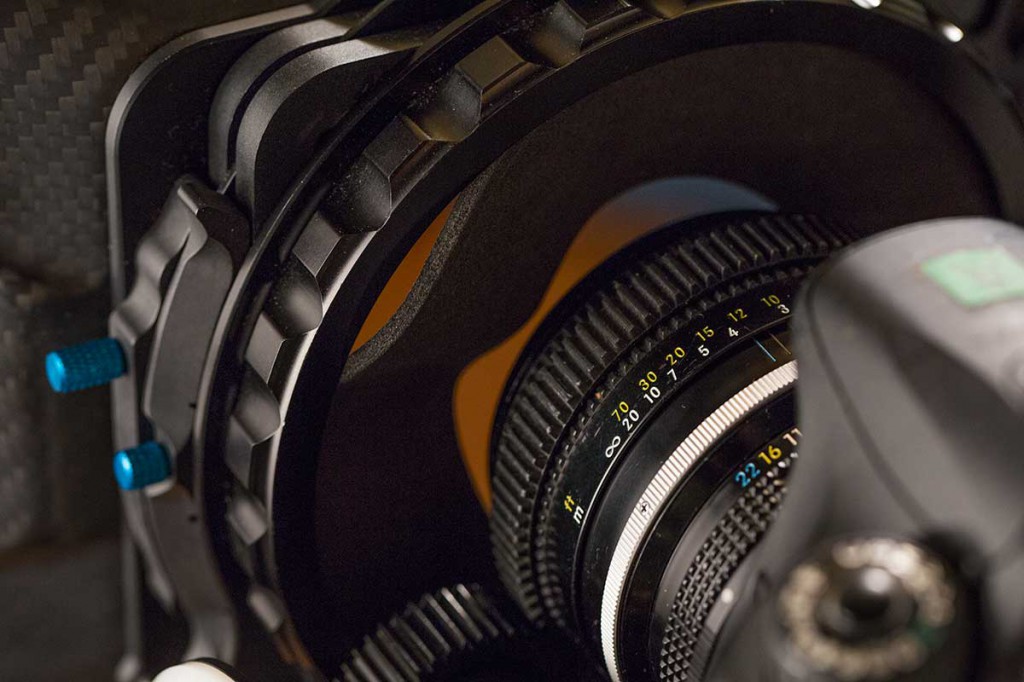
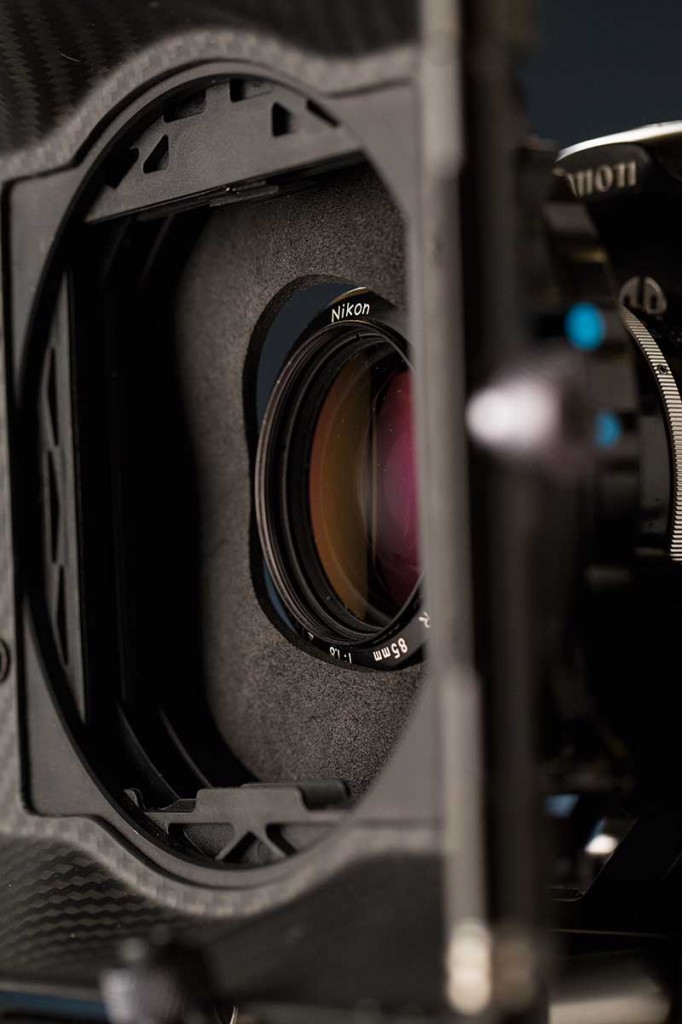
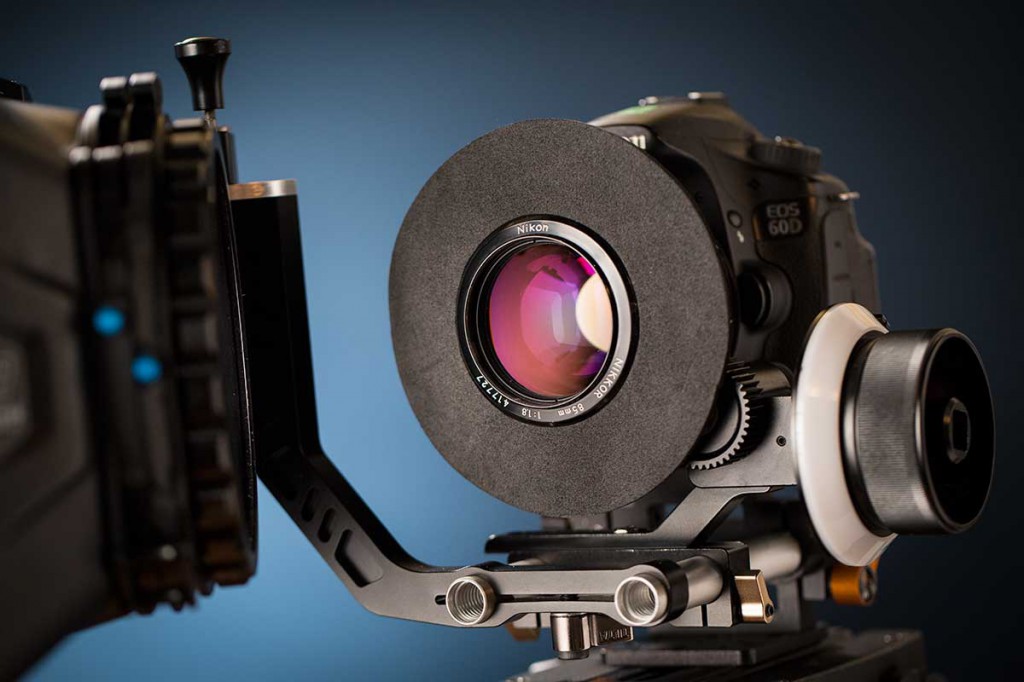
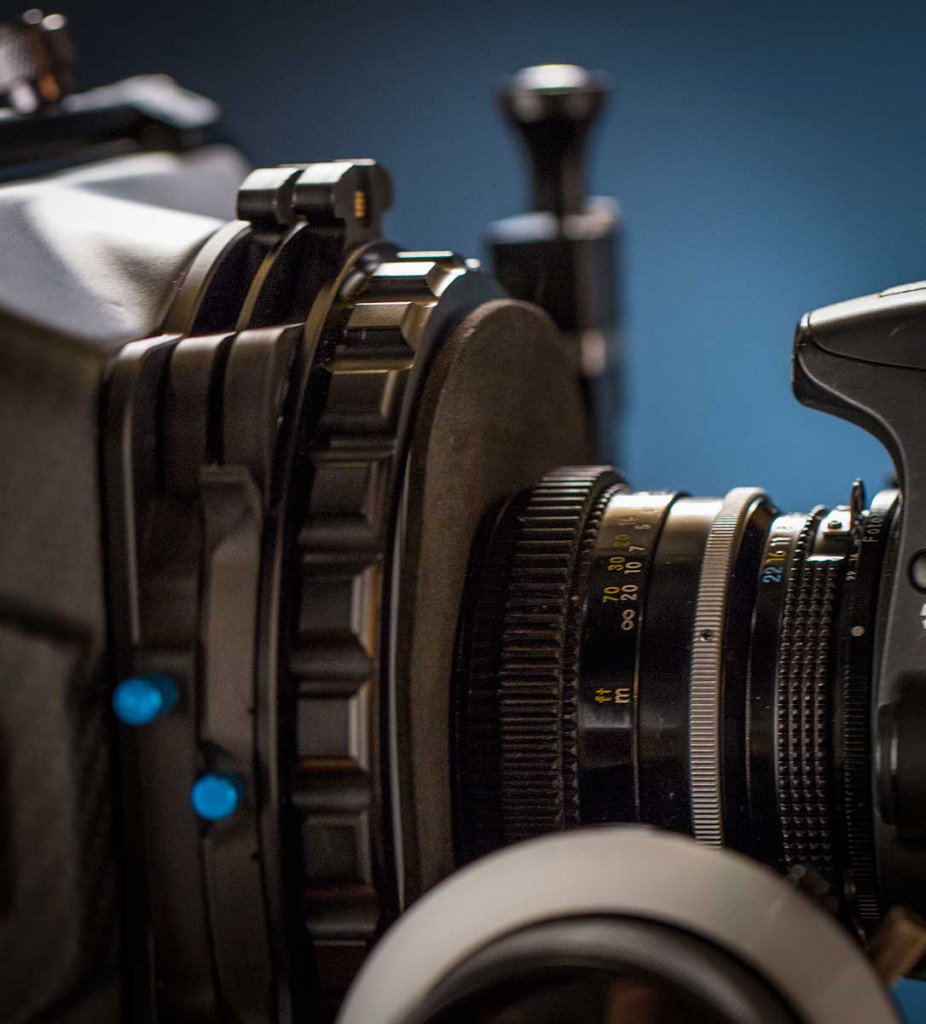
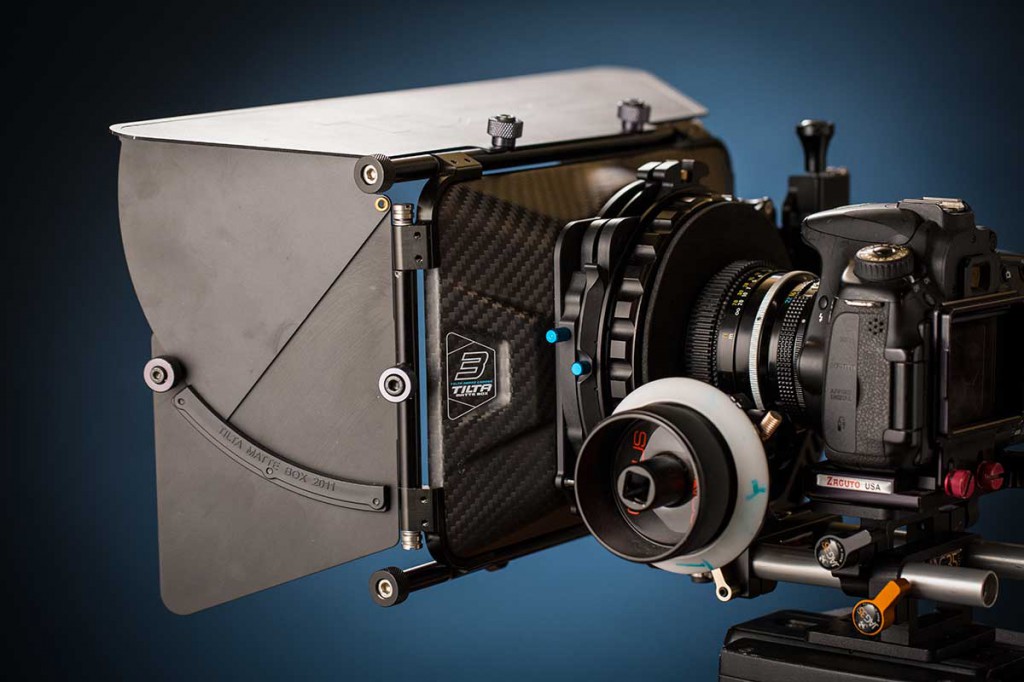
Tilta Matte Box review – good stuff from China?

The package that arrived from Team Tilta wasn’t reassuring. Wrapped in mismatched hunks of foam and bubble wrap, the goods arrived looking more like a used ebay purchase than something fresh from the factory. But it turns out you can’t always judge a product by its package.

I purchased the Tilta Matte Box (private page – for access message your email to Team Tilta on Facebook) to take with me on an 8-day shoot in Alaska.

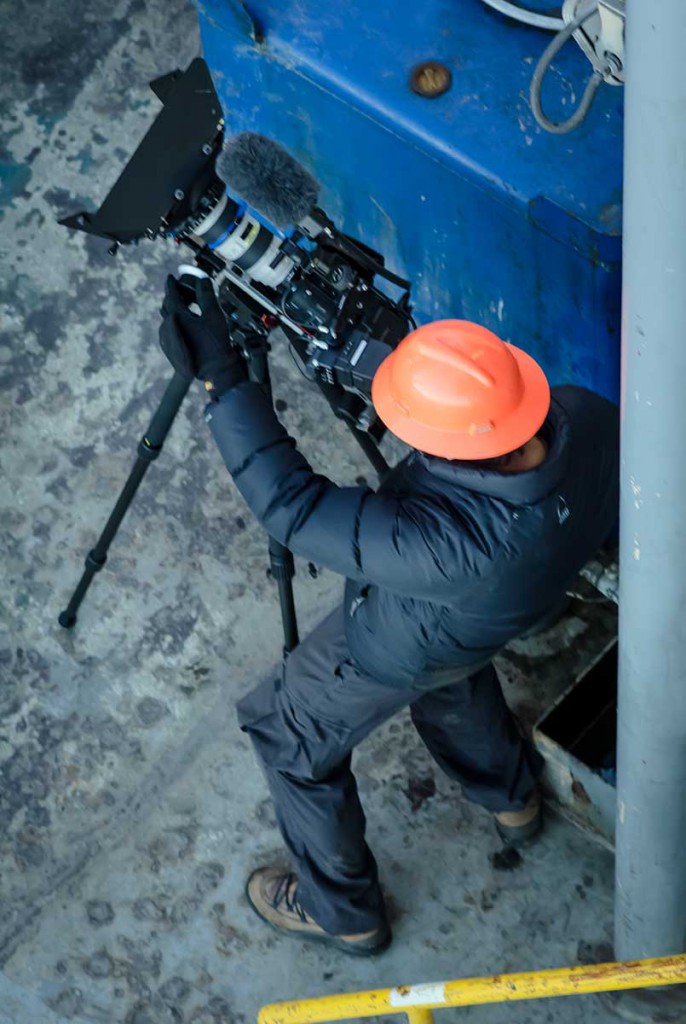
I knew the low angle of the sun at this time of year would made a matte box helpful. But I had to pack extremely light: everything had to be flown in by helicopter to the shoot, an offshore drilling platform in the Cook Inlet.

The conditions were extreme: tons of dangerous metal flying around on overhead cranes, noise, constant hurry-up rig/lens changes. And to complicate things, the cold.

If I’ve learned one thing about the Tilta, it’s that it’s solid. Nothing fell off, nothing rattled loose; it just worked. With a few quirks.

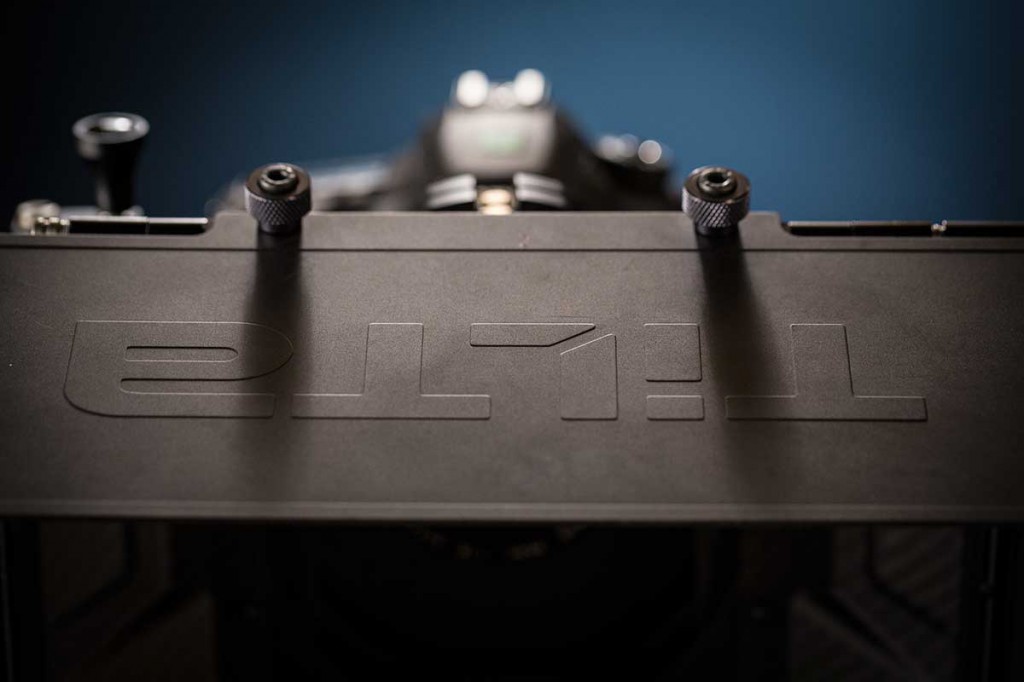
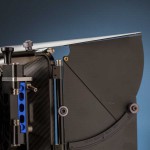
The matte box itself is made of super lightweight carbon fiber. This does indeed make the whole thing substantially lighter than, for example, the Redrock micro matte box, which I rented recently. It weighs 3 pounds, 11 ounces. The Tilta matte box comes in at just 2.8 pounds.

In fairness it’s not quite as deep or large as the Redrock box, which really swallows a lens. But with the included top and side flags, I found it more than adequate.

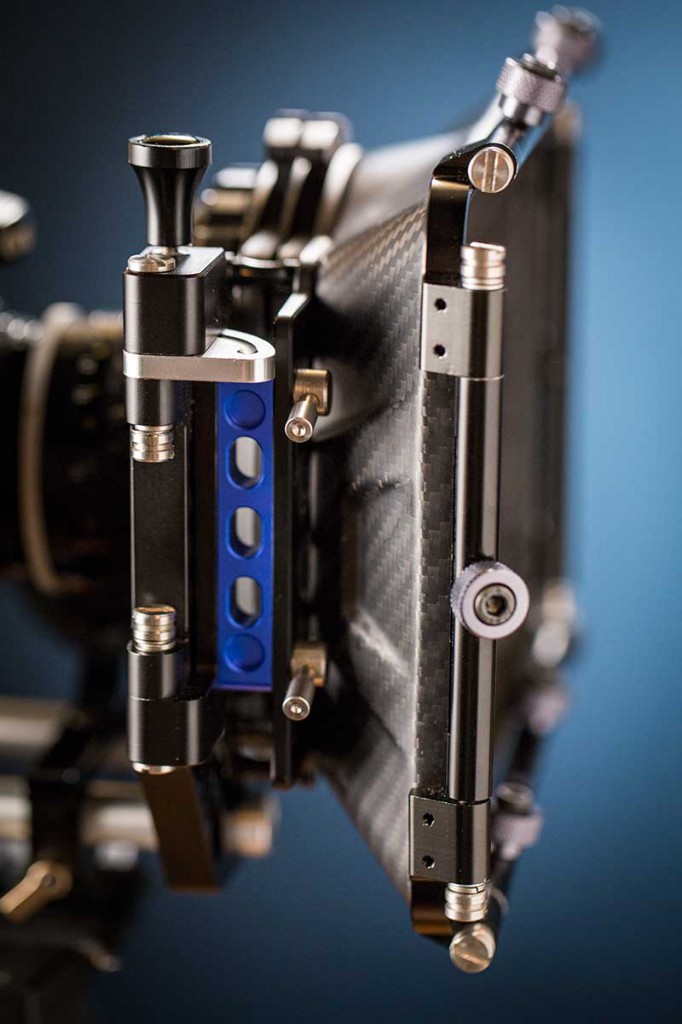
Like the Redrock box, the Tilta includes a fourth flag rail on the bottom of the box, to which you can bottom-mount your french flag, to block light coming from below. An unlikely angle, but one I’m glad Tilta has covered.

All the business parts are machined or cast metal. The tagline of Tilta is “Tilta Armed Camera,” and indeed it feels like your handling a weapon.

Most elements of the Tilta are made so well made that the bits that aren’t seem like shocking oversights. For example, the donuts suck.

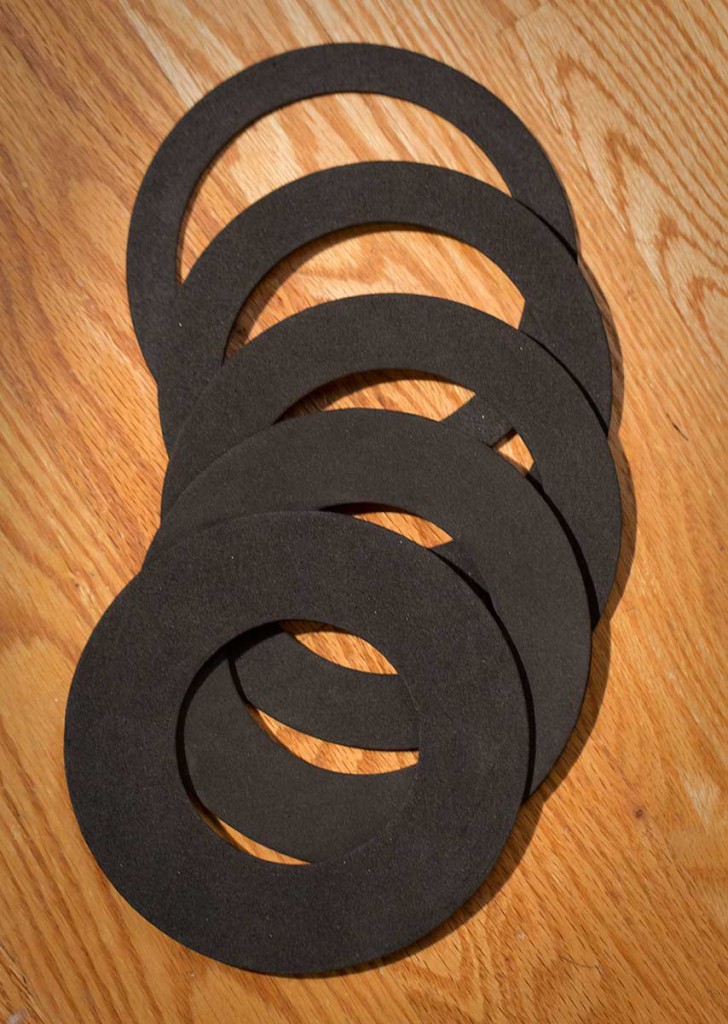
The donuts appear to have been complete afterthoughts, thin pieces of stiff foam that feel like they’ll rip rather than flex around your lens.

They are difficult to slide into place, tend to buckle rather than conform to the shape of your lens, and are just flimsy. I’m planning to make a fabric donut myself, for a long-term solution.

In the short term, I found it works better to simply trap the foam between the lens and the outside of the lens opening, which is about 120mm.

The Redrock Micro Mattebox also comes with foam donuts, but theirs are softer and more flexible, easier to tease into place. I’m convinced the better solution has got to be something with fabric that has an elastic garter. But I haven’t had a chance to try that yet.

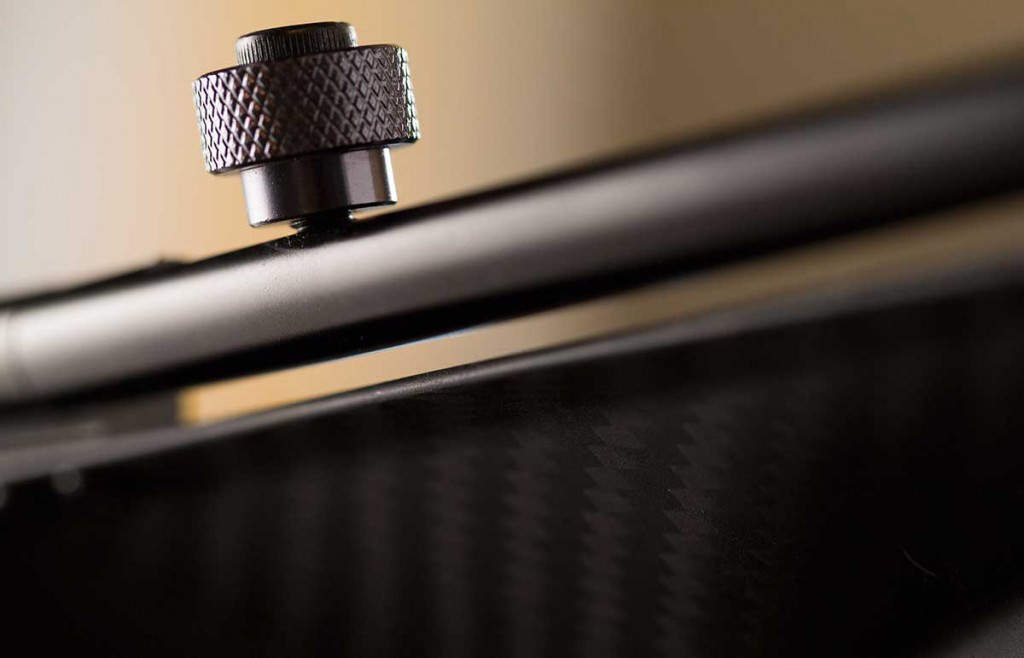
All the knobs are made of solid cast metal. Not as good as the beefy stuff Zacuto makes for three times the money, but rock solid. Everything stays tight, and won’t spin free. Sweet.

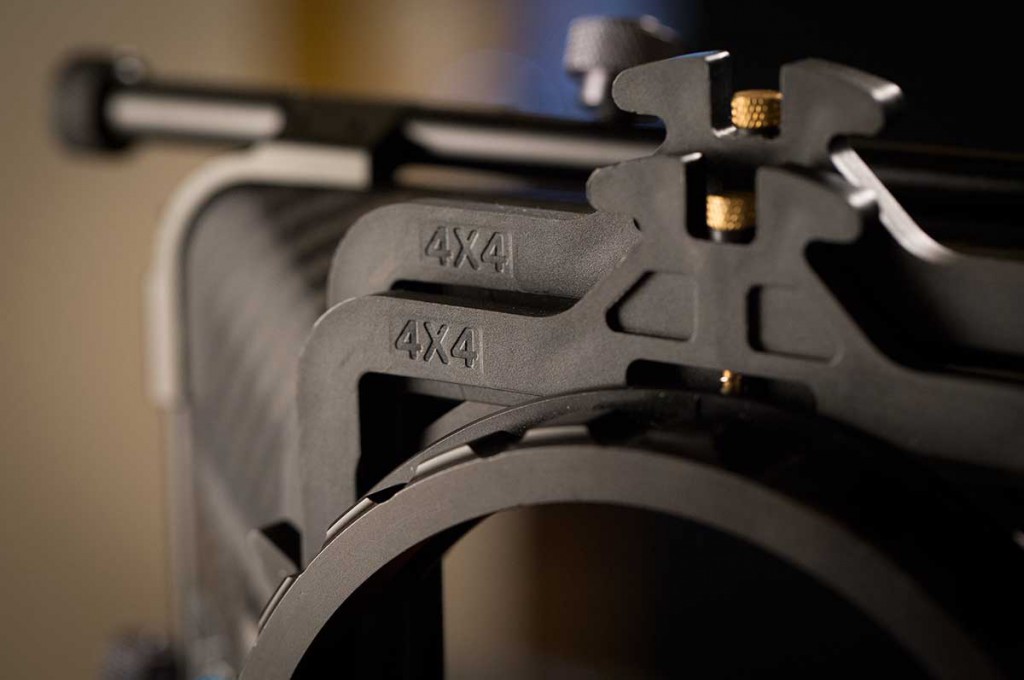
I didn’t purchase this matte box for the filter stages, and you probably shouldn’t, either. That’s because they are made of plastic, don’t slide in and out easily, and the one rotating stage is sticky at best. Definitely not as smooth as the Redrock Micro Matte box.

It’s easy to push them in too far, because there isn’t any clear indication when sliding them in that they have clicked into place.

So you have to eyeball it. I don’t plan to use any 4×4 filters at this time, so it’s not such a big deal to me. If anything the fact that they are sticky and a bit difficult to slide on and off is a bonus for me because I won’t lose them that way.

The swing away arm is perfect. It allows instant access to your lens (where I prefer to change filters the old fashioned way – by screwing them on). It’s made of milled aluminum, and obviously very strong, and locks quietly automatically when the door is closed.

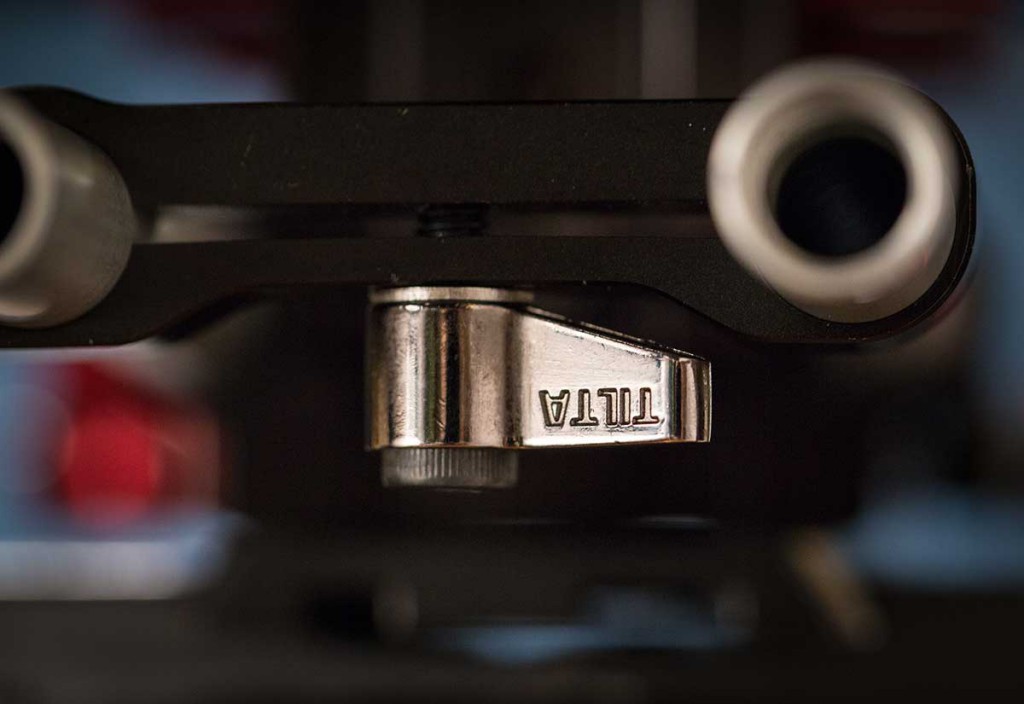
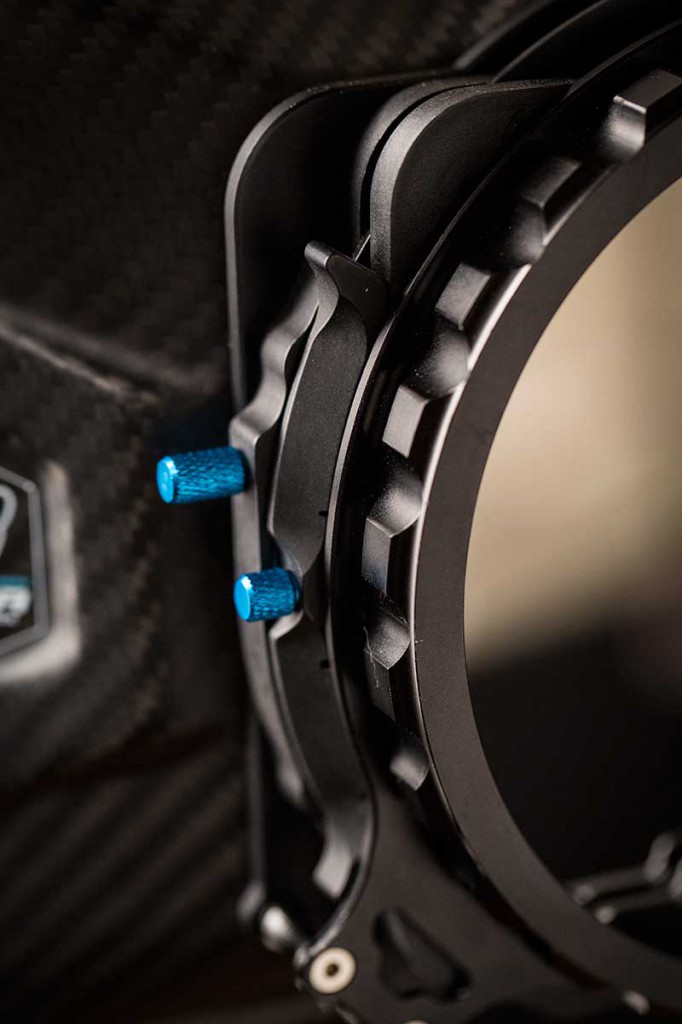
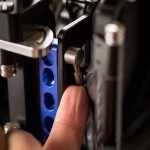
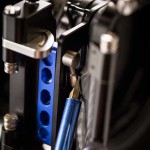
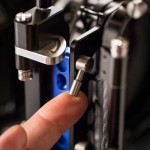
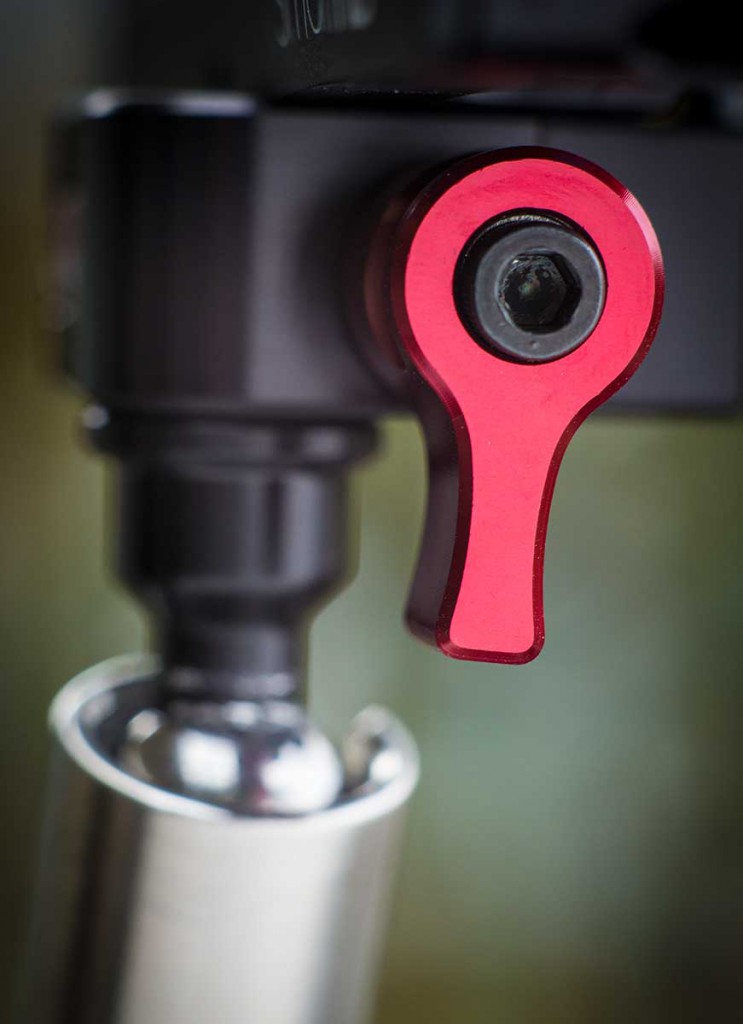
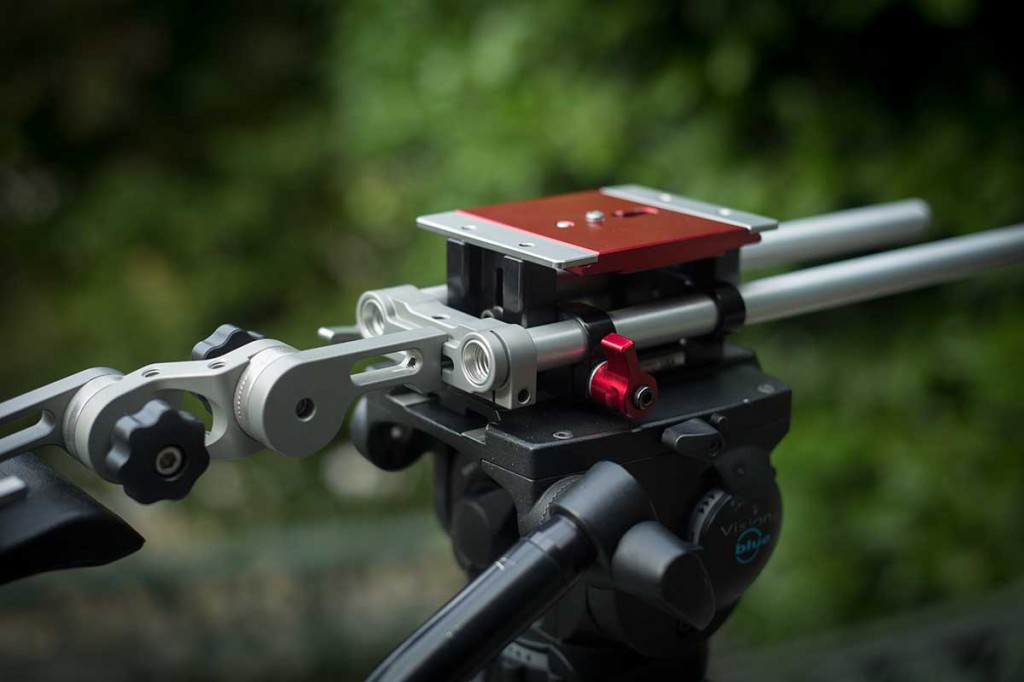
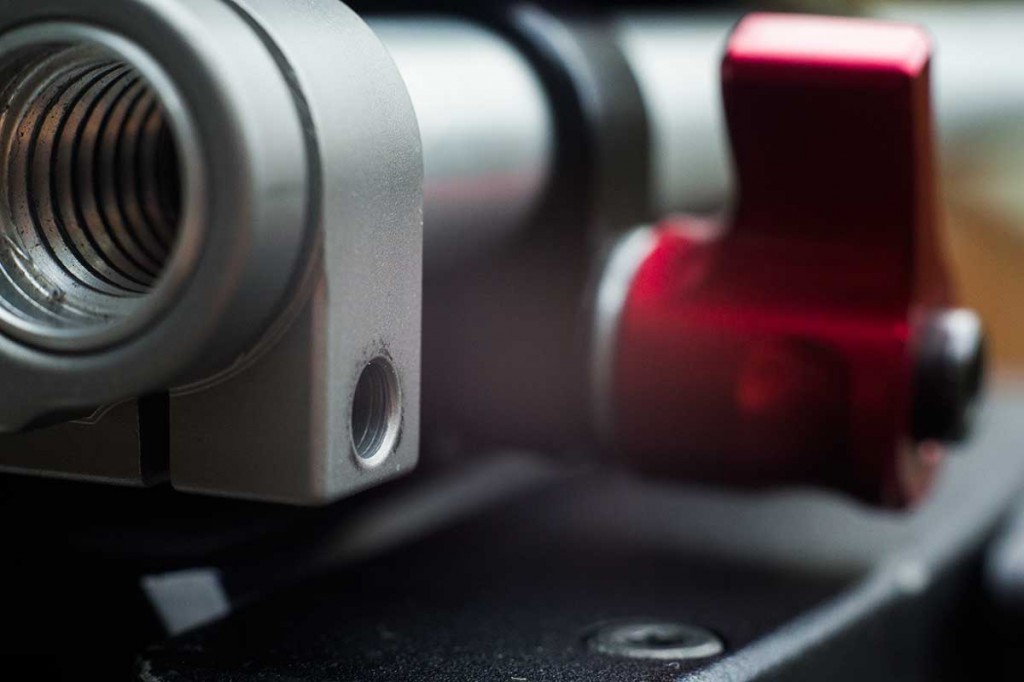
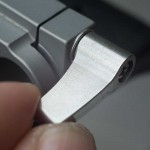
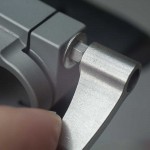
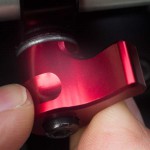
My biggest beef with this box is the height adjustment levers. Solid metal, like everything else, but poorly placed.

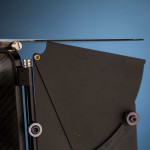
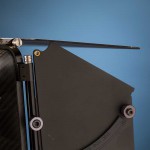
Check out the sequence above. When you loosen the levers to raise or lower the box to center it over the lens, the lever falls down and jams into a tight crack. It can’t be levered out by hand, requiring a screwdriver to pry free. If this were a piece of software, I would call it bad UI. In any case, it requires a workaround to make it work. It might even be a dealbreaker if you are changing cameras frequently. But in practice I wasn’t doing that, so it wasn’t a huge deal for me.

The side flags, which are included, align flush with the top flag only to a certain point, beyond which a gap appears. The Redrock unit I rented also suffered from this – perhaps all matte boxes do? Additionally, on mine, the right and left side flags don’t precisely line up, with one side very slightly lower than the other relative to the top flag. In practice, I generally used only one at a time anyway, with the light that I’m trying to cut coming from one primary side. However, I do wish the side flags were designed so that the top flag could stay flush at any point in the adjustment all the way down.

The most amazing thing about this matte box is that you can buy it for $580. Yep, it’s made in China. Yep, it’s about half what you’d pay for a comparable brand-name mattebox that includes swing-out arm, a french flag and side flags. But unlike many cheap knockoffs, Tilta includes basic support, and ships from a US address in New York.

In sum, the Tilta matte box is an extremely professional, solid and practical piece of gear. Oh, and did I mention it looks great? So for my purposes, and for my money, go Tilta!

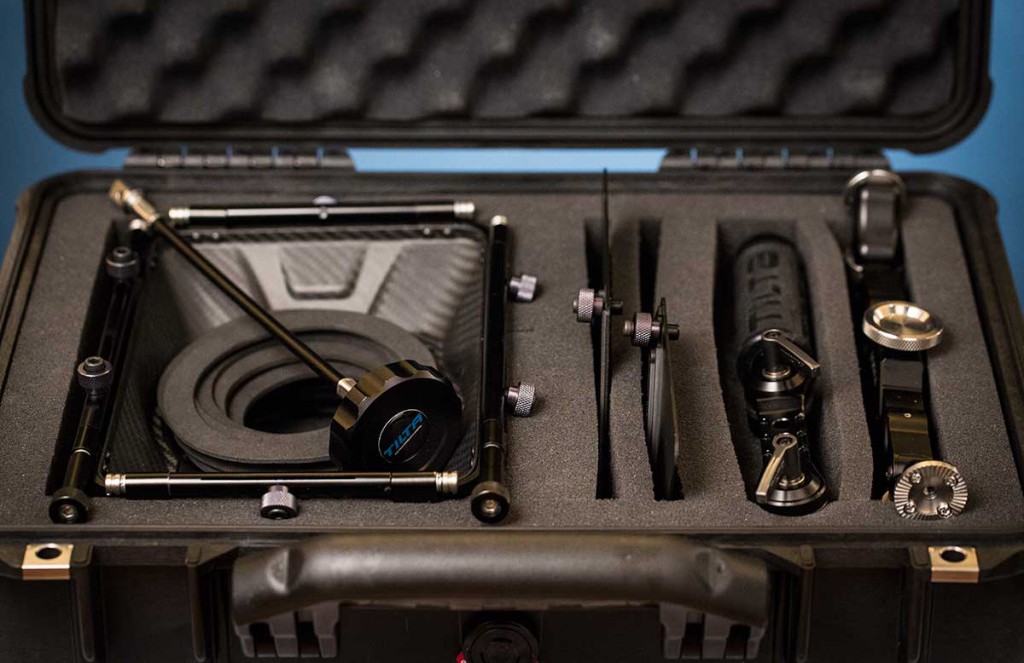
Above: Tilta matte box packed into a Pelican case (not included) with the rock-solid Tilta Universal Handgrips. Good stuff.
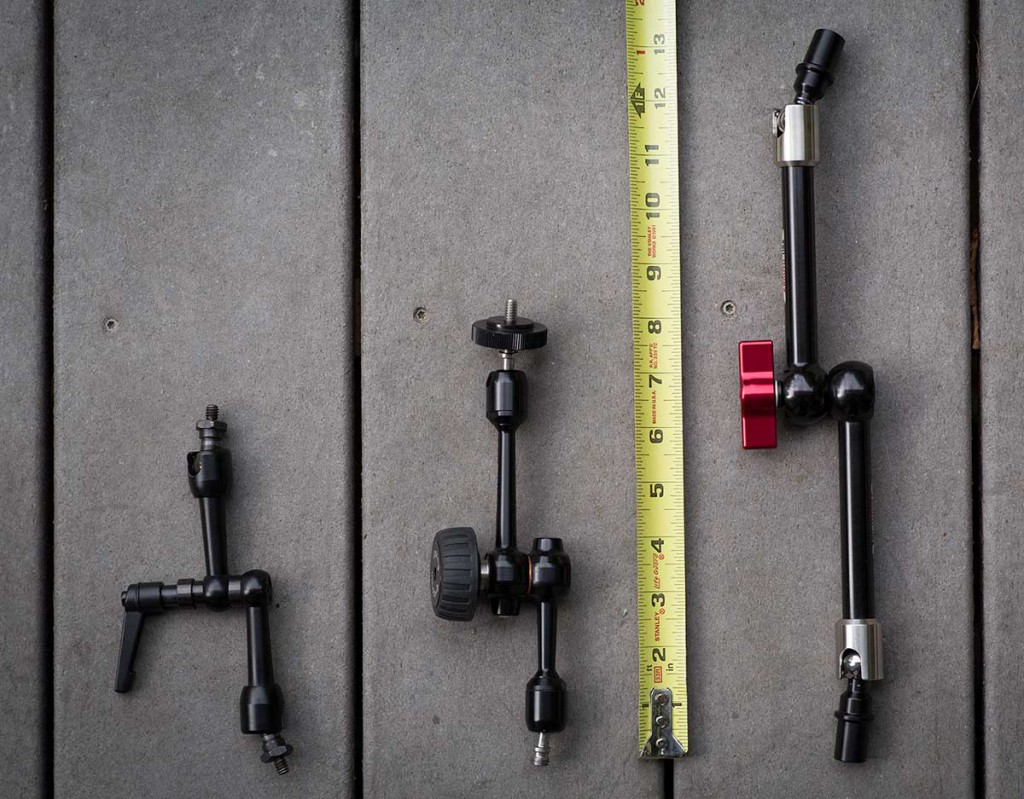
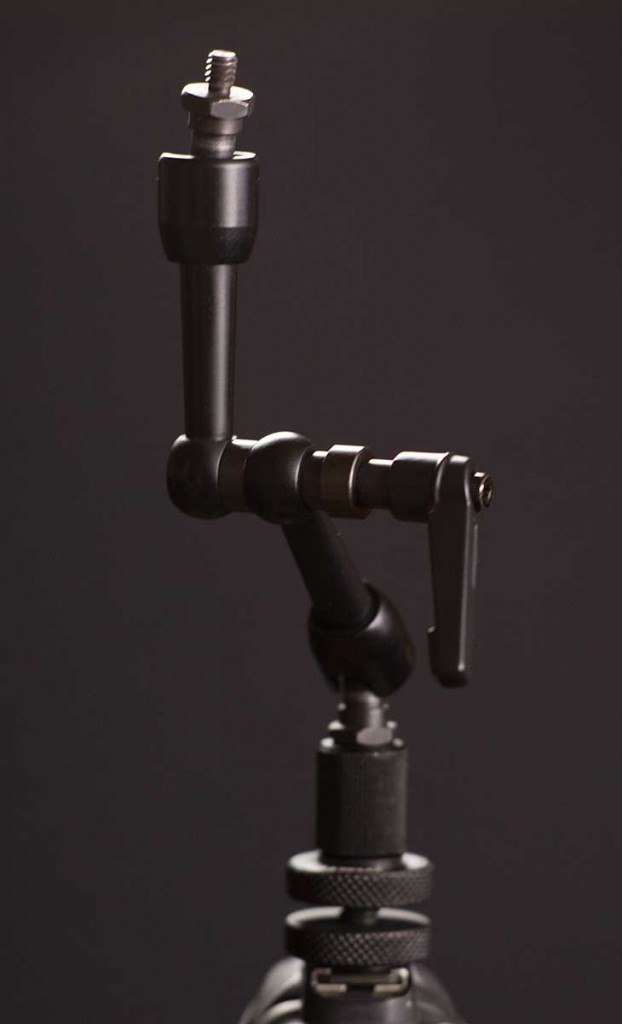
Three monitor arms compared

When I bought my excellent SmallHD DP-6 field monitor last December, I have to admit I was thinking a lot more about the monitor than I was the arm that I purchased at the same time. But over the past year I’ve discovered that having the right arm is as important as having the right monitor. Maybe more important! I’ve gone through three different arms before finding one that truly gets the job done, so I thought I’d share what’s working the best for me.

The three arms:

1. SmallHD StrongArm 6. $79.
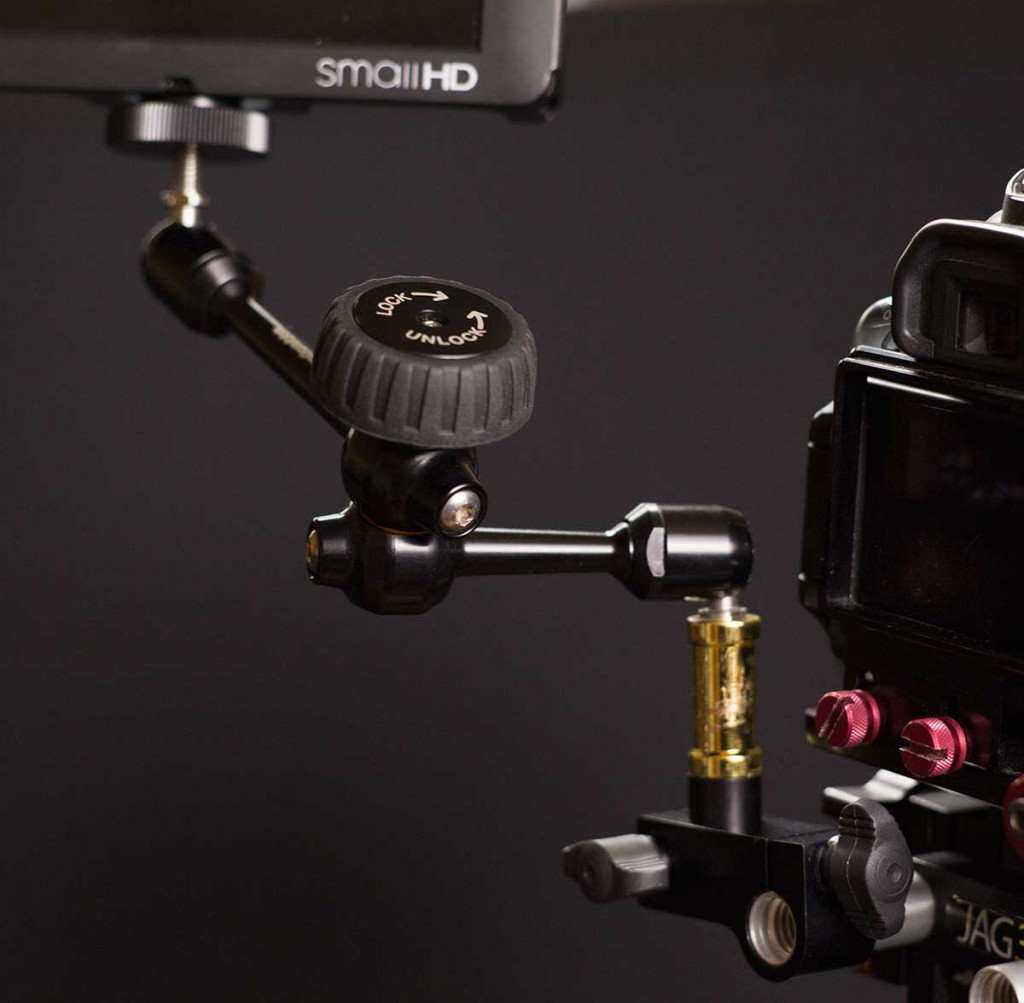
2. Manfrotto 7″ Hydrostatic arm. $184
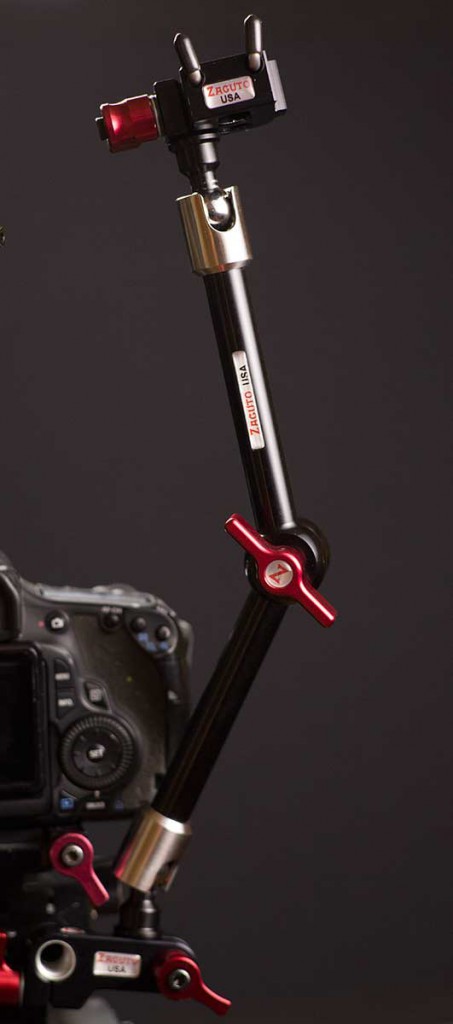
3. Zacuto Zonitor Lightweight Kit with 12″ Zamerican Arm. $366.

The short story: You really do get what you pay for. The Zacuto Zonitor Kit is THE way to mount your monitor or evf for maximal grip in quick-changing shooting conditions. And it’s built to last without compromising its looks. Like a cross between a Porsche and a tank.

The long story.

The StrongArm is as it’s name suggests – strong. It’s also short, at around 6″, and requires what feels like over-tightening to keep the monitor in place. The metal is surprisingly painful to tightening repeatedly, and actually made me more likely to live with the monitor in an awkward position rather than do battle with repositioning it. Unfortunately, if your monitor is screwed on in such a way that gravity is pulling it in the direction away from the screw threads, it can and frequently does work its way loose. This can result in sudden flopping of the monitor. It doesn’t fall off, but it flops loose and has to be retightened. I found I needed to use a pair of pliers to seat it tight enough to hold consistently through a shoot. Awkward.

The Manfrotto hydrostatic arm improves on the ergonomics of the StrongArm by adding an inch in length, and a rubber wheel that is MUCH easier to tighten and release. It also requires less twisting to get a lock. The lockdown wheel on the 1/4″ 20 side, which the monitor is mounted on, helps prevent the flopping problem mentioned above, at least when used with a monitor. But it still has to be tightened with pliers on the 3/8″ side. And when used with an EVF, I found that the lockdown wheel would quickly rotate loose from the pressure of my eye on the viewfinder. On a recent 8-day shoot in Alaska, I had way too many times where I was struggling to align and retighten the evf when I should have been rolling already.

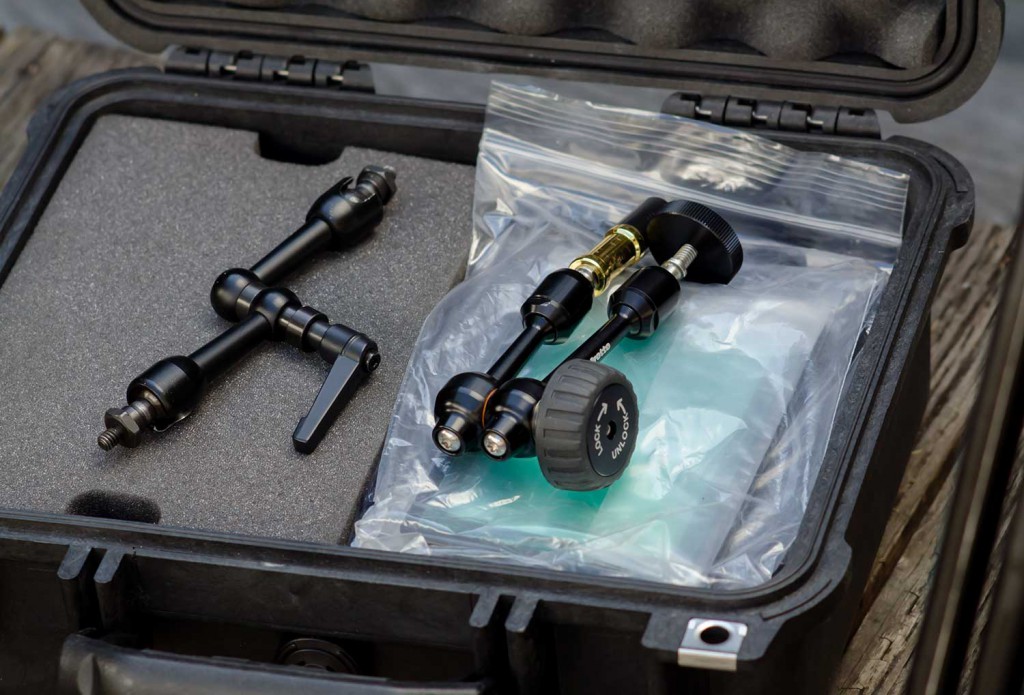
So when I got home, I bit the bullet and did something I hate to do: I paid top dollar for something. Specifically, for Zacuto’s 12″ Zonitor arm kit. The kit arrived in a zip-lock bag, and you can tell immediately that this is serious stuff. Everything is mounted on big, beefy metal quick-release rods. The thing is heavy, in a reassuring way. When you twist the lever, it bites down hard and stays put. A simple twist of the quick-release, and the monitor is on or off your arm instantly. The 12″ (actually a bit longer in practice) is something that I don’t know how I ever lived without. You don’t know what you’re missing until you have it.
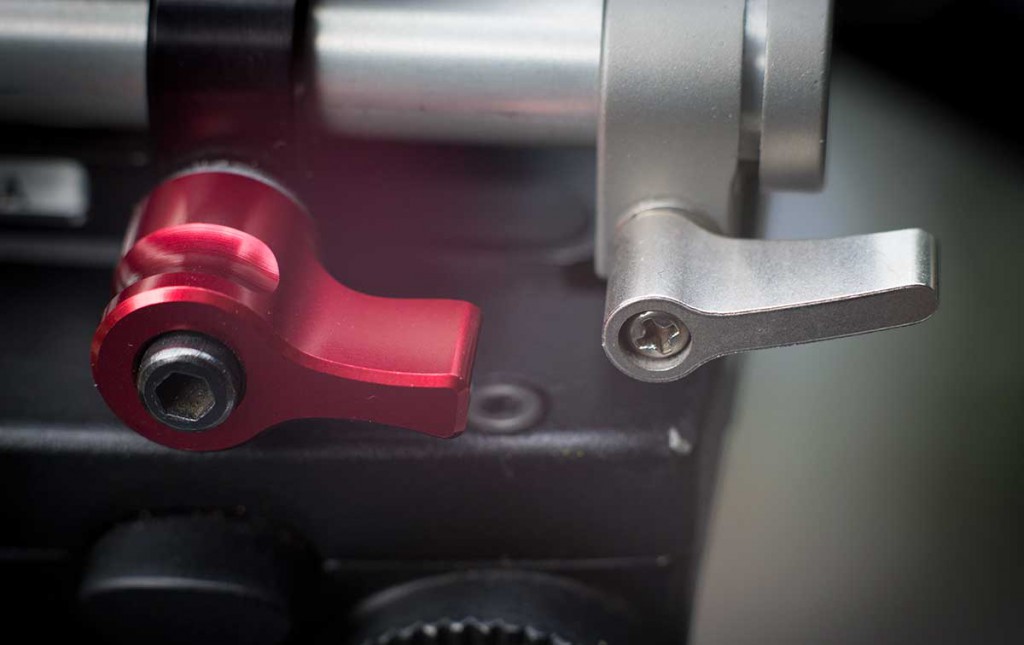

The Zacuto knobs are engineered to perfection.


What’s missing from this picture?


A rod clamp from shoulder rig made by MovCam. Why is it missing? Because it worked it’s way loose during a long shoot, and fell out.


I had an opportunity to compare their build quality literally side by side on my shoot in Alaska, where I was working in cold temperatures with gloves that made me want to fiddle as little as possible with anything fiddly.


For the sake of comparison, check out the knobs on this MovCam shoulder rig. I bought this rig less than a month ago, and one of the knobs has already fallen off and gotten lost. That is extremely unlikely to happen with Zacuto knobs. So if you’re depending on your rig to work when you need it most, you can bet that paying a few more bucks is worth it. Which makes us fortunate. We work in an industry where paying extra money pays off. Unlike those poor millionaires who got zip for everything they spent on Karl Rove’s super pac in the presidential election.
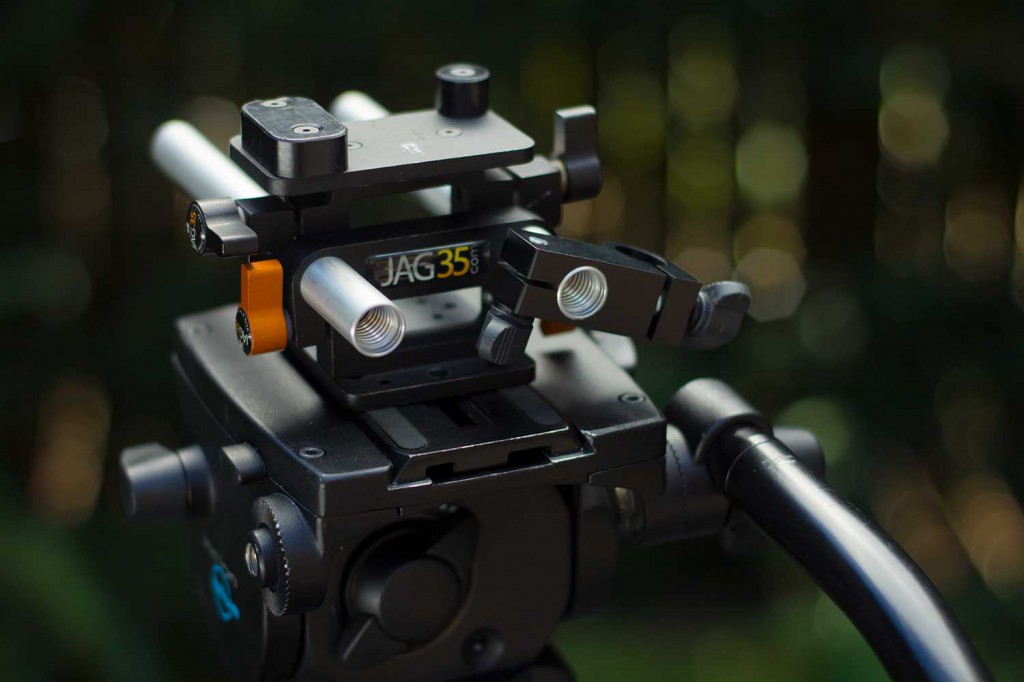
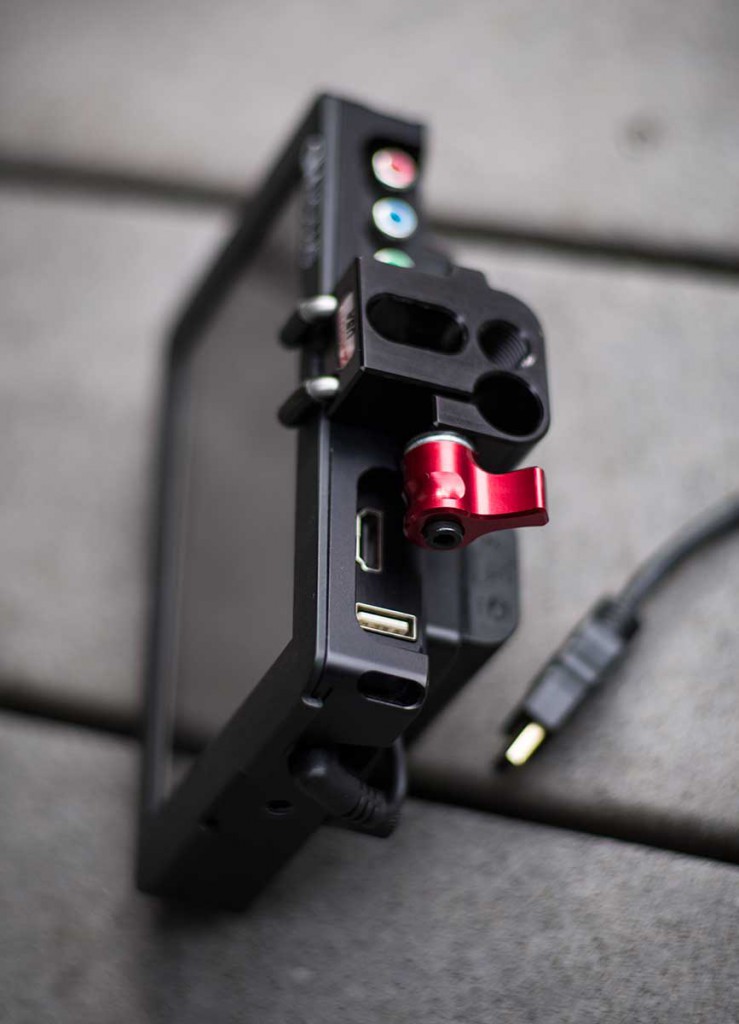
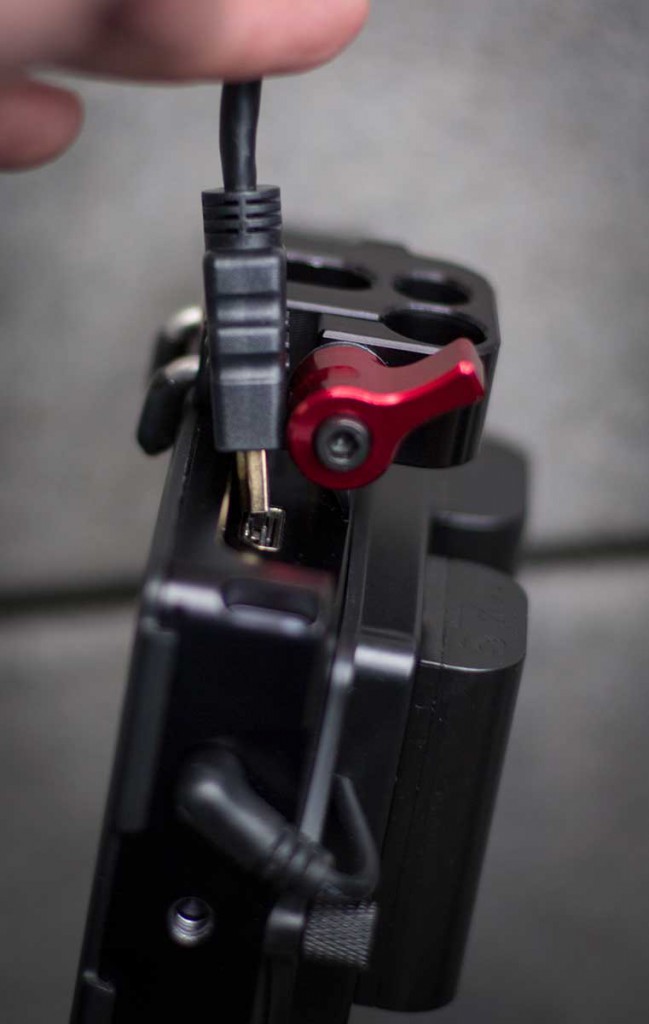
I have just one nitpick with how the Zicromount III works with my SmallHD DP-6. Because the monitor is beveled on the back side, the two grips that are designed to prevent the monitor from rotating can’t be secured properly when the Zicromount is mounted the only way it can be mounted to accommodate the HDMI cable.

Above: mounting the Zicromount III so that feet grip correctly prevents HDMI cable access. However, it’s easy to fix this – just mount it the other way around to the monitor. However, when mounted that way, the grips don’t set properly, and become useless. Here’s what I’m talking about:

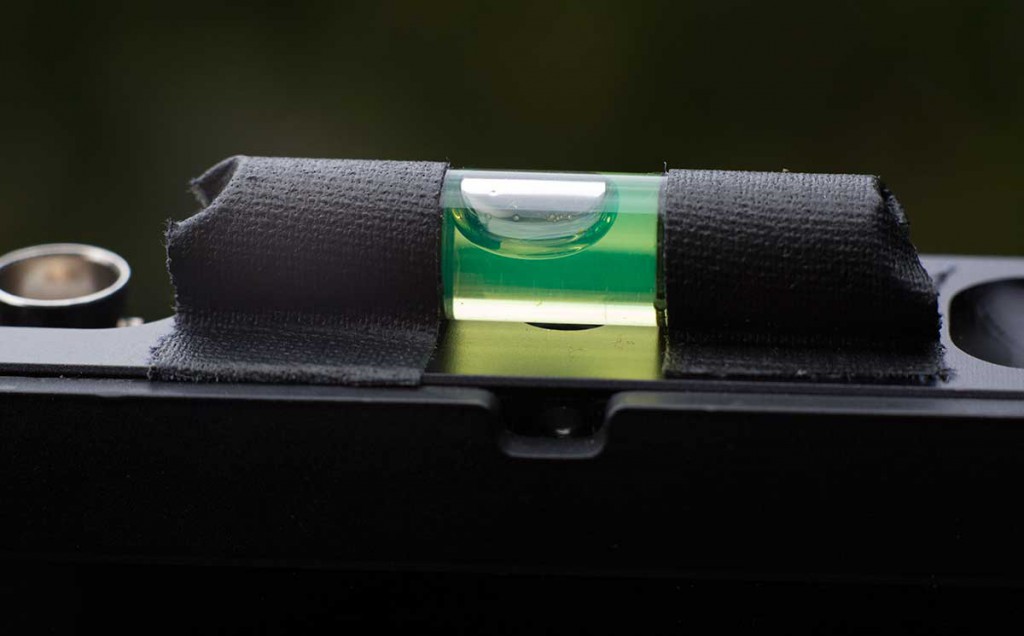
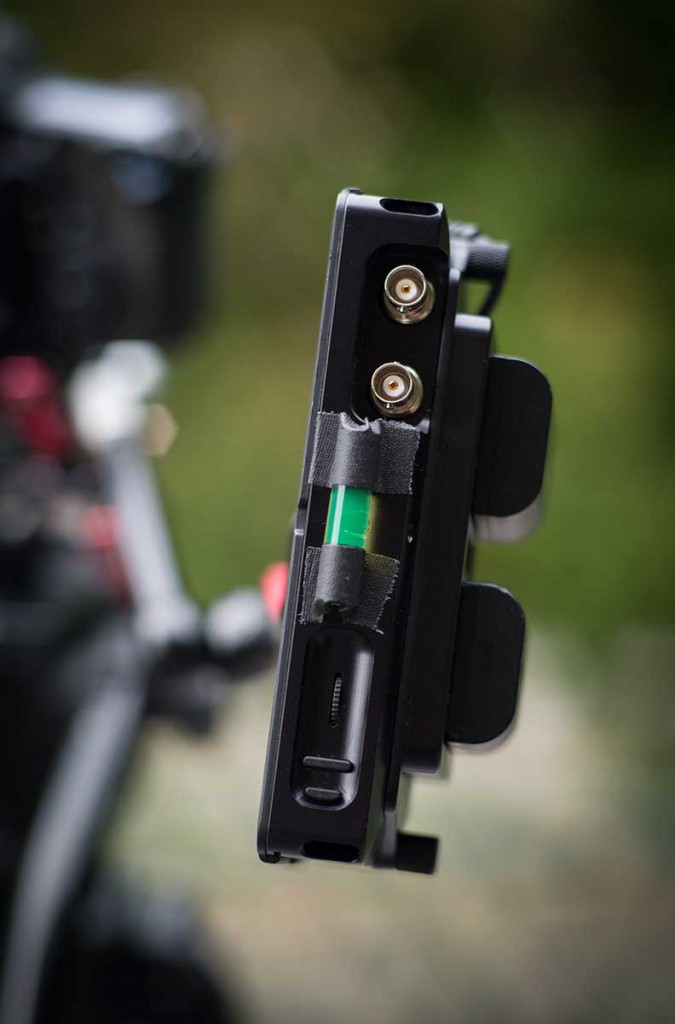
The next obvious place to mount it would be on the top of the monitor, but I don’t have that option on mine, because I have attached a bubble level (pried from a string level and gaffed tapped to the monitor) which helps me find a quick level when I adjust the monitor. I find it really helps to have a level monitor when shooting, and without the level I have a hard time eyeballing it.

The good news is that the Zicromount III works fine even without the grips gripping – it just has to be screwed down tightly. Once in place, you can leave it there, making setting up your monitor a fast, painless process on location.

Seattle celebrates new term for Obama

Lisa and I headed to Capitol Hill last night to watch election returns. It was just like old times four years ago: As the networks called it, hundreds of happy residents poured into the streets to celebrate not only Obama’s win, but Washington’s choice to extend full marriage rights to same-sex couples, and to legalize marijuana. Good times.

New work: Nordstrom prosthesis program

Our latest commercial piece, which I shot and helped edit, informs women about a little-known program run by Nordstrom. My partner LIsa Cooper directed this piece, and also did a lot of the editing as well as sound recording. Nice work Lisa!

We’re hoping this video gets shared a lot, because few women know about it, and it’s a fantastic program. Who wouldn’t want to wear any bra she chooses, rather than a surgical bra from a medical supply house? And, Nordstrom’s certified prosthesis fitters are specially trained to fit women for all intimate apparel following a mastectomy, lumpectomy or other reconstructive surgery.

For more information, please visit: http://shop.nordstrom.com/c/prosthesis-program.

Seattle Interactive Conference asks "what if"

Seattle Interactive Conference 2012 Teaser from Dan McComb on Vimeo.

Our latest piece, officially launched this morning, is a montage of “what if” questions posed by a few of the game-changing thinkers who will speak at this year’s Seattle Interactive Conference.

Our inspiration for this piece was Jason Silva, whose explosive films have amassed millions of views on the web. He’ll be one of the featured speakers at this year’s conference, and provides the lean-forward moment at the end of our conference teaser. Incidentally, we didn’t have the chance to film Jason ourselves, since he’s in New York and the project had no budget for travel. So we asked him to point a camera at himself and pose three what-if questions, followed by the question about Seattle Interactive Conference. Within 24 hours he replied with the footage we included in the piece. Thanks Jason – we can’t wait to see where your ideas take you!

Warp speed at 2fps in-camera using Magic Lantern 2.3

The 2.3 release of Magic Lantern is full of surprises. My most recent discovery: beautiful 2 frames-per-second time lapses, no post-processing required. This is an otherwise impossible frame rate to obtain with my Canon 60D, because even with a fast card it’s impossible to sustain more than 1 frame of shooting per second for more than a few frames in burst mode. For relatively fast-moving action such as storm clouds, sailboats, or to moving cars, 2 frames per second is a sweet spot.

Yesterday morning I had to drive across town at 5:30am to scout a location for an upcoming shoot. To test out the 2fps feature, I sat the camera on the dash of my car on a coat, and let it run. The results were pretty shaky, but promising.

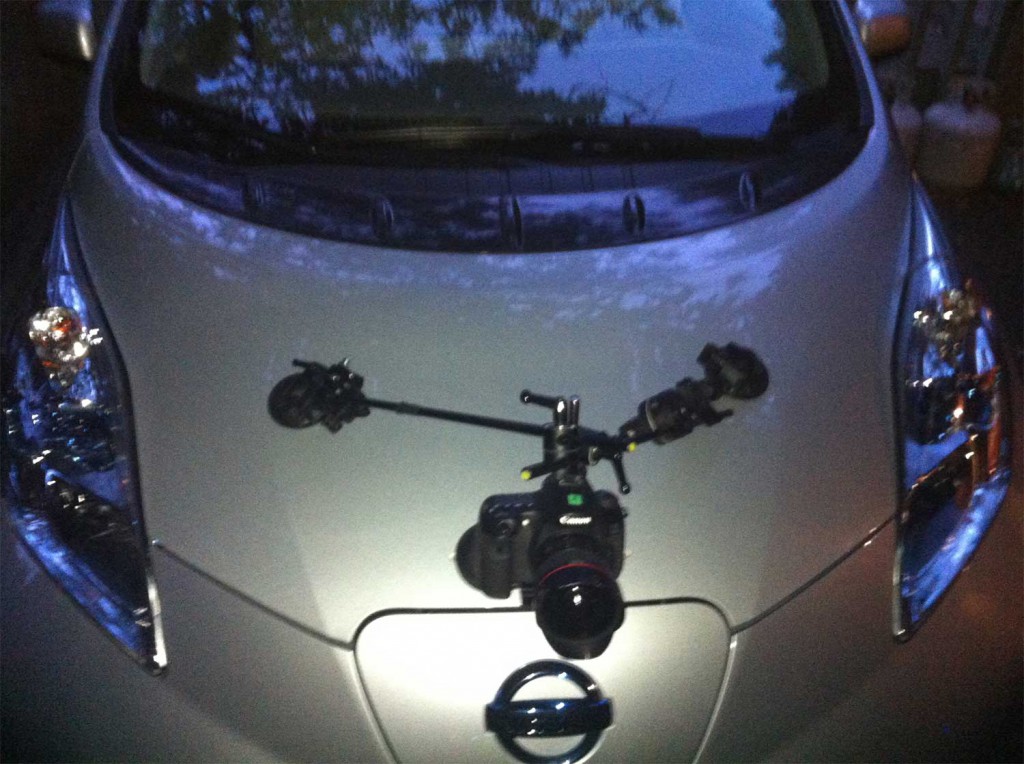
This morning I took a more polished stab at it. This time, I triangulated the camera to my car hood using MicroGrip heads with 3/8 rods, combined with parts from a MiniGrip mounting kit that I picked up at Glazers over the weekend.

The results are smoothest where the highway was smooth. Unfortunately the road is quite rough on the stretch of 99 going past the city skyline. The new tunnel will no doubt be smoother when it’s completed in a few years, and will an exciting (but claustrophobic) place to shoot this kind of footage.

The documentation for using the FPS Override on Magic Lantern is pretty good (see User Guide, page 2). I used the Optimize for Low Light setting, and I’m looking forward to trying out an even slower frame rate such as 1fps using ND filter during daylight driving.

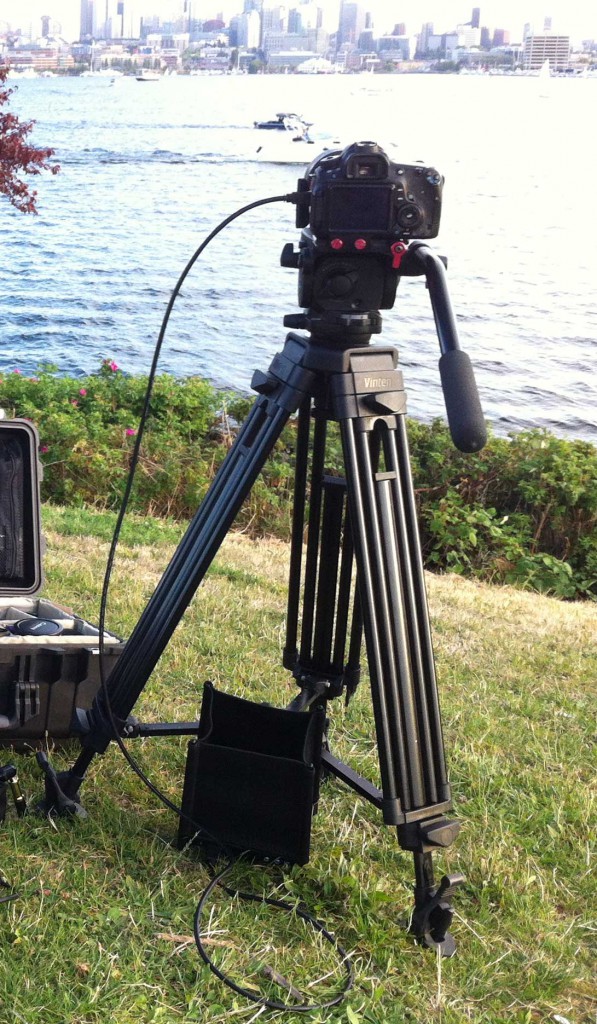
5 dslr rigging tips for smoother video shooting with a tripod and monitor

When shooting on sticks with a DSLR and a field monitor, a little attention to detail can go a long way to helping you get smoother shots. Here’s a few things that help me get consistently good results.

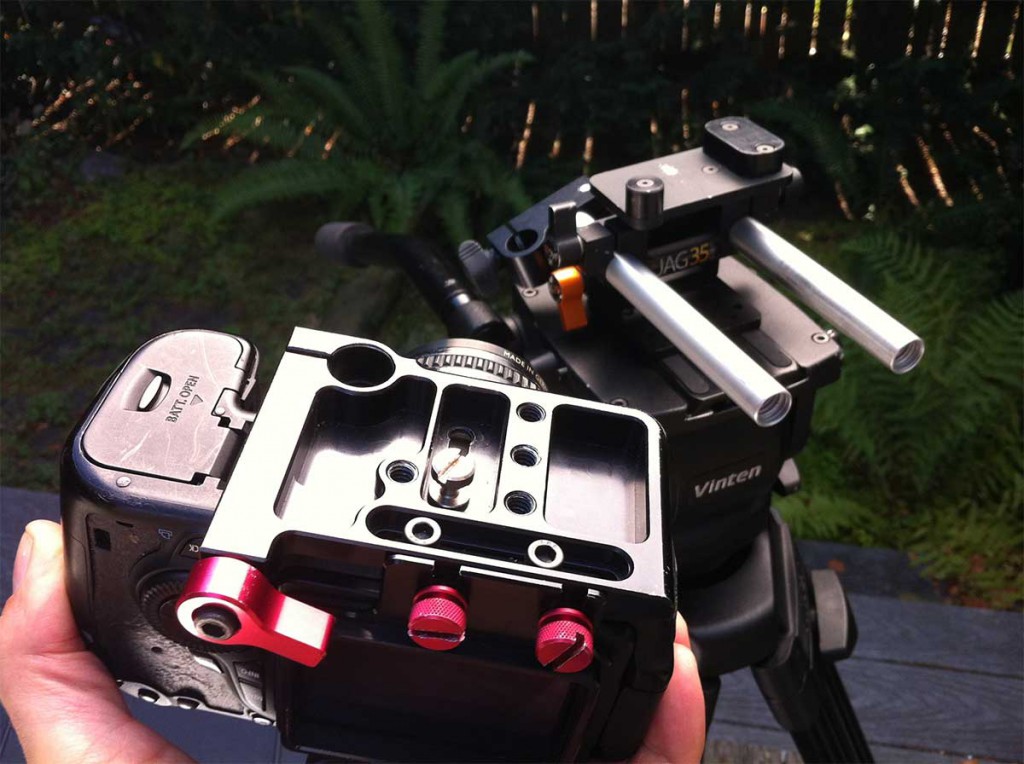
1. Use rails with a bomb-proof quick-release plate. My first rig was built around camera baseplate that required thumb tightening every time I wanted to get the camera on and off the rig. Not only was the connection less secure, but it was daunting and time-consuming to get the thing on and off. The screw-in mounts also won’t hold your camera tightly enough to consistently hit critical focus if you’re using a follow focus. My problems vanished when I upgraded to a Gorilla Stand combined with Zacuto quick-release Gorilla plate.
Above, the camera side of quick release. This Gorilla plate provides excellent stability as well as being instantly releasable from the rig.

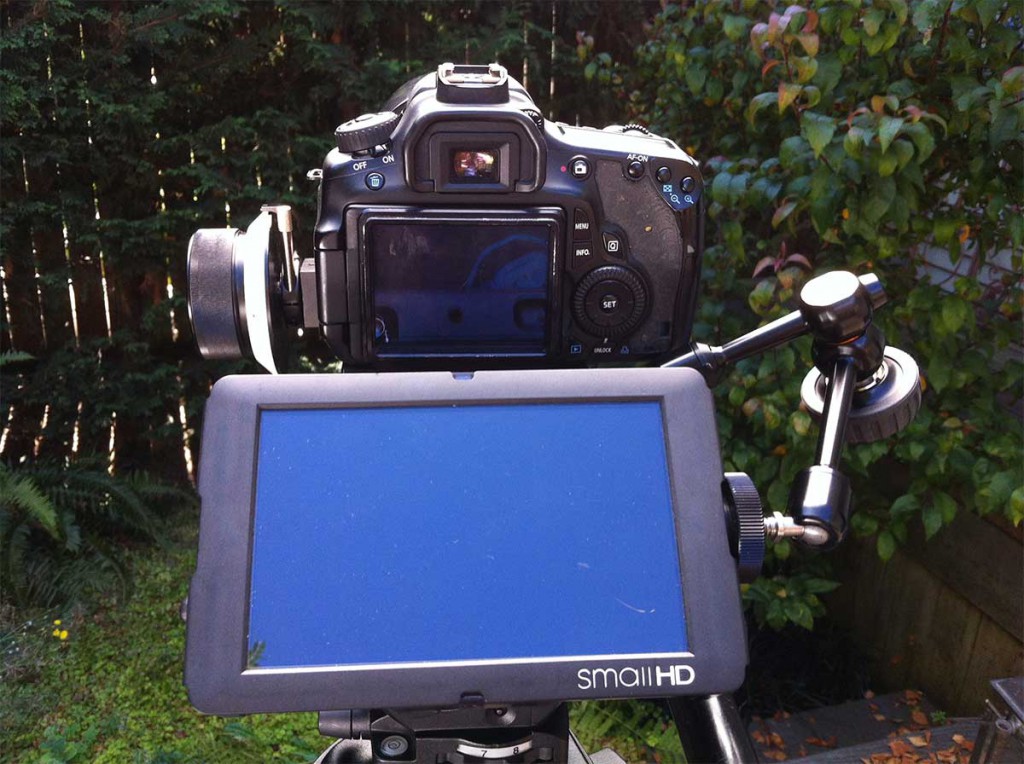
2. Don’t hang your monitor off the hot shoe. It destabilizes everything, so that even lightly touching your monitor (such as to punch up peaking) can introduce jello to your shot. DO find a mount point that keeps the center of gravity low, such as mounting off a rail block (see tip 4 below).

3. Use a good arm. I recently upgraded from the standard Israeli-style arm that I purchased with my DP-6, to a Manfrotto Hydrostatic 7″ arm. And it’s been a revelation the difference it makes. My previous arm needed to be cranked tight, that is, basically over tightening it to hold it in place. Often it would flop over halfway though shoots, and needed frequent re-tightening. My Manfrotto uses hydrostatic technology that makes for an iron grip with minimal tightening. The rubber wheel is a major ergonomic improvement too, making it easy to twist. My feeling now is that a good arm should be so easy to adjust that it practically invites you to fiddle with your monitor angle. Because that’s exactly what you’ll need to do when you’re shooting a variety of shots off sticks.

Above: Old arm, left; new arm, right.

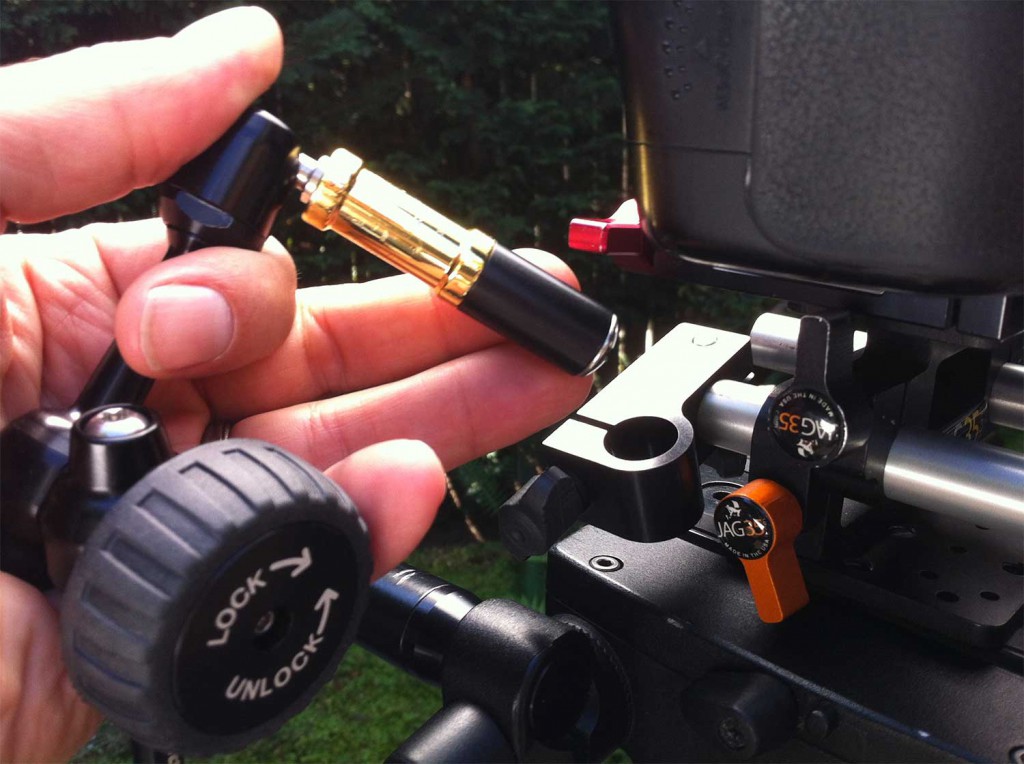
4. Use a quick-relase rail block to connect your arm to your rig. I use a 90 degree accessory mount that I got from Express 35 for $20.29. Combined with the included 15mm to 1/4-20 stud, It does two things: gives you a couple extra inches of reach on your arm, and makes it a snap to get the whole thing on and off your rig. You’ll also noticed in the photo above that I have a brass 1/4″ to 3/8″ adapter that allows the connection between the 1/4″ stud and the 3/8″ arm.

5. In addition to a short 12″ cable, keep a 6-foot length of HDMI cable in your monitor case to give yourself options when shooting for long stretches. One comfortable position, I find, is looking down, rather than out. Yesterday I was shooting on a grassy hillside and simply put the monitor in my lap while sitting cross-legged. I also have rigged the monitor on a light stand beside and below me when I’m seated in a chair behind the camera for long interviews.

How to avoid gamma shift when posting to Vimeo from FCPX

I had to deliver a revised video to a client this morning, which I thought was going to be as simple as navigating to the Replace Video File tab on Vimeo. A half-dozen upload attempts and 3.5 hours later, my 79meg video file finally finished uploading. Is it just me, or is Vimeo running painfully slow lately? But there was an upside to this delay: it forced me to take a close look at how I’m compressing footage for Vimeo. And I learned a few things about prepping files for Vimeo that are worth sharing.

Final Cut Pro X provides a super simple way to export to Vimeo – just hit Share > Vimeo. This works great if you just want to share a file once. But unfortunately, this doesn’t work for me at all, because I have to upload multiple revisions, and FCPX doesn’t support file replacement from within the app. Final Cut Pro X doesn’t have a way of exporting 1080 to 720 from the Share menu’s Export Movie dialog, so in the past I’ve always just exported 1080p and uploaded that to Vimeo, where it’s converted to 720 on their end.

But the slowdown forced me to create 720p files on my end before uploading, and I noticed that converting them using Quicktime 7 to 720p. left the files looking a little washed out and desaturated. I did some digging, and it turns out quite a few others have noticed this gamma shift as well. The good news is it’s fixable, but it requires some work.

The best tutorial on how to fix this is from Transposition Films blog post Best Compressor Settings for Vimeo V2. You don’t actually need Compressor to do this, however, just Quicktime 7. Here’s a simplified, non-Compressor based workflow that gets the job done.

1. Download x264Encoder, a free alternative encoder for use within Quicktime.

2. Open the download and grab just this one file: x264Encoder.component. Copy it to your Macintosh HD/Library/Quicktime/ folder. Make sure it’s the top-level Library, not your User library.

3. Start (or restart if it was already running) Quicktime 7.

4. Select File > Export.

5. Name your file and at the bottom under Export choose “Movie to Quicktime Movie” and click “Options.”

6. Under Video, click “Settings.”

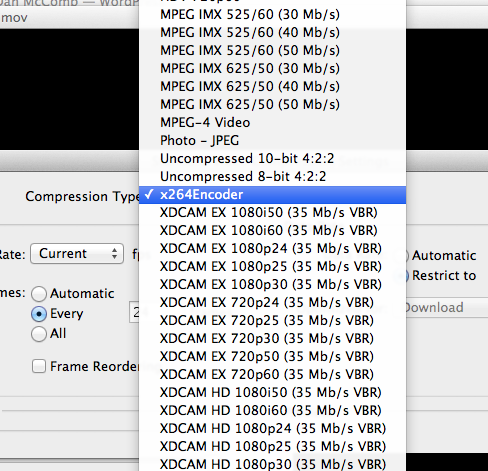
7. Under Encoder, choose X264.

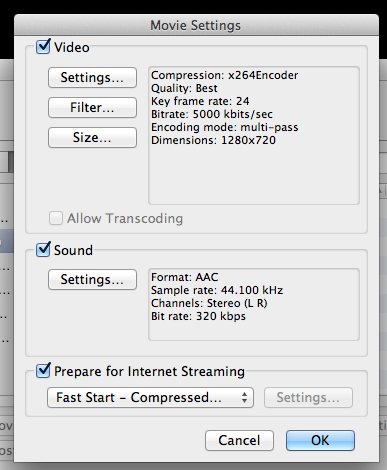
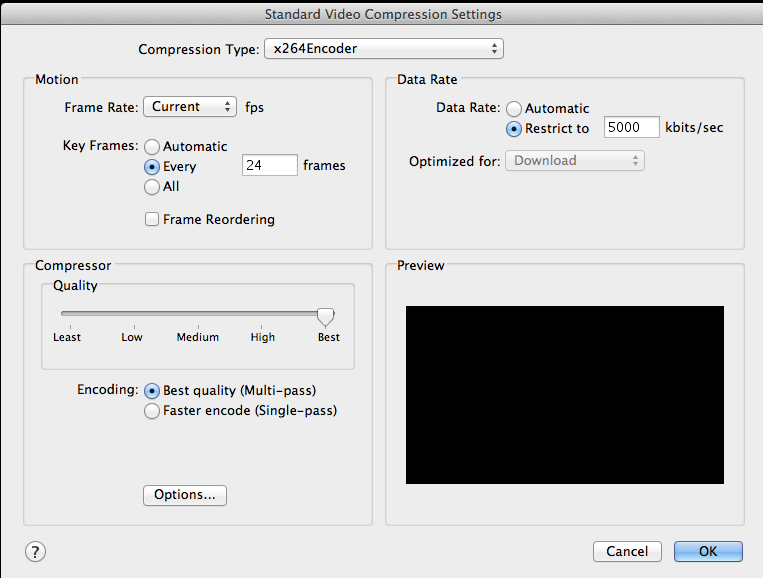
8. Here’s how I set the rest (my clip was 23.987 footage – if you are using a different frame rate, set accordingly, but don’t set higher than 30 frames per second when encoding for Vimeo, even if shot at 60p). Note that I’ve set Restrict to 5,000K per Vimeo’s requested settings. I don’t think there’s any benefit to setting this higher, because Vimeo will recompress it on their end anyway.

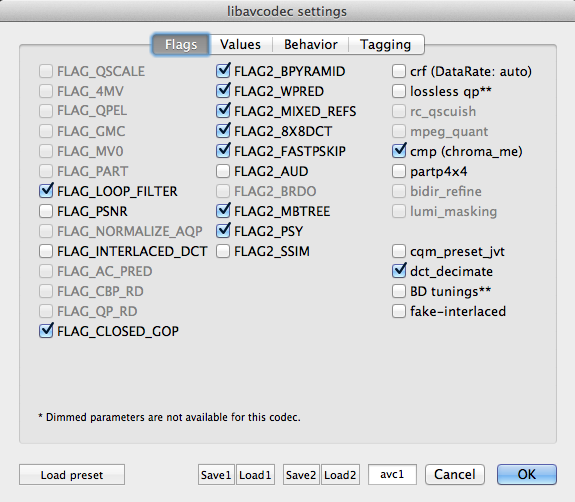
9. Press “Options.” You’ll get a bewildering array of options, but don’t worry – you can accept the defaults on the first tab:

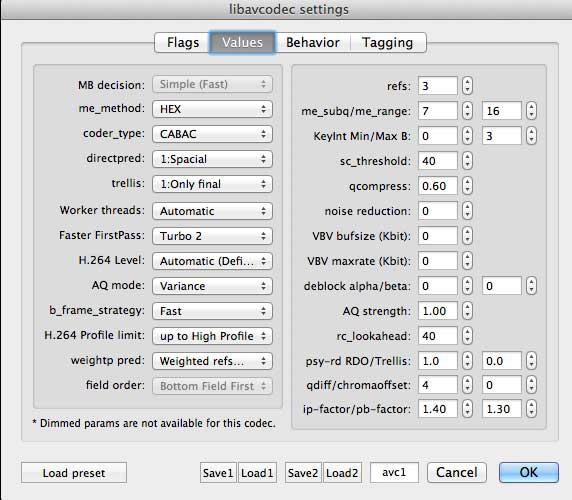
10. Accept defaults on second tab too:

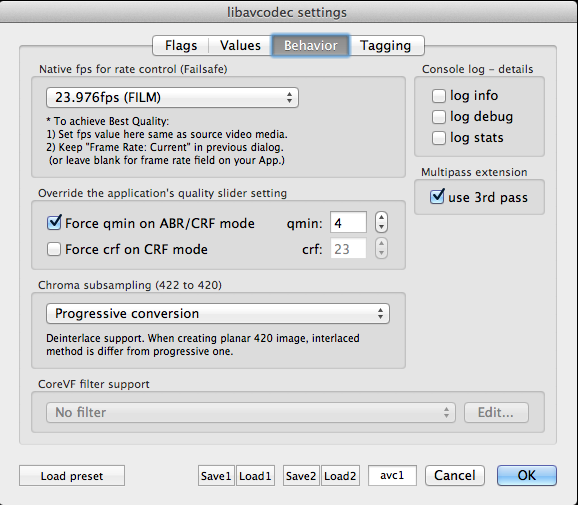
11. On the Behaviors tab, set your native fps according to your footage frame rate. Be sure to check “use 3rd pass.”

12. Under the Tagging tab, select HD 1-1-1 and check Add gamma 2.2.

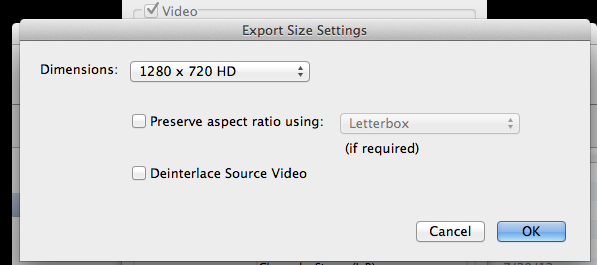
13. Select 1280×720 as size.

14. Here’s your best sound settings:

Export it!

Digital Kitchen: midwestern work ethic meets creative soul

The latest video in the series we’re making for Seattle Interactive Conference was officially unveiled today. It’s a peek at Seattle creative agency Digital Kitchen, the geniuses who make videos for the likes of BMW and Warner Brothers.

The best part of working on this project, besides meeting the friendly DK folks, was the opportunity to view so much jaw-dropping DK work. We were particularly inspired by the elegant simplicity of their Ask Away campaign, a series of documentary-style videos for the Atlantic Lottery. It’s commercial work worth sharing.