I’ve been using Colorista II for pretty much all my color grading ever since it was released a few months ago. Why? Because it’s awesome, and I know it’s awesome because of Stu Maschwitz’s killer video tutorials. He posted an unusually long clip earlier this week: a full hour color correcting session with a client. To watch the tutorial is to be right there in the room, listening in on their conversations, learning the steps to get perfect color. Thanks Stu!
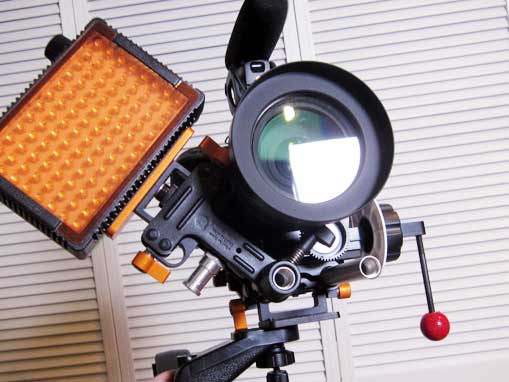
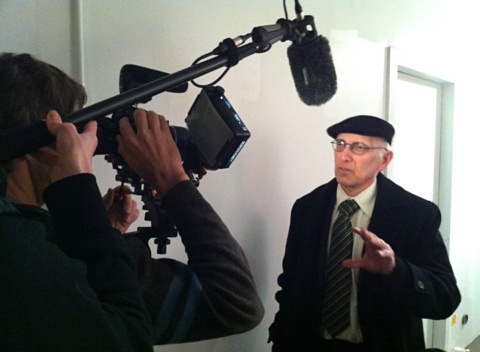
I had a chance to put everything I learned to work on Thursday, when I shot a series of series of brief interviews, called 619 Stories, for a Seattle startup called Intersect (which has posted many of the finished clips in the 619 Building Timeline). The lighting was abysmal in the venerable artists building (which I myself once briefly lived in nearly a decade ago). I knew I was going to need to augment the light with something on-camera at least for fill, and I found a decent way to configure my custom shoulder rig with LitePanels Micro Pro just to the side of the camera, off one of the rails:
What I like about this is that it’s true quick release. I can instantly remove the LitePanel just by squeezing the clamp, which grips it with plenty enough force that I don’t have to worry about it coming loose accidentally.
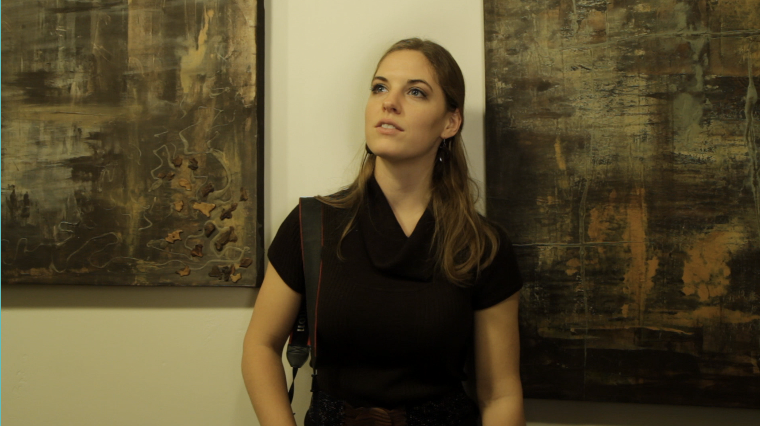
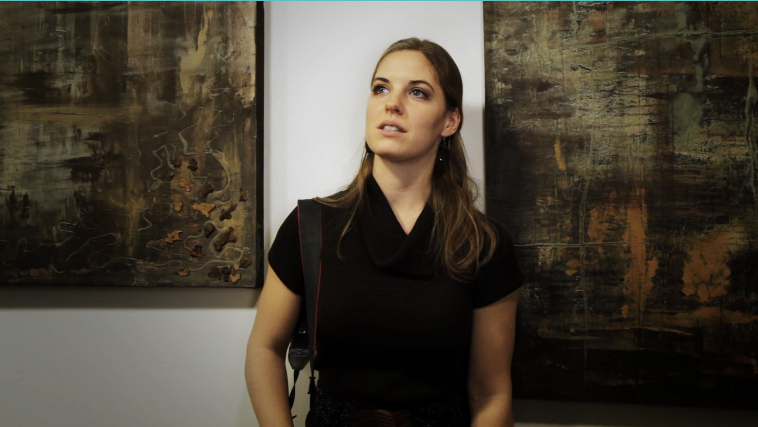
I used Colorista II to do the grade, and Magic Bullet Looks to drop in a vignette and spot exposure. I could have done all of this in Colorista II by stacking additional Colorista filters, but Looks and Colorista work fine in tandem.
Here’s what I started with:
And here’s what I finished with:
I shot this interview with one knee down, which gives her the hero pose, with the lens angled slightly up at her. Shooting with a shoulder rig off one knee pretty much gives the same perspective you’d get holding a camcorder football-carry style, which was my preferred method of carry before DSLRs made me never want to touch a camcorder again.
And finally, here’s the finished video:
While editing this piece I accidentally discovered a (possibly gimmicky) solution to the dreaded jump cut problem: I inserted a cross dissolve between questions, and in Final Cut’s Motion tab, I set the clip to scale 100 percent at beginning of transition; and 200 percent at completion of it. The result: The old clip flies up at you, revealing the new clip underneath. It wouldn’t work in every interview, but I kinda like the effect.


Nice work on these interviews they look great. Posted about them over on my blog…
dalbright.com/sos/
Not a fan of that transition though, I much prefer a straight jump cut!
Thanks David. Always nice to have an impartial reality check when I try something like that!