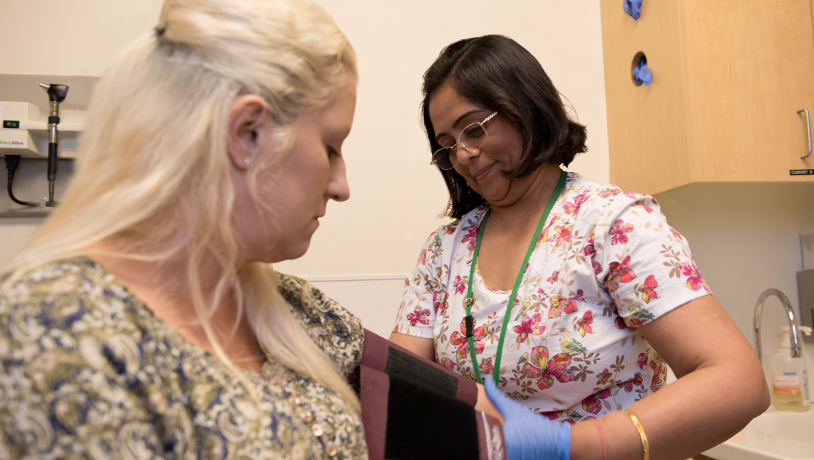
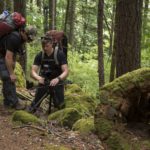
I just returned from a week on the road, shooting 2-person, 2-camera interviews for a documentary film that we hope will shine a light on an unsolved murder. Although I can’t talk about the content yet, I can talk about our lighting package. I chose Kino Flo Celebs, and I have some insights to share about these industry workhorses.
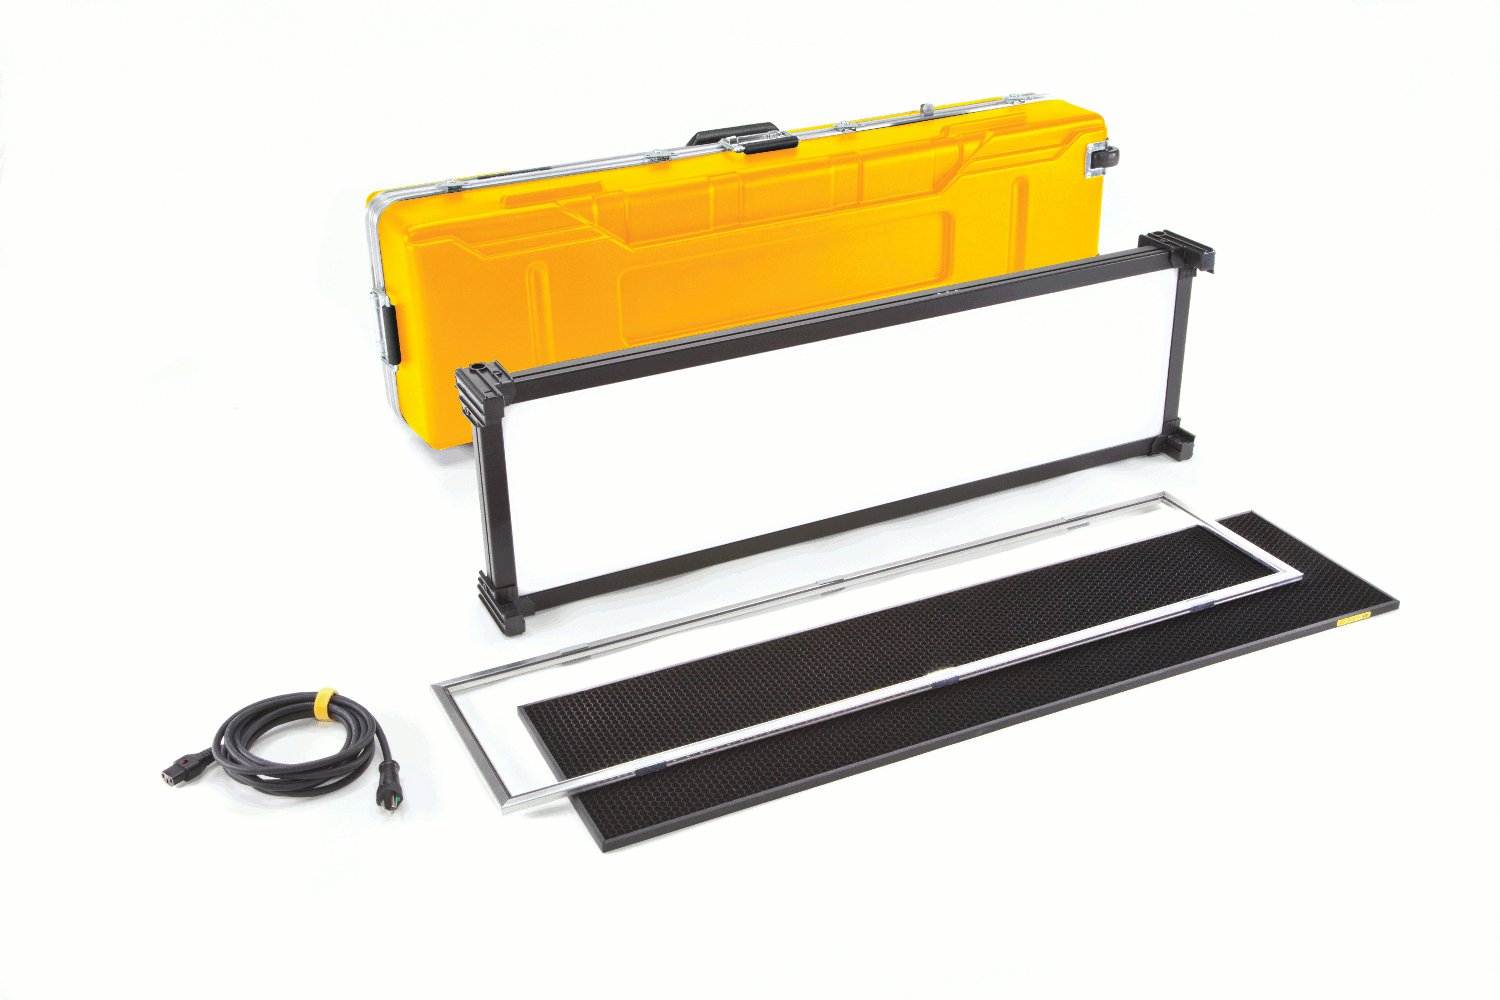
Kino Flo Celeb 401 kit

Kino Flo Celeb 201 kit
For this documentary production, we needed to light both the interviewer and the interviewee. So the job required something a little bigger than my usual kit. The shoot location was in a major US city that I would be flying to. And with extra baggage fees, it became clear that it would be more cost effective to rent locally than it would be to travel with my own lights.
Kino Flo Celebs rental package
Rent it or pack it?
On American Airlines, your first piece of checked luggage is $25. The second is $35. Each additional bag jumps to $125 each. I already needed two checked bags for my camera and tripod. Therefore, to bring my own lighting kit would have required two additional checked bags, totaling $600 round trip. With fees like that, it makes more sense to rent locally – and skip the hassle of traveling with all those cases.
Here’s what I specified in our package, which came to $942 for a 5-day rental:
- 2 Kino Flo 201 Celebs
- 1 Kino Flo 401 Celeb
- 4 c-stands (2 for 201s, 1 for my Dedo DLED 7 which I packed, and 1 for sound guy)
- 1 combo stand (for 401, which requires a Junior receiver)
- 1 25′ stinger (with power strip for distribution)
- 4 15lb sand bags (for c-stands)
- 1 25lb sand bag (for combo stand)
- 6 A-clamps
- 2 furniture pads (for blocking light if needed)
To drive all this around, we rented a Yukon SUV. It was big enough to fit our 4-person filmmaking team and the entire lighting package and camera gear in the back. Note that we also hired local sound recordists, who drove their own vehicles. We also had a local PA for a couple of shoot days, but we traveled light enough to not require a PA.
What I packed:
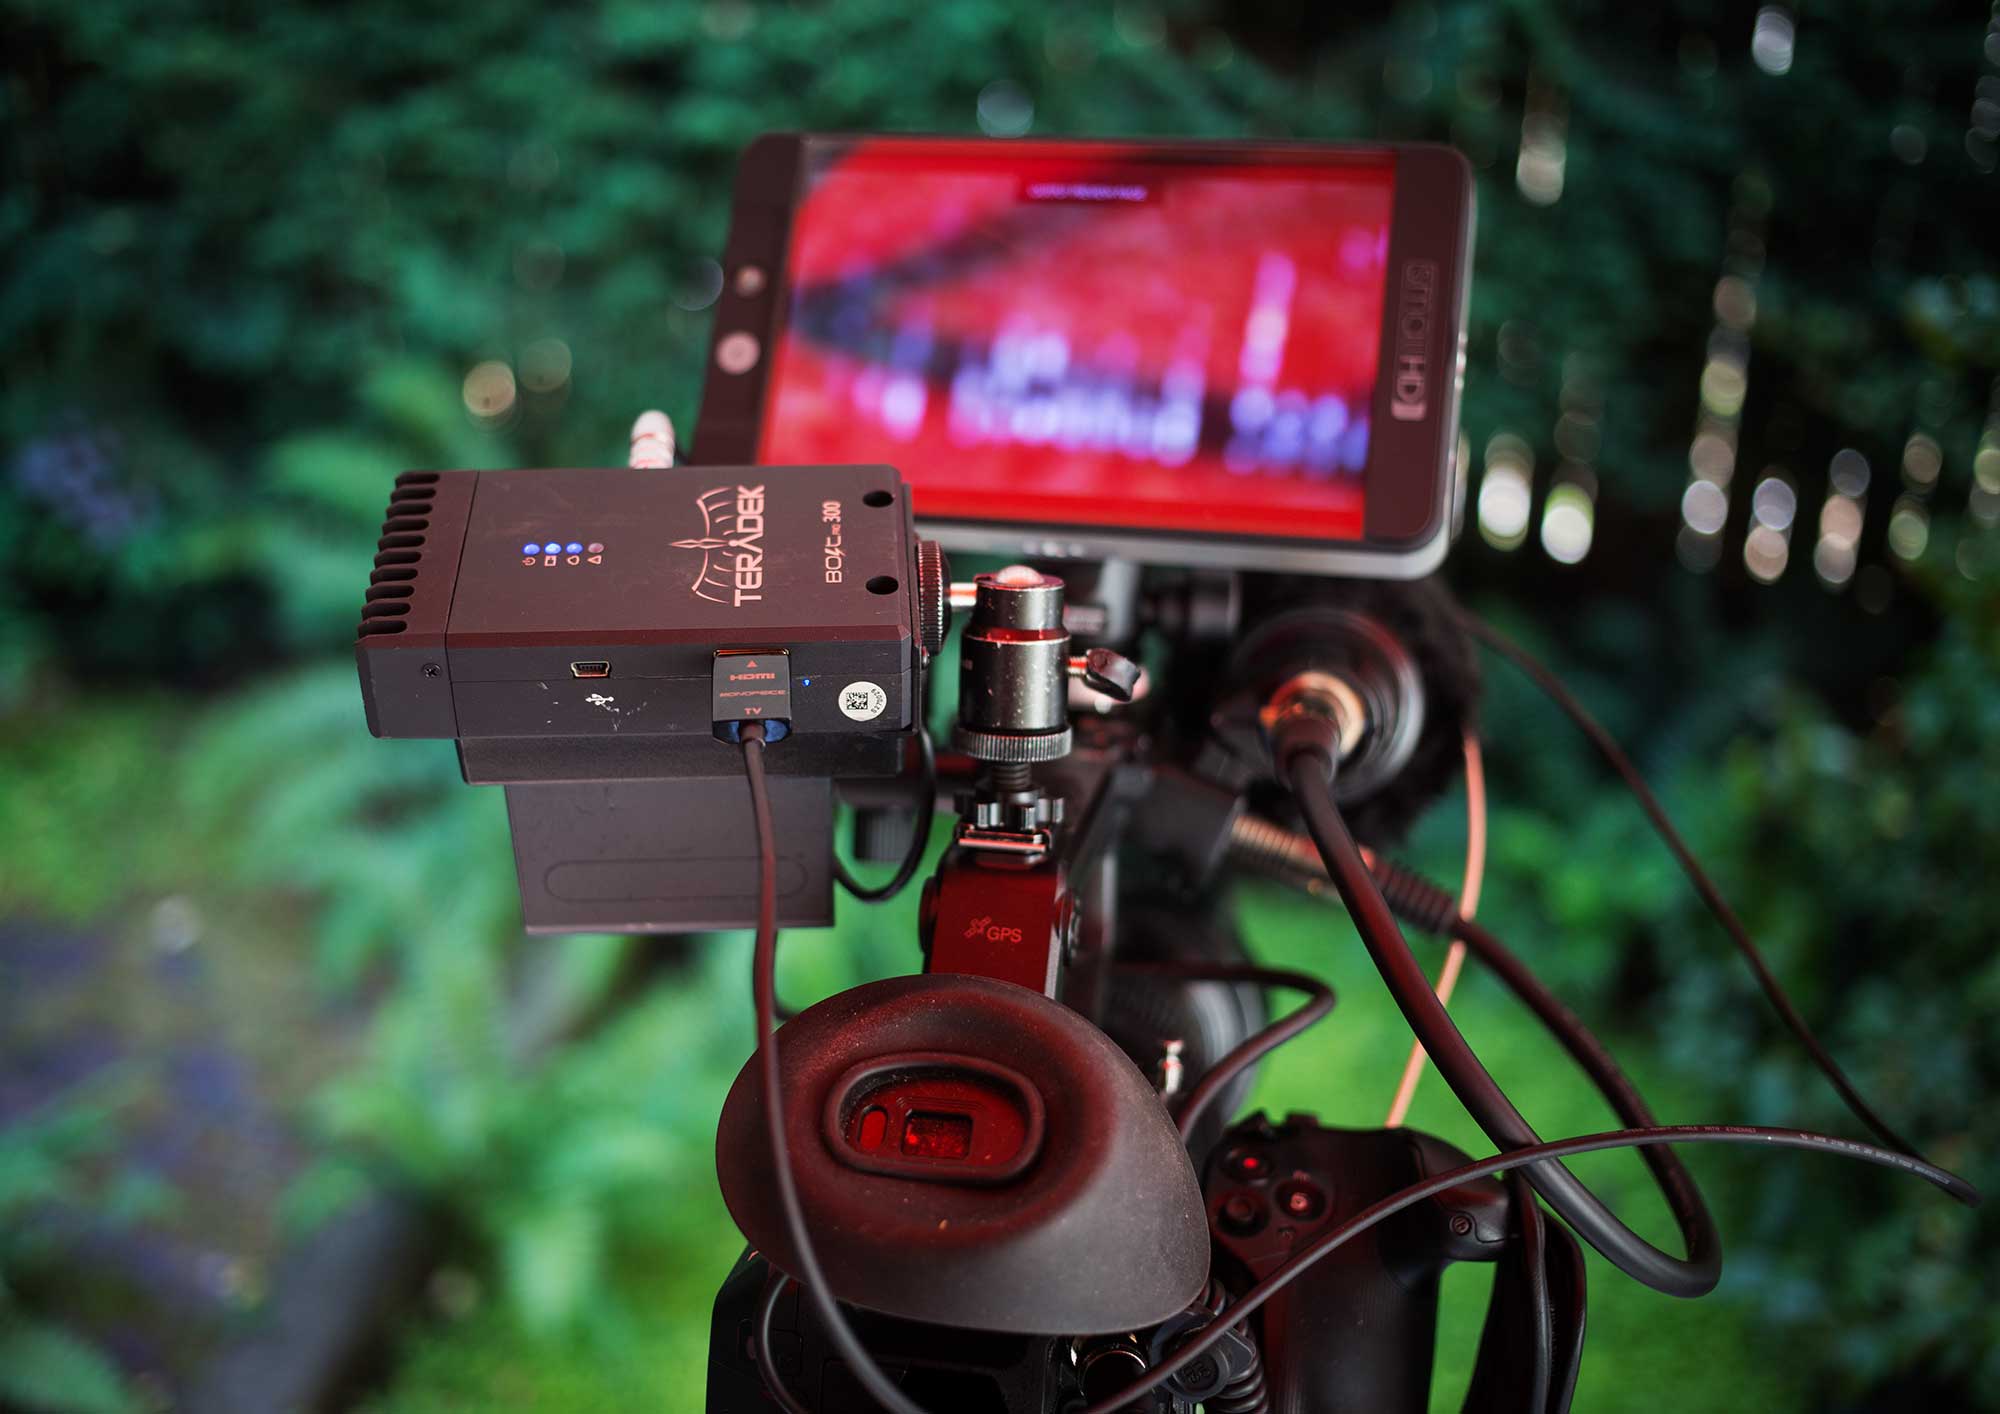
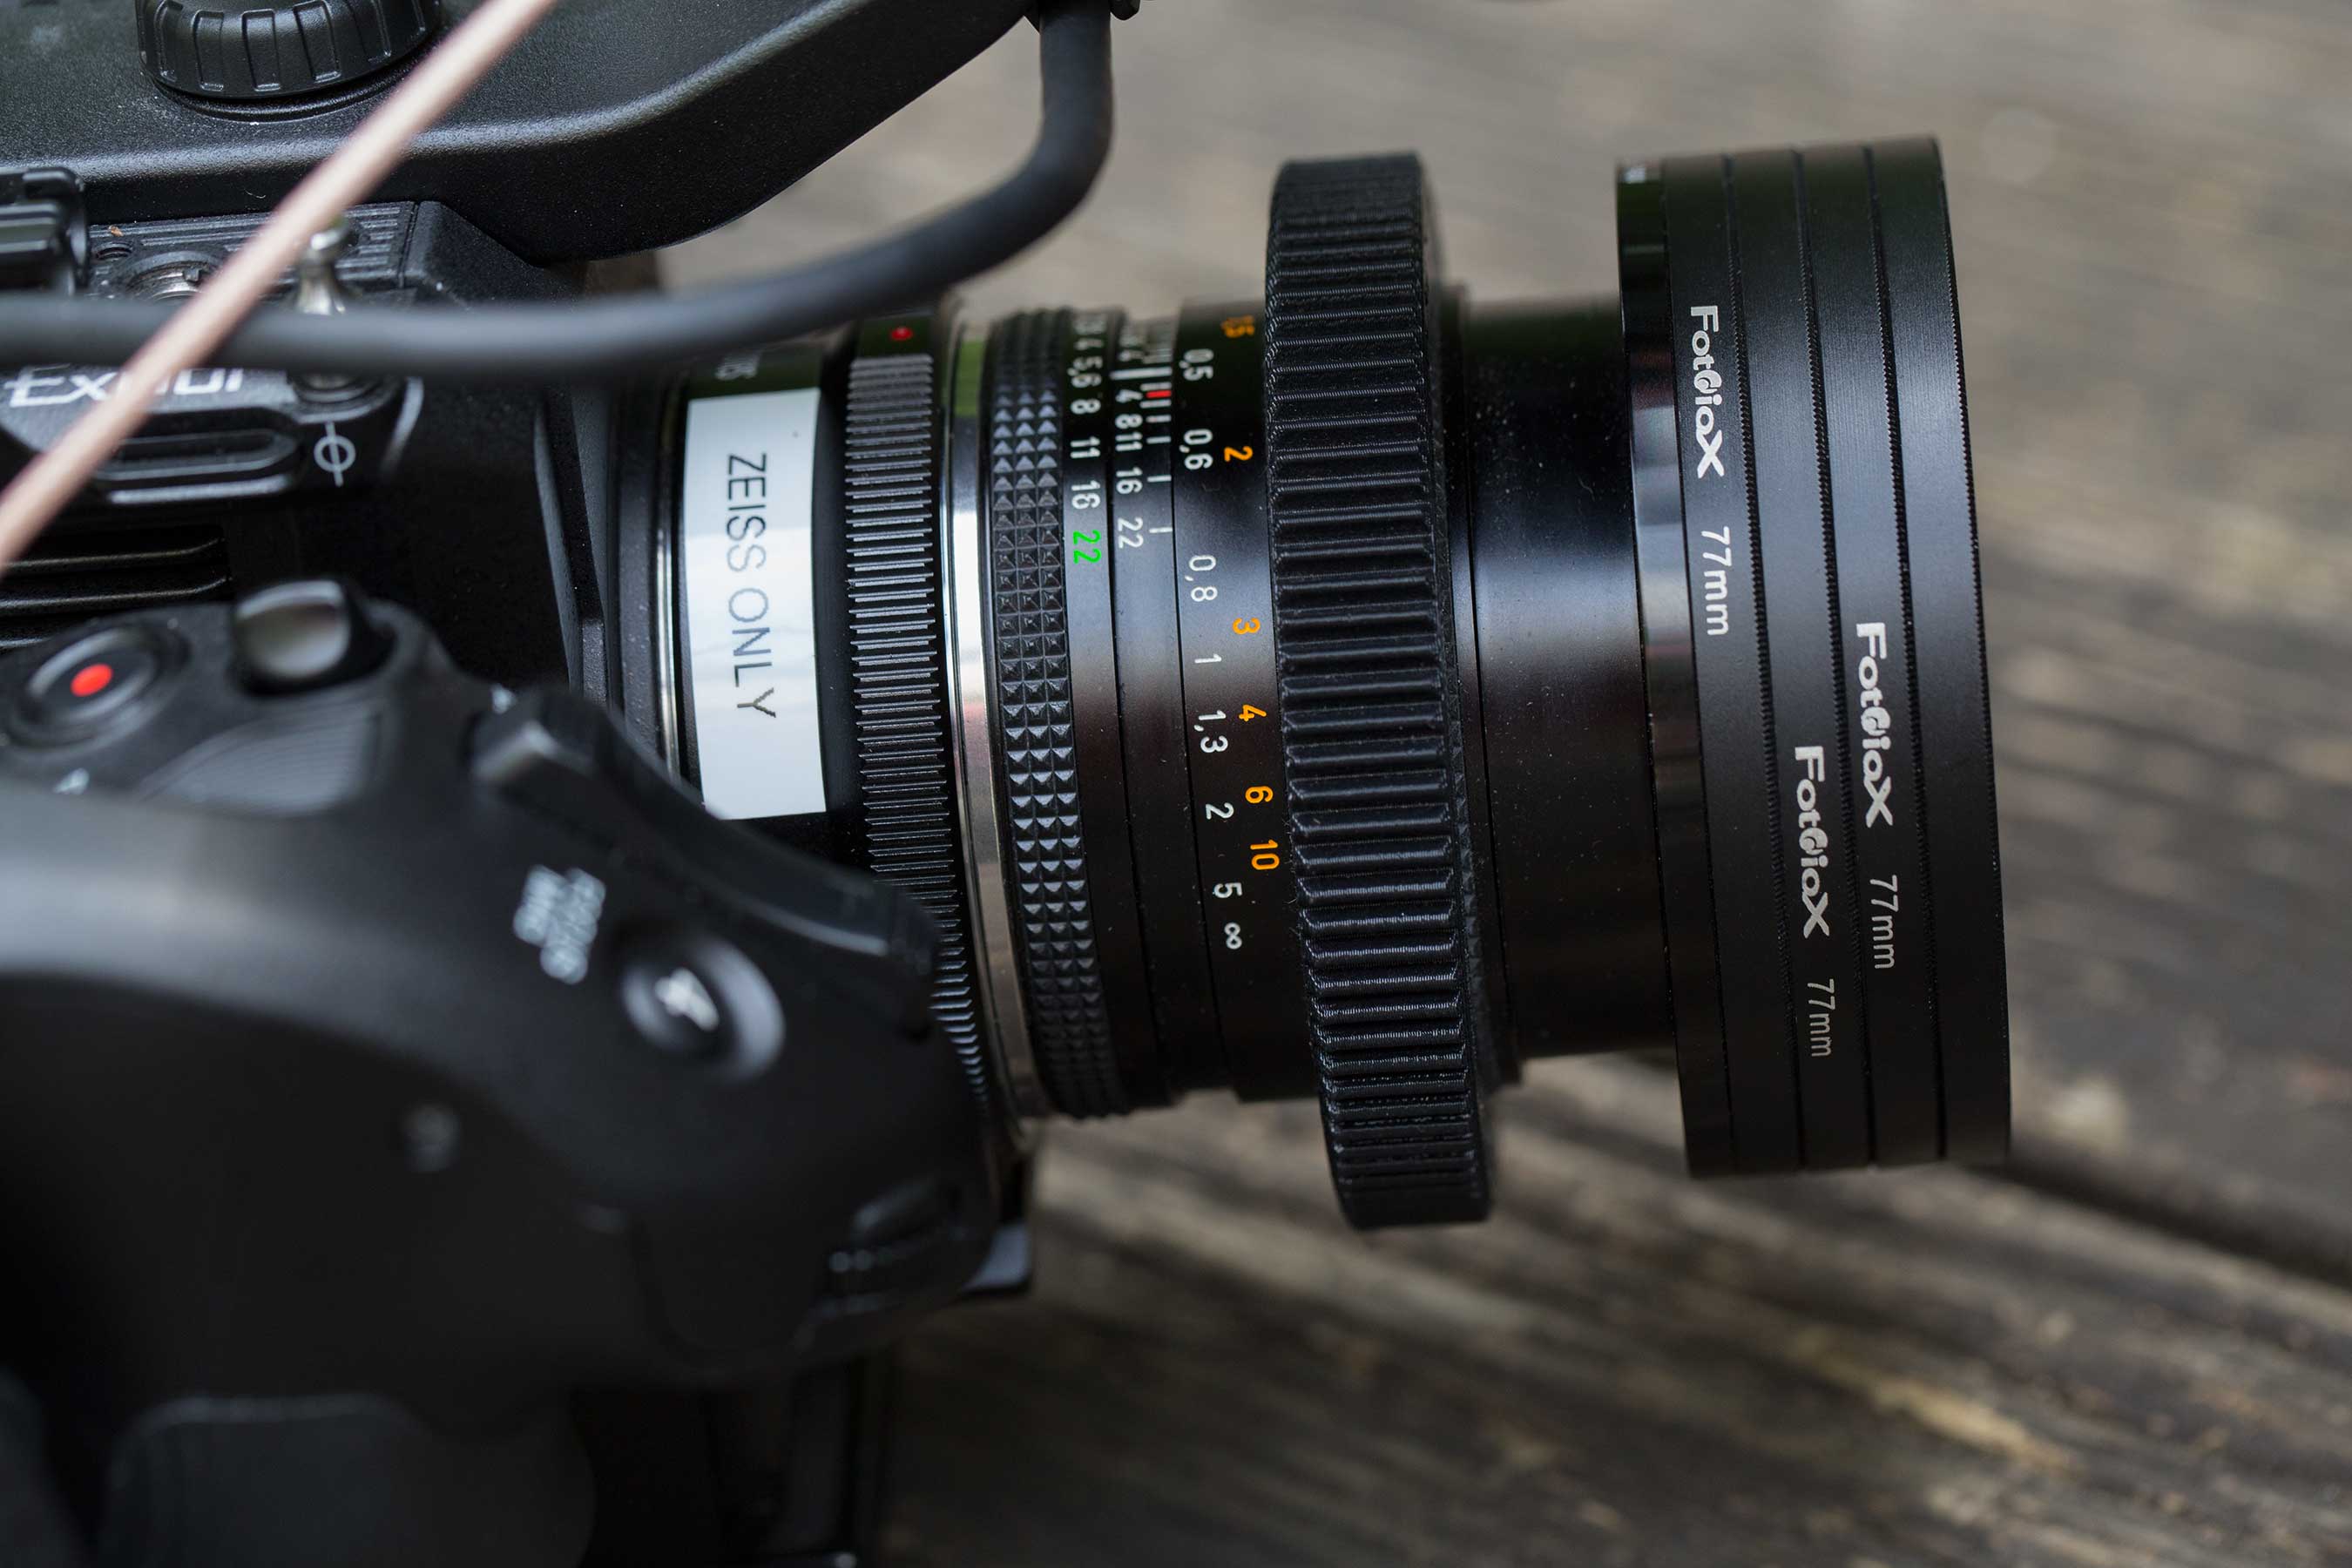
- 1600 Pelican case with my Sony FS5 camera and lens package.
- Portabrace tripod case containing my Sachtler FSB-8T, a lighter MVH500AH Fluid Video Head and 75mm Half Ball for hiking around with, a 3-lb Steadibag (invaluable for car shots). My changes of clothing also fit into the tripod case, providing additional padding for the tripod.
- Nanuk carry-on case containing Dedolight DLED7 and Genus Production Mattebox, plus 5 of my Swit S-8U63 lithium ion batteries (which power my Sony FS5), which airline regulations require must be carried on.
Why Celebs rock
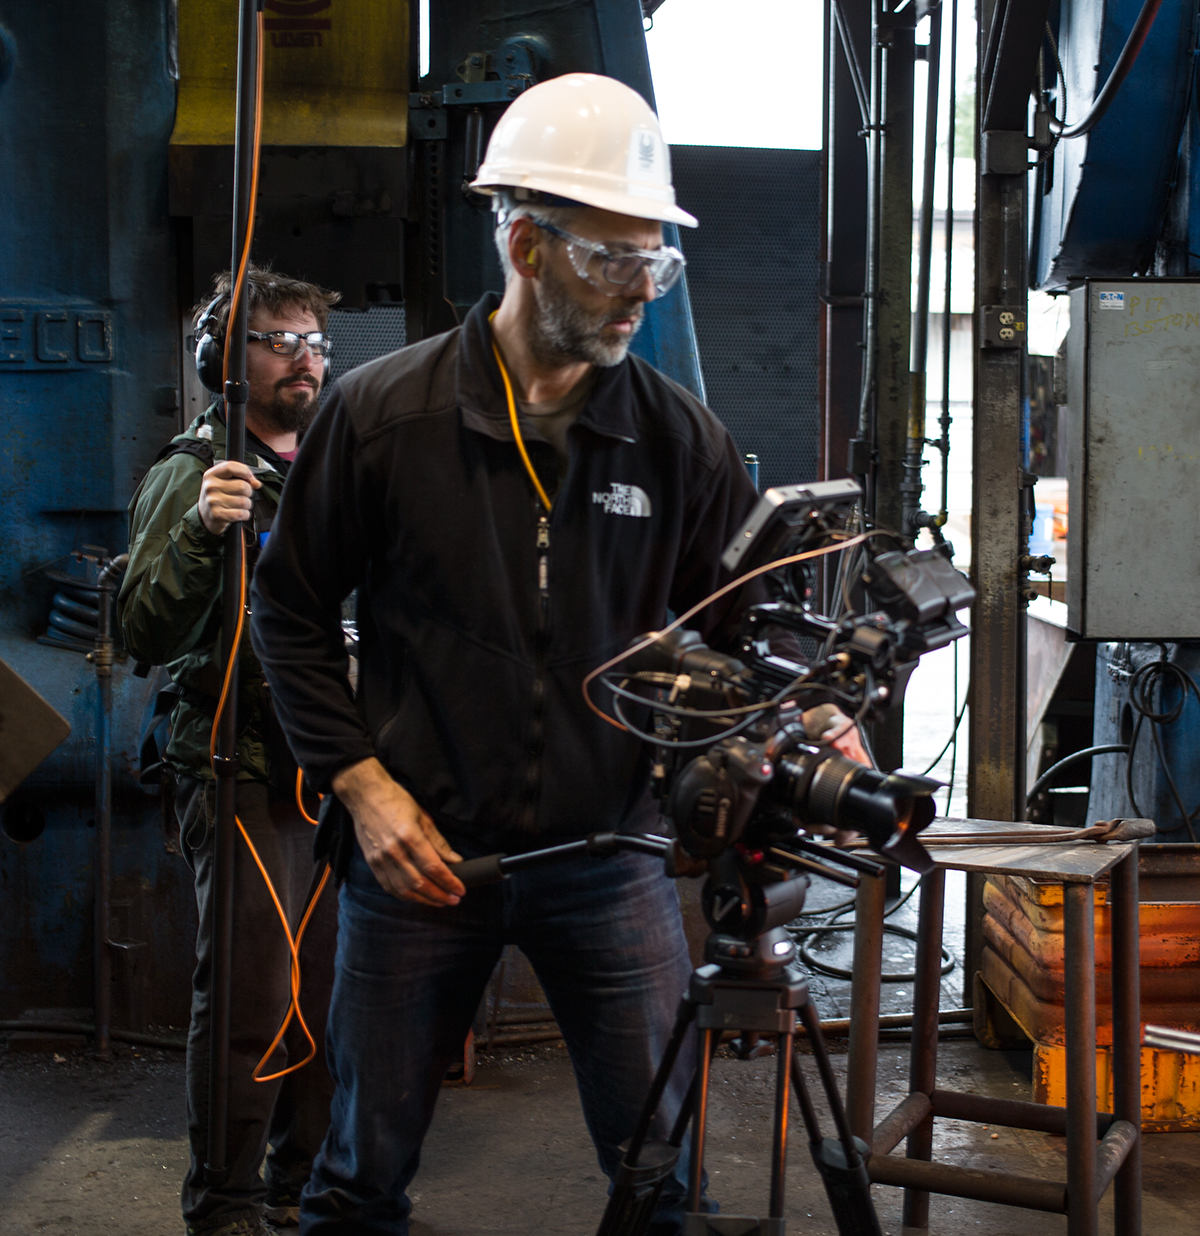
When you’re both the gaffer and the DP, you really don’t have the time or the mental bandwidth to fuck with the lighting for very long. You have to put your camera hat on pretty quickly. I chose the Celebs because they offer controlled, soft light right out of the case. A light that requires setting cutters or flags or diffusing isn’t going to cut it. I need a light that I can set and forget.
The Kino Flo Celeb is perfect for these situations. Not only are Celebs soft without additional diffusion, they also include a honeycomb grid that focuses the soft light and aims it just where you want it. It’s hard to overstate how well this honeycomb works. One of the best things about the Celeb is its ability to minimize light spill.
To set up a Celeb, you just pull it out of its case, yolk-mount it on a c-stand (in the case of the 201s) or on a junior stand (in the case of the 401). The 401 really does need the Junior stand – it weighs 26 pounds. That’s a lot of light.
Celebs are built like a tank. They are designed to withstand the wear and tear of day-in, day-out production. A set of convenient metal handles allows you to easily lift the lights in and out of their road cases. The only cord you have to hook up is the power cord – the ballast is built into the back of the unit. And as color-selectable LED sources, the lights can be dialed from 2700K – 6500K. You can also dim them to about 2 percent, invaluable when you want just a hint of fill.
The lighting setups
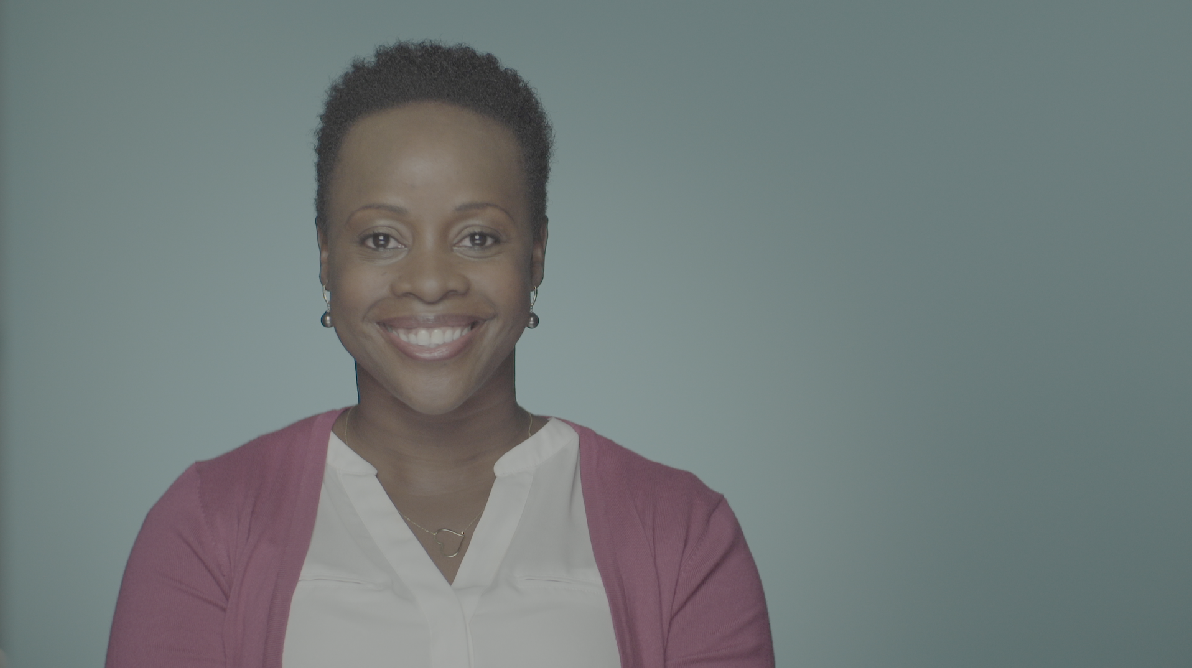
The basic setup for our 2-person, 2-camera interviews was to place the 401 as fill for both subjects on the camera side. Then we placed the 201s on the opposite side to key each person individually. We could then adjust the fill level down to get the dark, brooding vibe the director wanted, while still holding enough detail to reveal expressions.
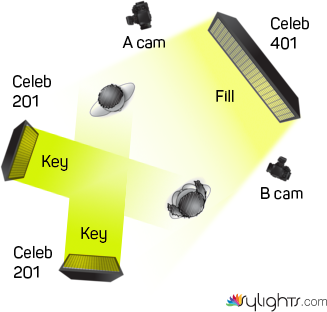
Basic 2-person, 2-camera interview lighting setup
The above setup worked great in conference rooms without windows. But we also often shot in rooms that had a daylight window on one or more sides. In those cases, sometimes I would use the window as fill, and the 401 as key for both subjects, with a 201 to wrap the light a little further around onto the fill side of their face if needed.
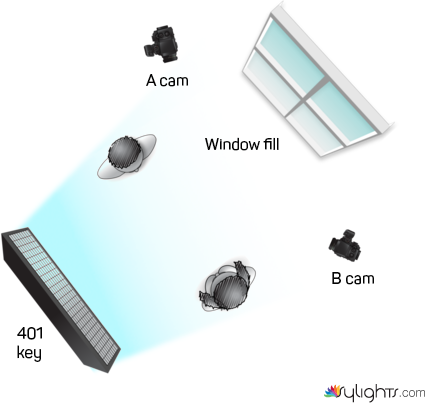
Daylight window lighting setup
Sometimes we filmed a 2-shot with one of the cameras, placing the 401 as fill by raising it above the 2-shot camera. This setup required placing both 201s on c-stand arms and raising them until their stands are out of the shot:
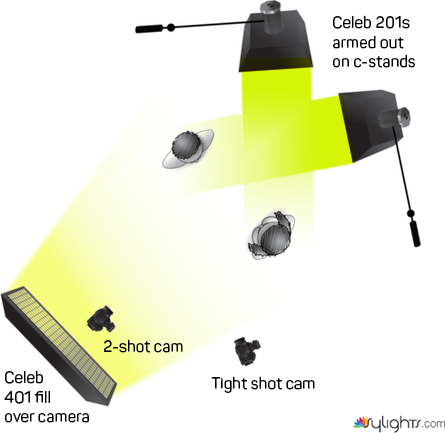
2-shot interview lighting setup (note both 201 lights are raised on arms to avoid seeing their stands in background of 2-shot camera)
In one case, we had to light three people: two interview subjects sitting next to each other, with the interviewer opposite them:
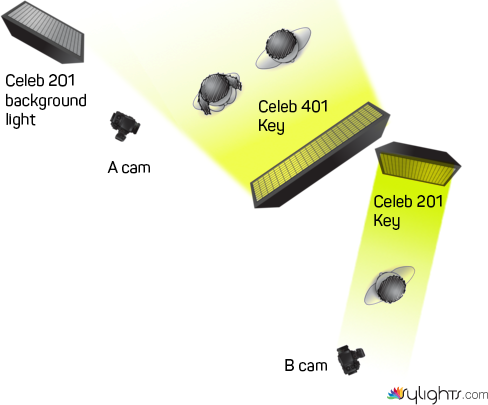
3-person interview lighting setup (note 401 is raised and on c-stand arm to keep it out of both camera shots, which requires counterweighting the arm. Dicey!)
Sketchy to boom
We had to shoot the above 3-person setup at night. So I chose to use the 401 as key for the 2 subjects so they could be lit evenly. However, to keep the stands out of frame, I had to boom the light out over the camera and aim it down on the subjects at a 45. I was able to make this work by clamping the yolk in a c-stand grip head, and placing a 25’lb bag on the other end of the arm as a counterweight. But this was a pretty shaky setup, and I probably should have used a 201 for each of the subjects and the 401 for the interviewer. This is where having something like a LiteGear LiteMat2L (which weighs just 3 pounds) would have been really nice.
Nitpicks
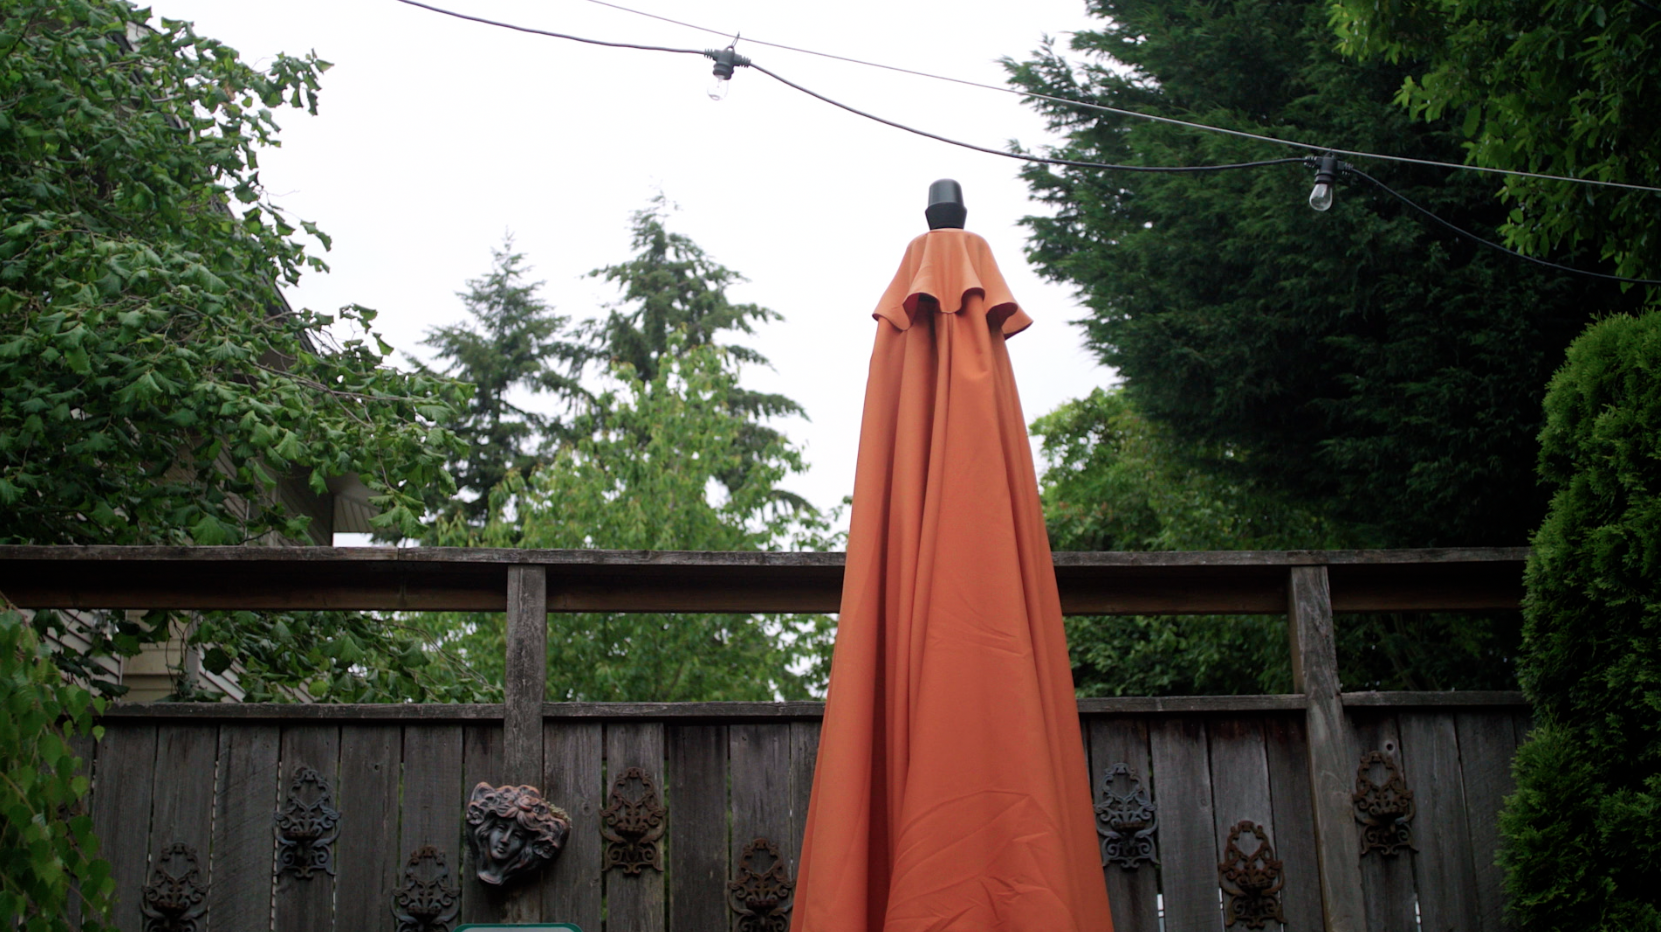
The Celebs are not bright enough to match open window light in the background of a shot. You’d need HMIs for that. But they are bright enough to match windows that are controlled with shears, curtains or blinds. And on overcast days when you have foliage in the background of a window (which reduces the light level a couple of stops) the Celebs can match it. If the sun comes out, though, you’re cooked.
I also wish the locking power cord, which is only about 8′ long, was at least twice that length, the way Arri lights are. Because manufacturers really should include a usable length of cord with their units.
Kino Flo Celebs are clearly built to withstand the rigors of daily use in production. However, I feel they are actually overbuilt. Why couldn’t these lights be both lighter weight and durable? Competitors like Aladdin and LiteGear are making lights that are almost the same size but weigh a tiny fraction of these beasts. So I look forward to reviewing some of the lighter Celeb alternatives soon.
Lesson’s learned
- Pack a small light stand. Many rental houses don’t have them, and standard C-stands don’t let you place small backlights like the Dedo DLED7 as low as you may want to.
- A Baby Pin is a much better way to mount 201 Celebs to a C-stand. This allows you to mount them on the grip-head end of the stand’s gobo arm, and angle the light more precisely.
- For really soft light, or room ambience, bounce the 401 into a wall or ceiling (or foam core, but we didn’t have any of that with us).
- 1 stinger with power strip wasn’t always enough. I should have asked for 2 25′ stingers in my G&L package.
Bottom Line
With the Kino Flo Celebs and a small crew, I was able to handle a wide variety of documentary lighting challenges. The honeycomb grids allowed me to effortlessly control light spill by simply angling the light, rather than placing flags or cutters (which require more stands). Due to it’s design, you’ll never see a single LED. Celebs produce a light that is soft enough to require no further diffusion, and they pack up very quickly. That allowed us to schedule more shoots in a day. Because of this all-in-one design, I noticed that it took more time to break down our c-stands than it did to break down and pack up our lights.
It’s no wonder NAB awarded Kino Flo Celebs “best new light” in 2014.
As for that unsolved murder? It’s a long-standing mystery, one that our team believes deserves a new hearing in the court of public opinion. So stay tuned.