After my last post about audio syncing in FCPX, I thought I would give the new PluralEyes for FCPX a second look. When it first came out, I decided not to use it because it required creating project files to sync audio. I thought that meant you had to store files in projects, like in the bad old days on Final Cut Studio. But after further experimenting, I’ve discovered it’s possible to use PluralEyes to sync clips and keep them in the event library. But it involves some housekeeping. Here’s how it’s done.
1. Create an Event and import your video clips and the audio that you want to sync them with.
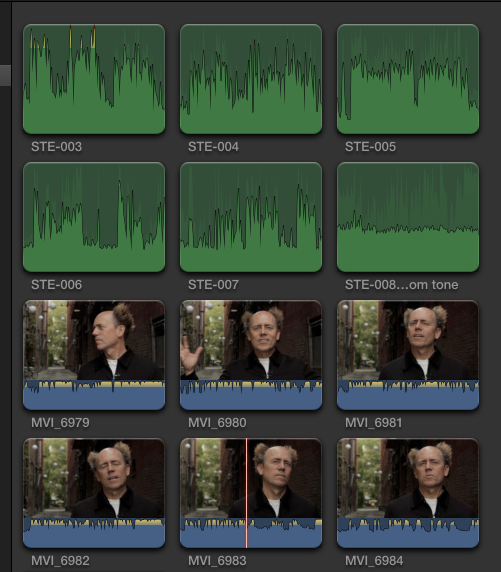
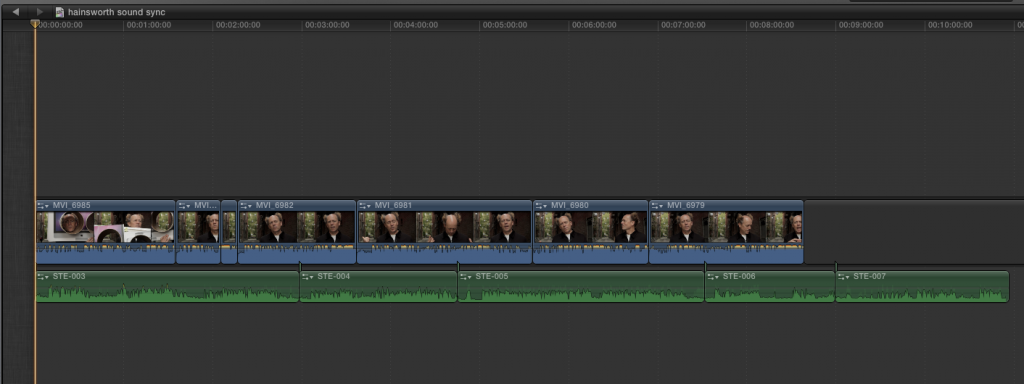
2. Create a temporary new project (I include the words “sound sync” so I can easily find it after and delete it) and place all of the video you want to sync into the timeline. Then, add all the audio files as connected clips. Creating this project is a temporary step – you will delete it as soon as the sync is complete.
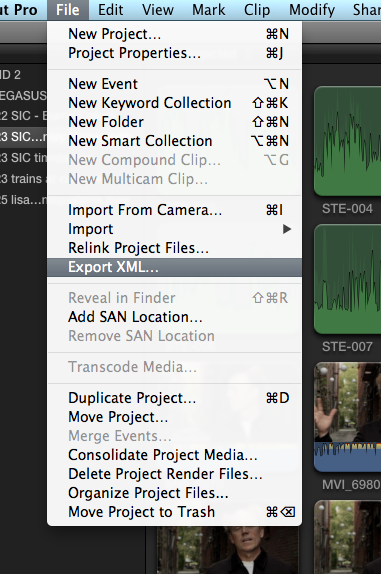
3. Press Cmd-0 to view the project library. Select the project you just created, and from the File menu, choose “Export XML.” Save the file to your desktop.
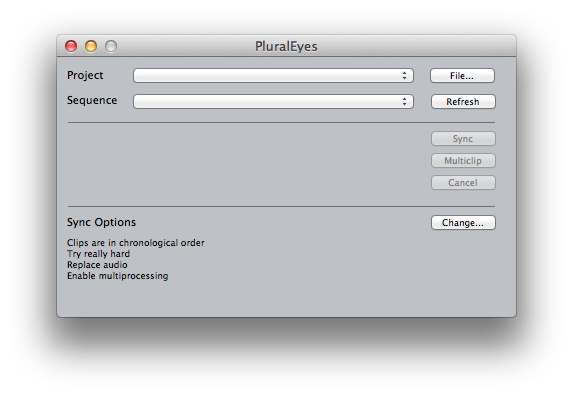
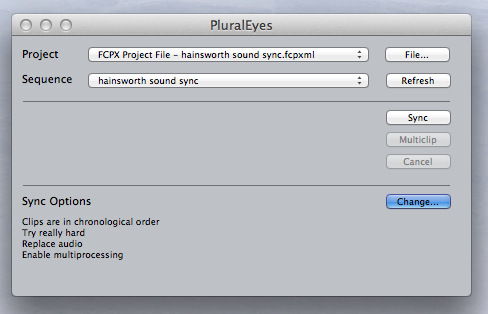
4. Start PluralEyes. It’s a stand-alone application, not a plug-in, so you have to launch it separately. Once open, the interface presents like so:
5. Press “File” button and select the XML file you saved out in step 3.
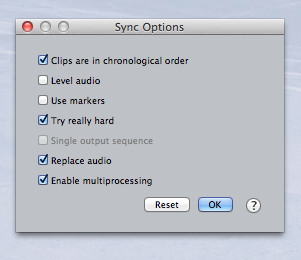
6. Press “Change” button and review your options. I set mine as follows:
The options above are as follows:
Clips are in Chronological Order: This will speed up processing a bit if you place the audio and video clips into the timeline in order they were recorded.
Level Audio: I avoid this because I prefer to do my own audio leveling using FCPX’s Limiter plugin.
Use Markers: I haven’t yet found a reason to sync to markers, so I leave it unchecked.
Try Really Hard: Of course you want it to do that!
Replace Audio: By checking this, PluralEyes will create a new Event that contains all of the synced clips, with their native audio deleted, and the good audio connected. On DualEyes I never check this, but on PluralEyes, I do. If you need the reference audio, you can still get it as we’ll see in a moment.
Enabled Multiprocessing: Yes.
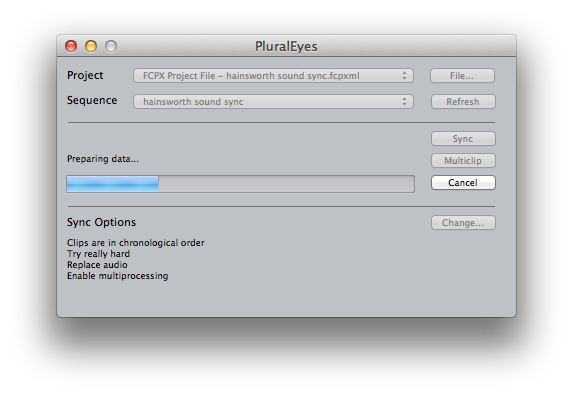
7. Click “Sync.” This runs the sync.
8. When the sync is finished, FCPX automatically opens and you will see that several things have been created:
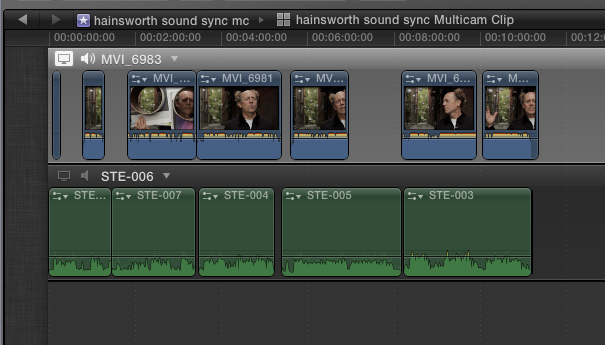
a). A new project called “(your name) synced.” You should see the good audio moved into place below the reference tracks, like so. If you notice that some files are out of place or missing, double check your settings and run sync again (a common problem is checking “files are in order” when they aren’t.)

b). A new event containing a multi-cam clip called “(your project) mc.” I don’t see much use for this. The only reason I can think of is if you want to use reference audio. PluralEyes includes the reference audio in this clip, so that’s where you’ll find it if you need it.
c). A new event called “(your project) synced.” This is the one you want. It contains all of your synced files, minus the reference audio. This saves you having to go in and turn off the reference audio, a real timesaver over my DualEyes workflow if you are syncing lots of files at once.
9. If everything synced successfully, it’s time for cleanup. PluralEyes has created a whole bunch of stuff we don’t need, and we need to get rid of that stuff to keep our files organized. Start by deleting the project you created in step 2. You don’t want to have project files hanging around after sync is complete – you want all your files to live in the Event Library. Next, delete the project created by PluralEyes in step 8A. Finally, if you don’t need reference audio, delete the mutlti-cam event that it created. That should leave you with your original event, and the new event with the “sync” suffix. As a final cleanup step, let’s merge them.
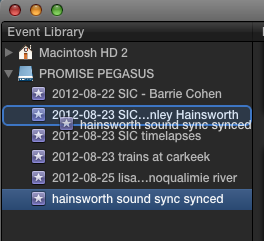
10. Merge events. Click on the “sync” event and drag it over the original event.
Final Cut will merge the two events by creating a new Event, which by default is named same thing as the event you’re merging with:
Now all your files are where they belong, in the Event Library. You’ve successfully batch-synced all the audio. As a final step, I recommend highlighting the reference audio clips and pressing the delete key to mark them as rejected clips. This way, you won’t run the risk of using the crappy audio when you should be using the good stuff.



The issue here is that when you merge it deletes all of the keyword collections and folders that you have created within the original event and therefore have to redo anytime you do another pluraleyes sync or MC sync.
I haven’t noticed that, because in my workflow, I’m using the merge to link pluraleyes material to the main Event. It works great that way, at least.
Pingback: Documentary Data wrangling demystified, part III: Organizing for the Edit in FCPX | Dan McComb
When the video and synced audio in placed in the replaced event create in the library of my session in FCPX, are those video “pro res” or are have they been created by Plural Eyes as separate video files? I want to be able to add other video plugins for color treatment
Lenear,
The replaced files remain whatever format they started out as. So if you asked for replaced audio on H264 files, you’ll get H264 files. You’d still need to transcode them in FCPX for optimal editing.