One of my students at Seattle Film Institute asked me a question the other day: “How do you choose hard drives for 4K video?”
Most beginning filmmakers are on tight budgets. So my short answer was: “Buy the cheapest drives you can afford to store your media, and the most expensive drive you can afford to edit it.”
Let’s unpack what that means in today’s technology landscape.
When I get a new 4K project, I buy two hard drives big enough to hold all project media. In my case, that’s generally 1 to 2 terabyte drives. At the end of each day of production, I’ll lay off the files to both simultaneously. I use Hedge which enables me to have two backups of the media from the get-go.
Drives I recommend
The drive I have most frequently chosen for this is the 2TB Backup Plus Slim Portable External USB 3.0 Hard Drive. It currently costs $65. Black Magic Speed Test clocks it at 75 MB/s. That’s way too slow to edit 4K video on, of course, but we only need it for storage. The nice thing about USB3 is that it’s compatible with just about any computer out there, both Windows and Mac. So if your client wants the files at any point, you can simply hand them the drive.
If you have a computer with USB-C, however, I recommend the aPrime ineo rugged waterproof IP-66 certified drives. For $95, you’re getting a drive you can drop in the water, with rubber bumpers to break its fall, and a built-in USB-C cable. These drives clock for me at around 110 MB/s read and write speeds. So for a little more money, you get drives that are a LOT more rugged and a little bit faster.
Both the above drives are about the size of a typical iPhone. And that matters to me – they will (hopefully) live out their lives in a drawer. I like that they won’t take up much space.
Small is the new big
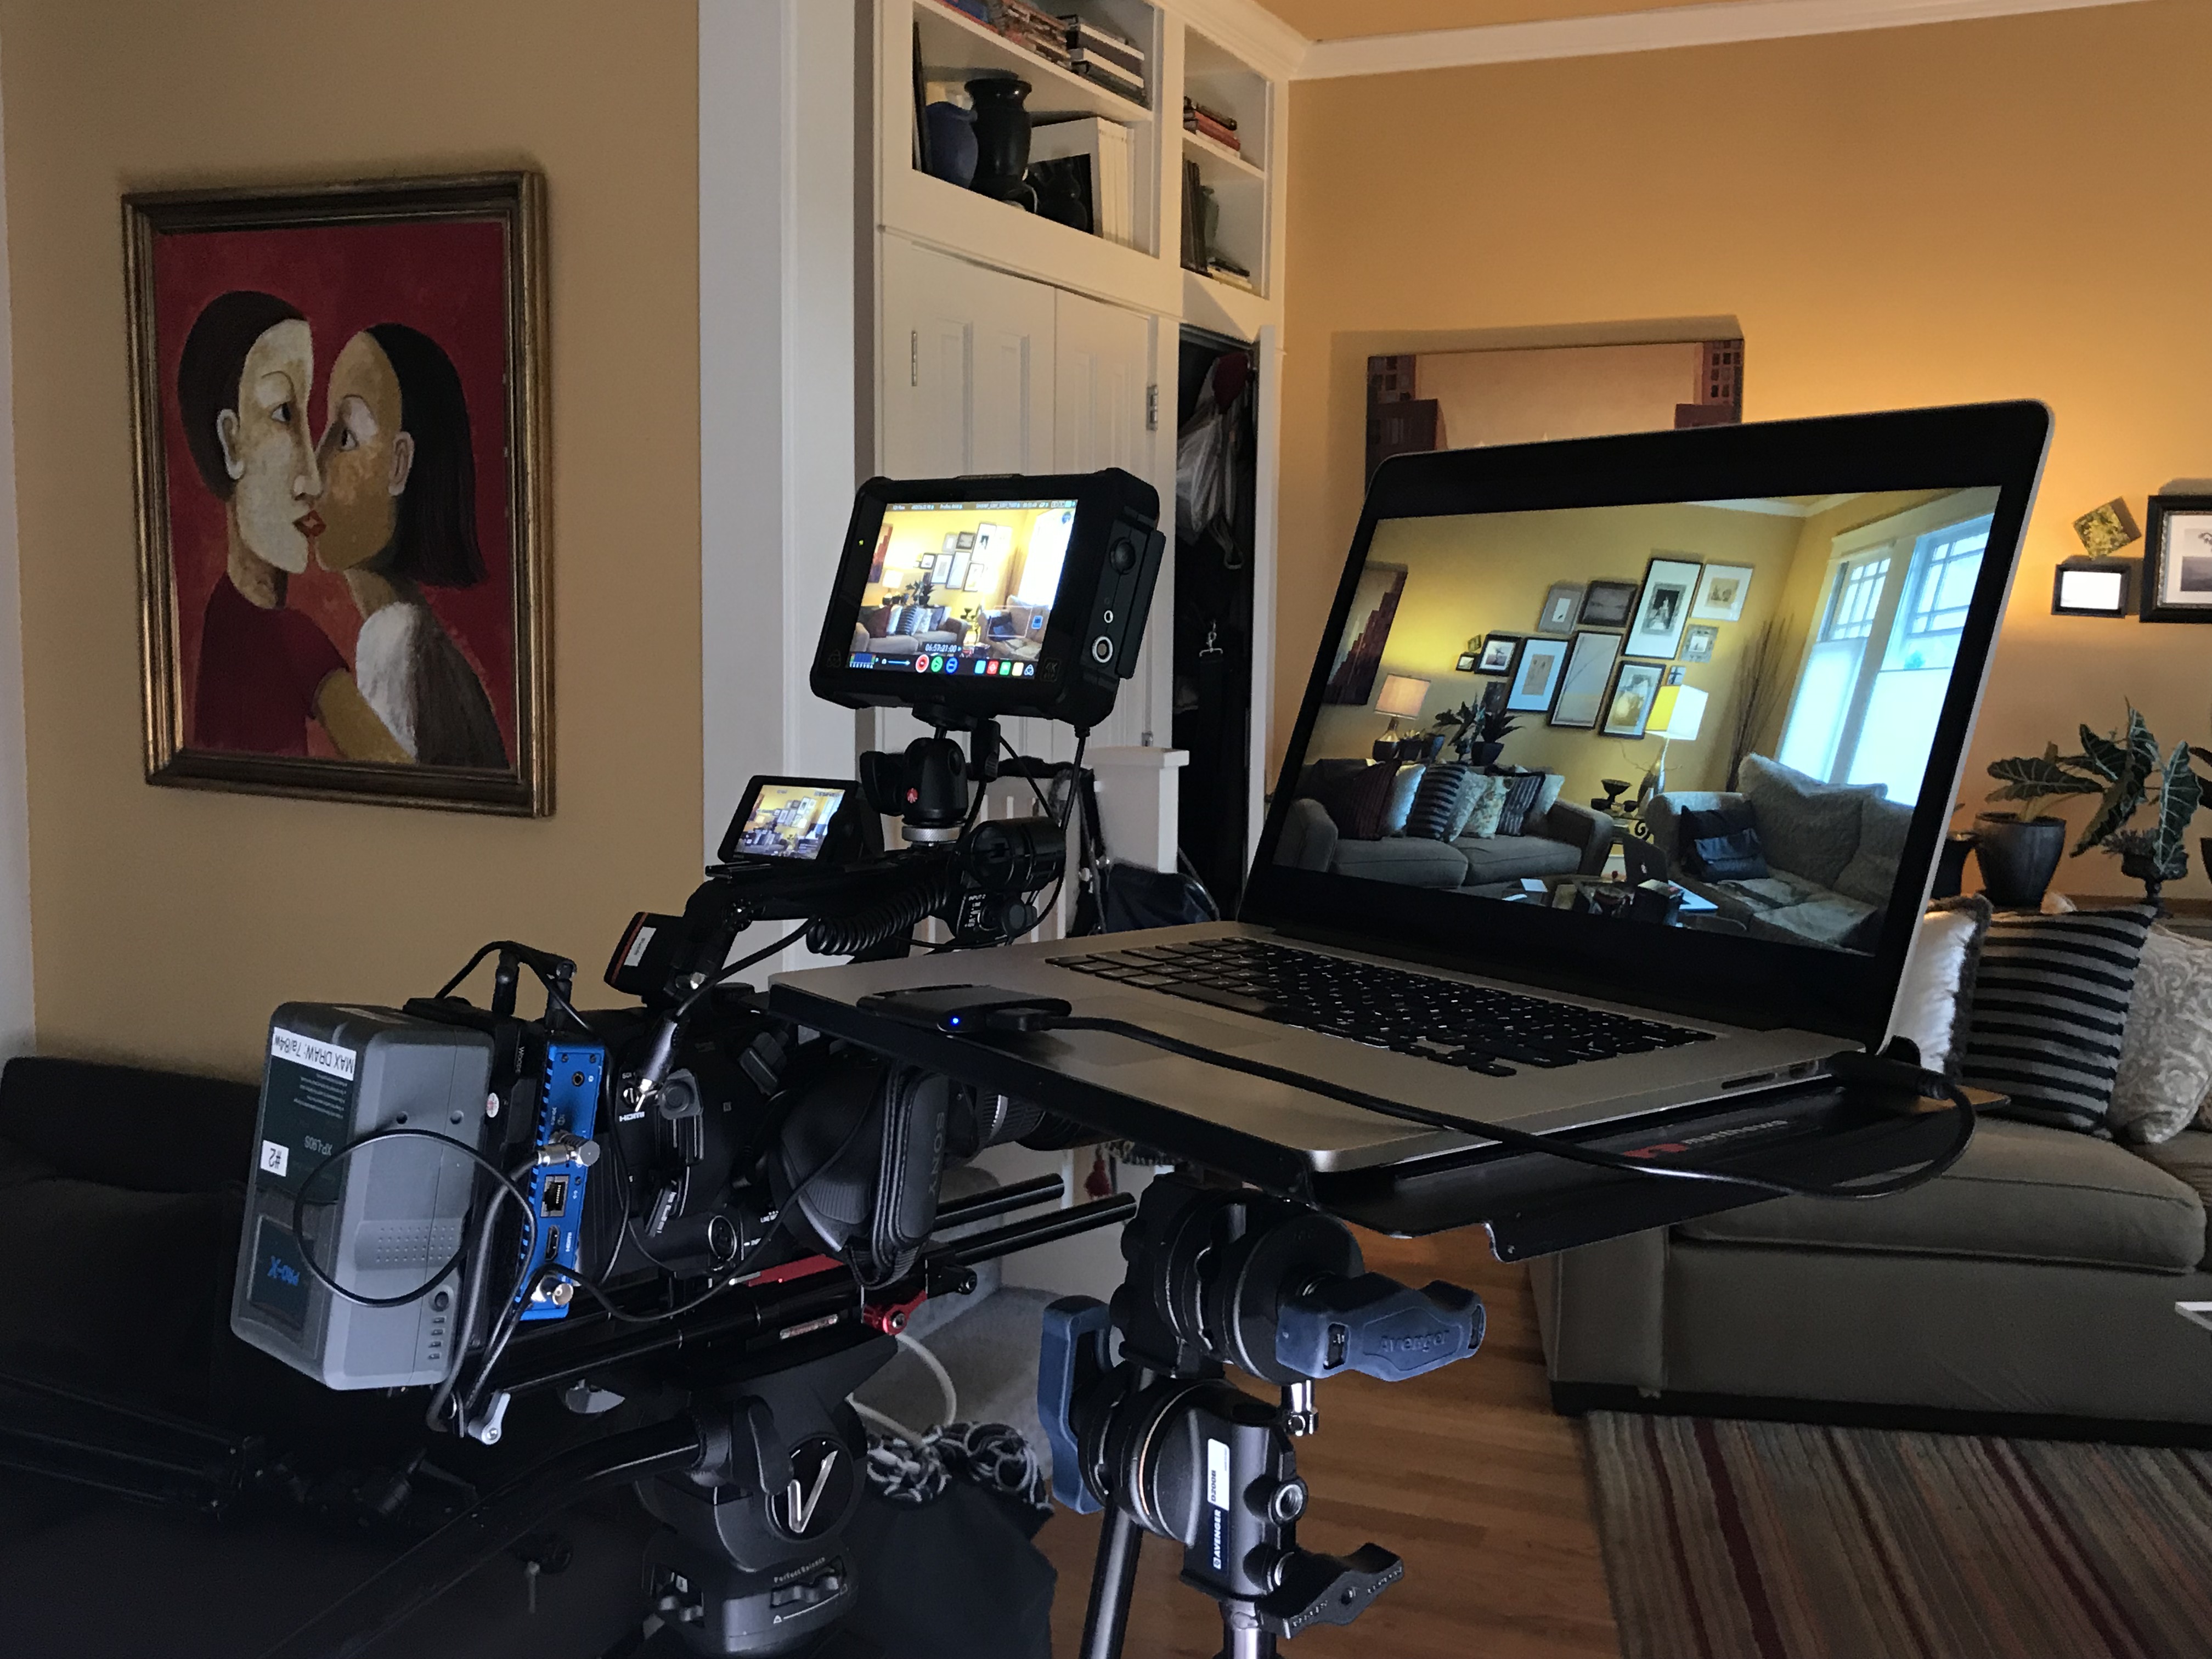
So now let’s talk about the fun stuff – speedy editing drives. I used to rely on toaster-sized RAID drives to get the speed and reliability I needed for editing. But with SSD, that’s no longer the case. With solid state media, I have found speed, reliability AND the benefit of being able to take entire projects with me wherever I go. With this freedom, I find the only time I’m cutting at a desk is when I’m doing audio passes with studio monitors. I’ll connect my laptop to a larger monitor at various stages of the project. But even then, I tend to park myself all over the house. For example, the kitchen table, or on the coffee table in the living room.
My tried-and-true favorite 4K editing drive is currently the 1TB T5 Portable Solid-State Drive (Black). I get read-write tests to about 300 MB/s which is more than fast enough to edit 4K video. This drive is the size of a business card (and only a little thicker). It is now available in a 2TB size for under $500, which seems like a bargain to me. But the landscape is changing.
Here comes Thunderbolt 3
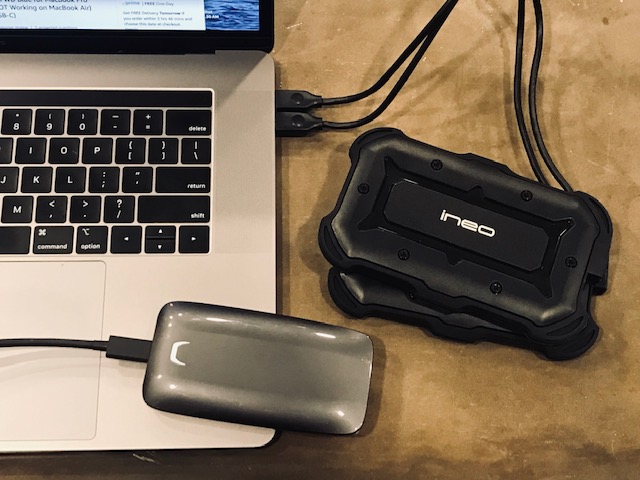
Most new Macs now support Thunderbolt 3. If you are one of the fortunate people who has one, I invite you to behold the 2TB X5 Portable SSD.
I hesitate to call it affordable at $1,400, but it gives wings to your 4K projects. I recently retired my late 2013 MacBook Pro and made the leap to a late 2018 MacBook Pro, so I finally have a computer than can keep up with such a beast.
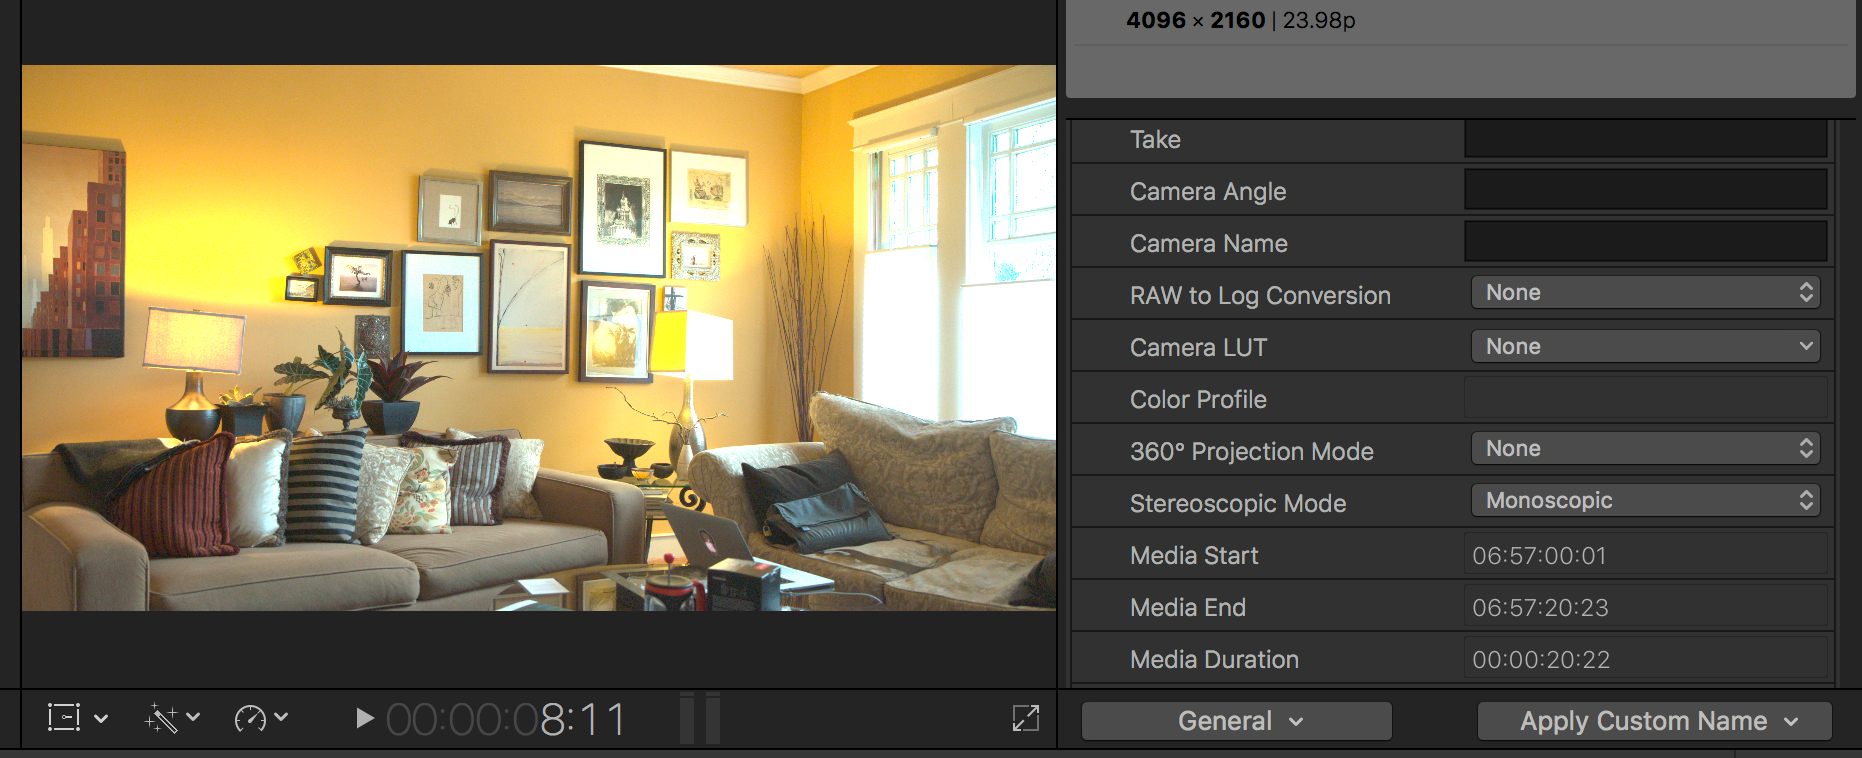
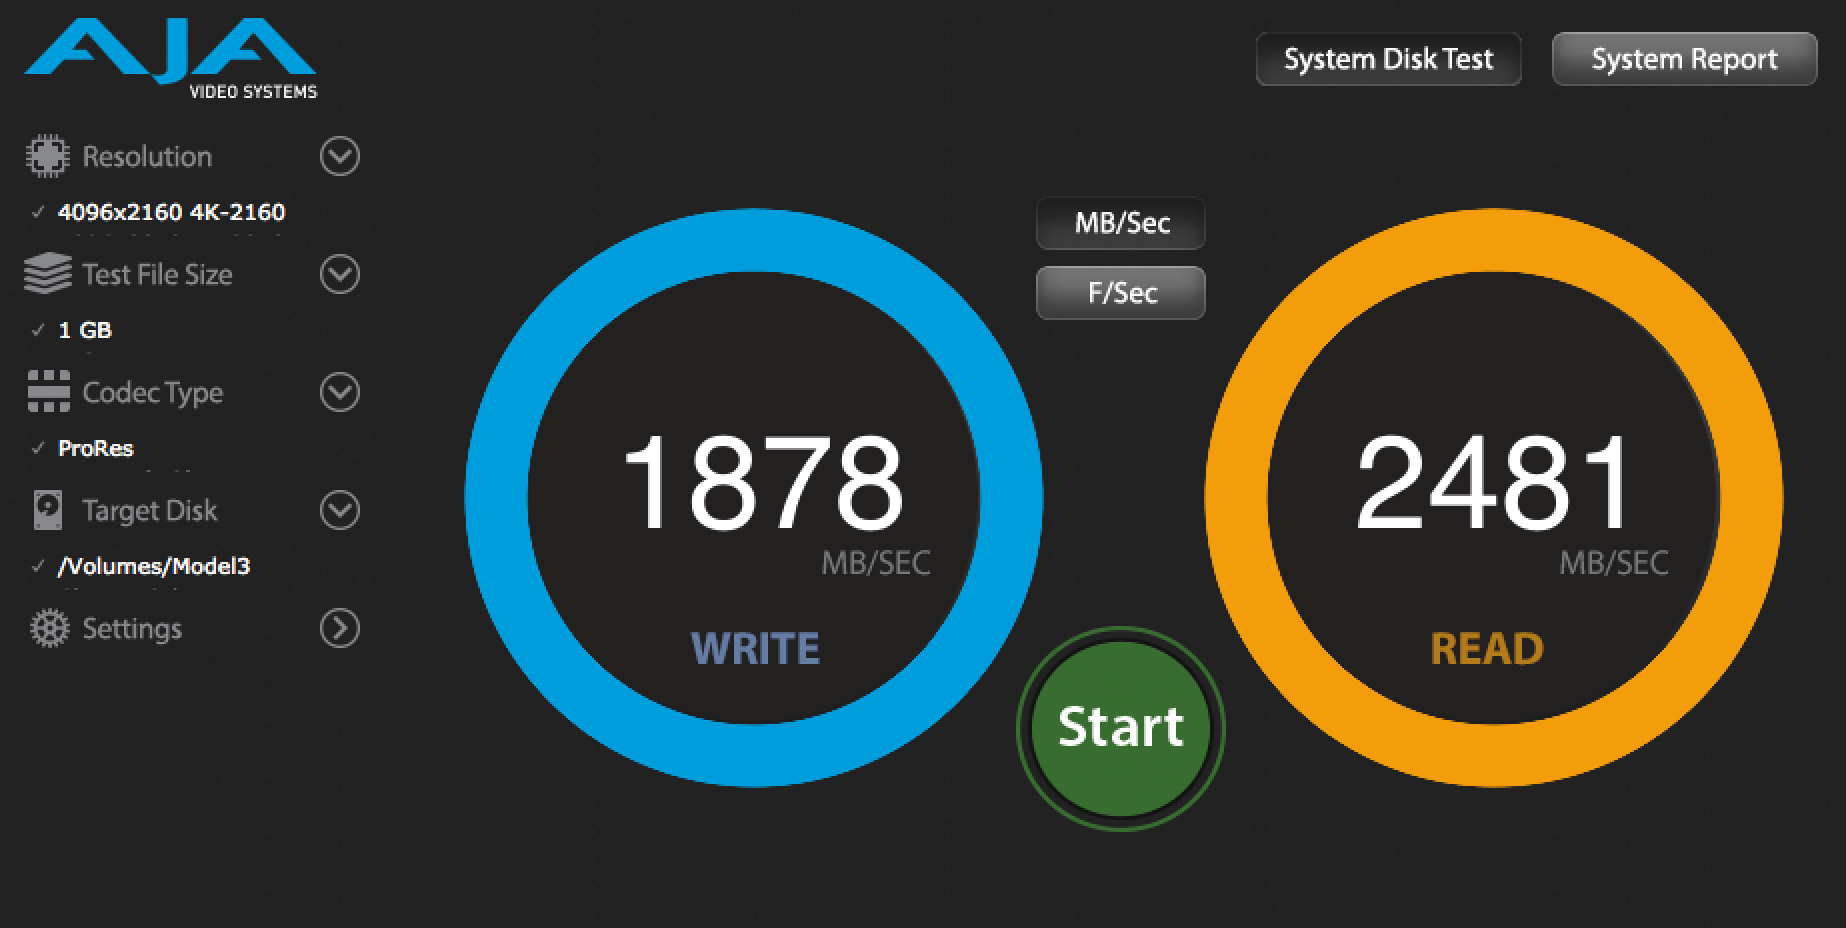
I’ve been putting the X5 through its paces by editing multiple streams of ProRes RAW 4K DCI on a project that weighs in at 1.7 TB. With everything loaded on the drive, here’s how the X5 performs:

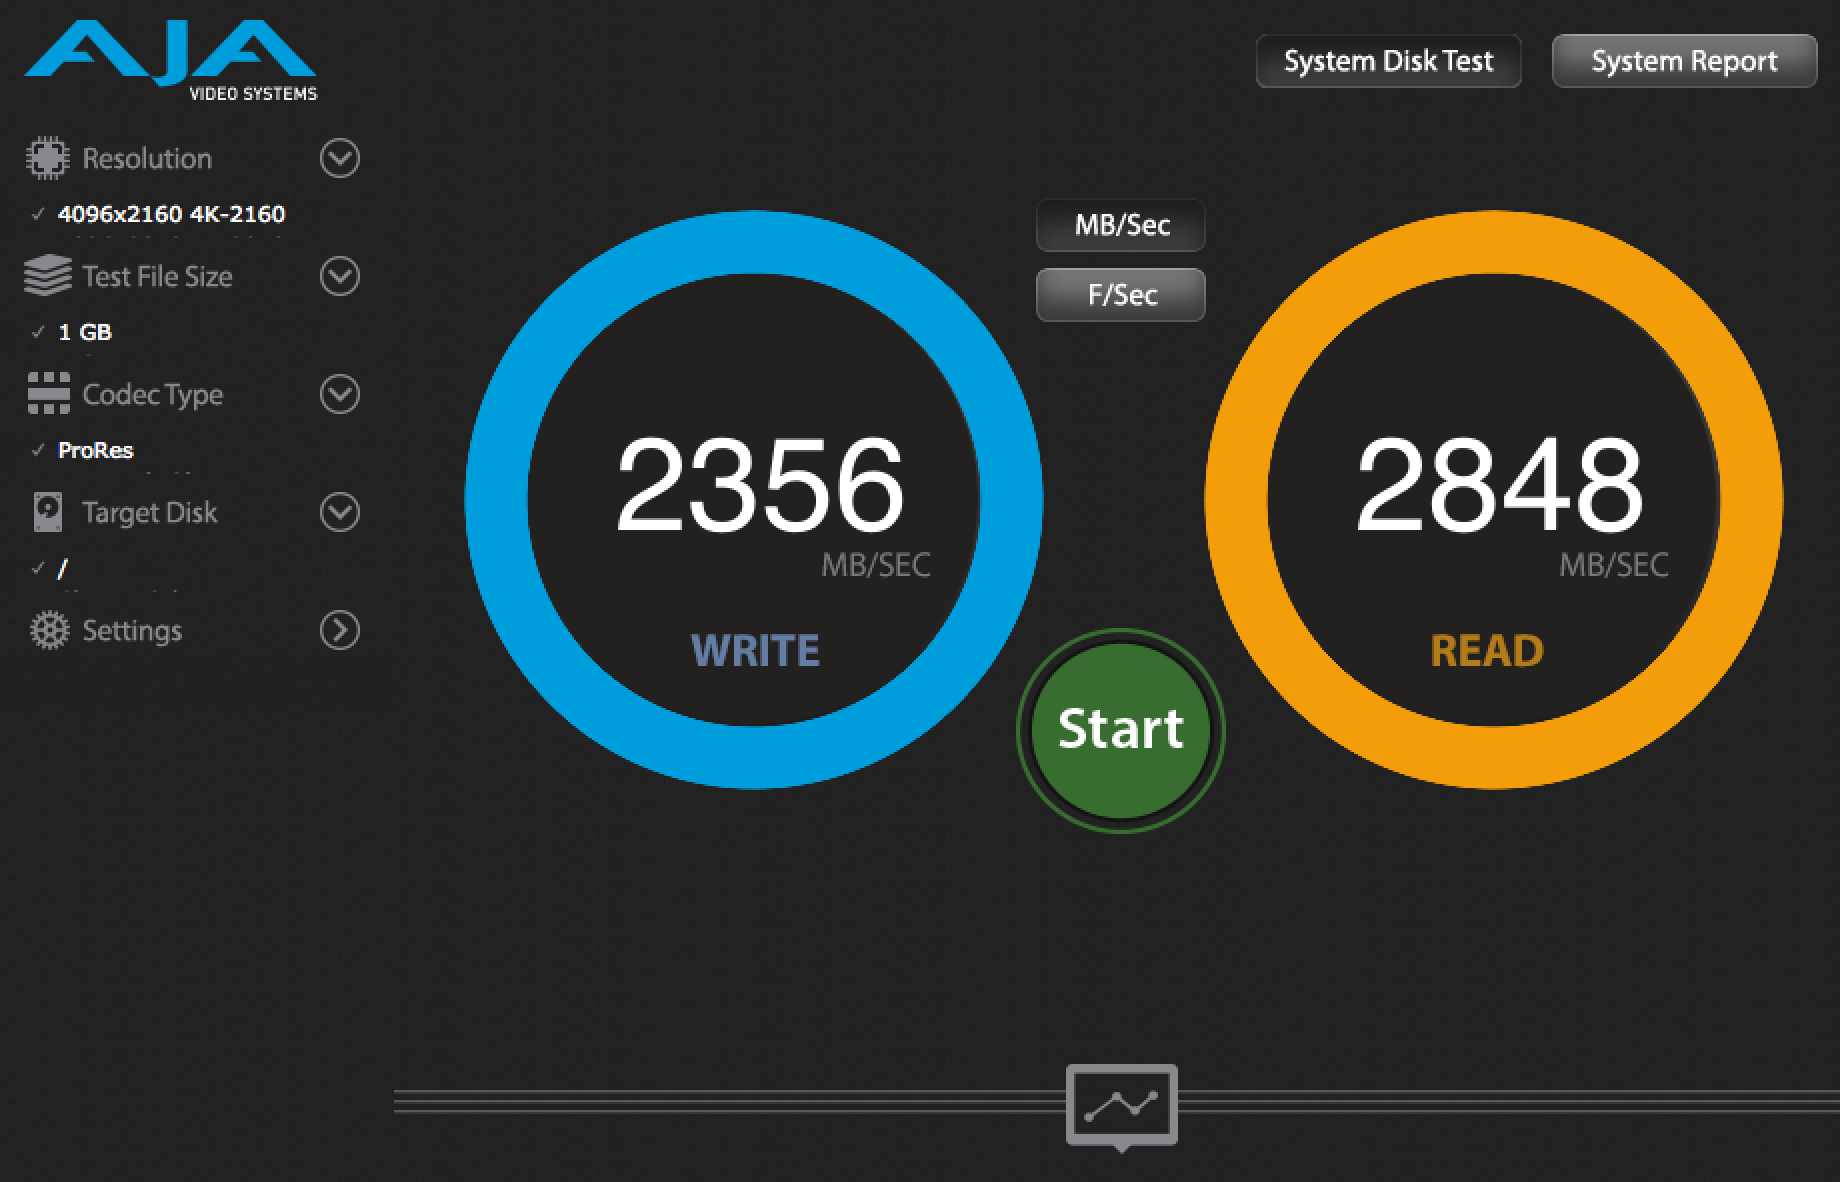
It’s interesting to note that even though this drive is lightning quick, it’s still not nearly as fast the internal drive of the 2018 MacBook Pro:
Putting it all together
What these numbers tell me is that to get the absolute best performance from Final Cut Pro X, you want to keep your FCPX Library file on your local hard drive. Then, store all of your media on the X5. Beyond speed, this has the added benefit of allowing automatic backups of your FCPX project files. To get near real-time backups, use an automatic cloud-based backup service like BackBlaze. Because it runs in the background, BackBlaze won’t slow you down at all and you won’t have to remember to back up your project. Note, however, that BackBlaze is not an efficient way to back up your media drives. But you’ve already got yourself covered there with those cheap backup drives.
For longer 4K projects like feature-length films, you’re of course still going to be living in the land of RAID when choosing hard drives for 4K video. But for the small projects, I find this 3-drive system, in which you back up your media on 2 cheap drives, and edit it on a single fast one, is a winning formula.
What hard drives for 4K video are you using?