
Genus Eclipse variable ND filter
When I first discovered variable ND filters, it was like trying on a pair of photochromatic sunglasses for the first time. Suddenly, I had a kind of super power: I could steplessly adjust exposure without touching the shutter, iris or ISO. I thought variable ND was the solution to all my DSLR video exposure problems. Like magic!
Variable ND and polarization
Then one day while reviewing footage of a subject shot in bright sunlight, I noticed that his skin tone looked like play-dough. I had no idea why. But I knew I’d been shooting with my vari-ND filter, so I was suspicious. I did some Googling, and learned that variable ND filters work by placing two polarizing filters in opposition to each other. On most variable ND, the rear polarizer is fixed, and the front can be rotated. As the front filter is rotated, the opposed polarization causes the lens to darken. At maximum darkness, the crossing point is reached, where the image contains an X (if the field of view of the lens is wide enough).
Crossing point, where the two polarized lenses reveal an X
Of course at this point the image isn’t usable. But at lesser degrees of rotation, and by avoiding wide-angle glass, the effect appears to be a darkening of between 2 – 8 stops.
But polarizers are tricky beasts. They are often used in landscape photography, to darken blue skies, for example, and enhance foliage. But when shooting a wide shot that includes the sky, a polarizer doesn’t affect the whole sky evenly – it polarizes the light at a 90 degree angle to the sun but not that falling parallel to it.
So variable ND isn’t the magic after all. And it has some limitations. But those same limitations can also be strengths. For example, when you want both a polarizer and you want some ND at the same time! But most vari-ND filters only give you the ability to rotate the front element, not the rear. To control the polarization effect, you have to unscrew the filter and hope it doesn’t fall off, as I described above.
Genustech’s solution
Genustech has created a variable ND filter that gives you a measure of control over this problem. It’s called the Solar Eclipse. It has a lovely little handle protruding from the second element, allowing it to be rotated. Rotating the handle doesn’t darken or lighten the image – it simply controls degree of polarization in your shot.
By rotating the handle, you can change the angle of polarization – where the dark edges appear in your frame. Sort of like a graduated ND filter. Rotated 3/4, it looks like so (ungraded images):
Genus Eclipse rotated 3/4, vignetting occurs in upper left and lower right of frame.
Rotated 90 degrees, it appears to vignette the image from both sides (but not the top or bottom)
Without Genus Eclipse, (using just the built-in variable ND on the Sony FS5)
As you can see above, the built-in variable nd on the Sony FS5 is something quite special. To my eye, the ungraded image that uses the built-in electronic nd on the FS5 looks very faithful to the colors present in the actual scene. The Genus Eclipse appears to suffer from a bit of color contamination that shifts colors toward green (IR contamination, perhaps)?
Here’s how a standard Hoya polarizer compares to the Genus Eclipse (with an unfiltered image for baseline comparison):

Genus Eclipse vari-ND filter
Hoya polarizer

Sony FS5 built-in variable ND only (no polarization)
In the images above, again we see some shifting of colors toward green with the Genus Eclipse. Nothing that couldn’t be corrected out in post, but something to be aware of.
Speaking of eclipses…
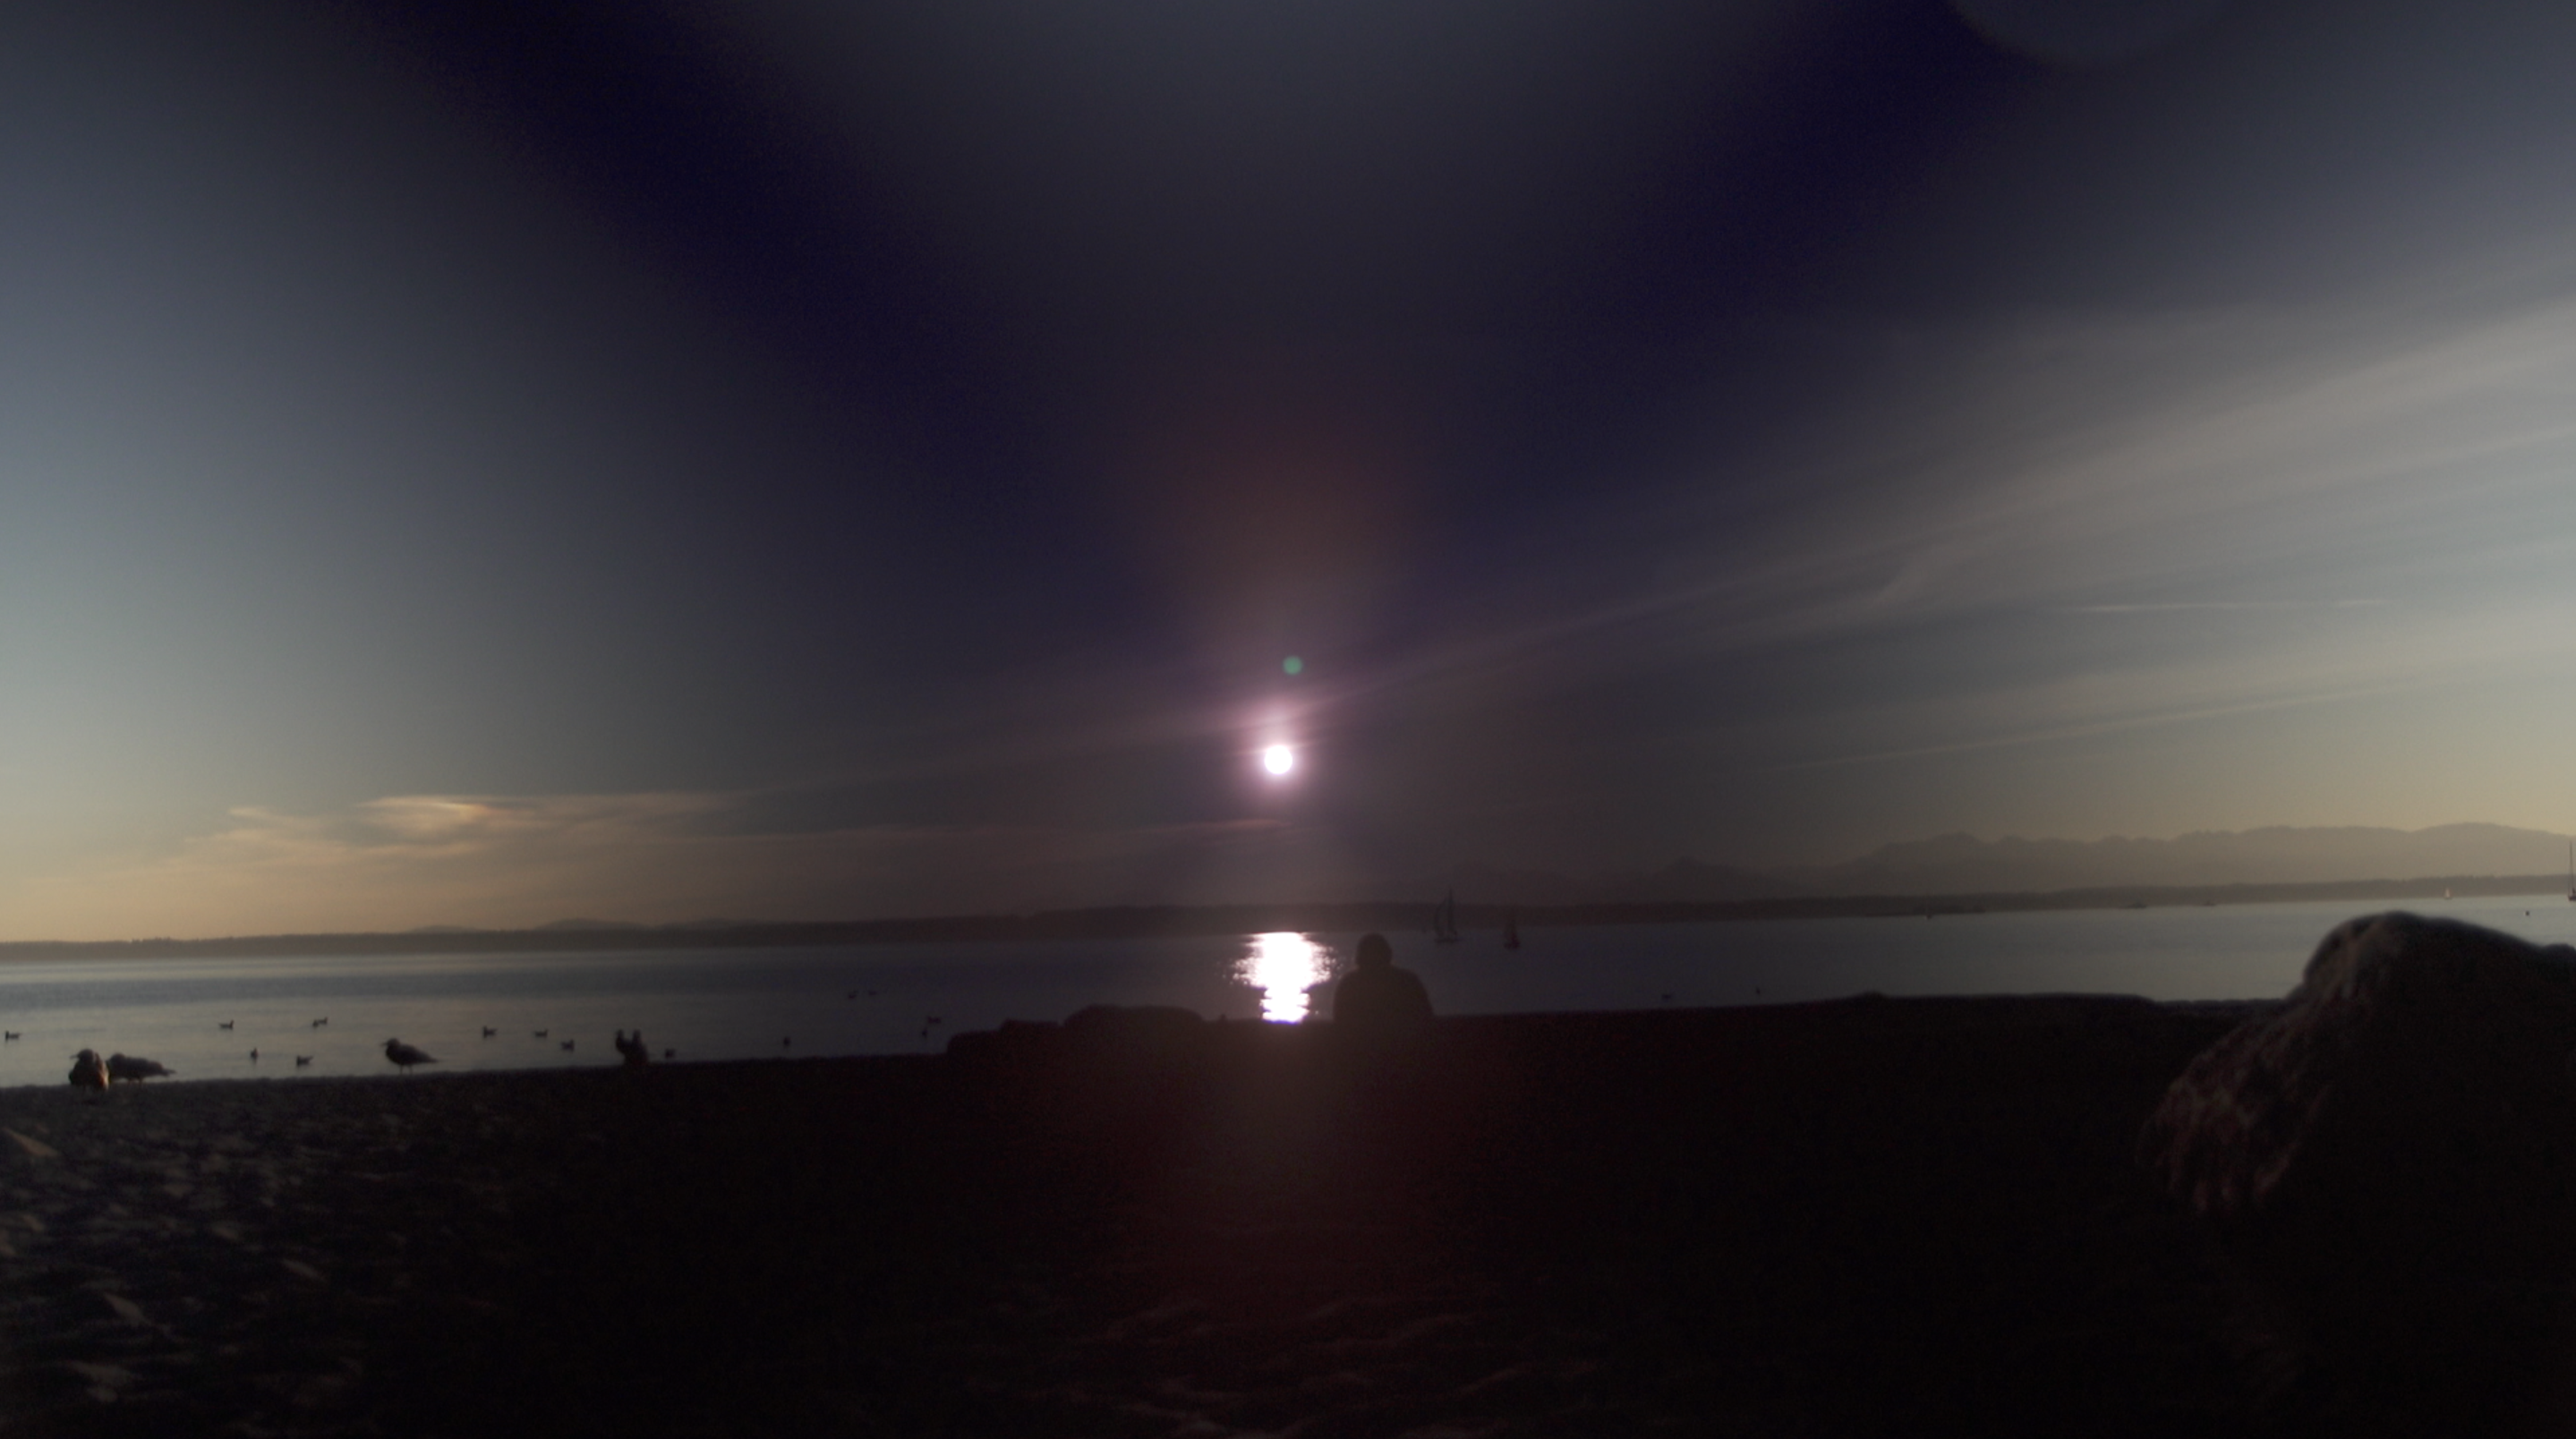
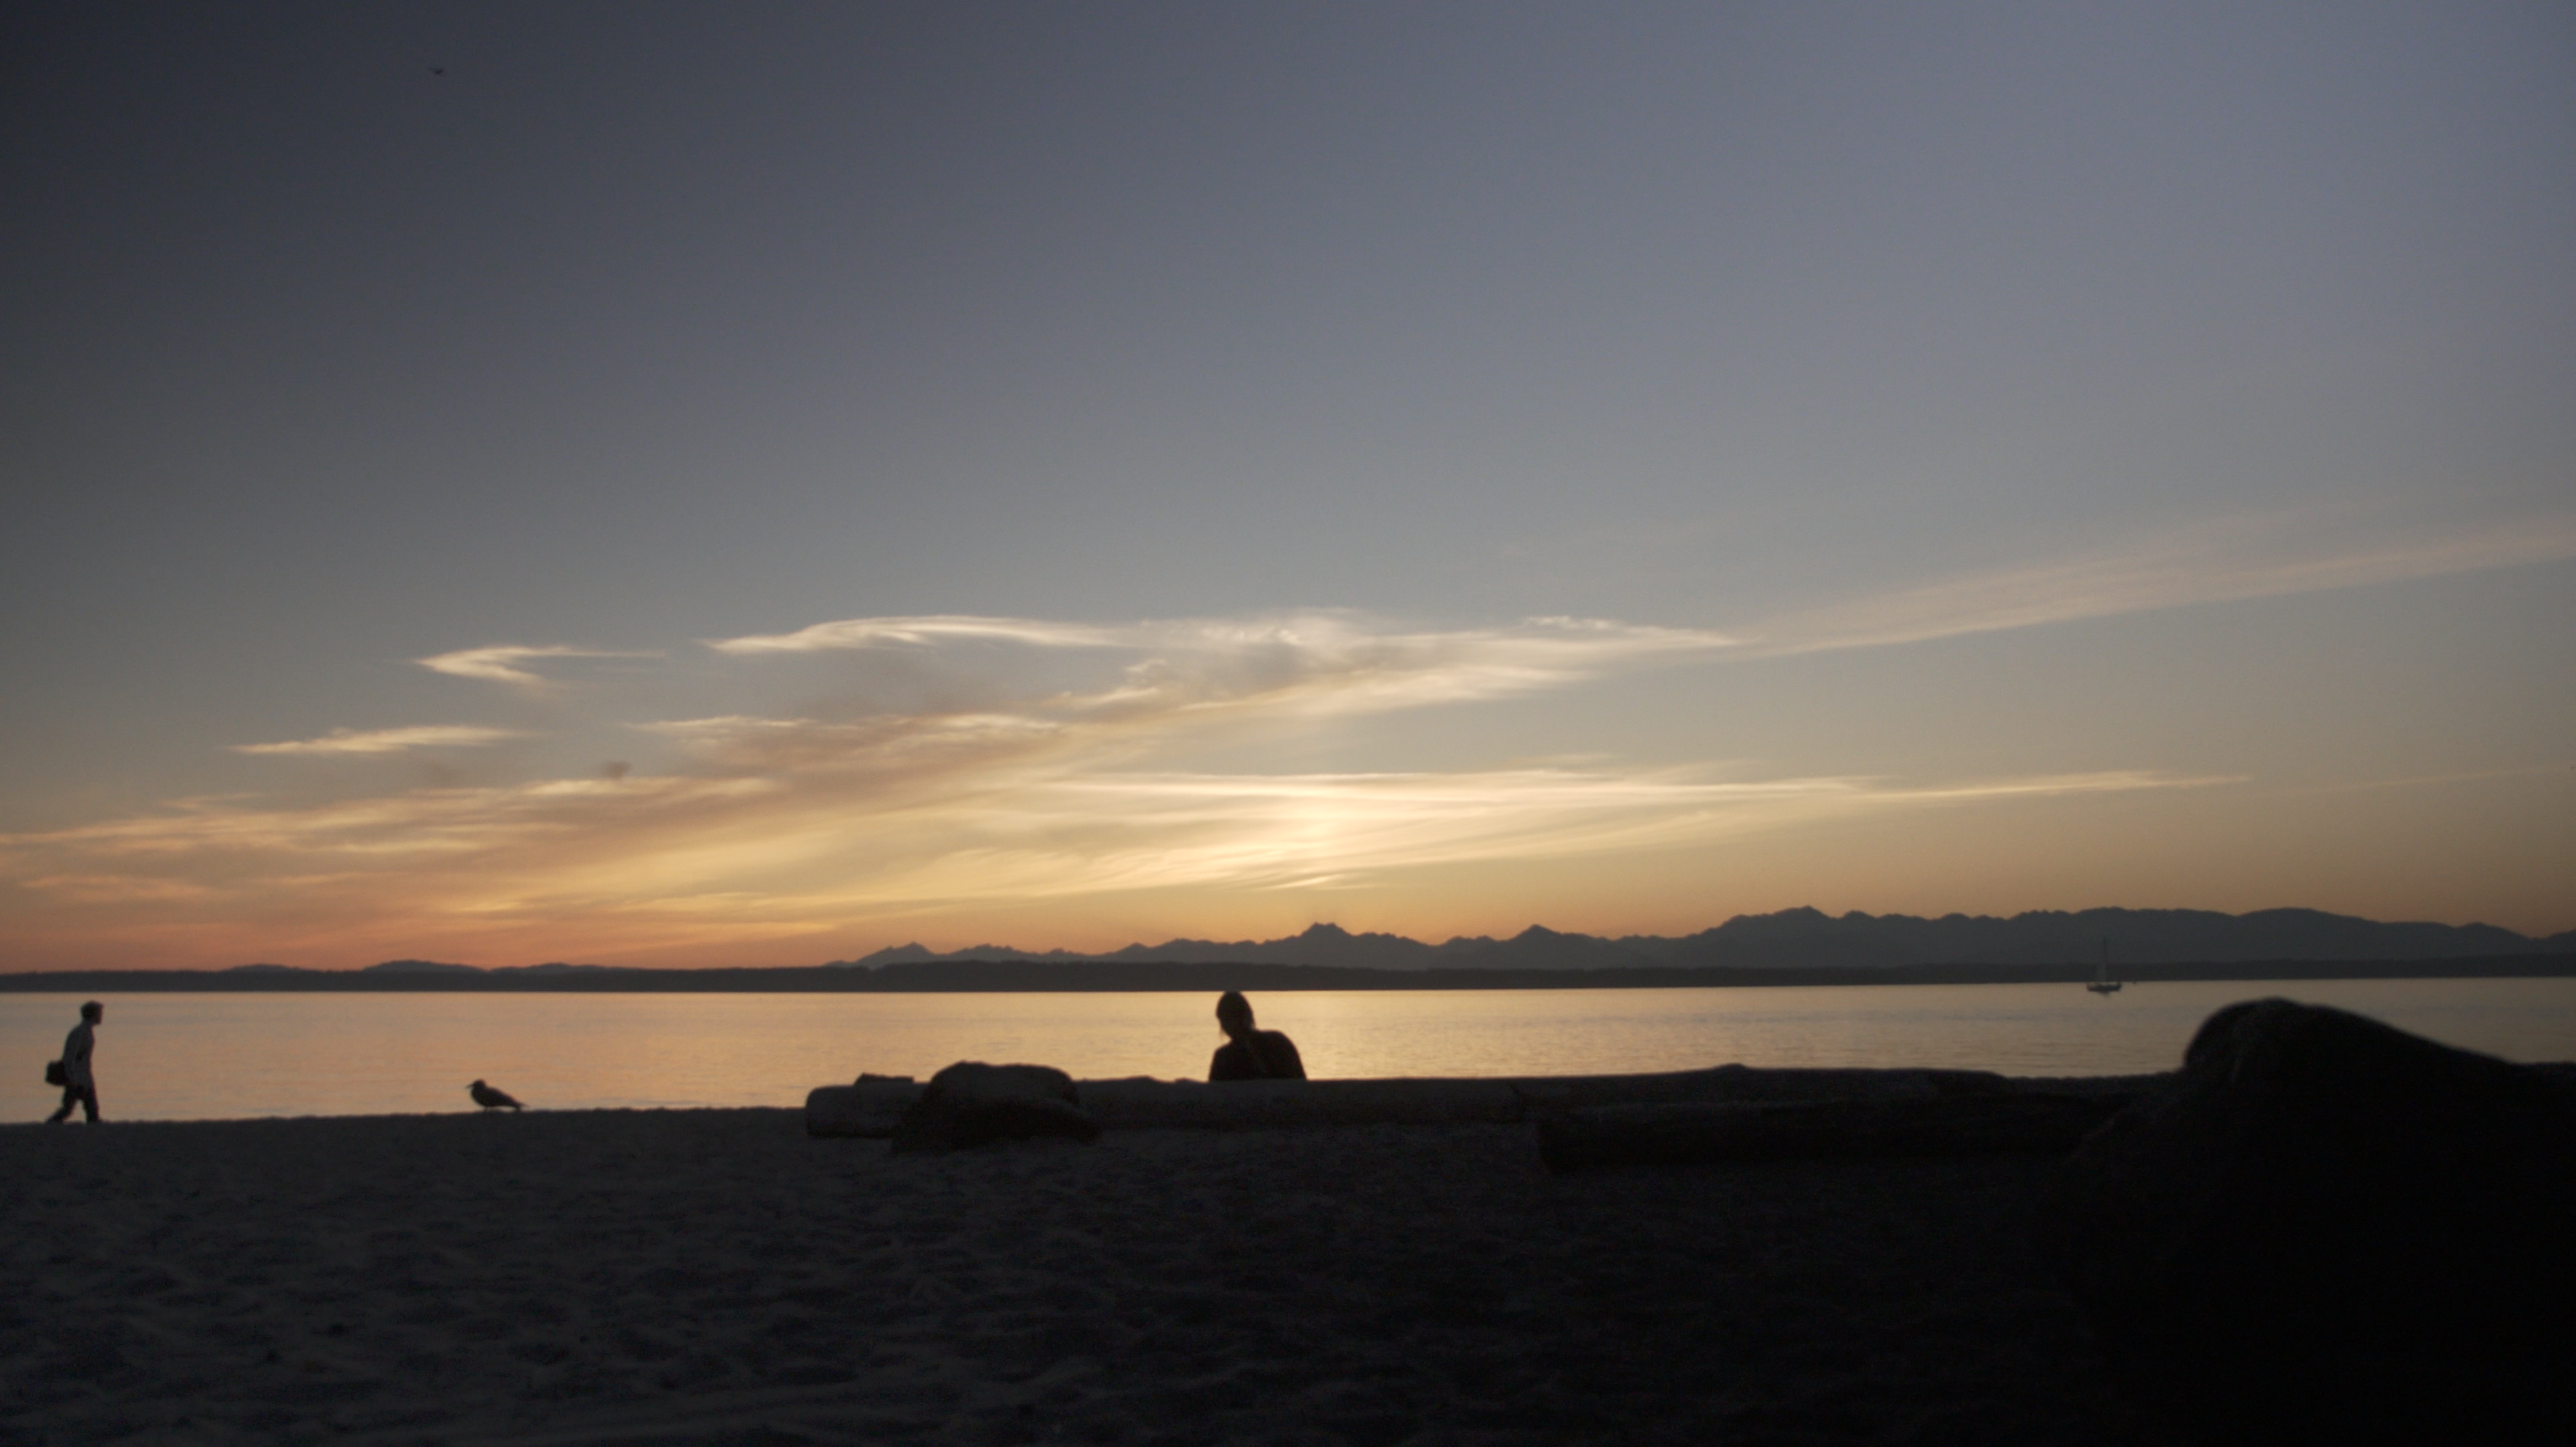
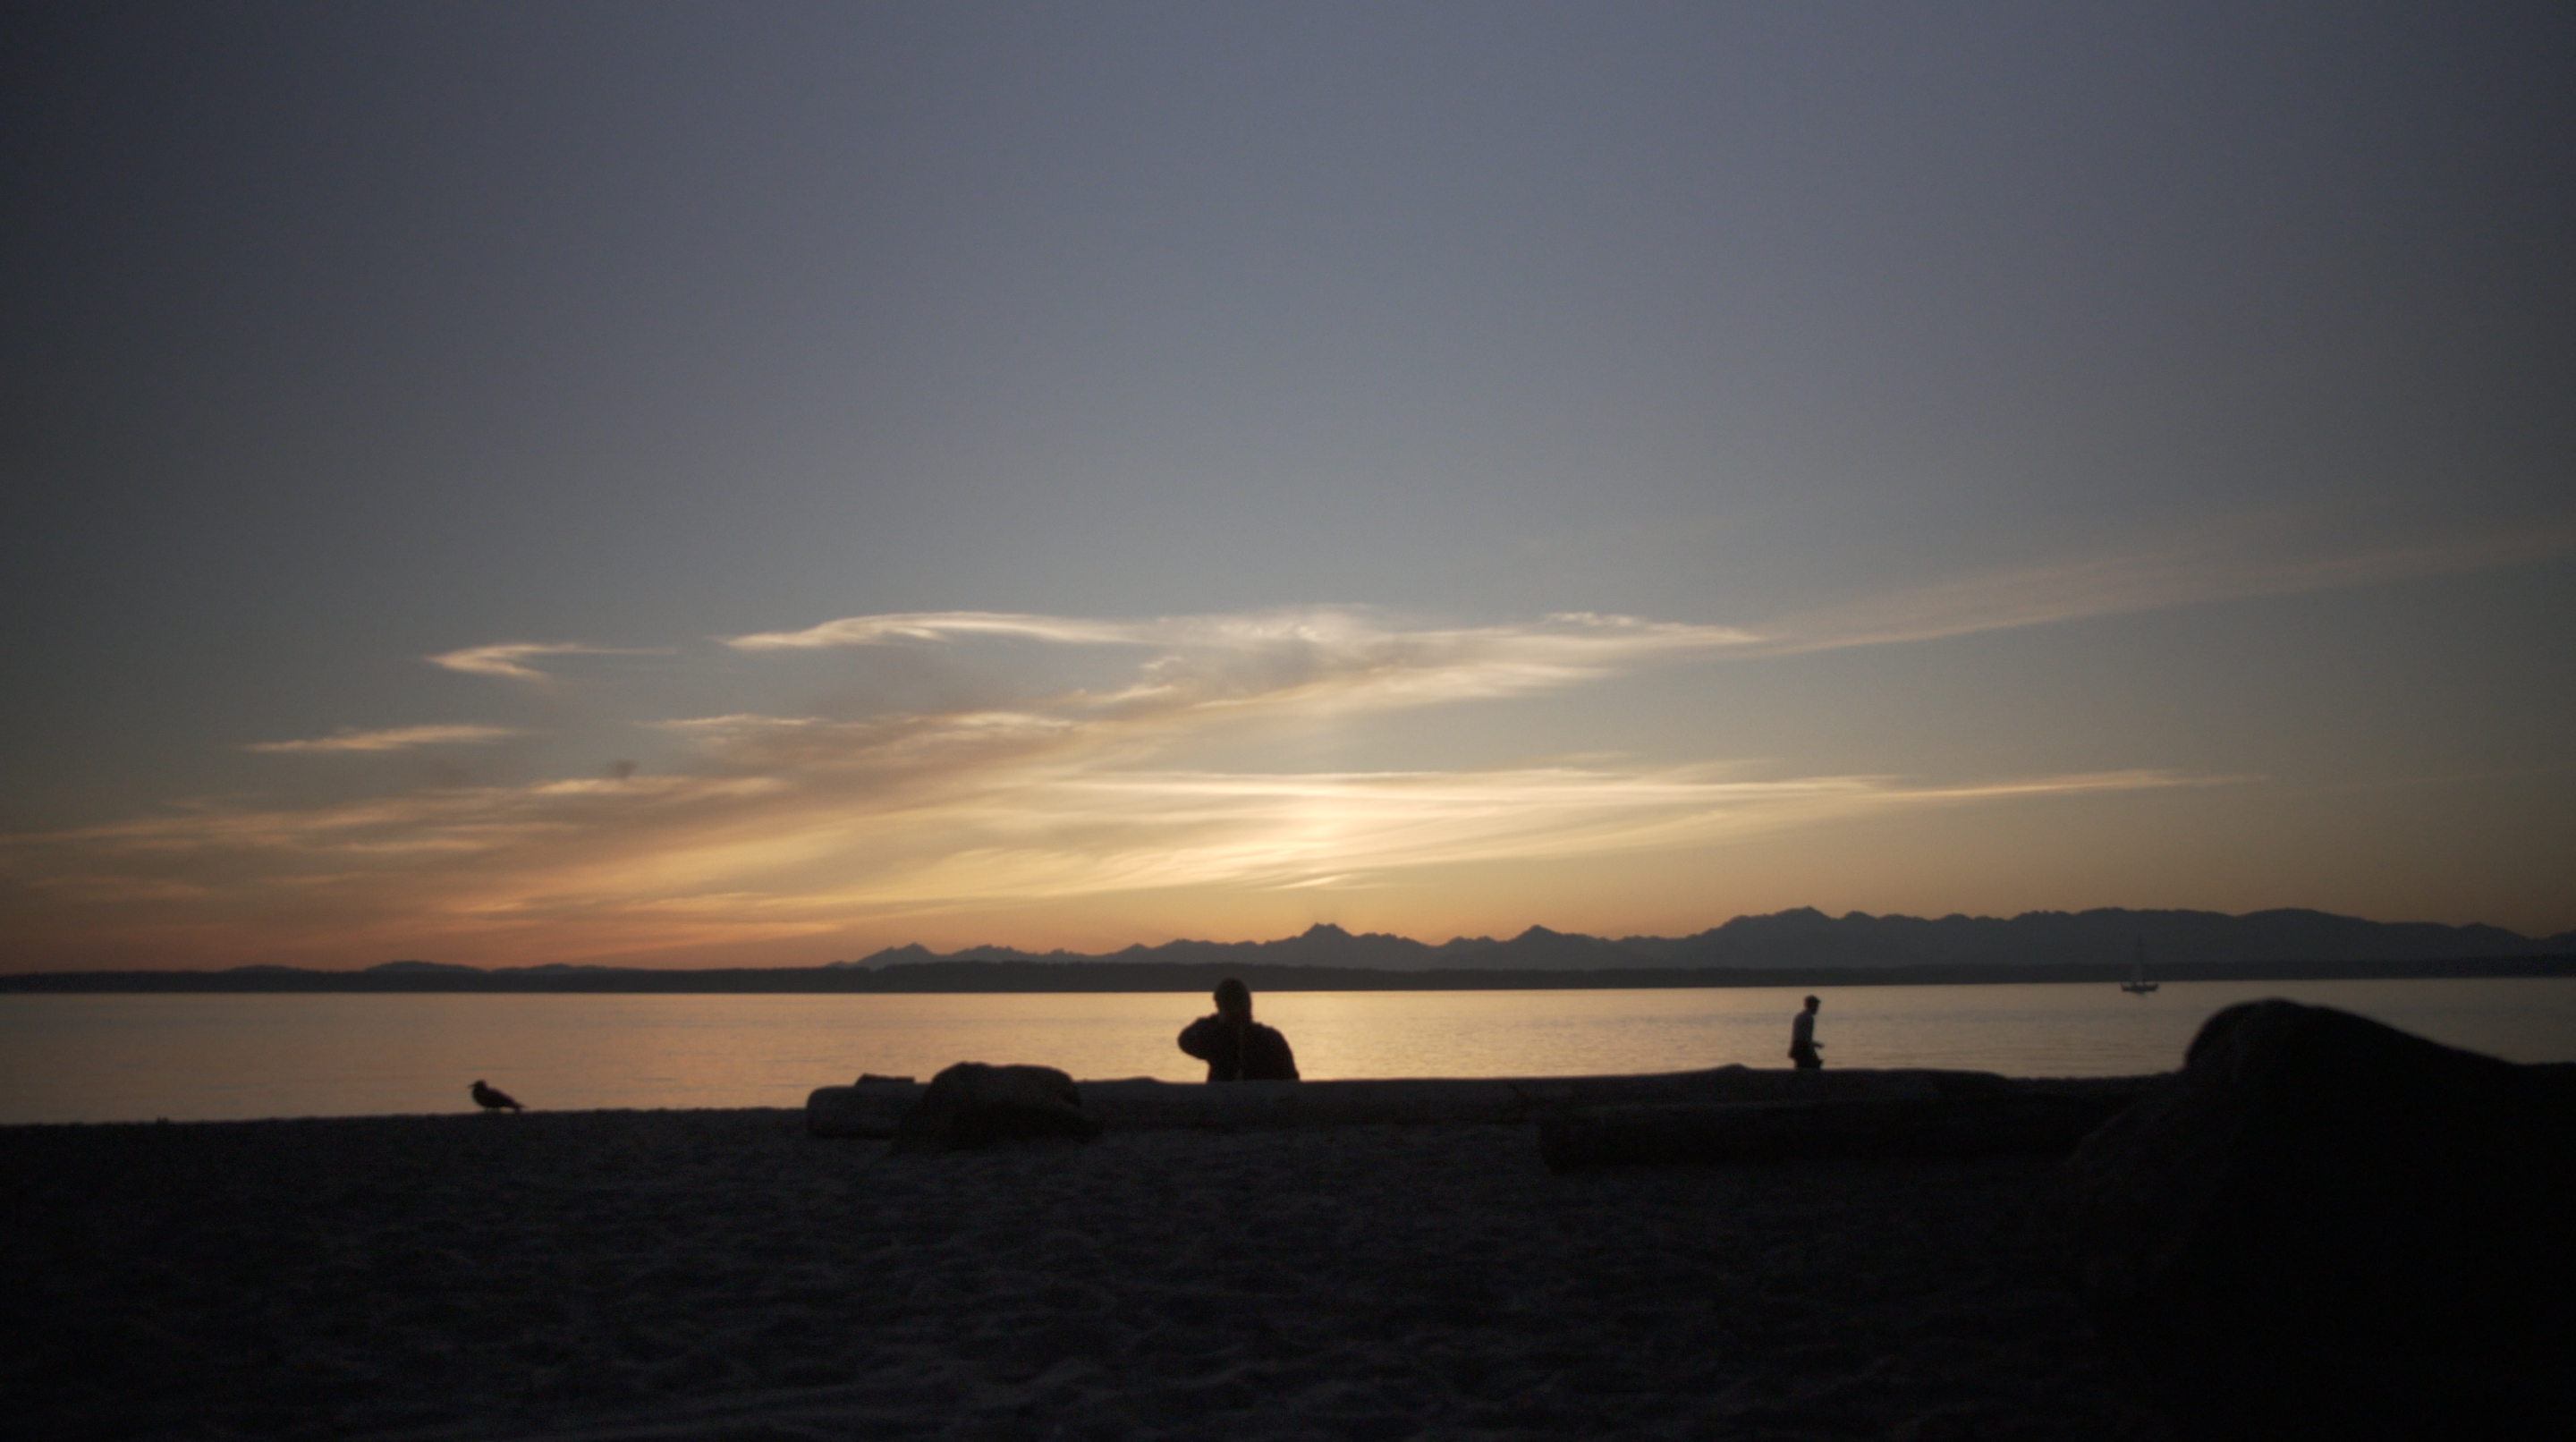
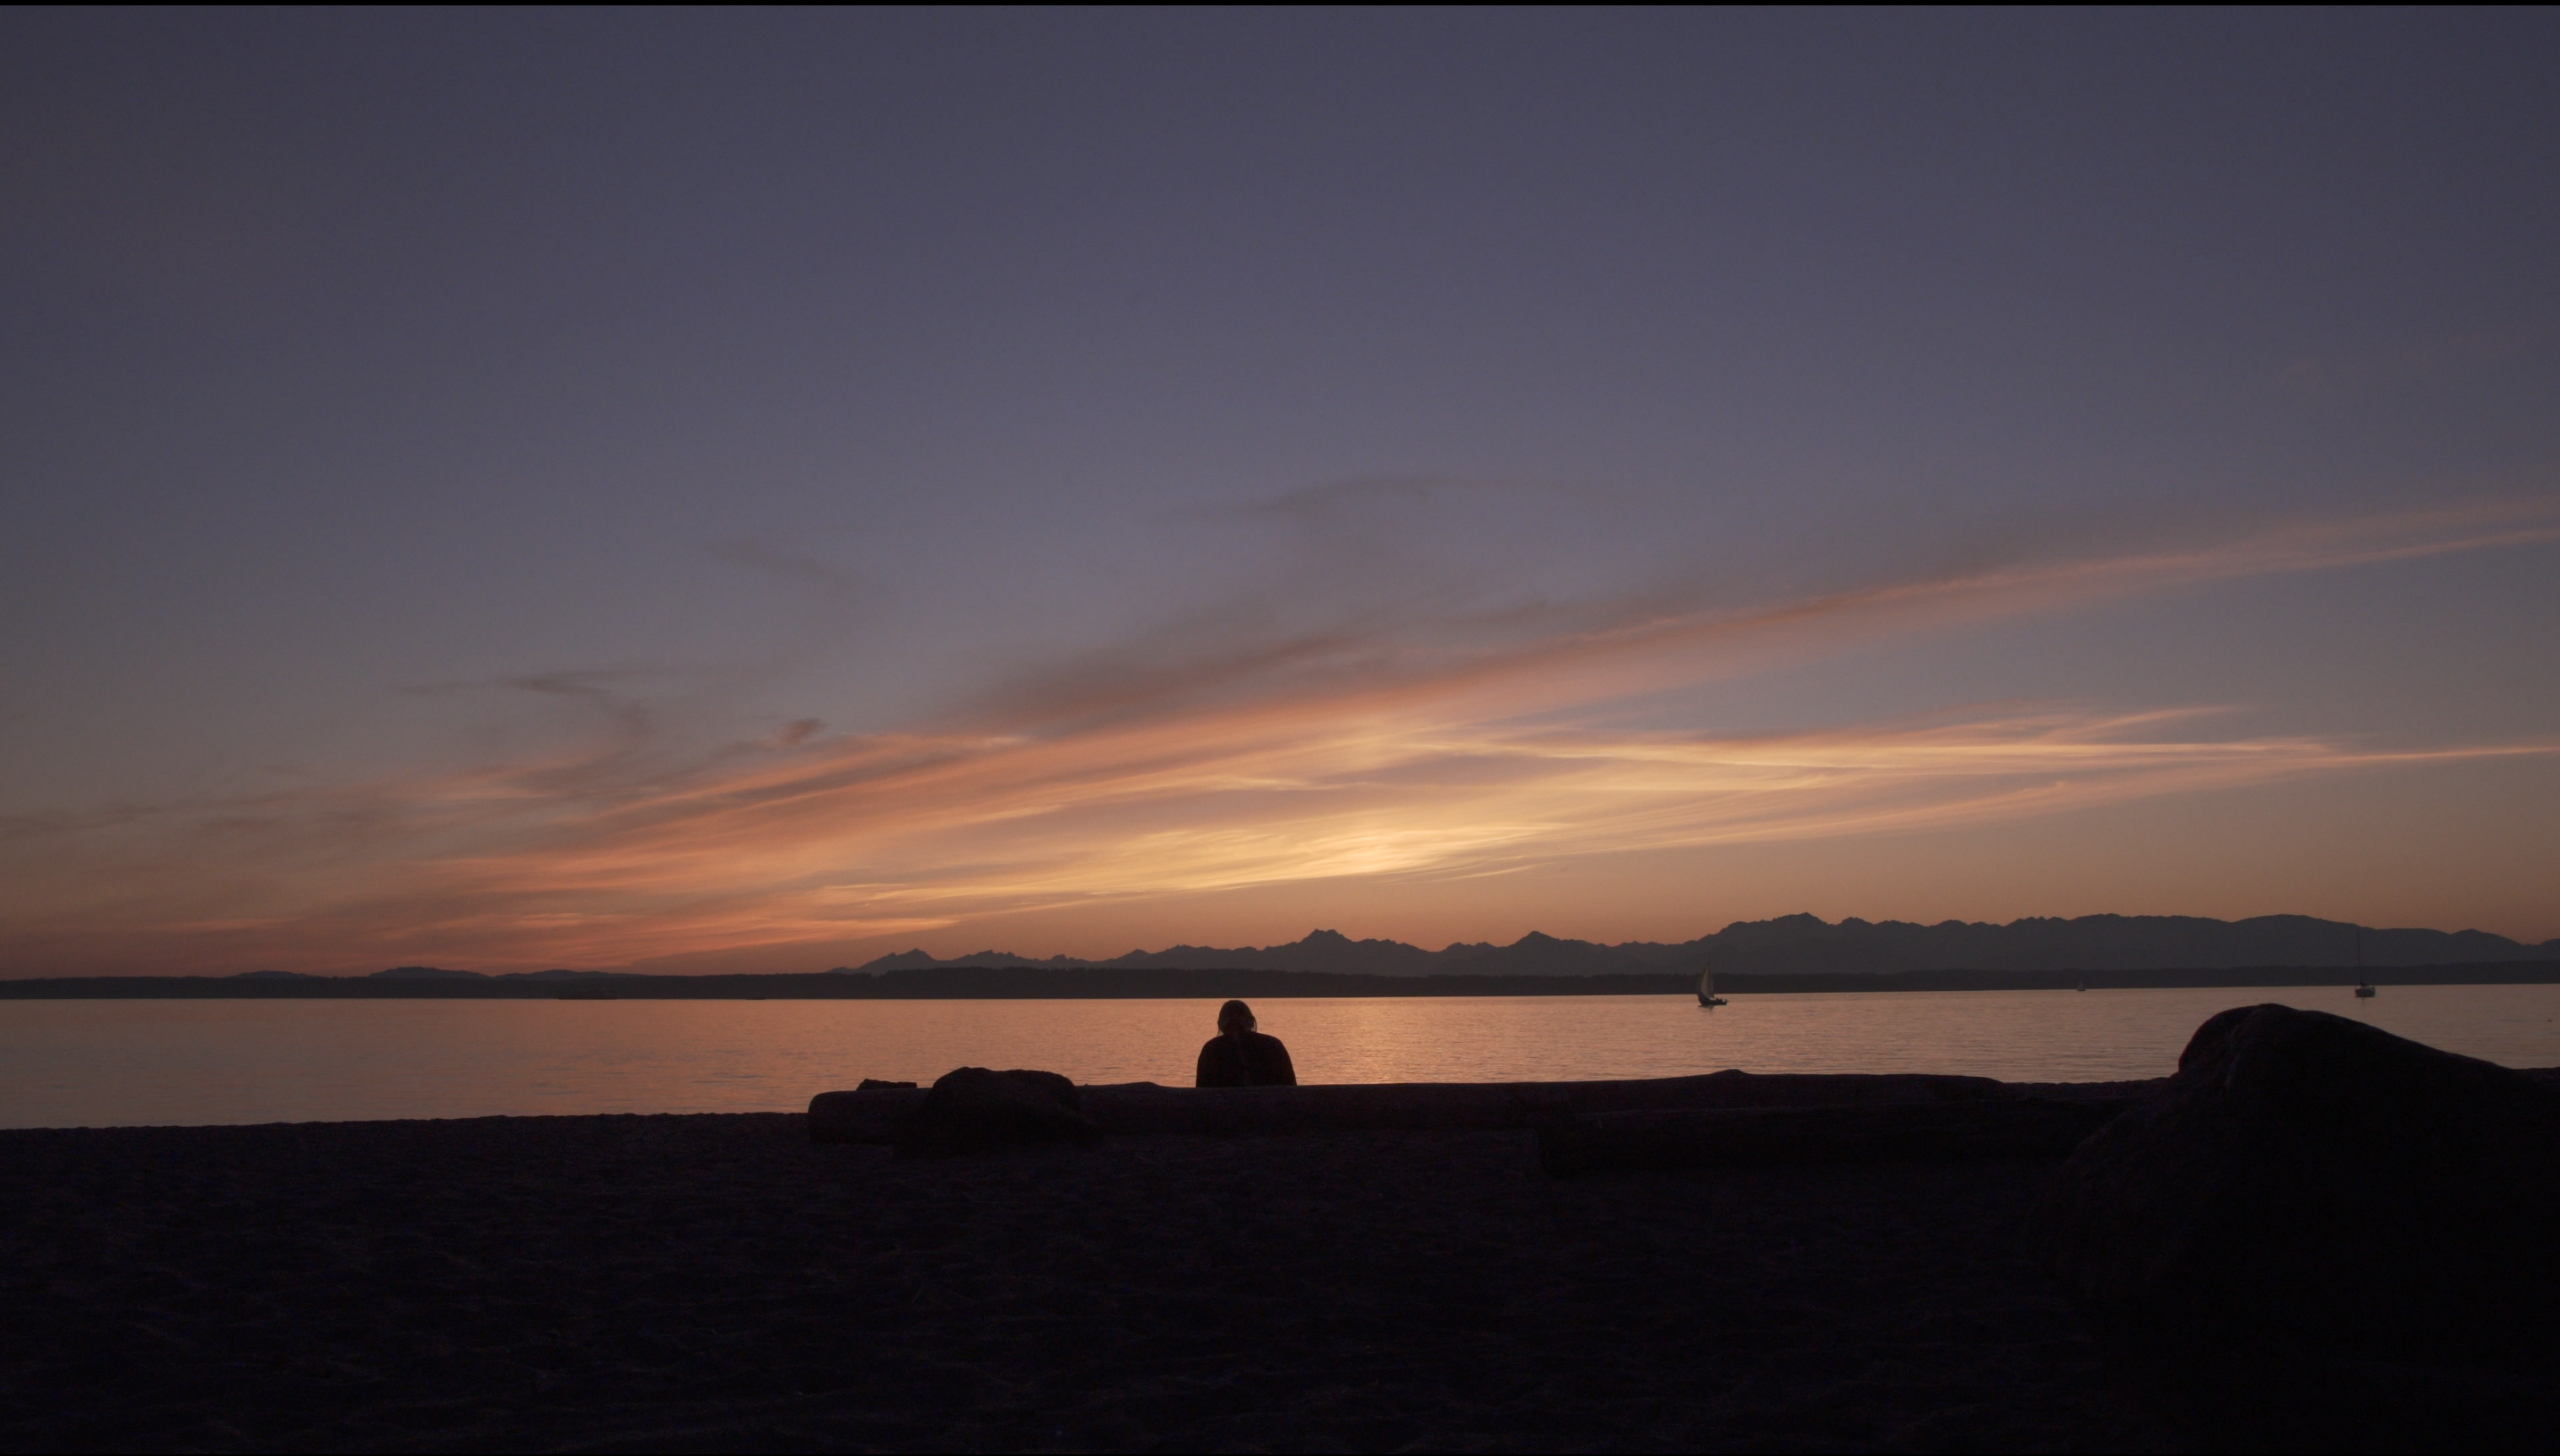
One place where using a variable ND filter like the Eclipse comes in handy is when shooting the sun directly. With a long lens, such as a 300mm, you can rotate to the Genus Eclipse to the crossing point of the filter, and use that to look directly into the sun, as if wearing a pair of welding glasses. I found in my testing that with my lens set to f/16, I still needed to active my Sony FS5’s built-in filter to really tame the sun. But the Eclipse came quite close all by itself.
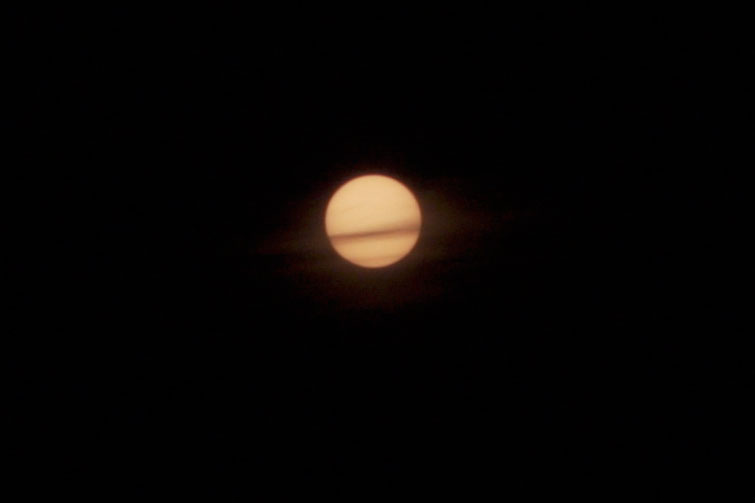
The sun with Eclipse ND and additional ND filtration added
Which size filter to get?
Because most lenses have different filter thread sizes, I recommend getting a 77mm variable ND. Then, using step-up rings, you can use your 77mm filter with any lens of smaller diameter. You can even use it with lenses slightly larger, with a step-down ring. I use the Genus Eclipse with my 300mm Nikon f/4 lens, which has an 80mm filter size, for example. It works great without noticeable vignetting. But anything larger than 80mm, you’re likely to get vignetting.
Conclusion
As long as you’re aware of its limitations, the Genus Eclipse ND filter is a useful tool to have in your kit. Especially for filmmakers who don’t have a camera with built-in ND, it provides you the ability to reduce the amount of light hitting your sensor by 2-8 stops, without touching shutter speed, aperture or ISO. Just be sure to keep an eye on how polarization is affecting your shot, and use the handle that Genus provides to control that.