Lumu Power light meter
 When Lumu Power launched their Kickstarter campaign for a light meter of the future in late 2015, the idea of a hardware-based iPhone color meter was pretty revolutionary. Sure, there are plenty of “ballpark” software based meters for iPhone, but a serious light meter that accurately measure color temperature? For that you need hardware that’s a little beyond of my pay grade. And even if I could afford it, do I really need one more gadget?
But the promise of a fully loaded color meter in a tiny hemisphere, for a couple hundred bucks, felt like a breakthrough. A total of 1,705 backers pledged $318,877 to make it happen, and I was one of them. A year and a half later, the Lumu Power is a reality. That’s a long wait, for sure. Was it worth it?
 Turn it on

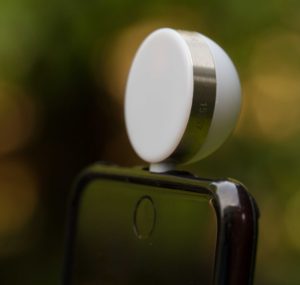
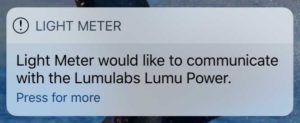
To turn on the Lumi Power, plug it into your iPhone. A second later, a screen automatically comes up announcing that it’s connected. Swipe right on that, and the app opens. Rotate the phone so that the Lumu Power is on top, and you’re good to go.
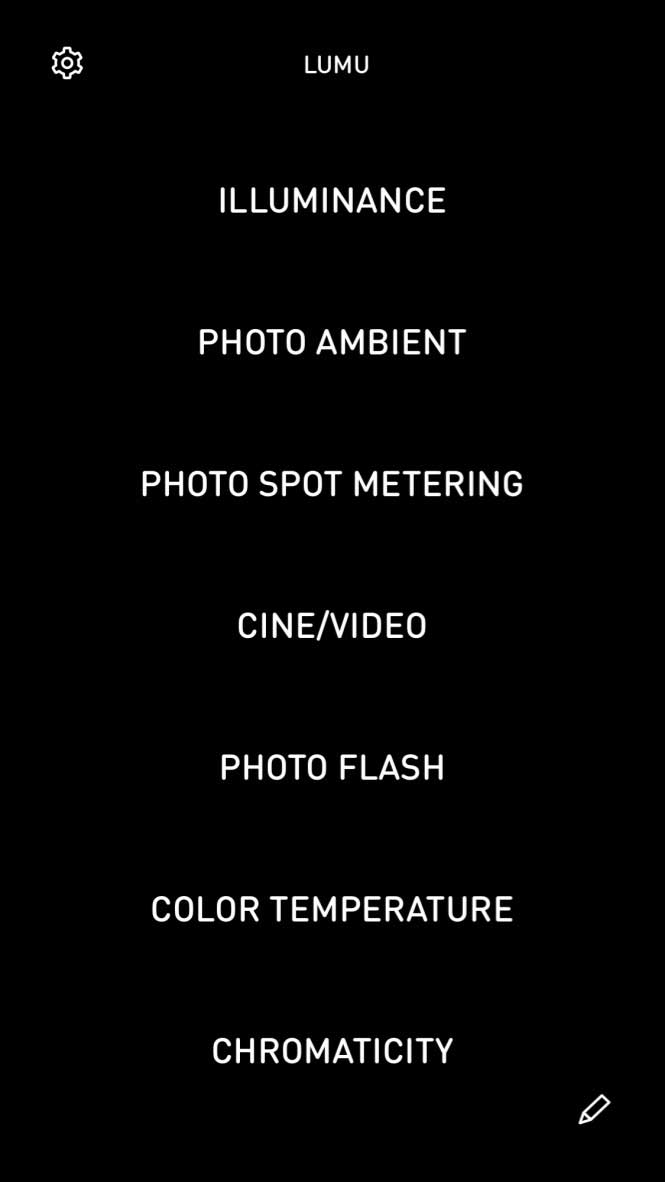
The interface is simple as can be – a list of text options that give you just about everything you could want to know about the light you are working with.
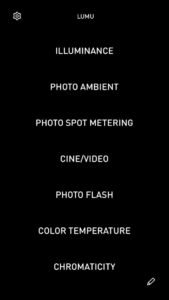 Illuminance. How bright is the light hitting the flat side of the hemisphere? Options are foot candles or Lux. You can also optionally display how far under or over the result is from the correct EV.
- Photo Ambient. Traditional ambient light meter mode. Using hemisphere side, displays aperture, shutter and ISO values. You can enter aperture and ISO values. You can also change the default 1/3 stop increments to 1/2 or 1 EV values, change the max. lens aperture, and the ISO values.
- Photo Spot Metering. Using the iPhone’s camera, you can set a spot point in the image from which the reflectance exposure is metered. Results are displayed below the frame in real time.
- Cine/Video. Using the dome side, the Cine mode allows you to set FPS or shutter angle, and exposure in whatever increments you desire (1/48th or 1/50th of a second, for example).
- Photo/Flash. Using the dome side, you can measure flash just as you would with a traditional flash meter. Press the Start button to arm, and Stop to disarm. Once armed, you trigger the strobe to take a reading.
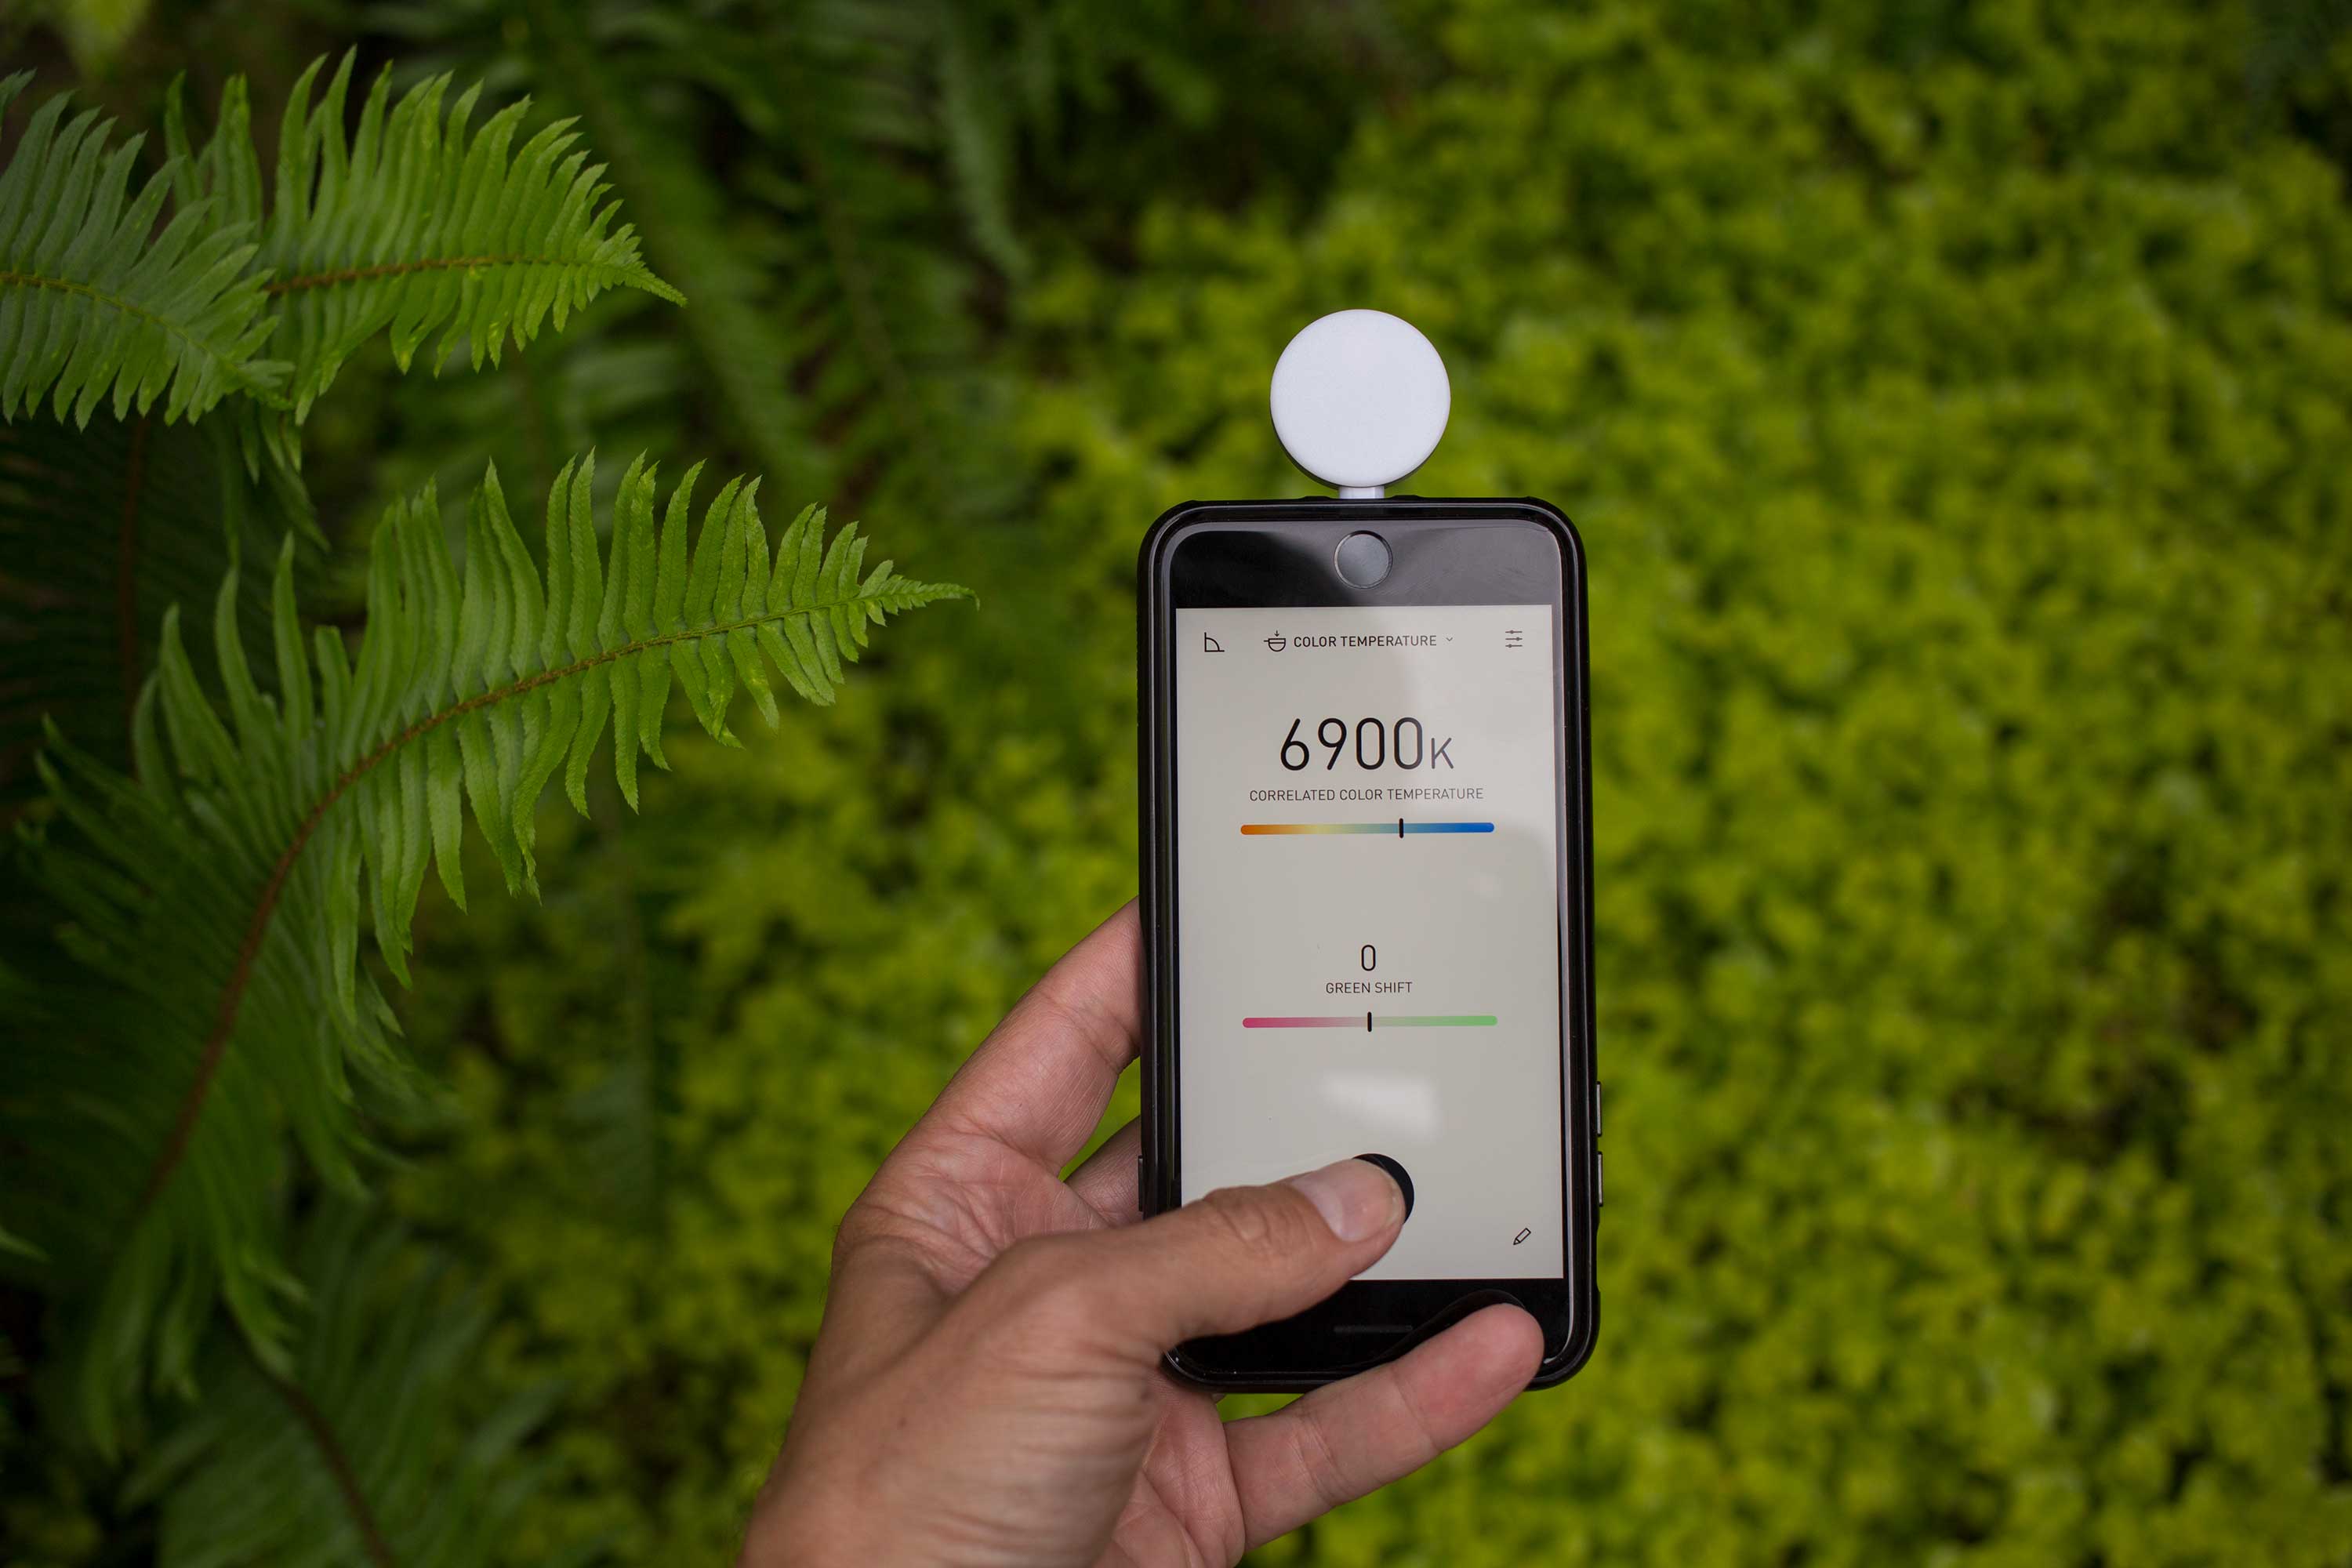
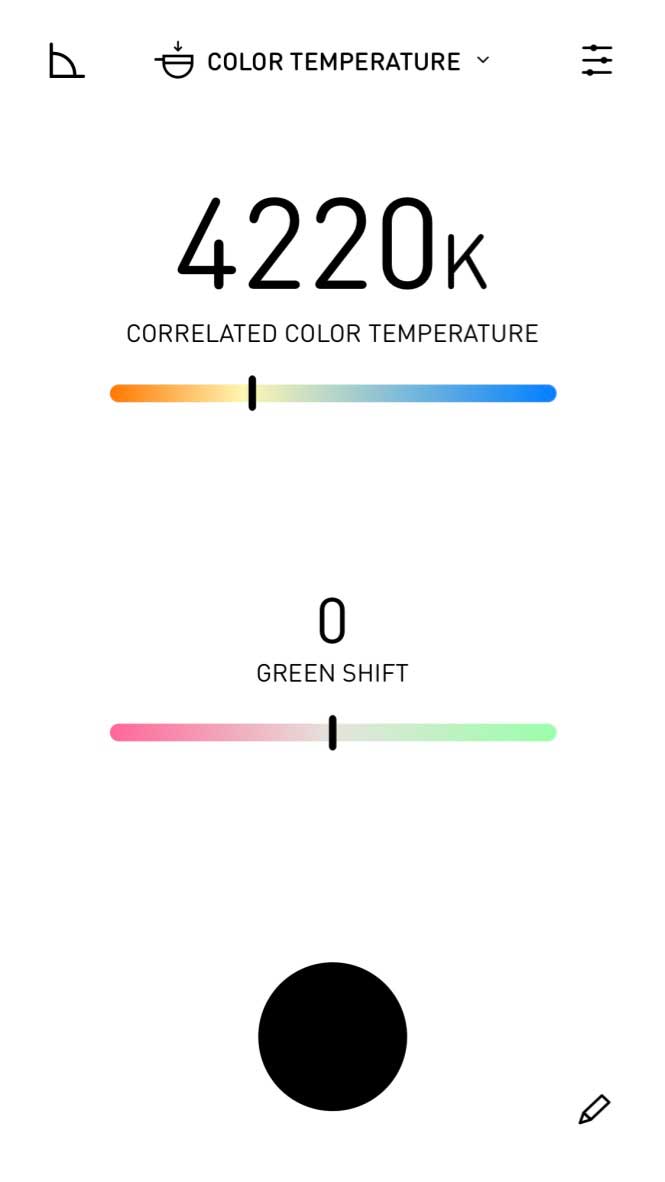
- Color Temperature. The flat side of the dome measures color temperature in degrees Kelvin, and also displays any green or magenta shift present.
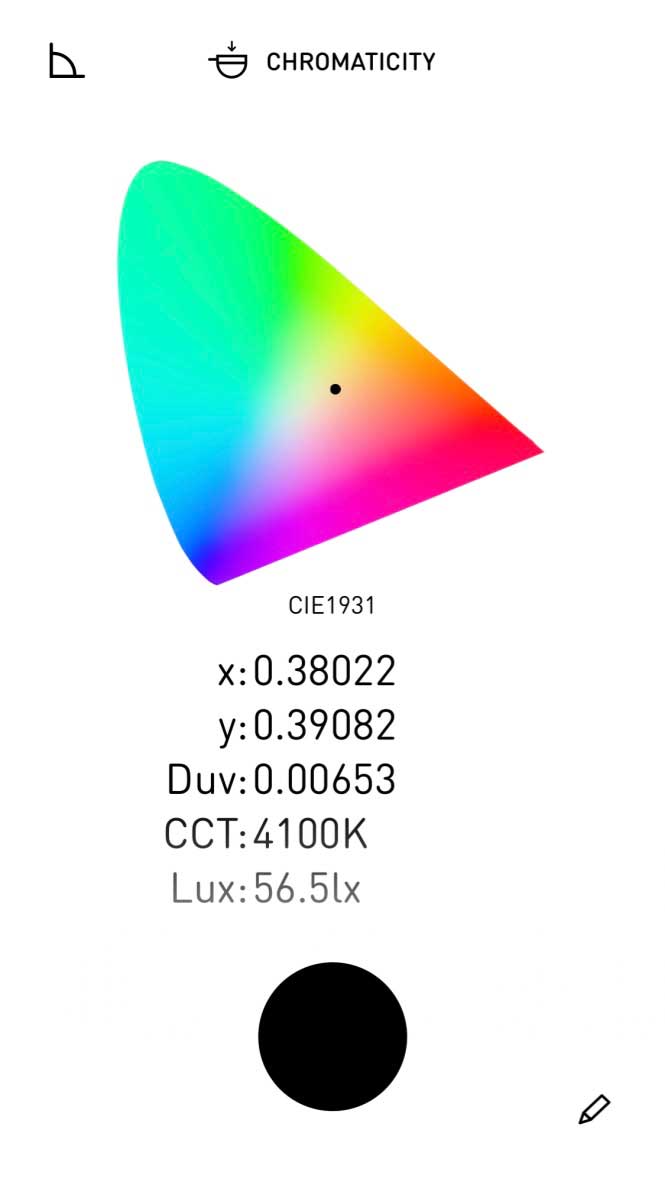
- Chromacity: The flat side gives you a CIE1931 color space map, with the location of your reading on the map, as well as Due, CCT and Lux values.
Raise your lighting IQ
I don’t know about you, but I’m always location scouting. I collect scenes in my head. If I’m in a restaurant, for example, I wonder how bright it is, what the color temp is, and what it might be like to shoot there. But until now, this work was entirely mental, and subjective. I could snap a photo of a scene, but I could only guess at how bright it was or the color temperature. With the Lumu Power, it becomes possible to do both. And Lumu Power has a killer tool to keep track of your settings, called Notes.
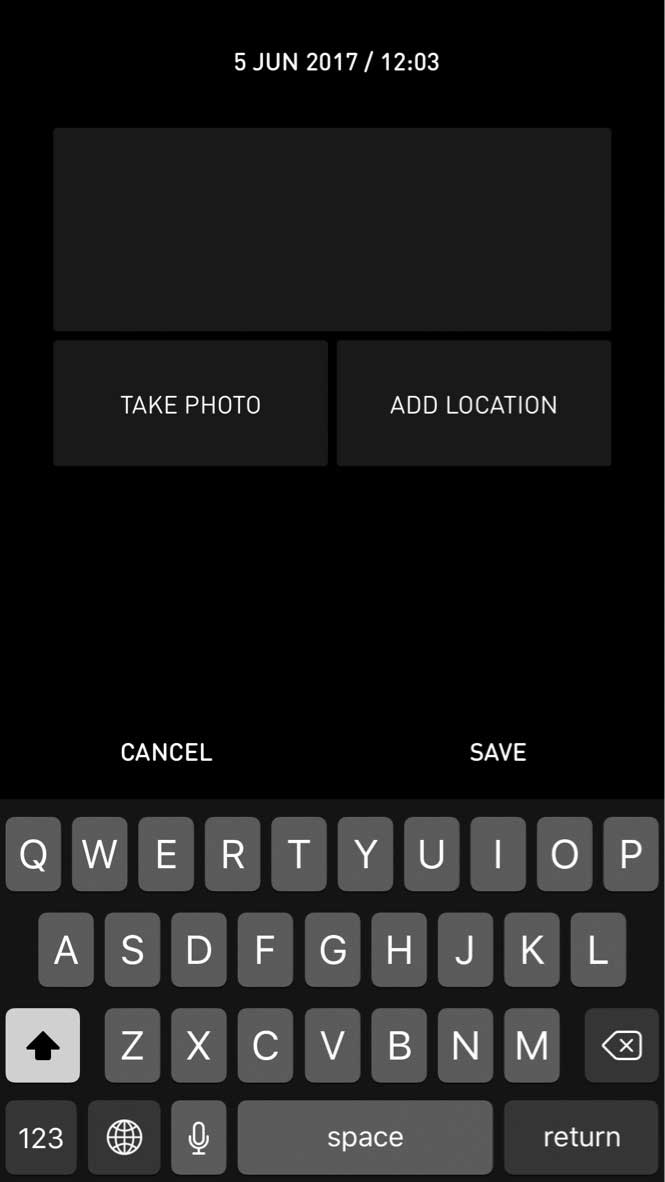
If you are connected to the net, you have the ability to store a lat-long location, which can be displayed as a map.
Notes save your readings
There is a pencil icon in the lower right corner of the screen in all modes. Click it to unlock one of the most powerful features of the Lumu Power: the ability to store meter readings along with a still photo. For location scouting, this is incredibly useful. Now, along with location snaps, you can save color-accurate meter readings. This is huge.

Annoyances
The Lumu Power occasionally appears to forget what mode it’s in. Instead of the full option menu appearing, only the mode you are currently in will appear. To get the menu back requires unplugging the Lumi Power.
Also, it’s a good idea to set your phone to not go to sleep as frequently as usual when using the Lumu Power. Otherwise, you’ll constantly have to dismiss the open screen.
These are minor annoyances if you’re only using the Lumu Power for occasional readings, but if you’re a light meter power user, you may find them frustrating enough to send you back to your traditional meter.
Carrying tip
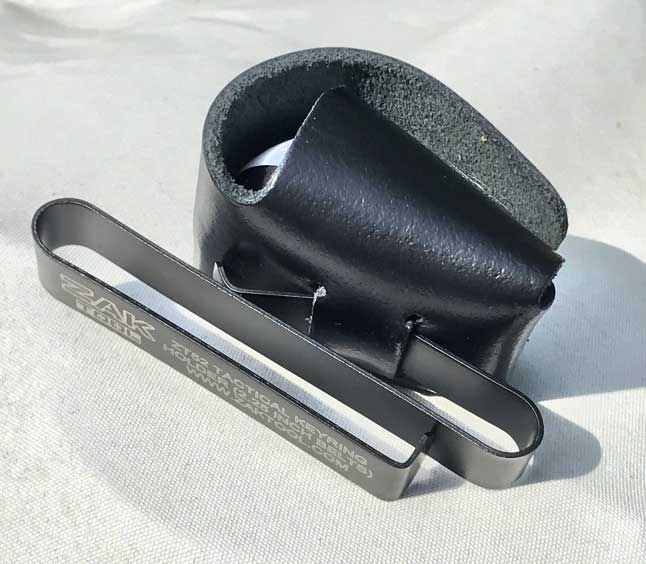 Included with your purchase is a small leather case for carrying the Lumu Power. However, the slots are too small to accommodate a typical belt. They are, however, a perfect fit for a Zak Tools Low Profile Key Ring Holder which costs less than $6. This makes it easy to adapt the case to any belt up to 2.5″ wide. I typically wear an AC pouch when I’m shooting, and the Zak holder clips perfectly into my AC pouch, putting Lumu Power within easy reach whenever I need it on a shoot.
What could be improved
There’s currently no way to calculate CRI or TLCI, which is something I would love to have for appraising the quality of LED lighting. Is that something that could be added with a software update to the iPhone app? That’s an update I’d be willing to pay for.
Ergonomically, I find it awkward to hold the phone straight up and down to take readings. So the ability to tilt the Lumu Power up to 45 degrees on it’s lightning connector would be sweet. Further, I find myself frequently having to unplug and rotate the Lumu to switch between Cine and Color Temp mode. If the hemisphere could rotate, it would be a real timesaver. However, adding that might mess up the elegant simplicity of the design. And I’d hate to see that happen.
Conclusion
The essence of Lumu Power is its ability to instantly become the color meter you always have with you. It’s like having a tiny bionic eye for your iPhone. And it’s a great tool to open your own eyes to see and understand the light falling all around you, every day.