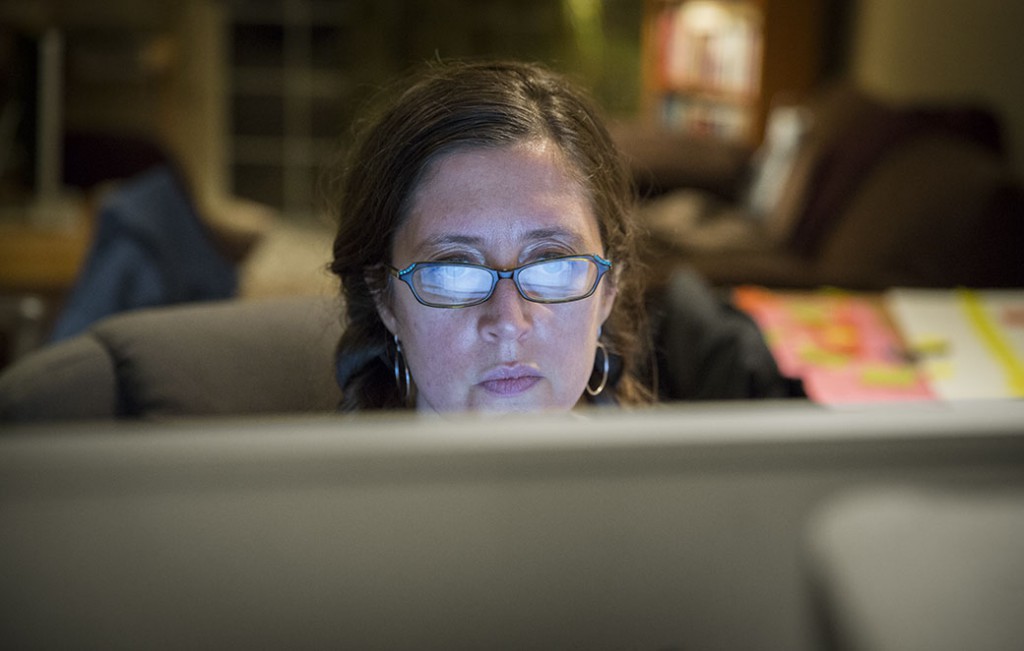
 Beyond Naked editor Lisa Cooper burning midnight oil with FCPX.
OK so you’ve got your Events all nicely structured after reading part i, part ii and part iii of this post. And now you’re wondering: what’s the right way to assemble a feature-length documentary film in Final Cut Pro X? That’s what Shane Tilston recently asked me in this question:
Did you work with just one project file for the whole film? If so, when you disabled certain events, did you just live with the “media missing” red notation? Or – did you use multiple projects for different scenes, and then combine them? If you did that, how did you combine them? I haven’t played around with that yet, but I’ve heard that’s tricky.
It is tricky! But the idea is simple: cutting a feature-length film is like loading a train. Have you ever seen trains load on a track? First the engine connects to one car (the first sequence), then a second is hooked up, and then the engine pushes the whole thing into a third one, connecting it. At some point in the process the engine may pull the entire assembly forward until passing a switch in the track, which is thrown, allowing the cars to be pushed down a different track to connect with different cars. It’s a tedious process, but eventually all the cars are connected to the train, which jubilantly toots its horn, and chugs away.
In Final Cut Pro X terms, each car is a Project, also called a sequence, in your film. Each sequence is composed of scenes, and the scenes are composed of shots. (Sometimes a single long scene is a sequence all to itself – but usually a sequence contains more than one). When I started out, this was a little mysterious to me. How do I know what to put into a sequence? How do I know where one sequence ends and another begins?
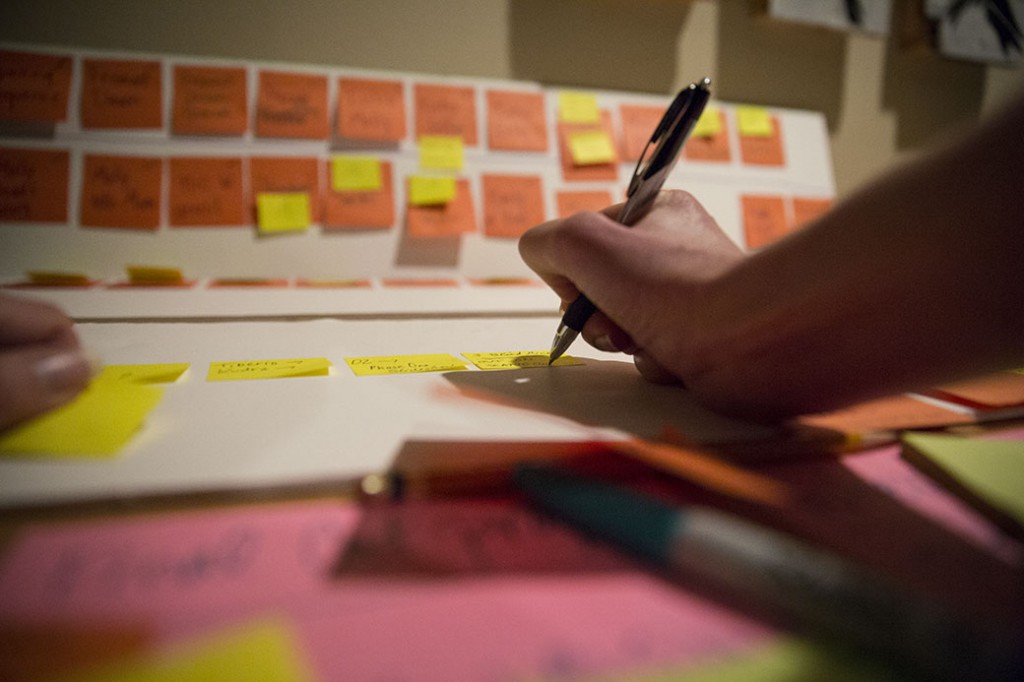
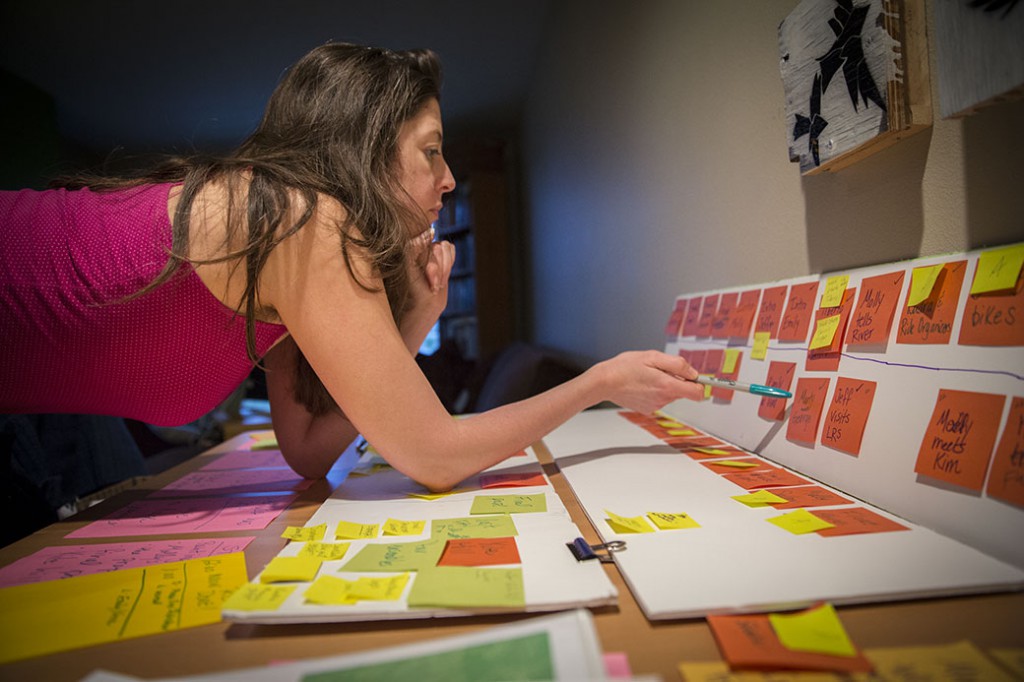
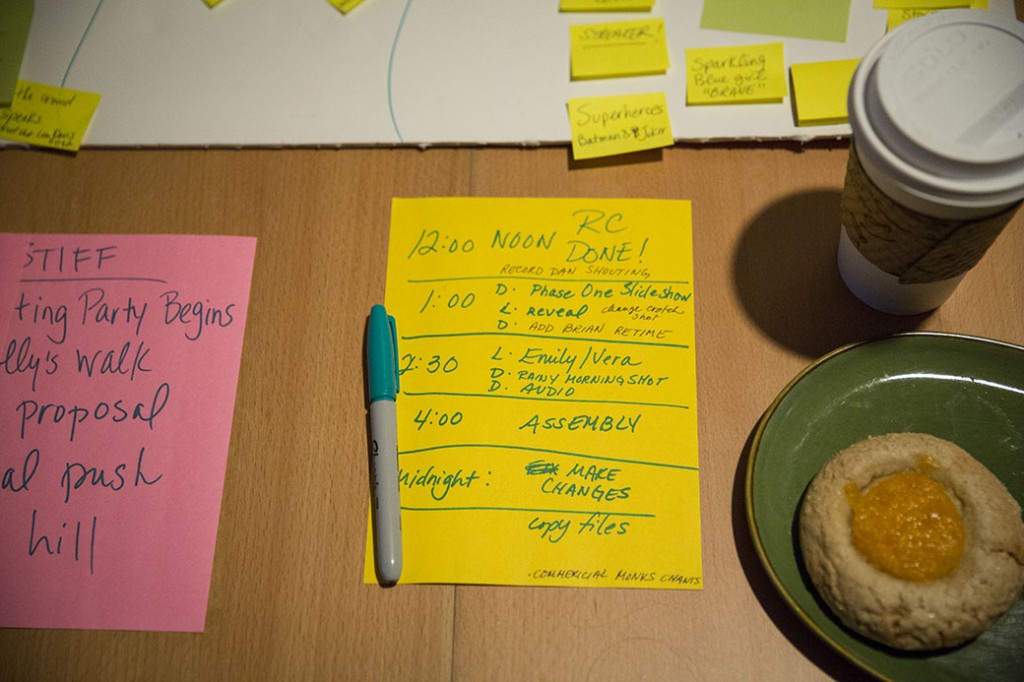
This is why developing a preliminary structure for your film is incredibly helpful at the beginning. We used sticky notes to write down key points and elements of story that we knew had to be in there somewhere. We stuck them to a big piece of white foam board. Then, we started to see things that belonged together, so we moved them next to the others. Eventually the stickies covered many white boards. As the structure came together, we used color-coded stickies to represent items that would go into the same sequence.
Then, you make adjustments to this board as you progress. Here’s an example. In the shot below, the board along the wall is dedicated to figuring out how the sequences should be fit together (the order of the cars in the train). Beneath that, you can see that each sequence has its red note, and yellow notes below that indicate which scenes are included, and their order.
The most important thing about this is that it is going to constantly change, especially in the beginning. But all through the process, up until “picture lock,” you can and will be moving things around to make them fit better. This was an exceedingly difficult process for me. Lisa, my creative partner, is much more organized than me, so I was able to depend on her for much of it, and that was indispensable. So if things stuff doesn’t come easily to you, find someone to collaborate with who can manage it. It’s essential.
So to sum up: we created a separate project file for each sequence in the film. From a technical standpoint, another reason for doing this is that it allows you to load only those Events that you need for the given sequence, instead of having to load all the Events in the film. In our case that was 2.5 terabytes of footage, which brought our 2011 iMac to its knees when we tried to open all Events simultaneously. Even with a super fast computer, the best case is that FCPX will behave erratically when you load too many Events. The secondary reason for doing this is it just allows you to work faster: you can put your finger on the footage you’re looking for much more quickly if you have three Events open than if you have 30.
As you progress further into the edit, you will have more and more sequences finished. Our film had 34 sequences in the end (including credits as the 34th sequence). When we got to the point where we were ready to put them all together into the “first assembly,” we shared each sequence as a master file, created a new Event called “Screener,” and imported each file into that Event.
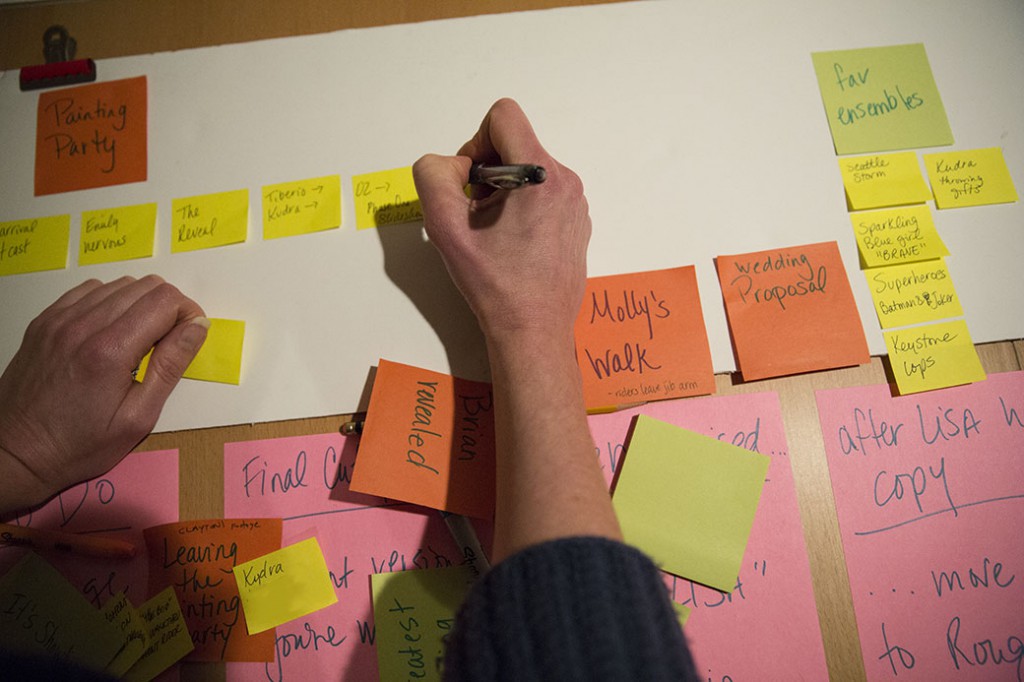
Then we created a new project called “Assembly 1″ and dropped all the screener files, in order, into that. This is quicker if you title each exported sequence with it’s number first, ie., “01 opening sequence” and “02 Fremont Dawn,” etc. Then, we exported it, and viola, we had our first assembly. Grab a big notebook, and watch the first assembly, taking notes at the places you think aren’t working. Then, reopen those individual sequences and keep working. When you’re feeling good, make another assembly. Repeat. Again. And again. We repeated this process a dozen times or so, before we got to locked picture, where you get to write a sticky that looks like this:
One thing that’s a little awkward about this process is that some sequences will have music playing between them, or other transitional sound or picture elements. In that case, it may make sense to combine two sequences into one. In our film, there were a couple of sequences where this would have resulted in us having too many Events open, so we waited to lay in the connecting elements for those two sequences until the final assembly.
We did all of the color correction and first pass audio mixing inside each of the sequences, not in the assemblies. So that in the end, the assemblies only contain the master files, and in the case of the final assembly, two tracks of music that was used to bridge the two sequences mentioned above:
In the screen capture above, note the orange chapter markers. You can see where I’ve combined several sequences into one for ease of editing as we progressed in the process. The orange chapter markers reveal what earlier in the project was an individual sequence. These markers are there for easy navigation on final DVD, as well as for your own navigation, because you will need to replace individual sequences as you make final color corrections, audio edits, or editorial changes and having them makes it a snap to locate.
OK so let’s go back to where things are tricky. On FCPX, you can’t have an entire documentary feature-length film worth of Events open at once. We couldn’t, at least. So you have to selectively move events and projects in and out of where FCPX can see it, and restart to load only the stuff you need and ignore what you don’t. This is a pain in the ass. It’s the worst thing about FCPX. But it’s the price we pay for the wings that it gives us to fly over everything else. Lisa and I spend an insane amount of time moving folders around. We had dreams at night about moving folders into the wrong place and not being able to find them later. Until we discovered Event Manager X. I won’t say anything else about it here, since I’ve already raved about it.
That’s pretty much it. I’m sure there’s some things I’ve missed, so please ask questions and I’ll continue to flesh out this post in response.



Dan –
Thank you SO much for this! Just read it – and will no doubt read it a few more times as I start up my first feature (indie-feeling NYC relationship narrative – might not be a groundbreaking subject, but aiming to do it well).
I really appreciate the time you take to share the depth of your experience and knowledge – you’ve got a fan for life!
Shane
Kudos to you guys for figuring out a system that worked for you! I don’t think I could edit a full-length doc this way given the need to take footage offline and export sequences and string them together to view them. I wonder how FCPX would react on a fully spec’d out late 2012 iMac with 32GB RAM? Wondering if the RAM has more to do with loading additional events than vid card or chip speed? When you eventually upgrade your system, it would be interesting to know how the full documentary loads (as well as with whatever the most current version of FCPX).
Great series of posts! A couple things I’d like to point out that might make your life slightly easier in the future. One is to make sure any and all cameras and audio recording devices you use have their internal dates and times correct, this way you can use the time stamp on the footage to help you organize–either in the finder or in FCPX. Also you can use FCPX’s handy internal batch renaming tool to rename all the footage in FCPX–SOOO much easier than doing it in the finder (handy video to show how this is done here: http://www.youtube.com/watch?v=E1ql241Qytg )
And I really didn’t understand what you meant by not being able to load an entire film into FCPX–do you mean in a project? Or all the events at once? If you’re having problems with the projects I’d suggest using compound clips and secondary story lines. Once you start to get a lot of clips on the timeline (or project) your system performance really takes a hit. So I break it all down by scene and once the scene is mostly together I make it into a compound clip or a secondary storyline. Compound clips are much easier on the system for playback and if you do your entire film this way you should end up with a project that has a series of nice clean compound clips in it rather than thousands of clips and doesn’t bog down your computer. And working with compound clips are much more flexible than working with nested clips in FCP7 so there’s no reason not to use them when you need to.
That’s a great tip about time on camera. I do find my camera clock is frequently wrong, so that’s something to add to the pre-shoot checklist for sure.
Re: your question about loading entire film, I’m referring to loading all the Events at once. With my 2011 iMac, 16gb ram, I was completely unable to load all my film’s events concurrently. It brings the computer to its knees and causes FCPX to behave erratically. So in my case, the compound clip solution doesn’t really solve the problem, because you still have to have all the Events open that the compound clips are drawing media from. For projects small enough, though, it seems like a workable solution.
When you say collapse Events, do you mean creating a new Event with only referenced clips? That seems like an excellent solution once you get to the point of locked picture, but not sooner. In my case, I tried that, but I got “duplicate clip” errors on most of my Events, which prevented me from slimming them in this way. I think that’s down to the fact that I made some bad moves when I first created the Events: I created aliases to my files (on another hard drive) and pointed FCPX at the aliases, instead of letting FCPX keep track of everything. I won’t be doing that again.
Oh and one more thing: you can collapse events and that takes a lot of your burden off your machine too in the same way selectively loading them does.