With digital video cameras, it’s tempting to shoot everything off the monitor. What you see is what you get, right? Well, sort of. I’m thrilled with the exposure tools we have today – in particular the waveform monitor and histogram that Magic Lantern has unlocked on my 5dmkiii. But there are some situations where depending soley on what you see can get you in trouble.
1. It looked good on your monitor when you shot it…but it’s too contrasty (or not contrasty enough) in post. No one knew how the film was going to be graded at the time it was shot, so somebody said “let’s just shoot it flat” (ie, using something like the ProLost picture style). Good idea. But shooting it flat isn’t the same as lighting it flat. For best results, you need to know what contrast ratio to use. And that’s where your light meter comes in.
How to find contrast ratio. Let’s assume a simple interview, with two lights: a key, and a fill. To determine the contrast ratio, turn off the fill light. Point the lumisphere at the key, take a reading and note it. Next turn off the key light, and repeat to read the fill light. You now have two f-stop values, i.e, f/8 for key, and f/5.6 for fill. To determine contrast ratio:
1:1 ratio = lights are the same, perfectly even
2:1 ratio = 1 stop difference between lights
3:1 ratio = 1.5 stop difference
4:1 ratio = 2 stop difference
8:1 ratio = 3 stops (one half of face is very dark)
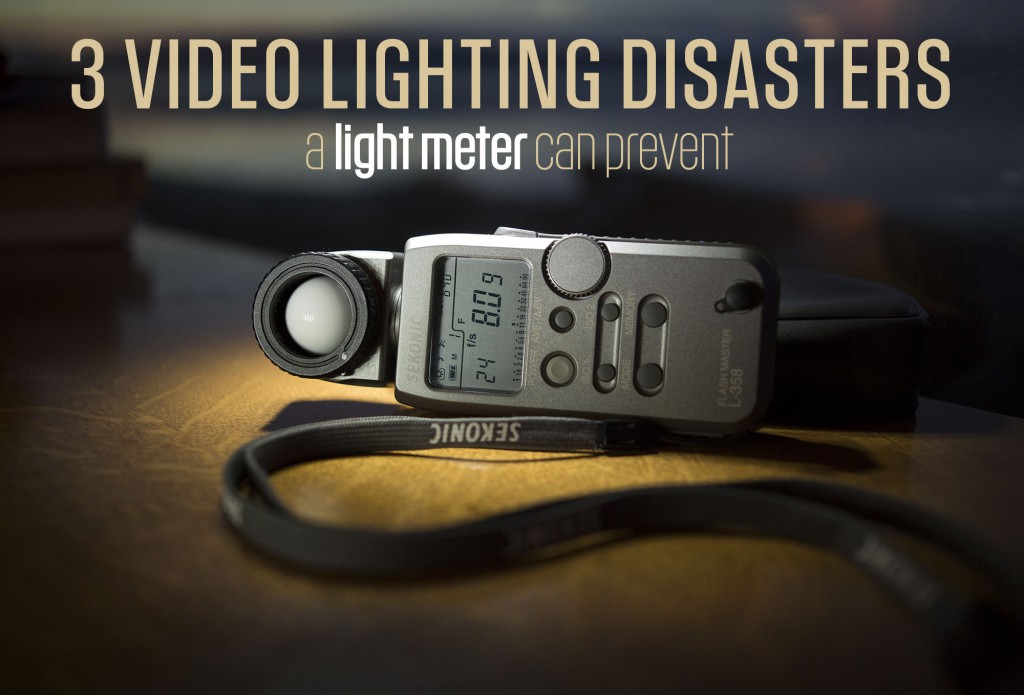
On my Sekonic L-358, there is a handy feature for performing this calculation automatically, called “brightness difference” mode. I recommend investing in a light meter that can do this for you, otherwise you have to do some awkward math. And you’re don’t call yourself a filmmaker because you wanted to be an engineer, do you?
So, to avoid this lighting disaster, do some camera tests as described above in advance of your shoot, using several different contrast ratios. Then apply your intended grade to the footage, and see which contrast ratio best gives you the look you’re going for.
Tip: I most often grade with FilmConvert Pro, which is a quick and powerful way to get great-looking footage (esp. skin tones) out of DSLR video. With FilmConvert, I find that I have to shoot at a lower contrast ratio than looks normal on my monitor for best results with many (but not all) of the film stocks.
Side note: Be sure to get a light meter that supports cine frame rates. Many inexpensive light meters don’t allow selecting shutter speeds between 30th/sec and 60th/sec. For 24p video, you need 48th/sec. But it’s pretty easy to find a quality meter used. I was able to find a Sekonic L-358 for $160 on Craigslist, and it does everything I need and then some.
2. It looked good when you shot it…but you can’t repeat it. The director wants you to reshoot a scene – but you can’t remember how you lit it. Or you simply need to match the lighting from day to day on a multi-day project. You’ve got lighting continuity problems.
Solution: The first time you light it, take a light meter reading for each light on set. Record three values: ISO, aperture number, and frame rate. I.e, 640, 5.6.3, 24. That way, when the director calls you a month later begging for a reshoot, you’ll be able to say “no problem.” Lighting, at least, won’t be the cause of any continuity problems.
3. You scouted the location, but when you arrive on the day, your lights aren’t powerful enough to match the window light. Ooops. Had you carried a light meter while scouting, you’d have known what to bring.
When scouting a location, a light meter takes the guesswork out of the process. It also helps you communicate with the rest of the crew, which is invaluable for larger projects where someone other than yourself may be setting up the lights.
And finally, I’ve found that carrying a light meter is a great way to educate the eye. How bright is that overcast day in Seattle? (Almost f/11 at ISO 160 for 24p. Brighter than you might think!) How bright is that fluorescent office environment? Hmmm, f/4 at ISO 640? Hold up the meter, click, and discover that it’s f/2.8 and a half. Having this kind of instant feedback is key to rapid learning. After awhile, a light meter will make you pretty good at this game. And that can’t help but make you a better filmmaker.
Do you use a light meter on your projects? How do you use it?

I have a Sekonic 308 but get mixed results from it. It’s not the cine version. I use a C100 so am not sure if it’s better calibrated for DSLRs.
It’s tough to use non-cine meters, because you have to do some math in your head to get the right result. And the whole point of using a meter is to get the math out of your head, right?
Isnt 3 stops difference 1:8?
Uli
You’re absolutely right Ulrich – I’ve updated the post with your correction. Thank you.