Connecting Zoom H4N to Sound Devices MixPre – Part II

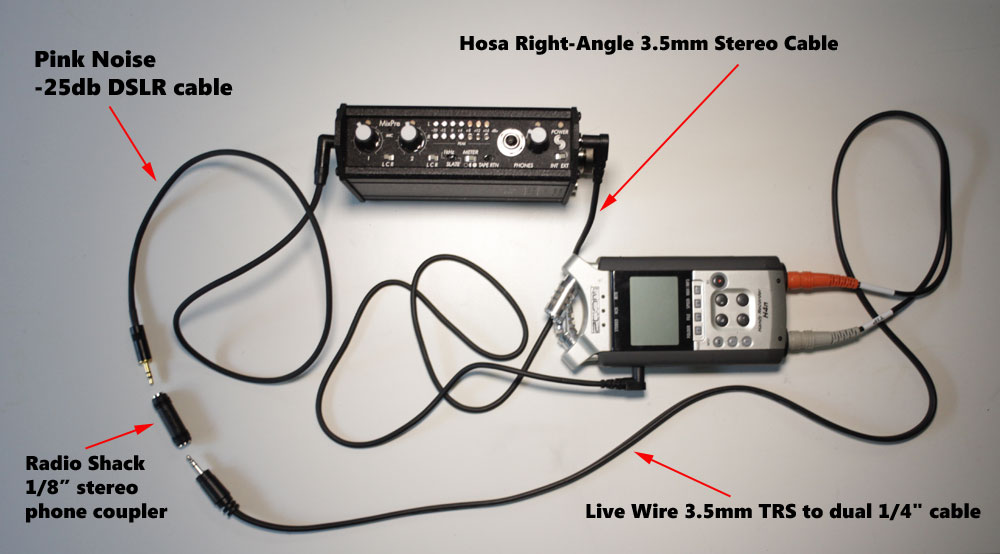
In part 1 of this post, I outlined the problem of connecting the Zoom H4N to Sound Devices MixPre. In a nutshell, the signal the MixPre sends via it’s Tape Out is too hot for the Zoom’s line in. I posted a workaround that allowed us to get by, and a proper solution using a -10db inline pad. Since then, sound recordist Lisa Cooper and I have been using this combination on an almost daily basis shooting a documentary called Beyond Naked. And we’ve hit on an even better solution that truly kicks ass and makes us smile. Here it is:
The problem with these lightweight 3.5mm jacks is that, when we used ones that go straight in, they tend to stick out and get knocked around in the sound bag (see photo below):
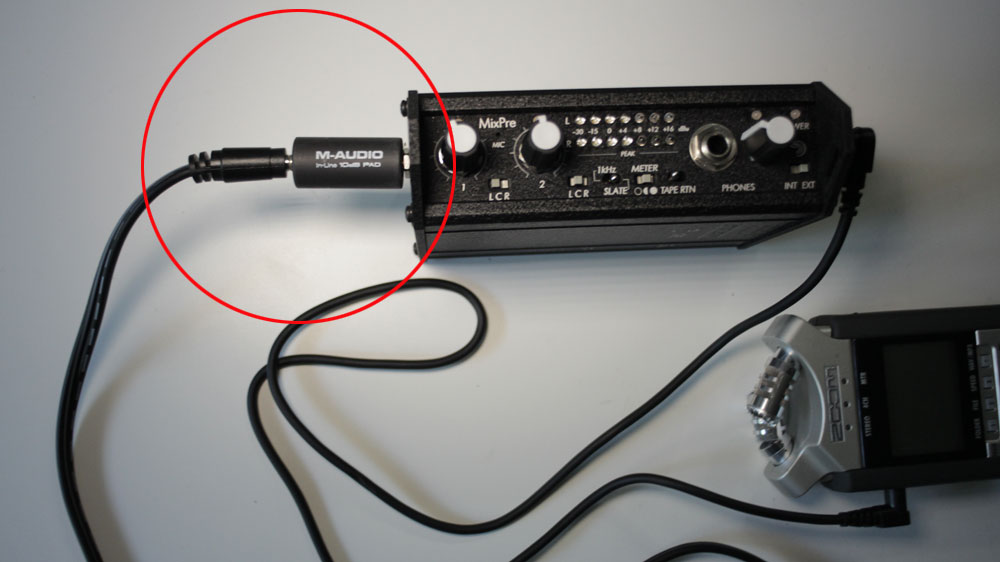
Because it’s coupled with the -10db pad at the critical connecting point, it tends to lever itself loose, causing static, or worse, it could break off or damage the internal jack on the MixPre. The right-angle connector, on the other hand, lies flat, which gives everything a safe, low profile in the sound bag.

The Pink Noise cable is the way to go. Because it’s -25db, you have to set the recording level on the Zoom H4N a bit higher. We’ve found the best setting is 28. (The best setting is 20 with the M-Audio -10 pad). Any higher, and it’ll start to clip on the Zoom before the MixPre limiters kick in. The best thing about the Pink Noise cable, besides the fact that it makes the tape out signal usable, is that it has a right-angle connector that allows it to connect to the MixPre without sticking out.

Here’s the parts list:

Hosa Right-Angle 3.5mm to Right-Angle 3.5mm Stereo Cable ($3.99 at B&H Photo)

1/8″ Stereo Phone Coupler ($3.99 at Radio Shack)

Pink Noise -25db DSLR Cable ($54 direct from Pink Noise Systems in UK)

Live Wire 3.5mm TRS to dual 1/4″ cable ($8.99 at Guitar Center)

If you order the Pink Noise cable, make sure you email and ask to have the VAT tax dropped (you don’t have to pay it if you’re ordering from US). They have great customer service if you ask, but you’ll get overcharged if you simply place the order via the web form, since there is no option to not pay VAT on their order form.

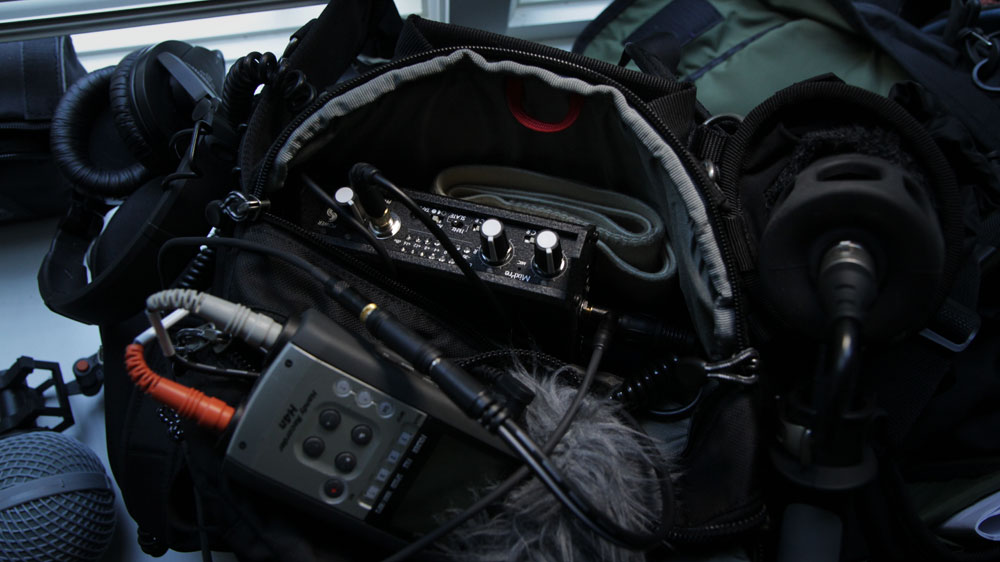
And finally, here’s why it’s such a big deal to have the right-angle connectors: because sound bags in real life look like this! Cable management is very important to getting the job done.
Color grading with Colorista II

I’ve been using Colorista II for pretty much all my color grading ever since it was released a few months ago. Why? Because it’s awesome, and I know it’s awesome because of Stu Maschwitz’s killer video tutorials. He posted an unusually long clip earlier this week: a full hour color correcting session with a client. To watch the tutorial is to be right there in the room, listening in on their conversations, learning the steps to get perfect color. Thanks Stu!

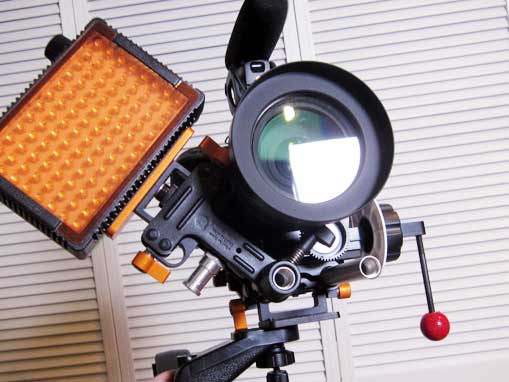
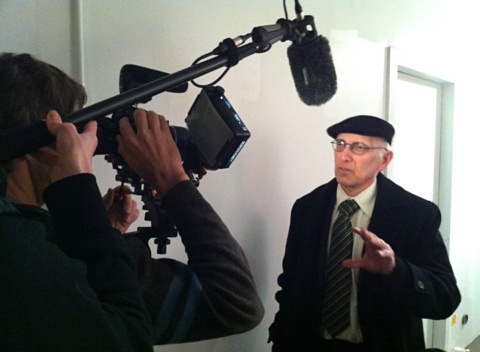
I had a chance to put everything I learned to work on Thursday, when I shot a series of series of brief interviews, called 619 Stories, for a Seattle startup called Intersect (which has posted many of the finished clips in the 619 Building Timeline). The lighting was abysmal in the venerable artists building (which I myself once briefly lived in nearly a decade ago). I knew I was going to need to augment the light with something on-camera at least for fill, and I found a decent way to configure my custom shoulder rig with LitePanels Micro Pro just to the side of the camera, off one of the rails:

What I like about this is that it’s true quick release. I can instantly remove the LitePanel just by squeezing the clamp, which grips it with plenty enough force that I don’t have to worry about it coming loose accidentally.

I used Colorista II to do the grade, and Magic Bullet Looks to drop in a vignette and spot exposure. I could have done all of this in Colorista II by stacking additional Colorista filters, but Looks and Colorista work fine in tandem.

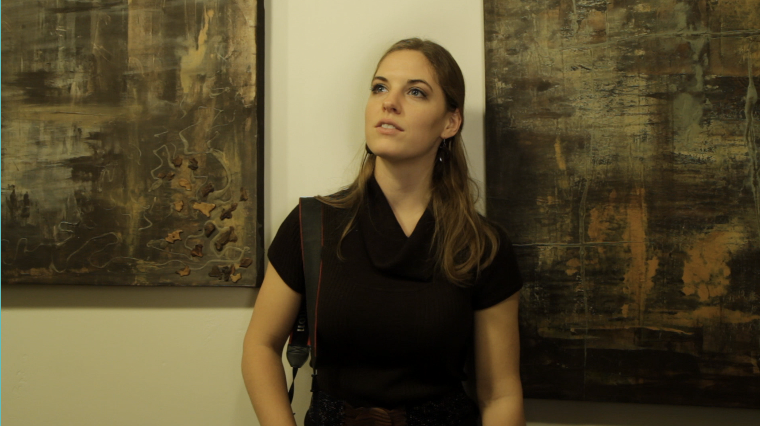
Here’s what I started with:

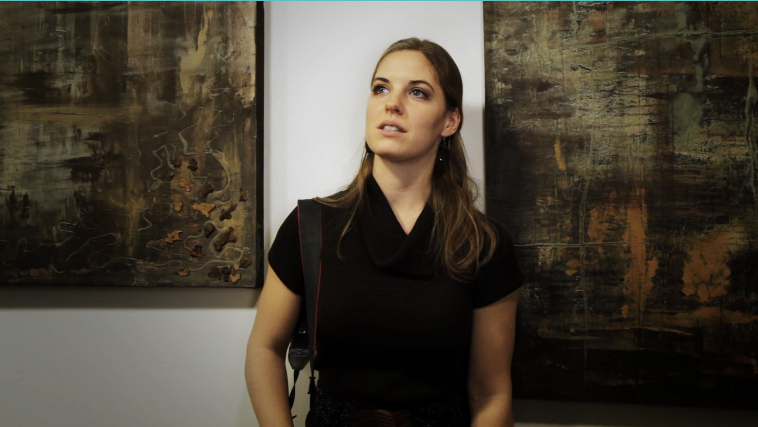
And here’s what I finished with:

I shot this interview with one knee down, which gives her the hero pose, with the lens angled slightly up at her. Shooting with a shoulder rig off one knee pretty much gives the same perspective you’d get holding a camcorder football-carry style, which was my preferred method of carry before DSLRs made me never want to touch a camcorder again.

And finally, here’s the finished video:

While editing this piece I accidentally discovered a (possibly gimmicky) solution to the dreaded jump cut problem: I inserted a cross dissolve between questions, and in Final Cut’s Motion tab, I set the clip to scale 100 percent at beginning of transition; and 200 percent at completion of it. The result: The old clip flies up at you, revealing the new clip underneath. It wouldn’t work in every interview, but I kinda like the effect.

Going steady with my new shoulder rig

Today was my first day of filming with my custom shoulder rig. And to sum it up in a word: sweet. The rig is light, easily shifts aside so I can have off-camera conversations, and rock-steady when I need it to be.

One limitation is that everything starts to look like it’s shot at eye level because, well, it is. But I discovered a workaround for that today: wear knee pads. Seriously. With knee pads on, I can drop lightly to one knee while shooting, and put the camera at the same level as I’d be if I were hand-holding the camera football style. Touchdown!

Darwin's Return: Flour Beach, Floreana

Green turtles must find deserted sandy beaches to lay their eggs. Trouble is, virtually all the open sandy beaches are colonized by sea lions. But not this one. Why? Because sharks have long used this bay for sleeping – marking it permanently off limits to sea lions. But not to turtles, who have migrated here for generations, mating in the shallow water and crawling ashore to lay their eggs at night.

The beach gets its name from the flour-like consistency of the sand. In addition to the turtle hatchlings, large numbers of young sting rays spend their childhood in the surf along this beach, before heading out to sea.