When I was shooting a project in Bolivia over a year ago now, I ended up giving away my Sachtler Ace XL with 75/2 carbon fiber legs to a cinematographer who saved my bacon when he loaned me a camera to finish the project. My C500mkii had died in the rain forest on the second day of shooting due to extremely high humidity in the jungle (stayed dead until I got back to rainy Seattle and then just started working again. Go figure). I was able to finish my project using his backup C70. (Thanks
@christiangutierrez_wildlife)
Anyway, I’ve been searching for a winning tripod combination for my second camera to pair with the Sachtler Flowtech / FSB-8 combination that I really love. But I didn’t want to have to pay the top dollar that combination demands.
I really wanted to like the SmallRig Potatojet first generation tripod that I tried, but ended up not loving the delay in the legs locking when you release the squeeze mechanism, and also it’s kind of a pain to really level the thing in practice. For me, at least, there turns out to be no substitute for a good old-fashioned 75mm bowl.
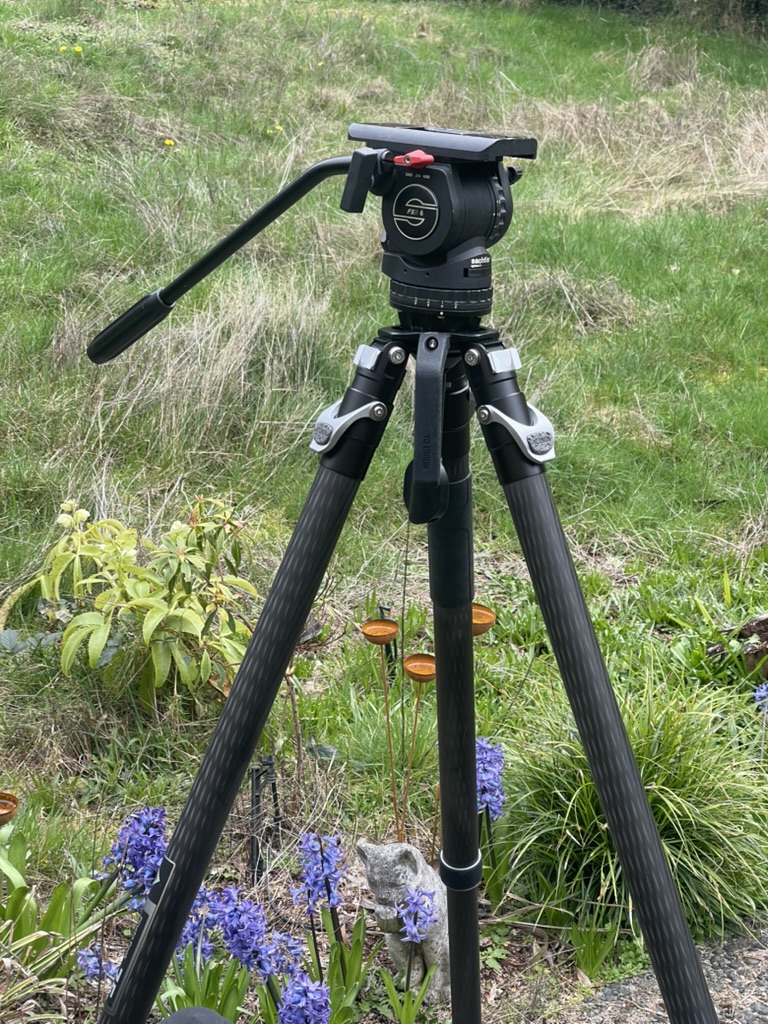
So I’ve been looking for a set of carbon fiber legs that can give me the same never-bend-over-again convenience as Flowtech 75 at a price point I could swallow. I ended up finding a very well maintained used FSB-6 fluid head on Ebay for $625 with a Touch-n-go plate (my favorite!). And after reading a lot of reviews, I bet the farm on a pair of YC Onion Pineta legs that have a very similar action to the Flowtech 75 at about half the price.
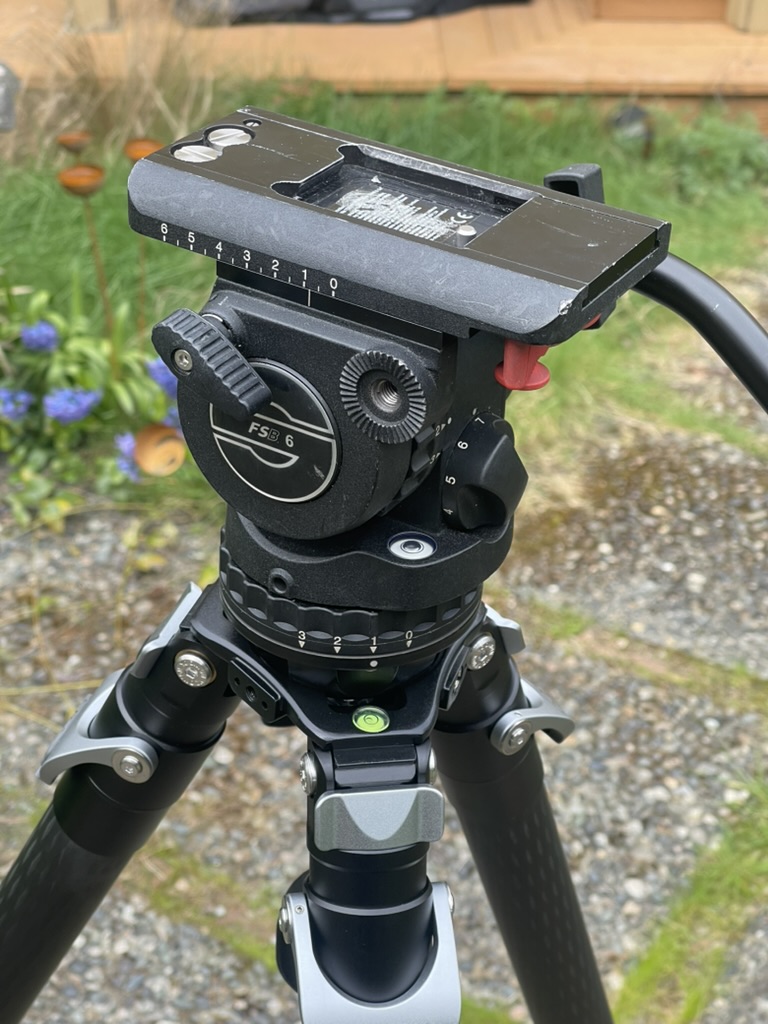
I wasn’t sure the 75mm bowl of the YC Onion with work with the Sachtler tiedown that comes with the FSB-6, but it turns out to work perfectly. These two are a match made in heaven!
With the Flowtech 75, you really need a mid-level spreader to lower the legs without fiddling with them (it’s a two-step: lift the spreader, with straightens the legs, then lower them). But I discovered right away that you don’t need a mid level spreader on the YC Onion to do this – the legs are super easy to incline together and lower without a spreader. And raising the YC Onion is just as fast as raising the Flowtech as both have a top-of-legs release point.
And the YC Onion is one smooth operator. Those legs are dreamy to raise and lower. And while they may look lighter than the Flowtech’s boxy legs, they are not. They weigh essentially the same, giving a very solid base to this tripod, which I love. This thing is rock solid, easy to deploy, and fully pro in every way. And I gotta say they just look f-ing amazing with that FSB-6.
The FSB-6 fluid head just fits into the case that comes with the tripod.
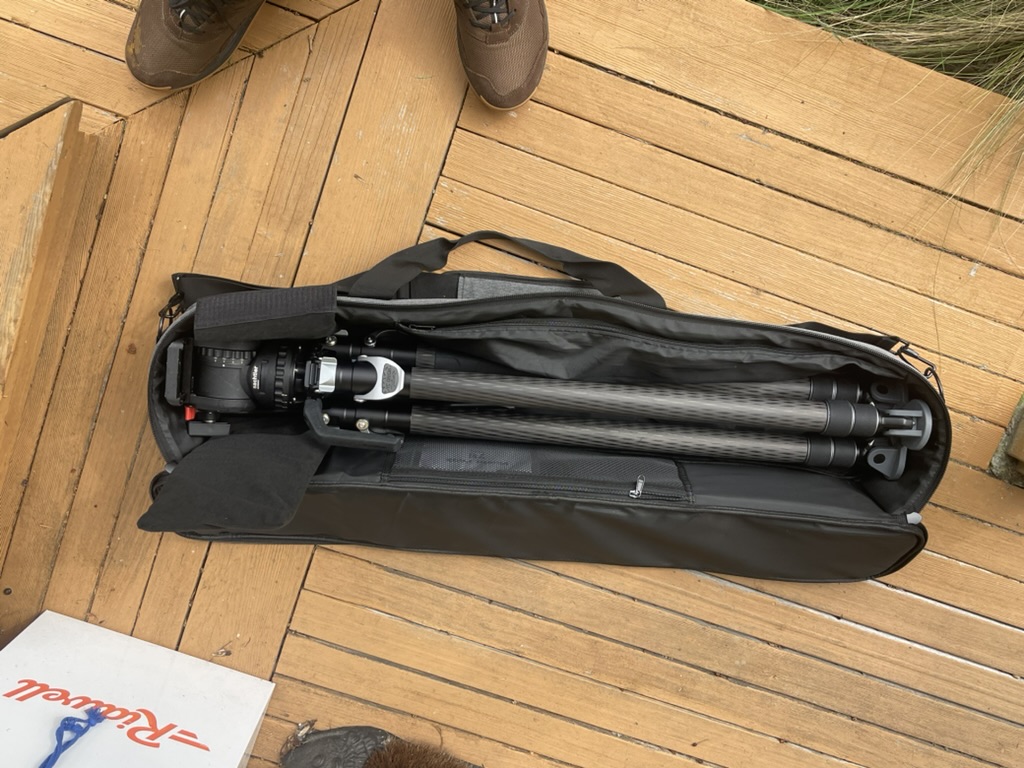
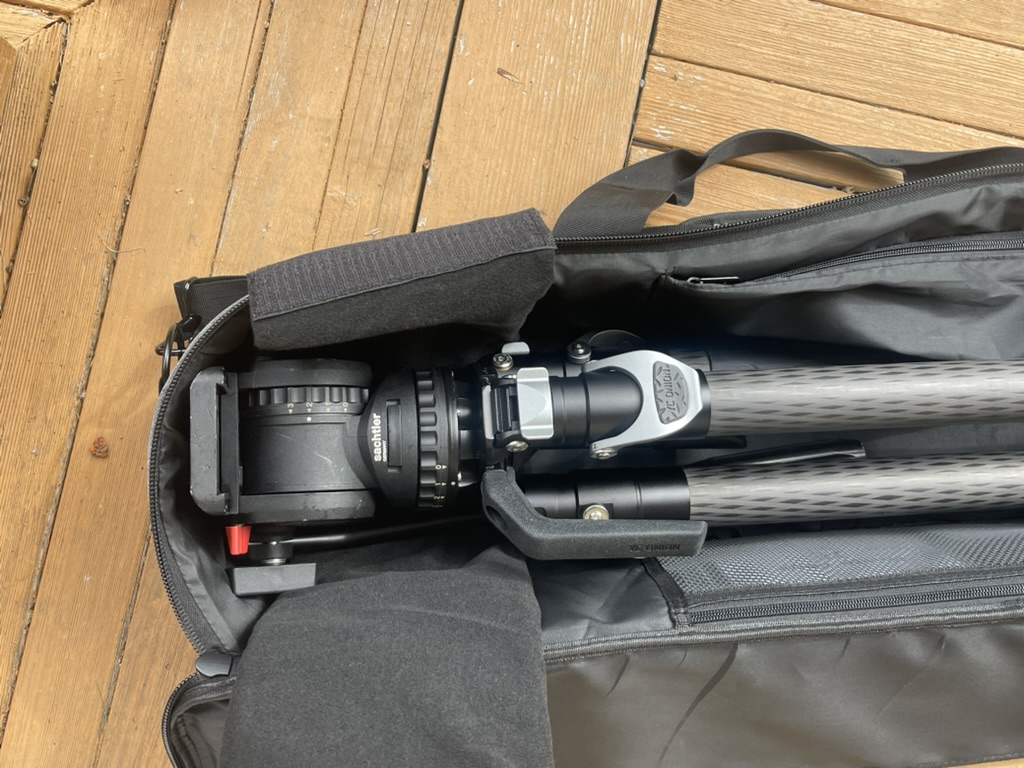
The padded fluid head pillow that comes with the Pineta case is a very nice touch!
All in all, very happy with this combination and plan to finish out my career with this guy taking care of me and smoothing out my soon-to-be 60-year-old hands. A solid tripod is more important to me than ever!