The SmallHD 502 is a monitor that feels like it was made for the Sony FS5, addressing the camera’s fatal monitoring flaw while remaining true to it’s handheld aesthetic.
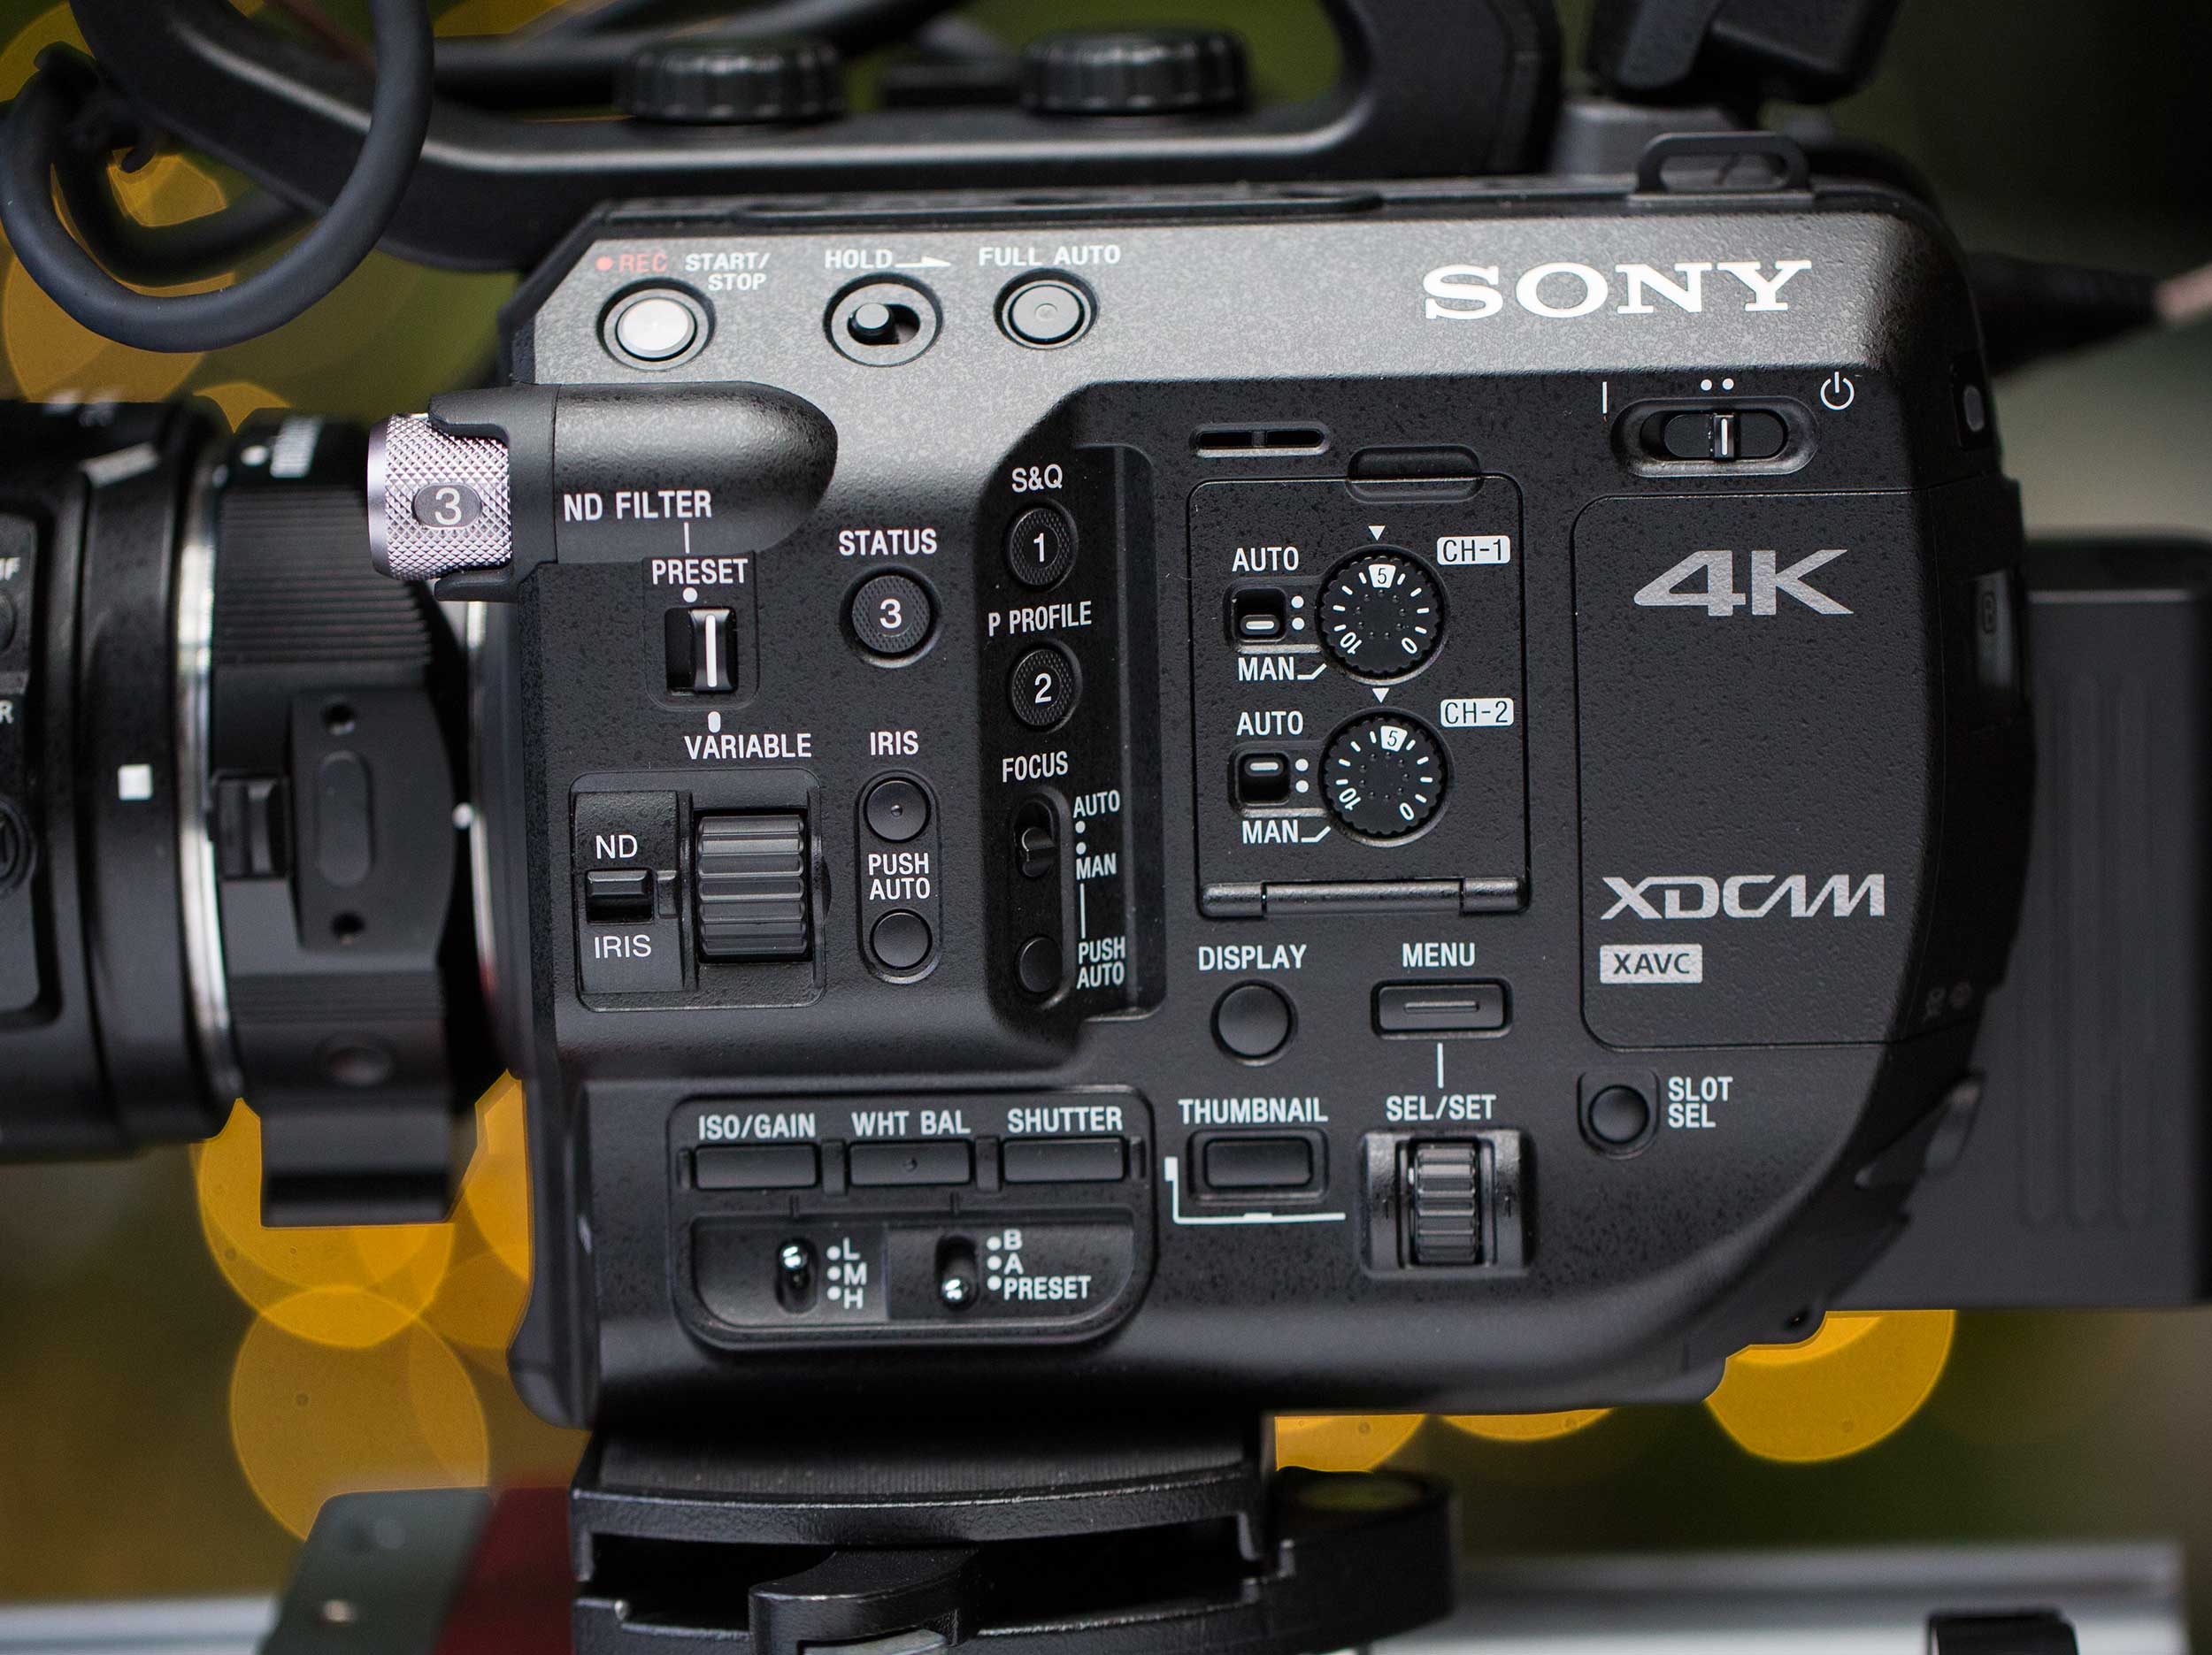
Sony’s new FS5 is a killer documentary camera. After just three months using the camera on a variety of projects, I’m hopelessly addicted to it’s stepless ND, it’s 14 stops of dynamic range, and it’s hand-hugging ergonomics. But if you want to take advantage of those 14 stops, you have to shoot SLOG. And if you shoot SLOG, you need to overexpose by at least a stop, to kill noise in the shadows. On higher-end Sony cameras like the FS7 and F55, you can load monitor LUTs to compensate for this. But the FS5 doesn’t support monitor LUTs. So overexposing blows out the image, making it difficult gauge exposure on the LCD.
This problem isn’t going to be fixed in firmware, we’re told by Sony. The chip in this camera will never be fast enough to support monitor LUTs. So. What’s a self-respecting documentary DP to do? I went looking for an external monitor that supports LUTs. One that doesn’t disrupt the feng shui of this fit-in-your-hand camera. Here’s what I found.
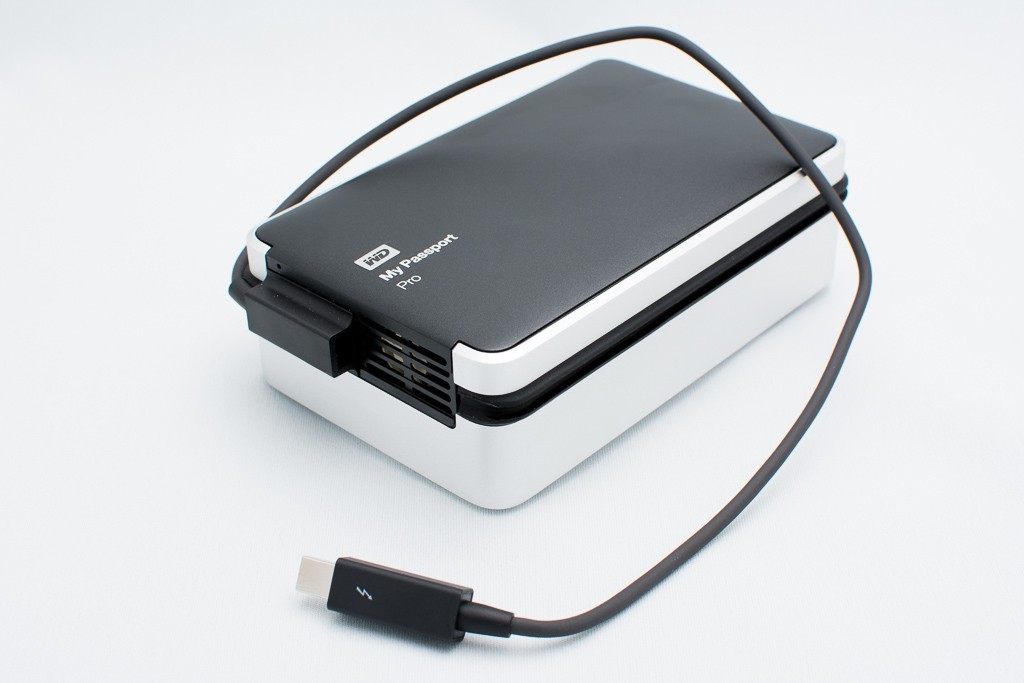
First the bad news: many of the popular external monitors that support LUTs are too big for the FS5. I’ve used two, the Atomos Ninja Assassin and the Odyssey 7Q+. Perched on the top handle of the FS5, they are about as complementary to the aesthetic of this camera as Donald Trump has been to the presidential ambitions of Jeb Bush.
The whole point of the Sony FS5 is grab and shoot. This camera empowers you to feel your way into a scene, with everything at your fingertips. So bolting a lot of stuff, or turning it into a shoulder mounted beast like it’s bigger brother the FS7 (as Zacuto would love for you to do), just isn’t right. We need to look for an option that respects the form of this camera.
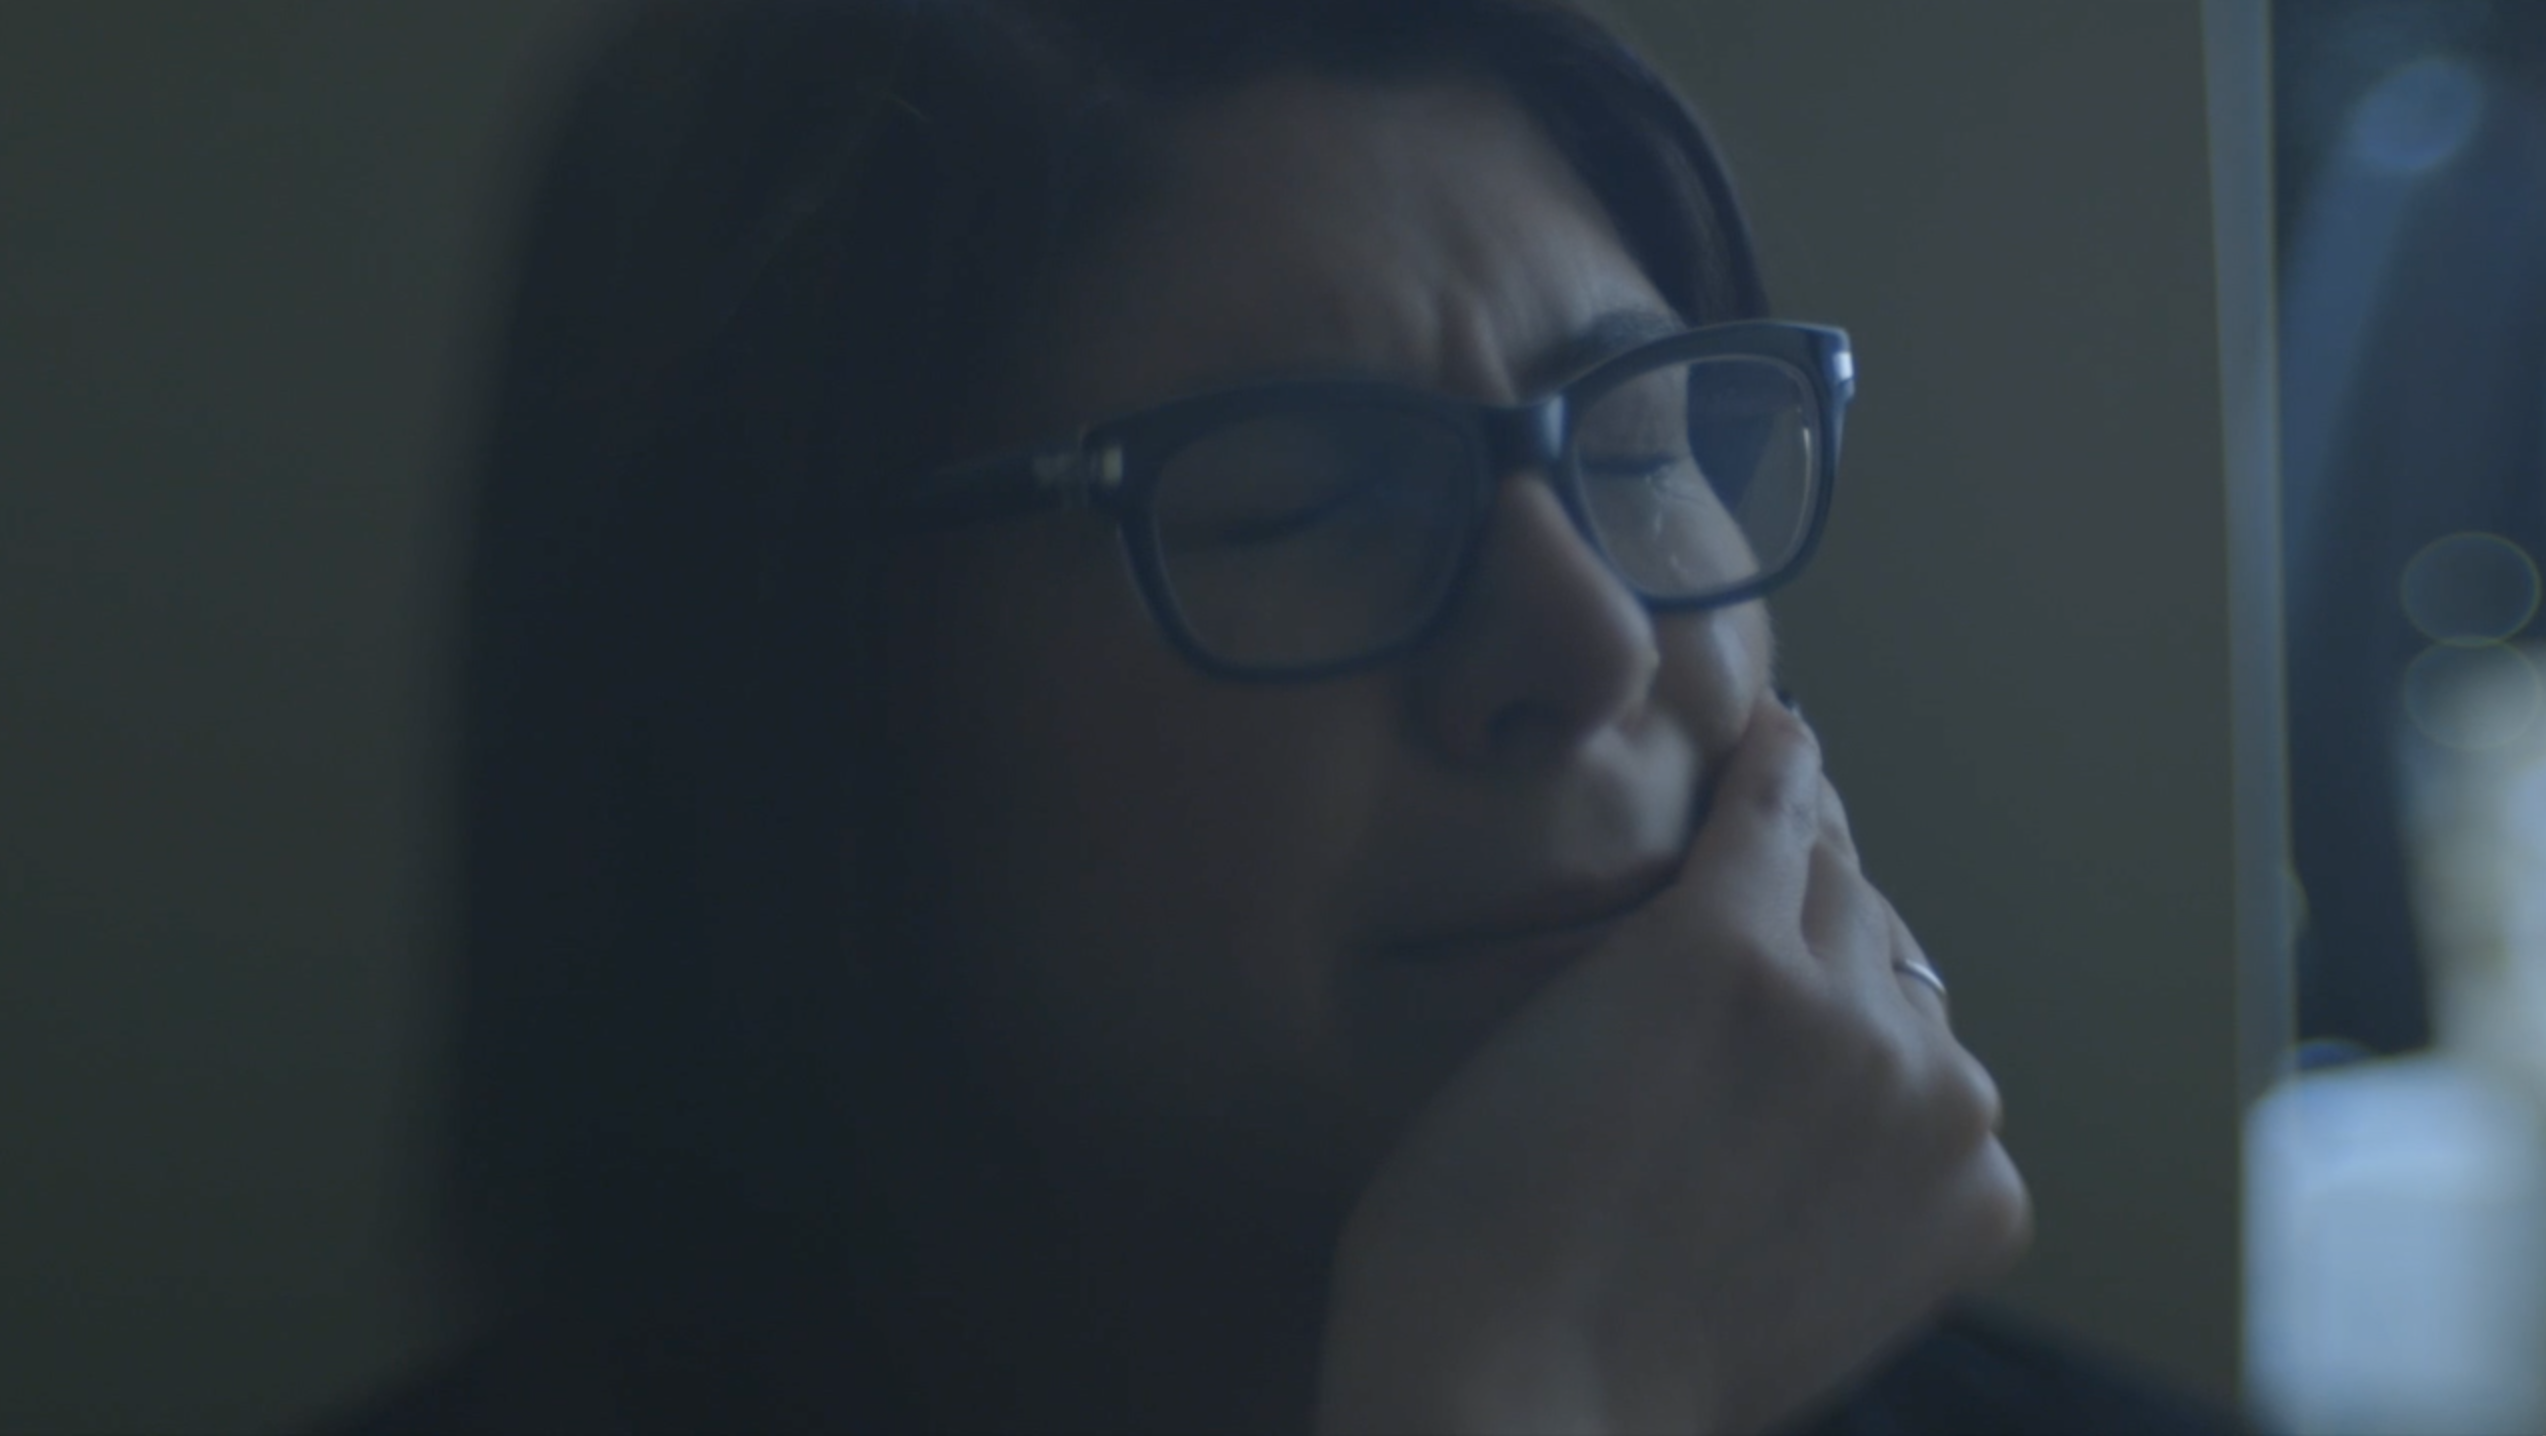
A fellow Seattle DP, Gabriel Miller, recommended I take a look at the SmallHD 502. And after spending a few days shooting with it, I got really excited and bought one. I’ll explain why in a minute.
But first, a few words about my old monitor, which happens to be the SmallHD DP6. I’ve been using it since 2011, and I love this monitor. But recently I’ve observed what seems to be a trend toward larger on-camera monitors. Good-quality LCD and even OLED screens must be getting cheaper to make, because there sure are a lot of them out there. And it seemed to me that having another inch or so of screen would be a very nice thing indeed.
So when SmallHD announced the 501 and 501 monitors last May, I was skeptical. Why go small when you can go big? But all of that thinking changed when I got my hands on the 502 (The 501 is HDMI-only, and 502 offers SDI as well. SDI is the only way to go for professional use).
The first thing I noticed is that, as small as it is, the actual screen size is almost as big as the DP6 (which isn’t actually a full 6″ diagonal – it measures 5.6″). It’s very compact, very lightweight, yet manages to provide all of the essential features that larger monitors do, like peaking, scopes and support for user-created 3D LUTs.
The second thing is that the 502 is visibly much sharper than that DP6. It’s much easier to tell at a glance if you’re shot is in focus, even without using any of the focus assists. That’s because the 502 packs a full 1920×1080 pixel stack into that 5″ screen, while the DP6 maxes out at 1280×800. Those extra pixels translate into a clearer picture of what’s happening in your frame.
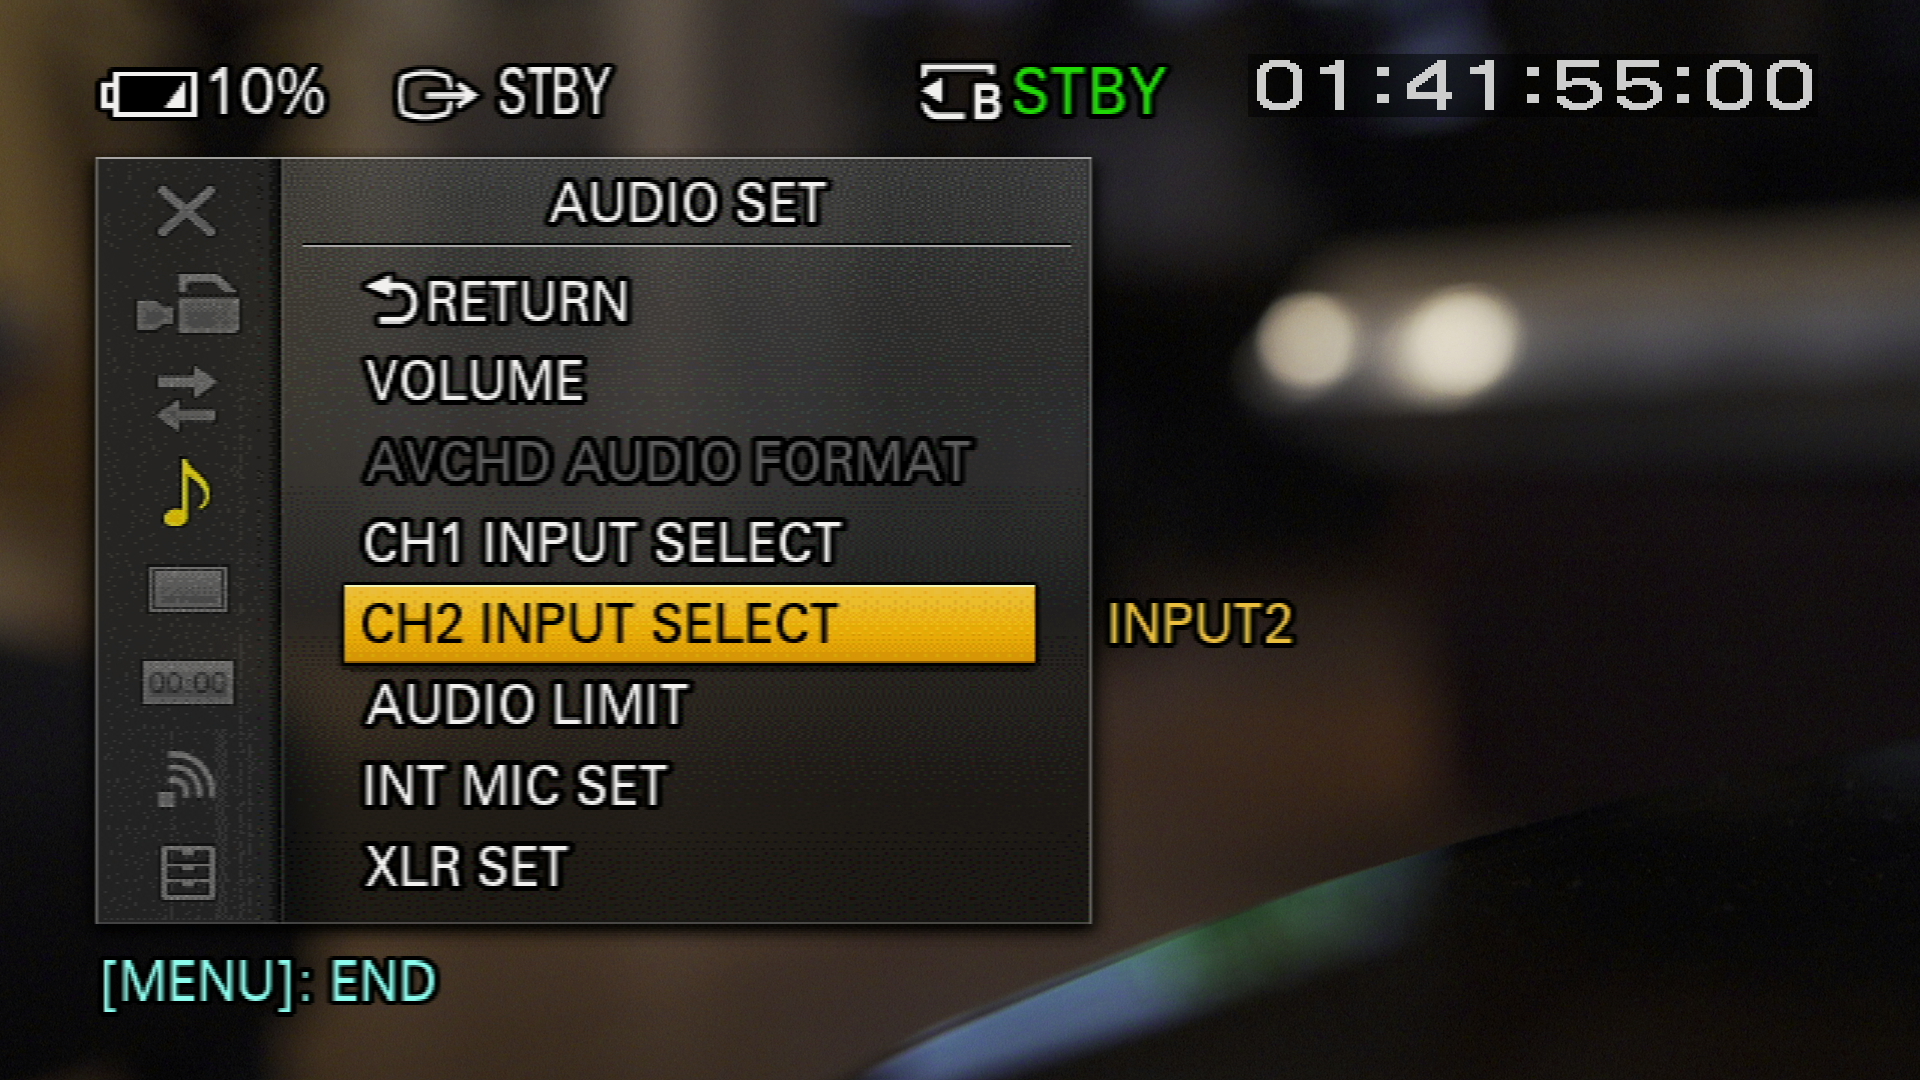
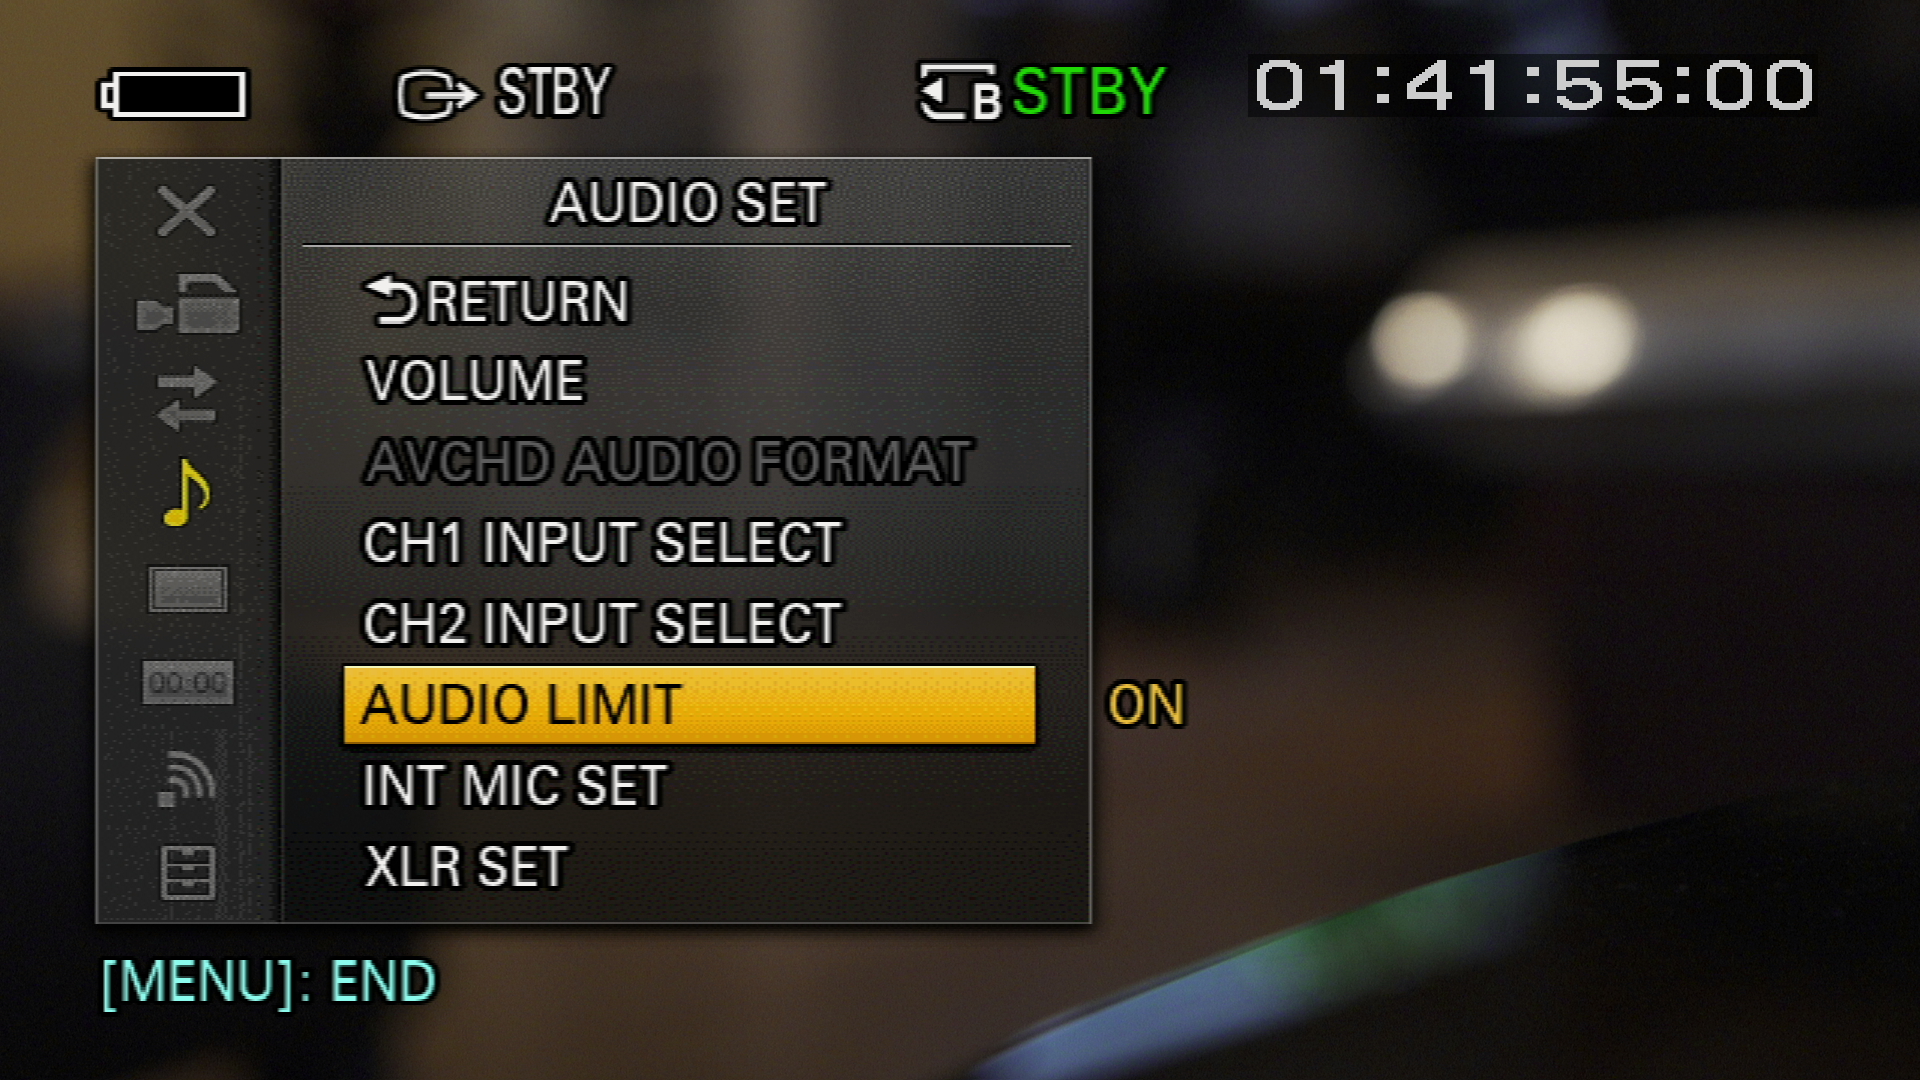
Scopes
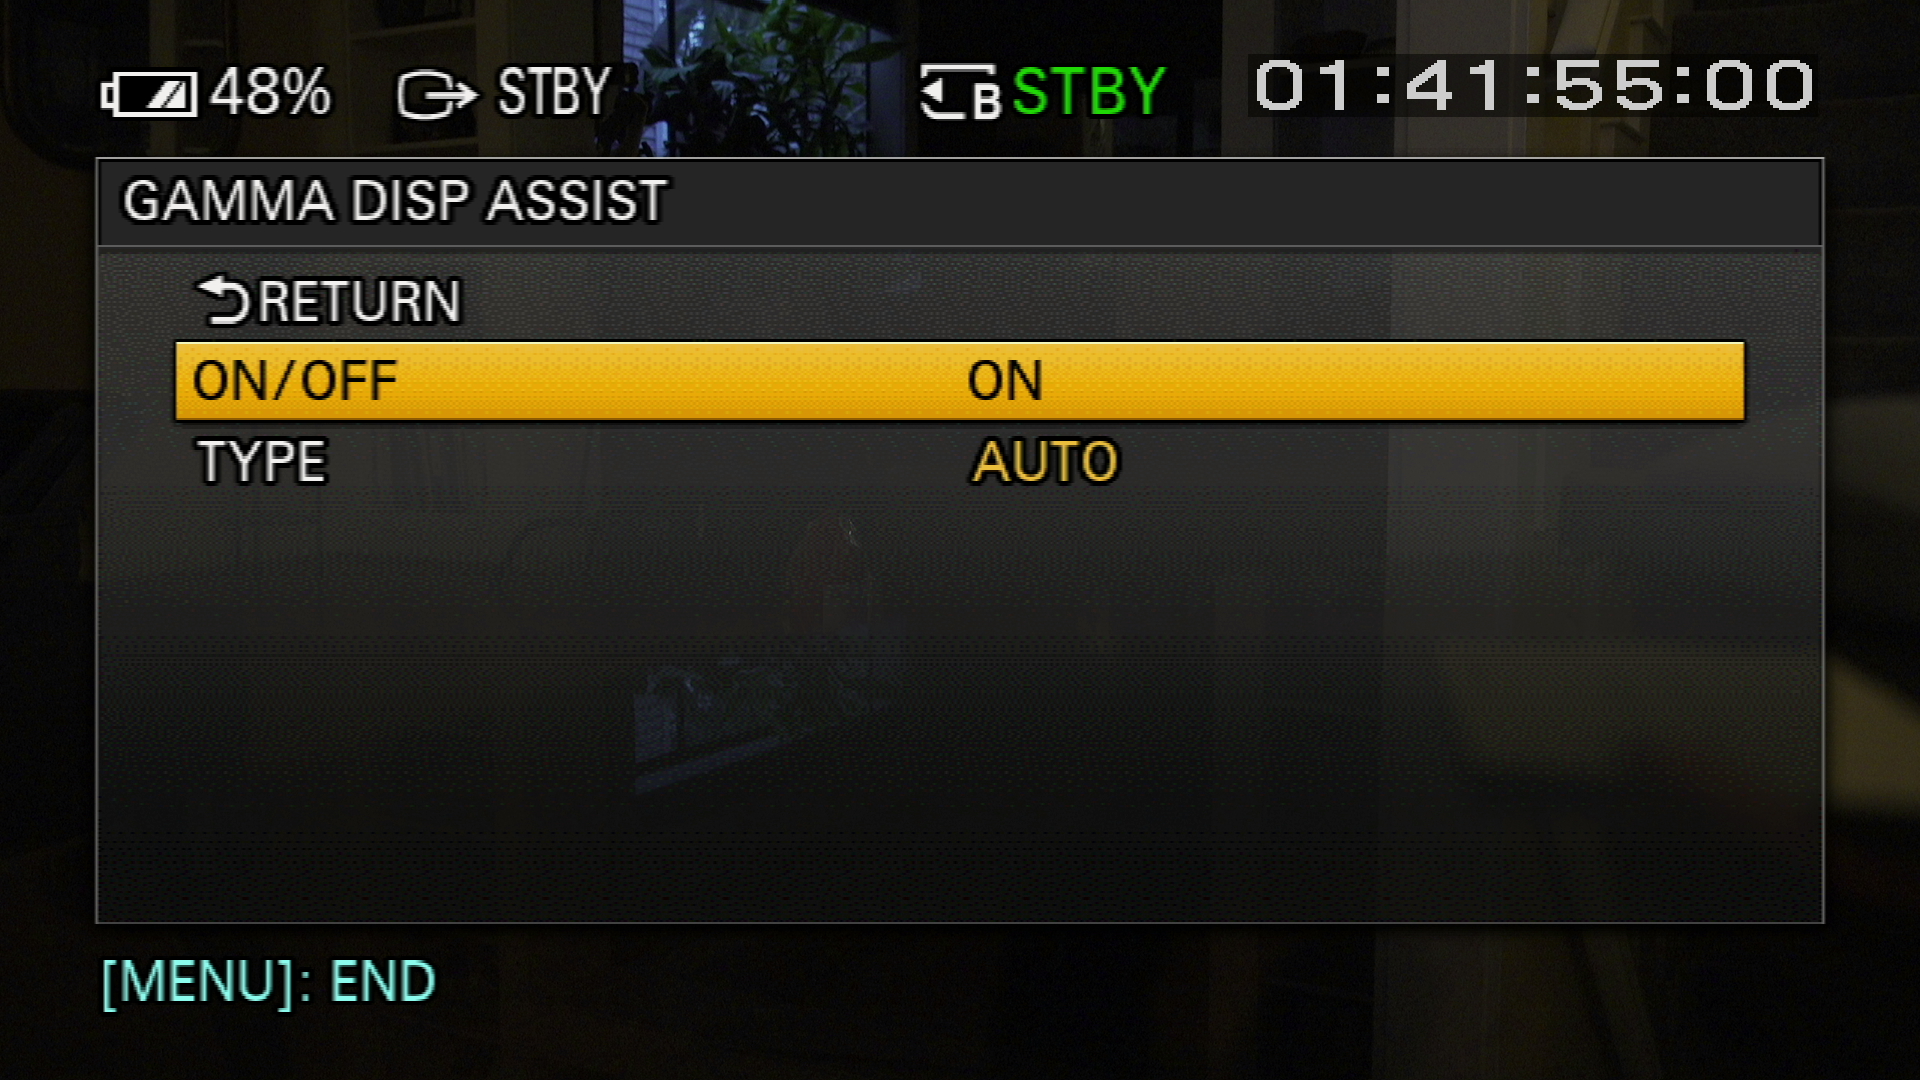
“Everything should be made as simple as possible, but not simpler.” That quote, attributed to Einstein, describes what my thinking on scopes. The original scopes on the 502 were TOO simple – they lacked any numeric display. I found it hard, for example, to figure out what the values are on the waveform monitor, because the lines were not accompanied with their number value, leaving me to have to compute where the values fell in my head every time I glanced at the monitor. So I was delighted to find, upon updating the firmware to v. 2.2, that marks had been added.
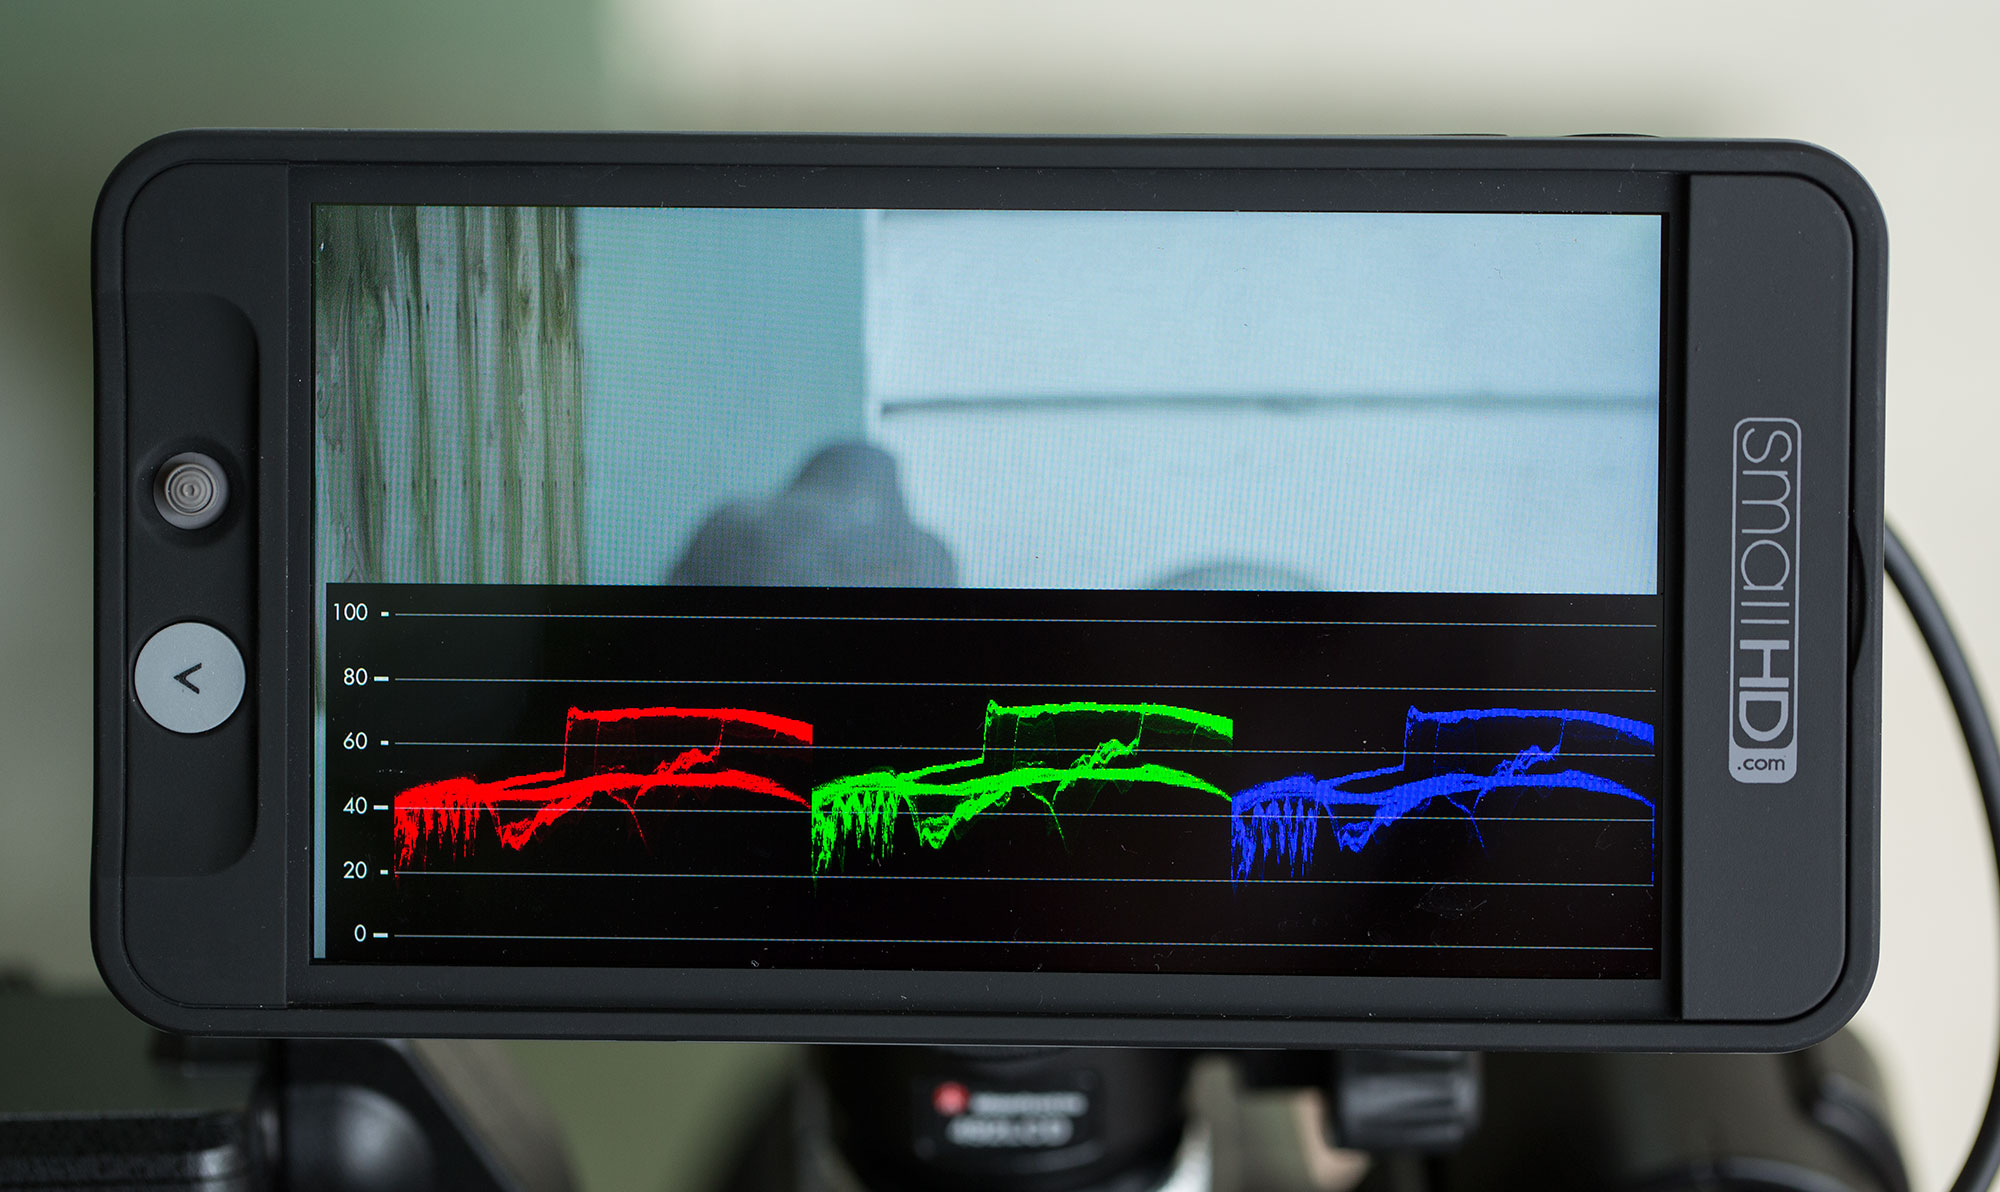
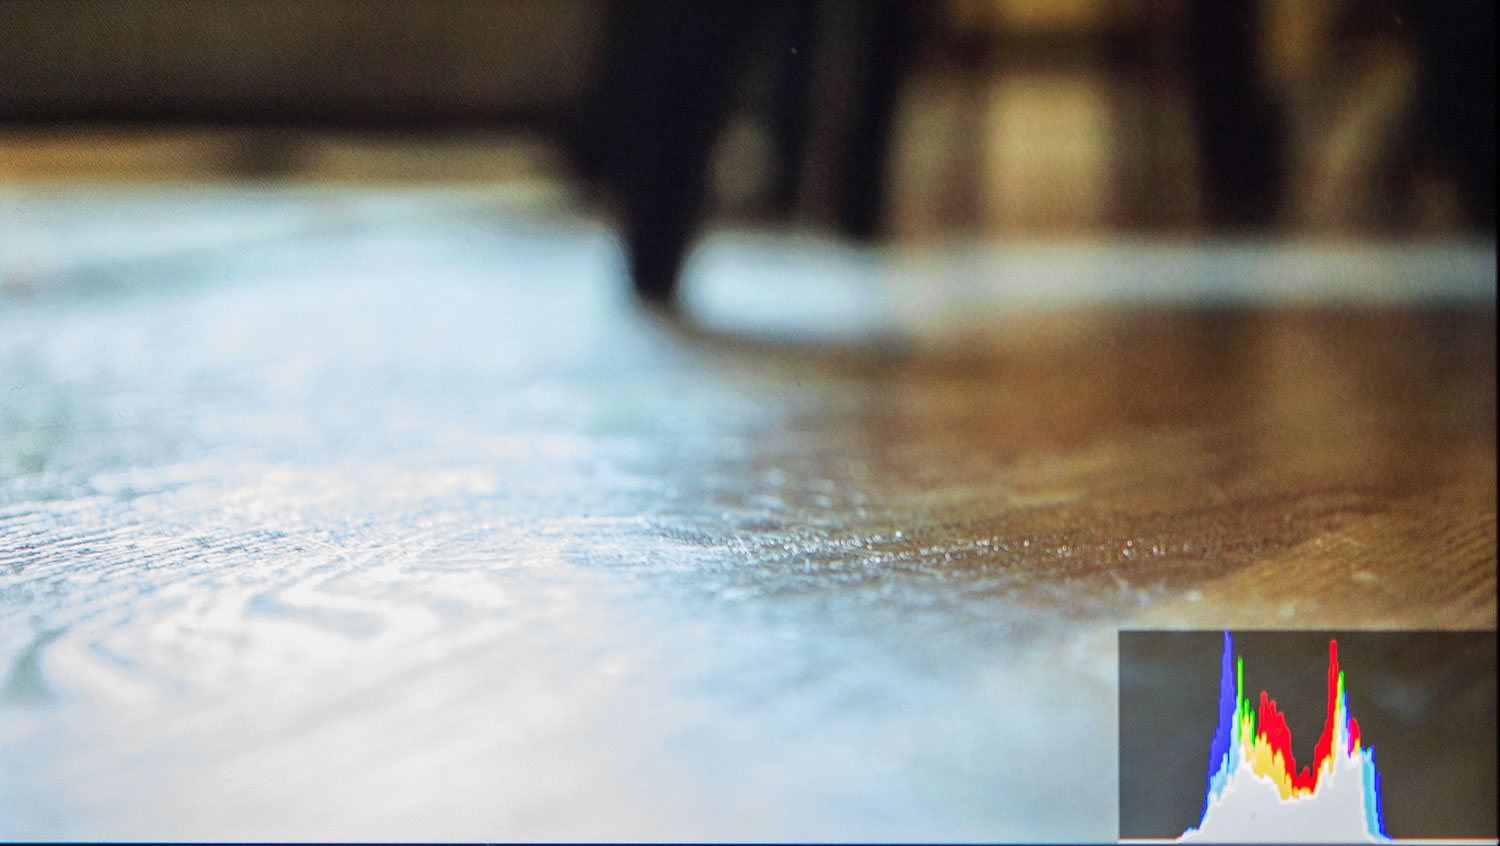
However, the histogram on the 502 remains a little too simple. I’d like to be able to drop in a zebra marker so I see where a specific value is falling on the histogram, as Sony monitors do. Here’s the histogram on the 502 (below):
And here’s the Sony FS5 histogram, which allows the option to drop a line at the zebra level (in this case, I’ve set it to 70 percent):
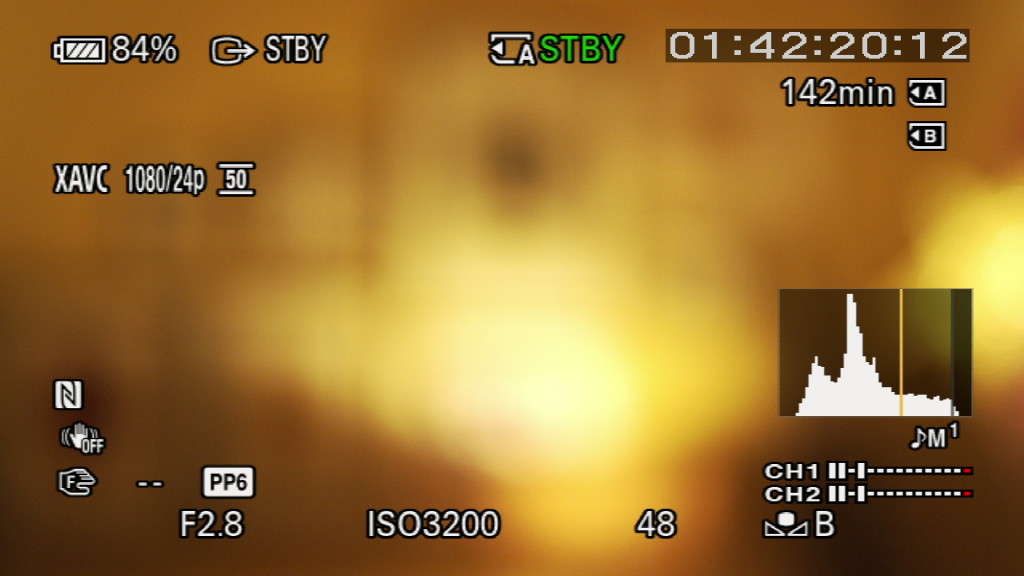
On the FS5 histogram, the background darkens above 100 percent, clearly indicating the super white area. This way, without numbers, I can see at a glance where my data is falling. With the SmallHD histogram, I have to guess. A few tweaks like this would go a long way to making the 502 histogram more useful.
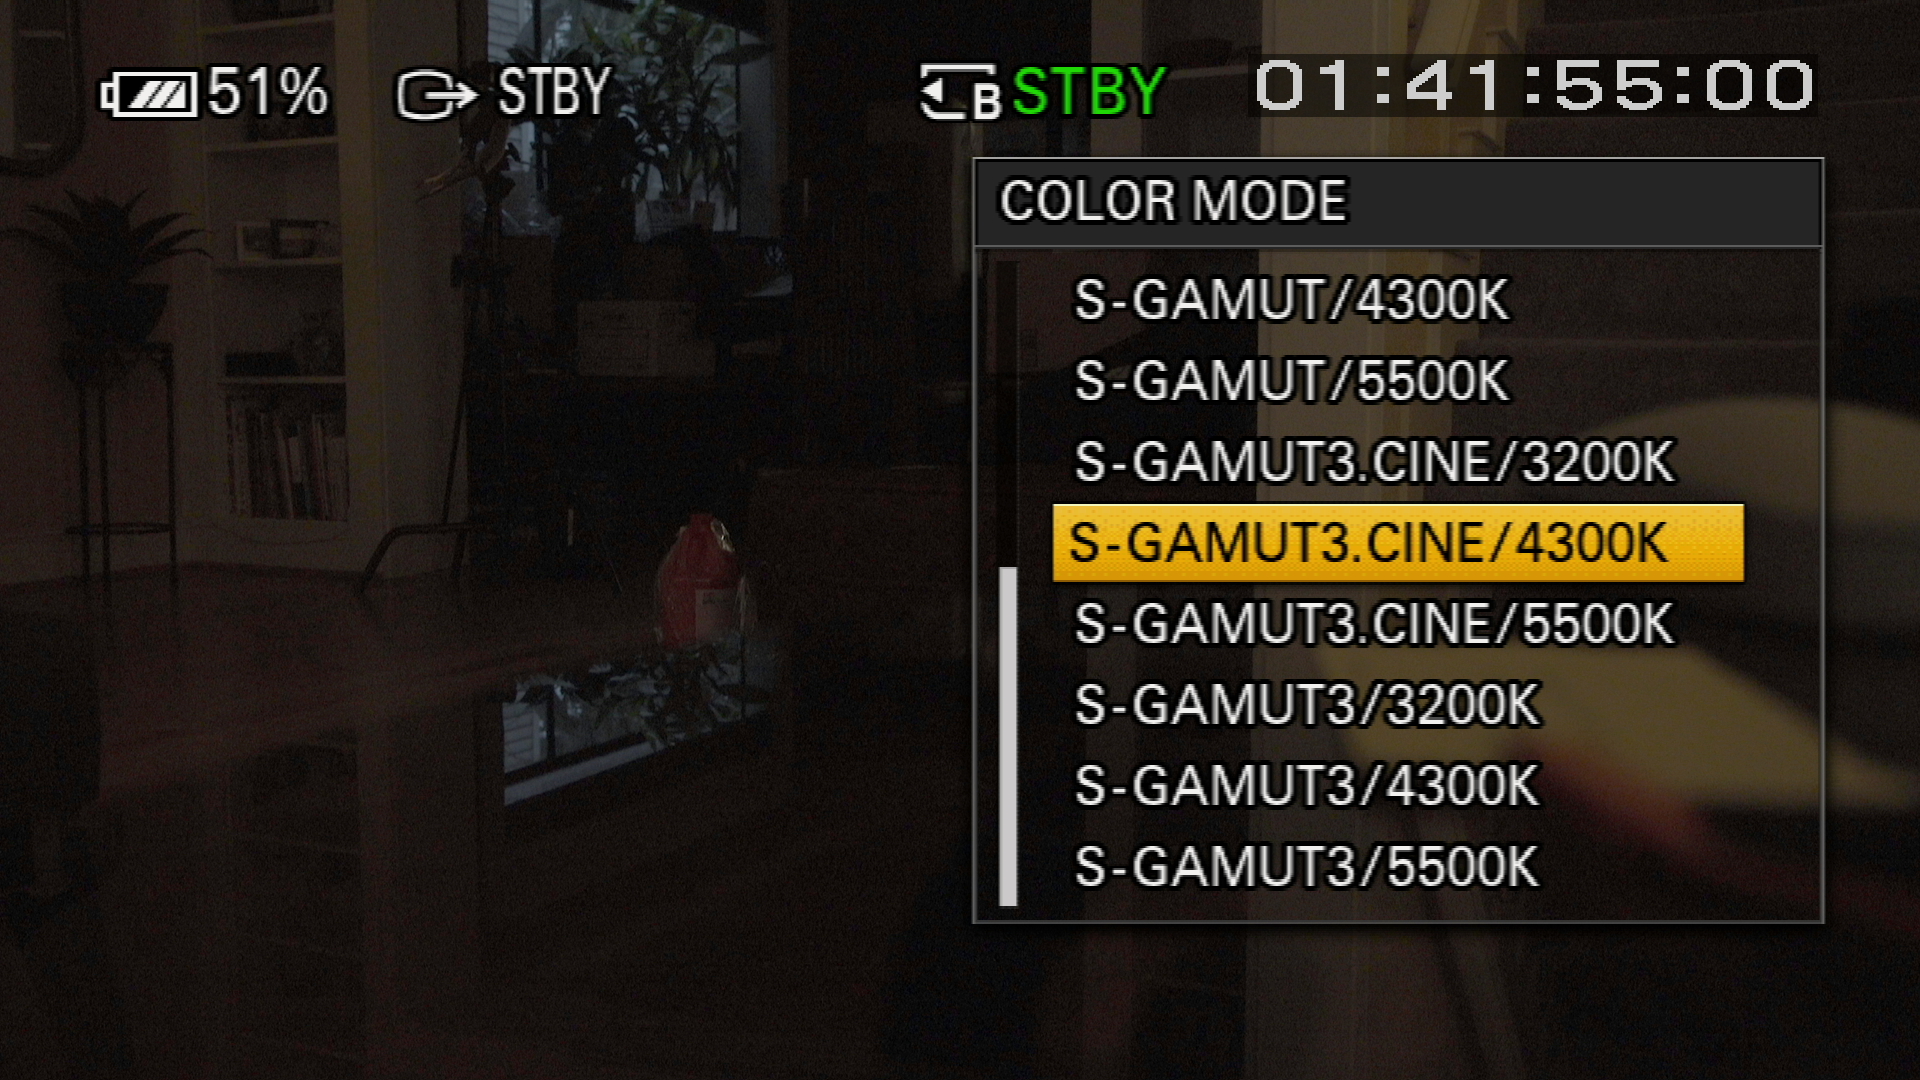
One very nice control that SmallHD gives you that Sony doesn’t is the ability to scale the size, location, and opacity of the scopes. You can also choose between RGB and Luma styles. And, with firmware v2.2, vectorscope has been added, which is very useful when dialing in a specific color balance using a grey card and for testing lights.
Frame grabs
Pressing the button on the top right of the monitor (about where you’d expect to find the camera button if it were a smartphone) captures the current frame as a still. Grabbing a frame captures the image without SmallHD’s overlays (but includes the FS5 overlays when sent from the camera). This is good most of the time, but there are times I want to capture all the overlays (such as for writing blog posts). I’d love to have an option for that.
Focus assist
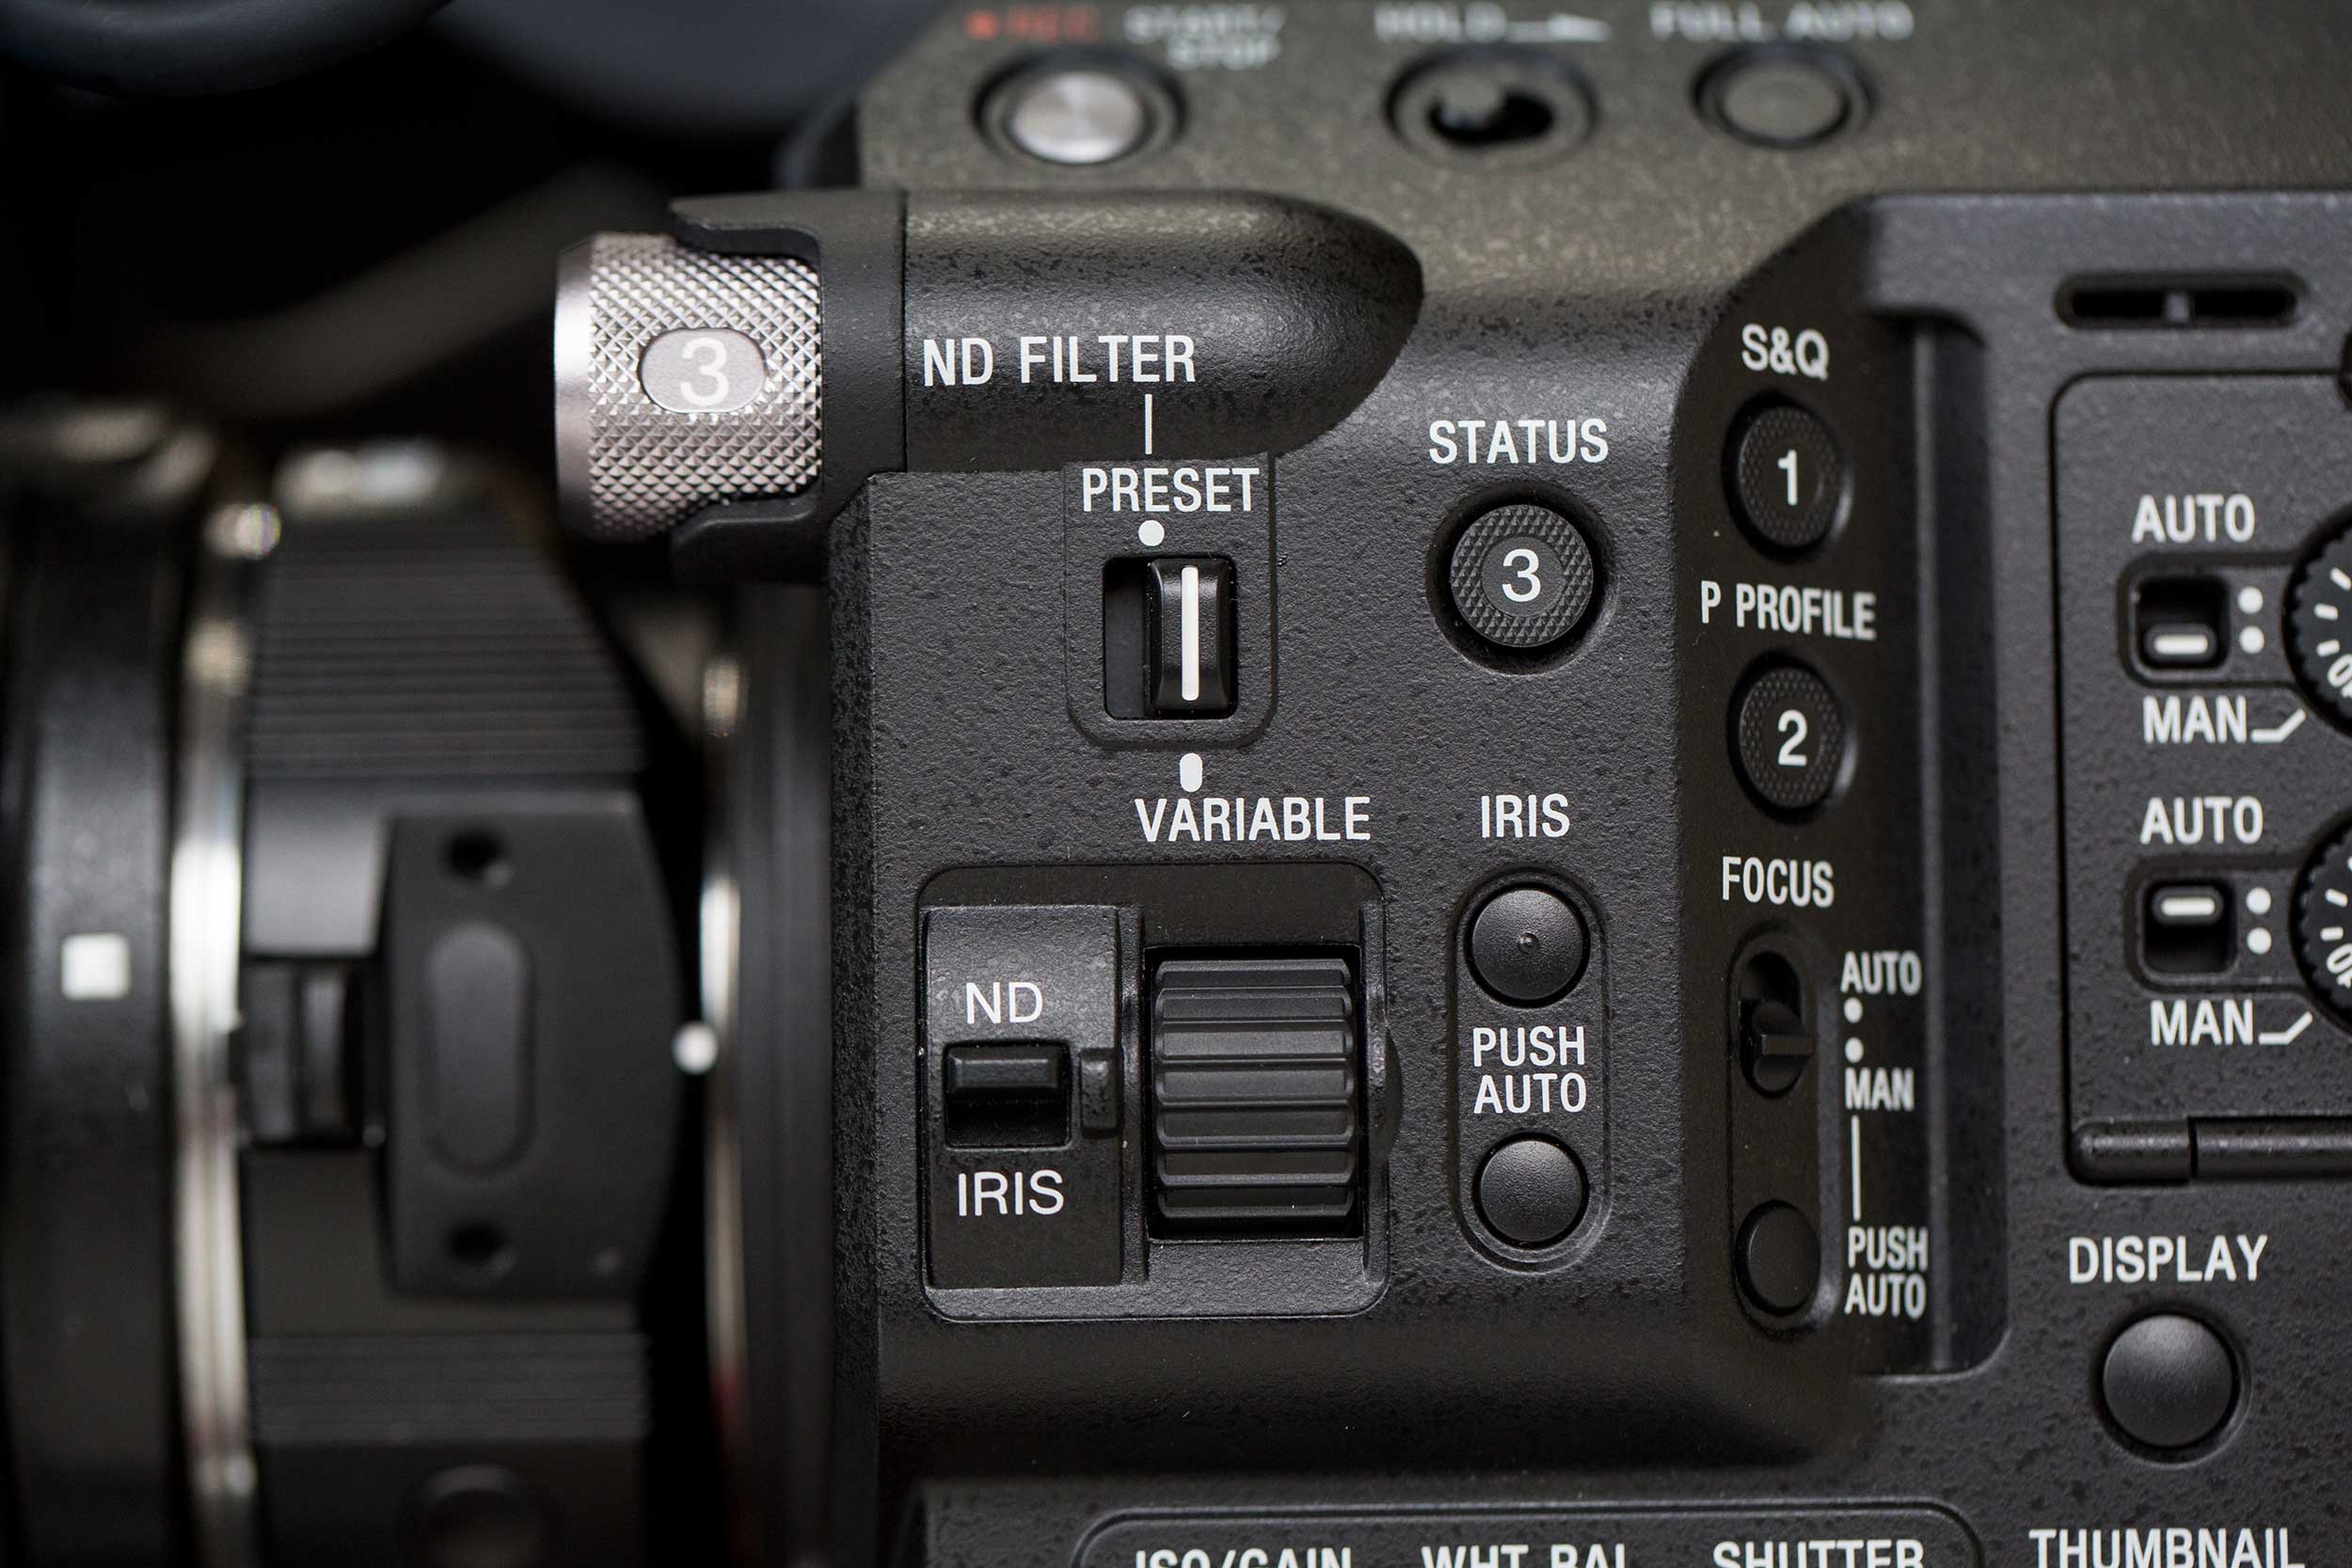
The 502 has 3 ways to help you judge focus: peaking, and a joystick that lets you enlarge the image to confirm focus by pressing it upward, 2x and 4x. Pressing down on the stick zooms you back out. If you want to scroll around the image, you depress the joy stick and follow the arrows.
My favorite tool for helping me nail focus is the 502’s implementation of peaking. I find that the default value of 5 is too sharp – everything starts looking like it’s in focus. But setting it at 3 is just right. Focus planes snap into sharp focus while leaving out of focus areas soft. I really feel lost trying to focus without this peaking feature now, it’s that good.
Starting the 502 requires holding the start button down for about two seconds. Not bad, but I prefer the DP6’s simpler on/off switch. A switch shouldn’t require me to give it my attention for even a couple of seconds. I’ve got a lot of other things on my mind during production and having to press-hold-count to two every time I fire up the monitor actually turns out to be a minor irritation.
Support
I had a shoot against a white screen a few weeks ago, and for the first time I noticed that the screen of my 502 wasn’t quite right – there were darker, clouded areas in the monitor that I hadn’t noticed before (see below):
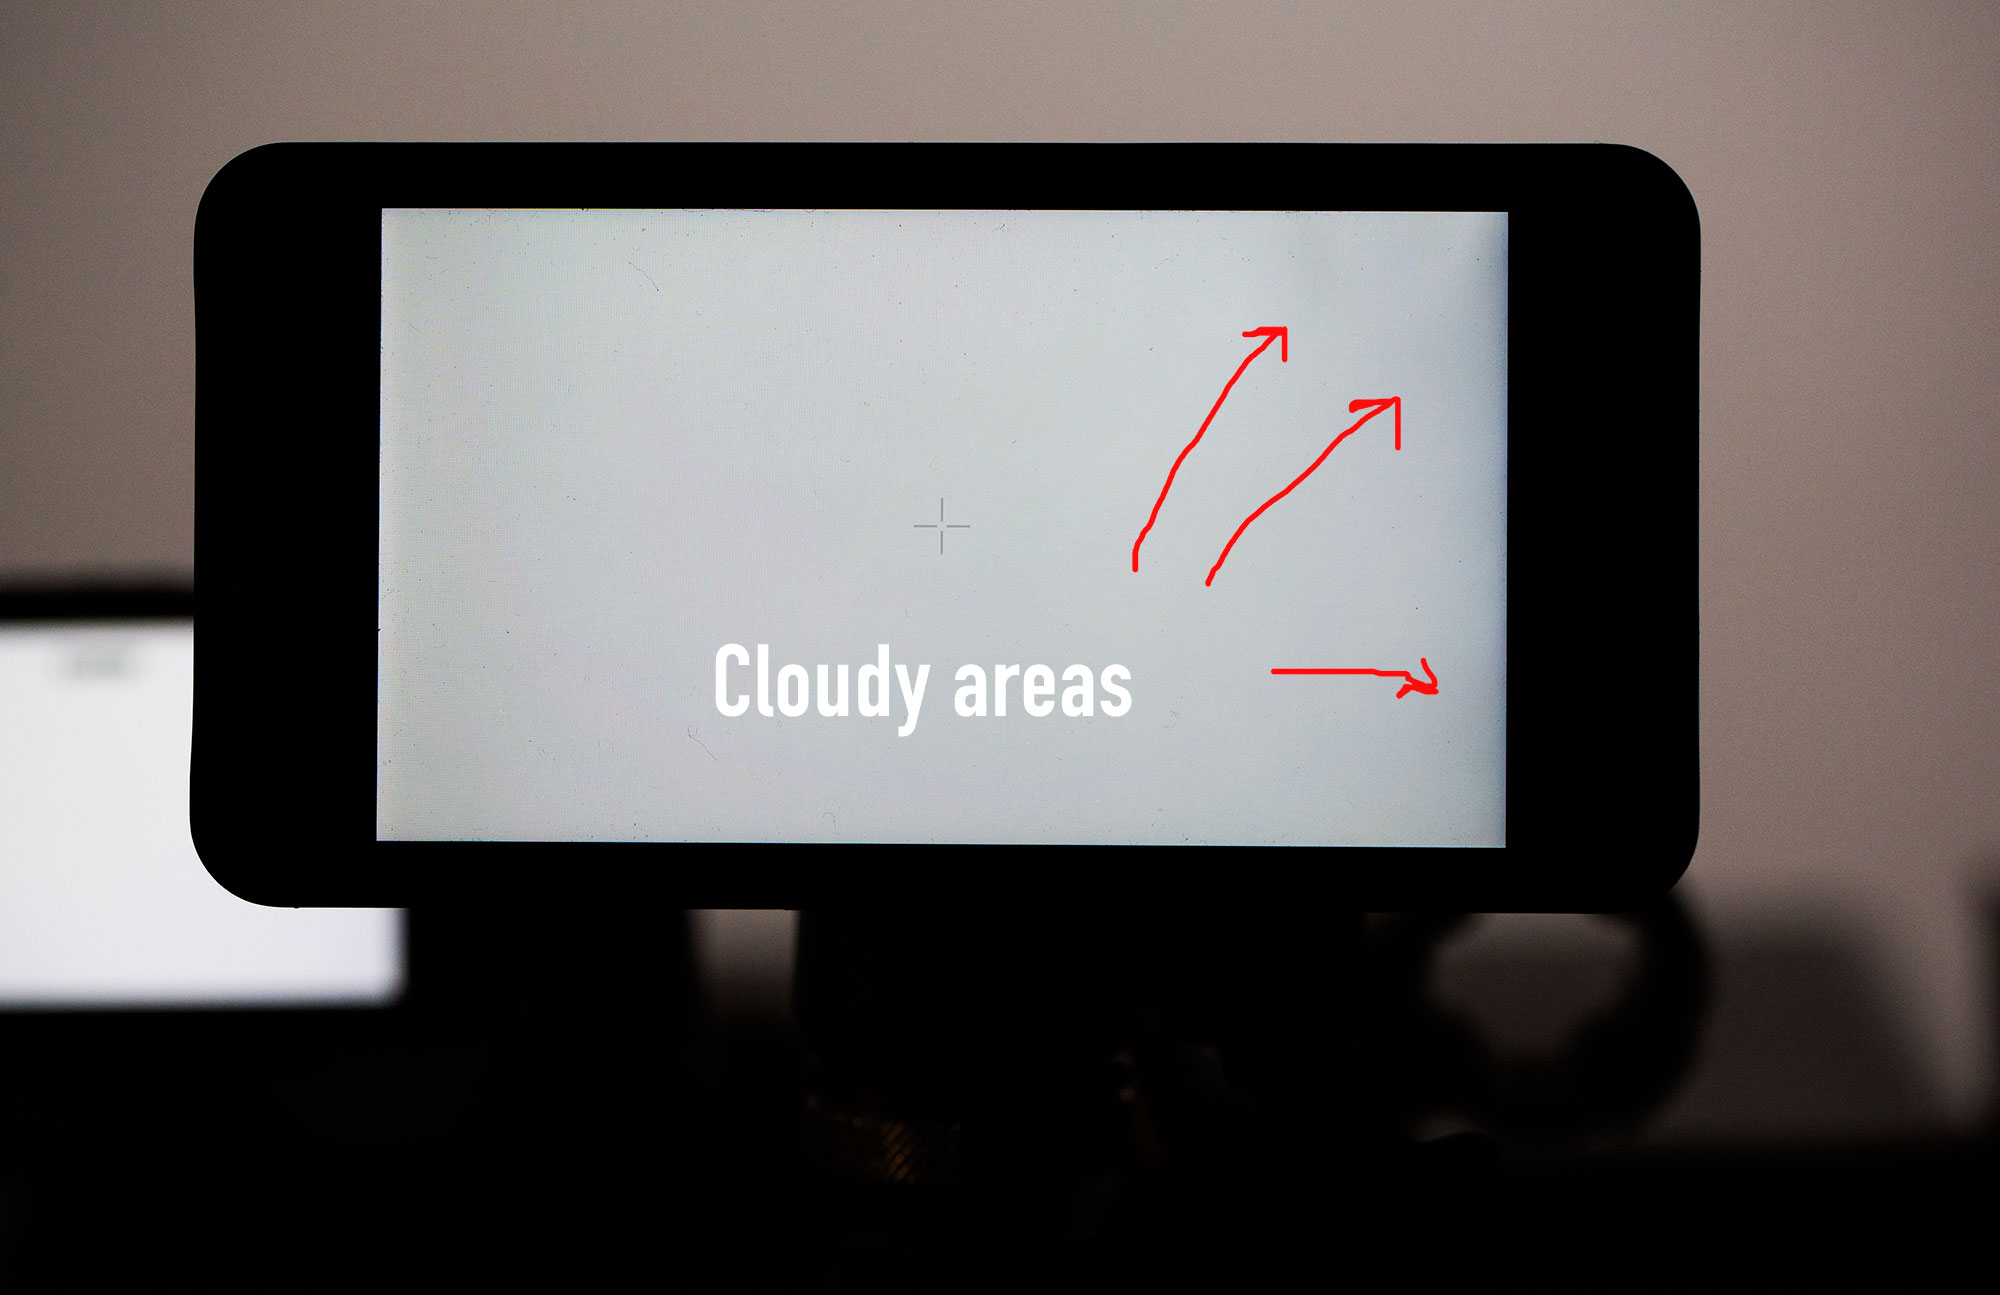
So I realized that I had a defective monitor. I put in a request to SmallHD service using their convenient online support system. I got an email the next day asking for clarification about the problem, so I sent in a photo of the screen. After a brief back-and-forth via email, the friendly support person sent me an RMA number and about a week later my monitor was shipped back to me, with a replaced screen, no charge. The new screen is now consistent from side to side and top to bottom, so I’m a happy customer and can say from experience that SmallHD support is prompt and friendly.
Bug: Every time I start the monitor, it opens the first screen in the menu. It should return me to the last screen used.
Design fail: It’s ridiculously difficult to get the SD cards in and out of the provided slot. You almost need a pair of tweezers to fish them out, because the protective door opens only halfway, making it impossible for anyone with adult-sized fingers to grasp the card.
But overall: This is a fantastic monitor choice for use with the Sony FS5. It’s small size, high resolution and support for LUTs enable me to preserve the ergonomic advantages while at the same time giving me essential big-camera exposure tools.