We are shooting about 75 interviews over the next three months for Fred Hutch, a new client that we’re thrilled to be working for. It’s a great organization doing important things, and the people we’re interviewing, most of them research scientists, are doing fascinating work at the frontiers of medicine.
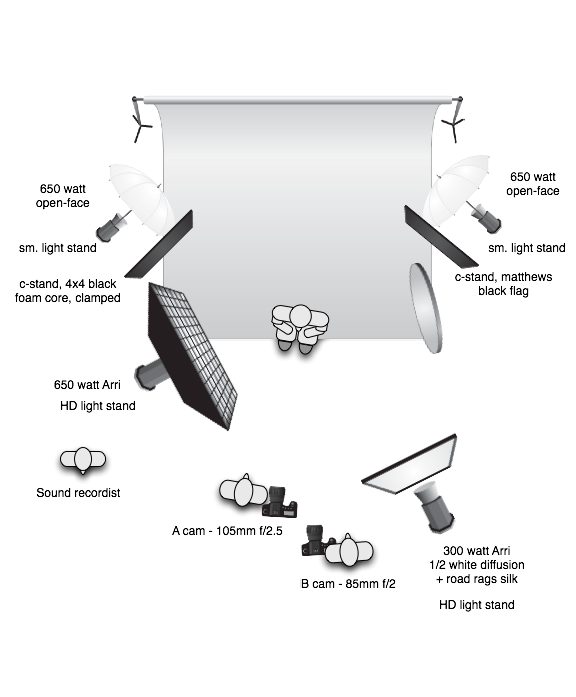
Here’s the approach we’re using to make it happen:
I thought I’d share a trick we use to make this work without killing ourselves to get the background to be perfectly even, which is actually quite difficult to do unless you have a lot of lights. We have just two lights for the background, and that results in visible drop off. As in:
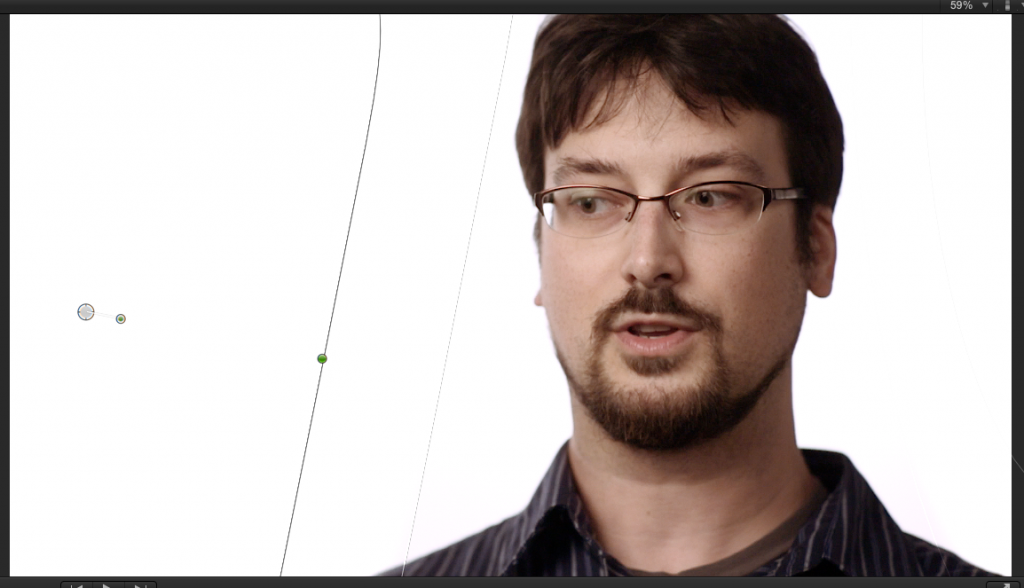
The trick is to underexpose enough so that in boosting the face tones up to normal levels (between 50 and 75 percent) you force all the white in the background to clip past 100 percent. So that you get this:
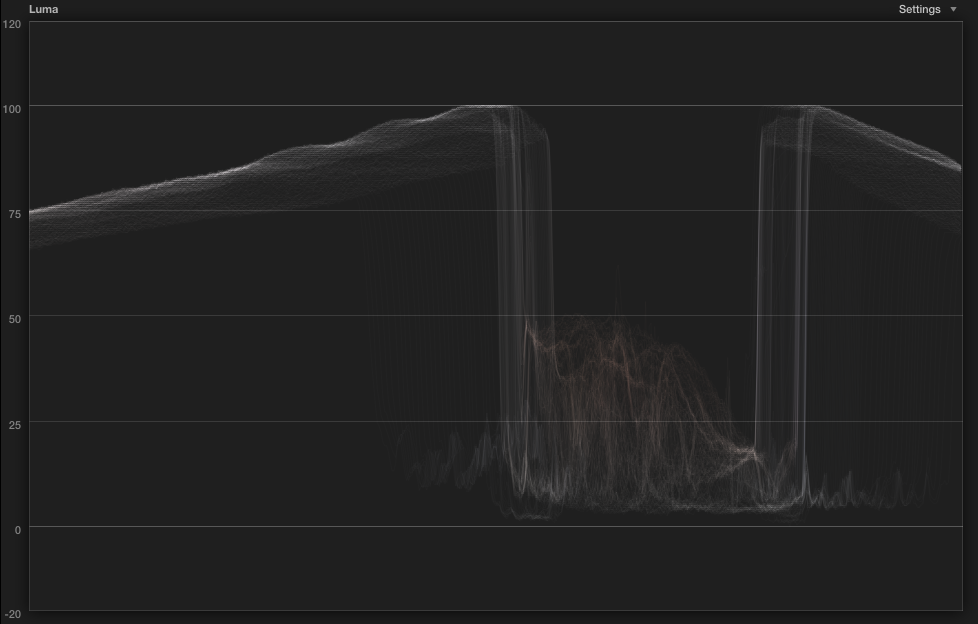
In camera, that means setting flesh tone lighlights at no more than 50 percent. In this case, I set mine for between 25 and 50 (see as-shot histogram below):
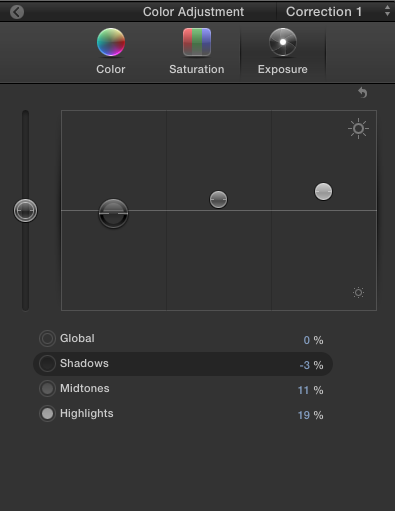
In the histogram above, notice that all the flesh tones are below 50 percent. Also notice that the highlights fall off to about 75 percent on the edges. That means we need to push them up in the ballpark of 25 percent, and we’ve allowed ourselves some headroom in the flesh tones to do that without blowing things out. Here’s what my initial correction looks like:
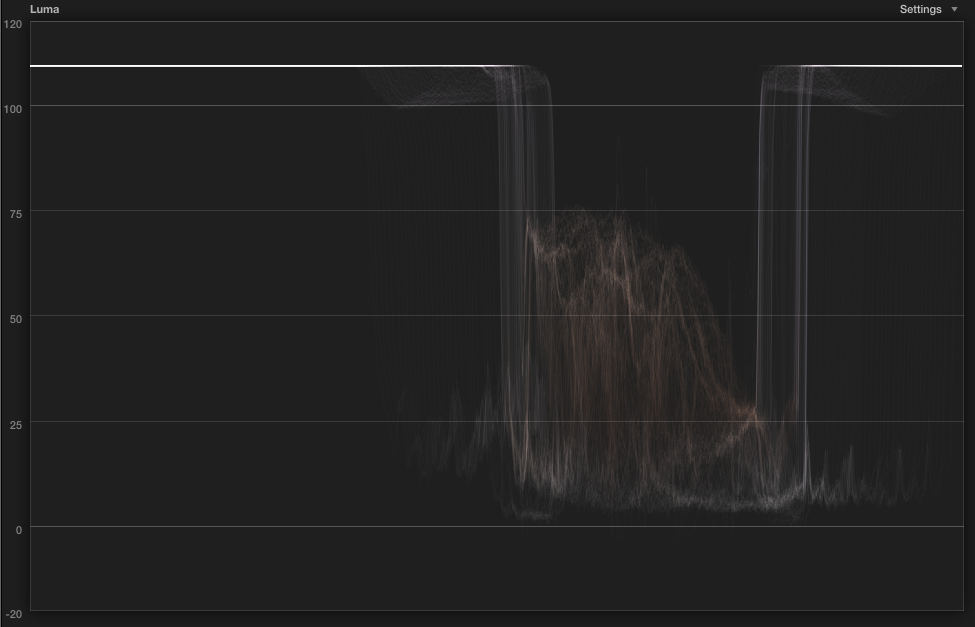
The waveform now looks like this:
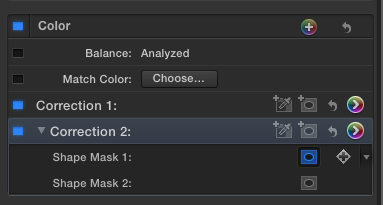
The flesh tones are just barely touching 75 percent, which is as high as I dare go. Flesh tones above 75 percent in an interview situation are going to look overexposed. We still need to go a little further, because there is some tones that aren’t clipping on both edges of the frame. To fix this is easy in FCPX – just add a couple of secondary selections and pump the highlights. Like so:
Now the waveform shows a nice even clip of the entire background, and our flesh tones are unaffected:
In a perfect world, you would light the background perfectly evenly, at something just shy of 100 percent. But getting that kind of perfectly even light is actually quite difficult unless you have some serious lighting to play with. For the rest of us, this will get the job done every time.
One final thing I should note: this technique works fine if your final destination is the web. If your final destination is broadcast, then you will need to create a compound clip (cmd – g) and drop a Broadcast Safe filter onto it in the timeline. Now you’re good to go.
What tricks do have for getting clean white backgrounds in your videos?
