Megan’s Story, a narrative-style doc about a young woman’s recovery from traumatic brain injury, is a fundraising film I recently completed for the Brain Injury Alliance of Washington. Choosing to use narrative techniques to tell a documentary story changed the way I approached the filmmaking. Here’s what was happening behind the scenes.
For a typical documentary, my approach is interview and shoot b-roll (often on same day) then assemble the edit. My process in making Megan’s Story was slightly different:
- Interview first.
- Make story cut (no b-roll).
- Decide what scenes needed to be shot, and write shot list.
- Schedule and shoot them.
- Assemble the edit.
The nice thing about using this approach is that if the interview goes poorly, or doesn’t lead to lots of scene possibilities, you have an easy out. You haven’t invested a ton of time shooting yet. In this way, you can use the interview as a proof of concept. If it goes well, it forms the spine of your story and you move to the next step of production.
Gear used:
- C100Mkii
- DJI Osmo
- Rhino EVO Carbon Slider with flywheel
- Lensbaby Composer Pro with Sweet 35 optic
- Litegear LiteMat2 LED
- EyeDirect
- Multicart
Use of color
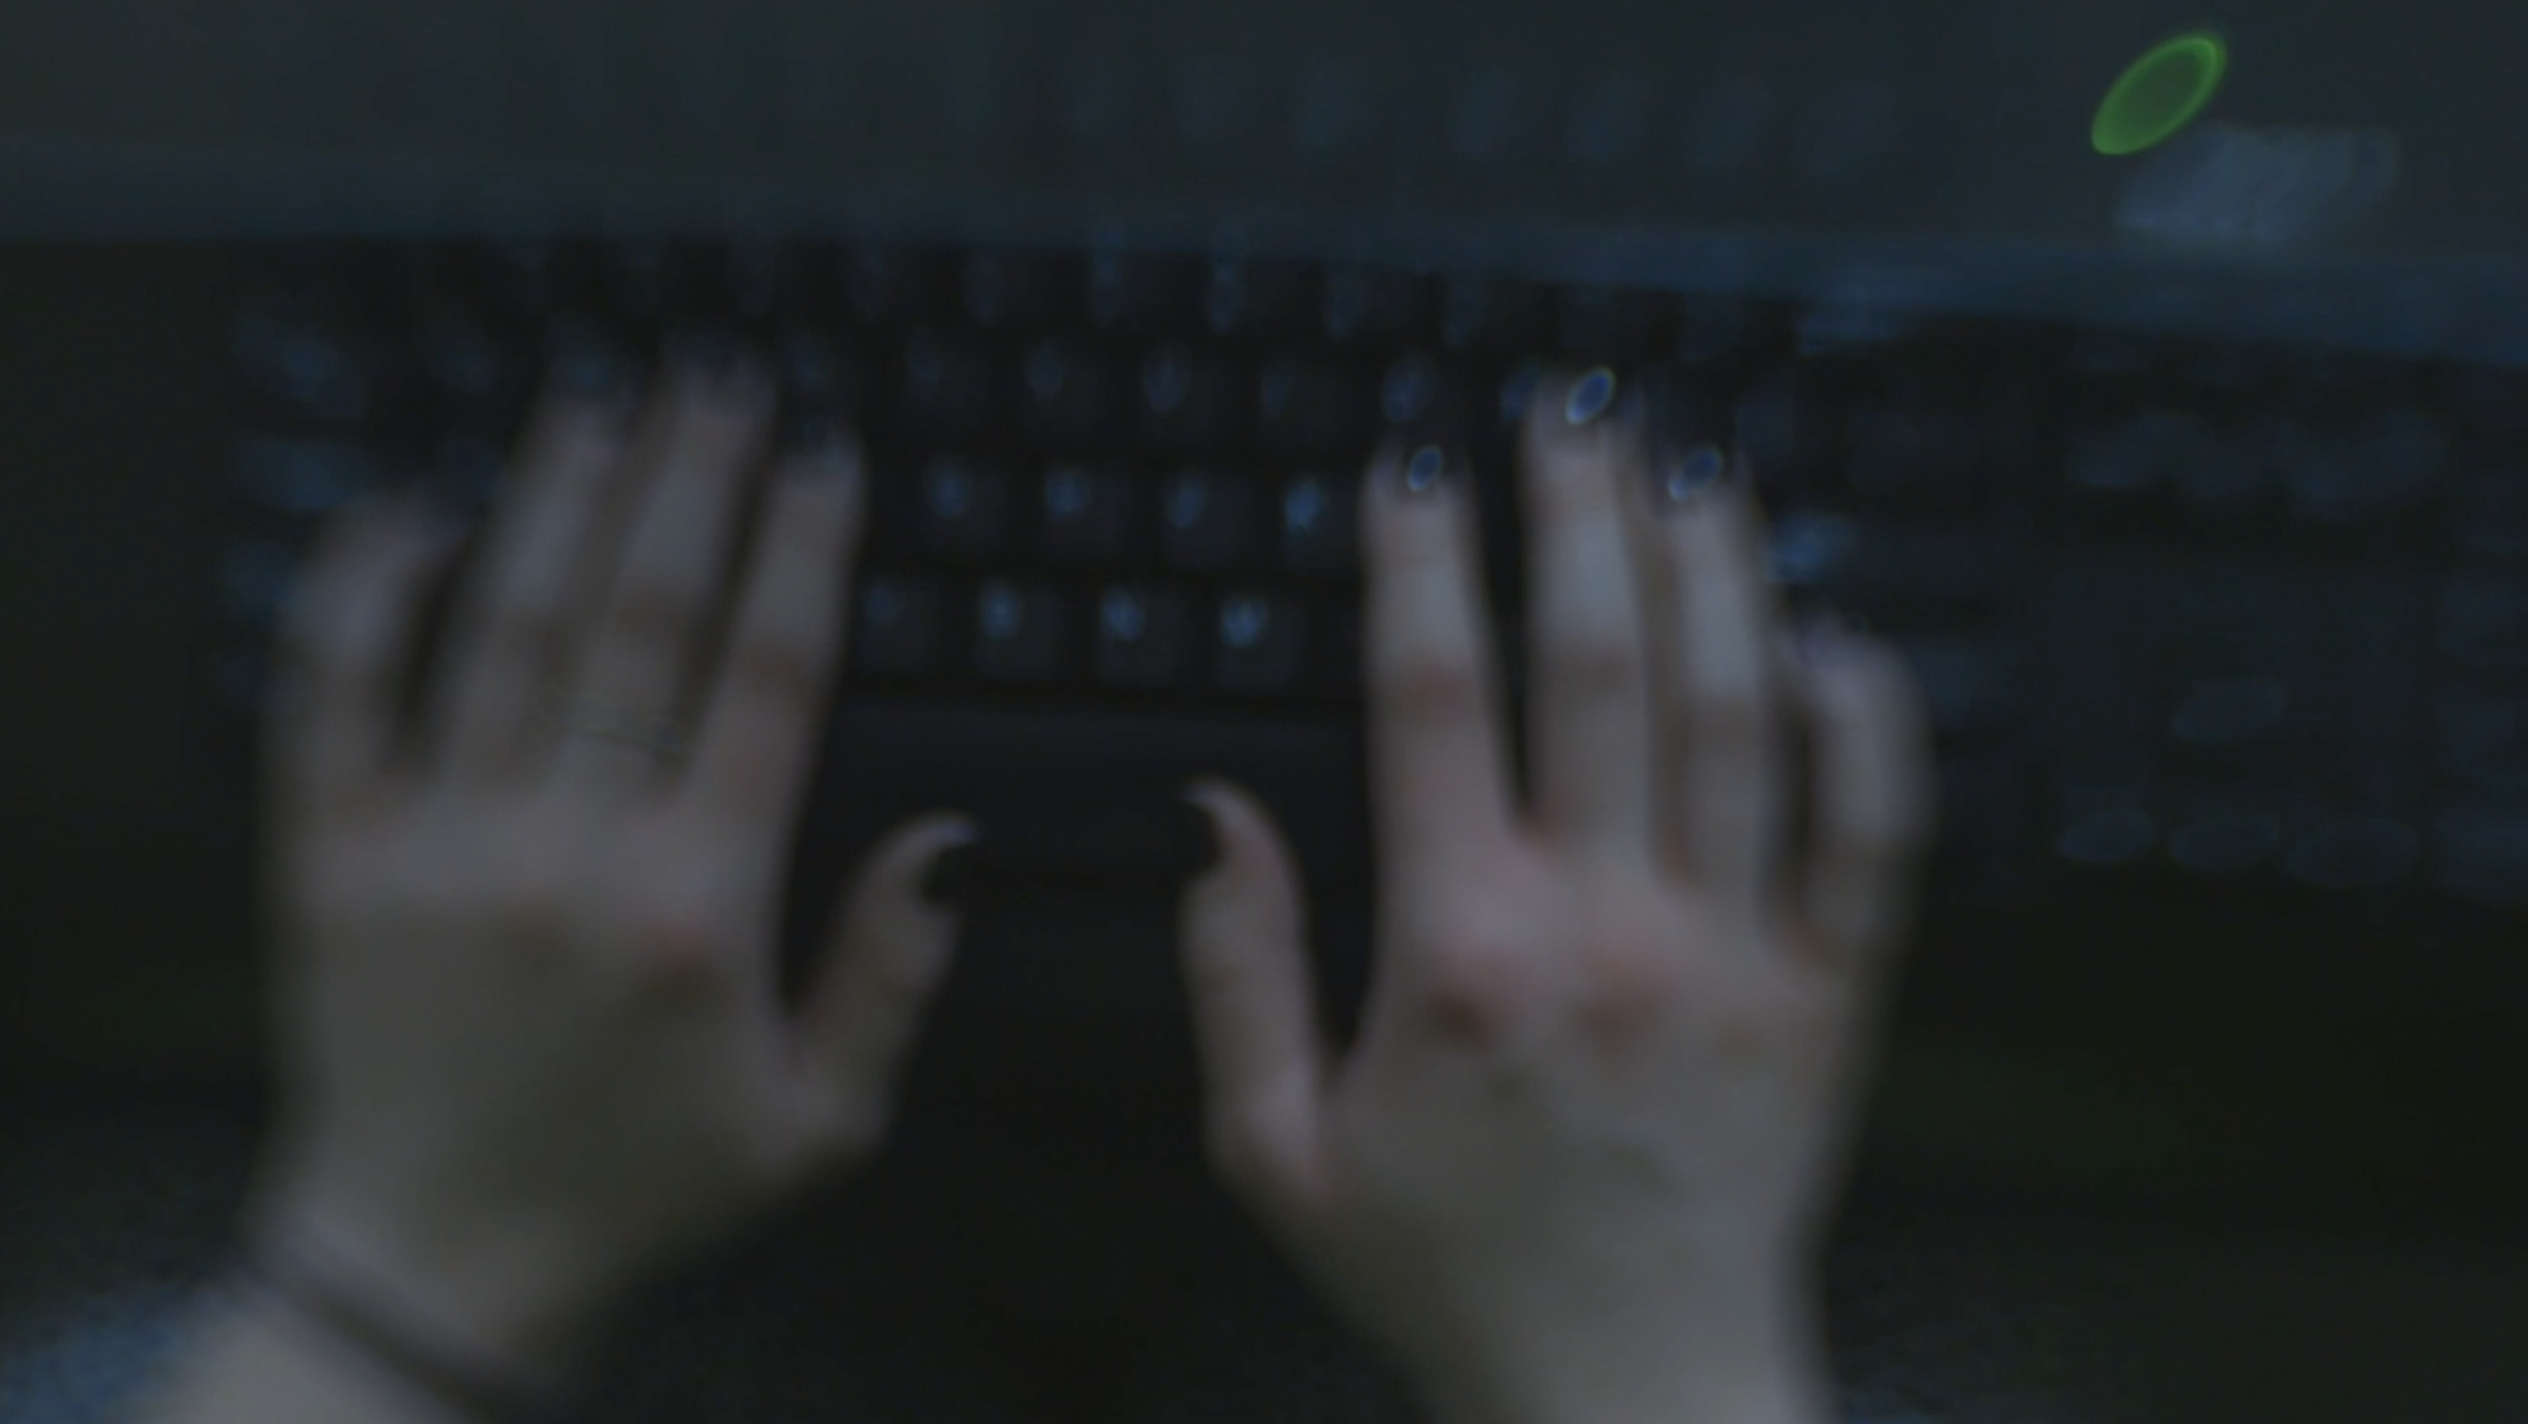
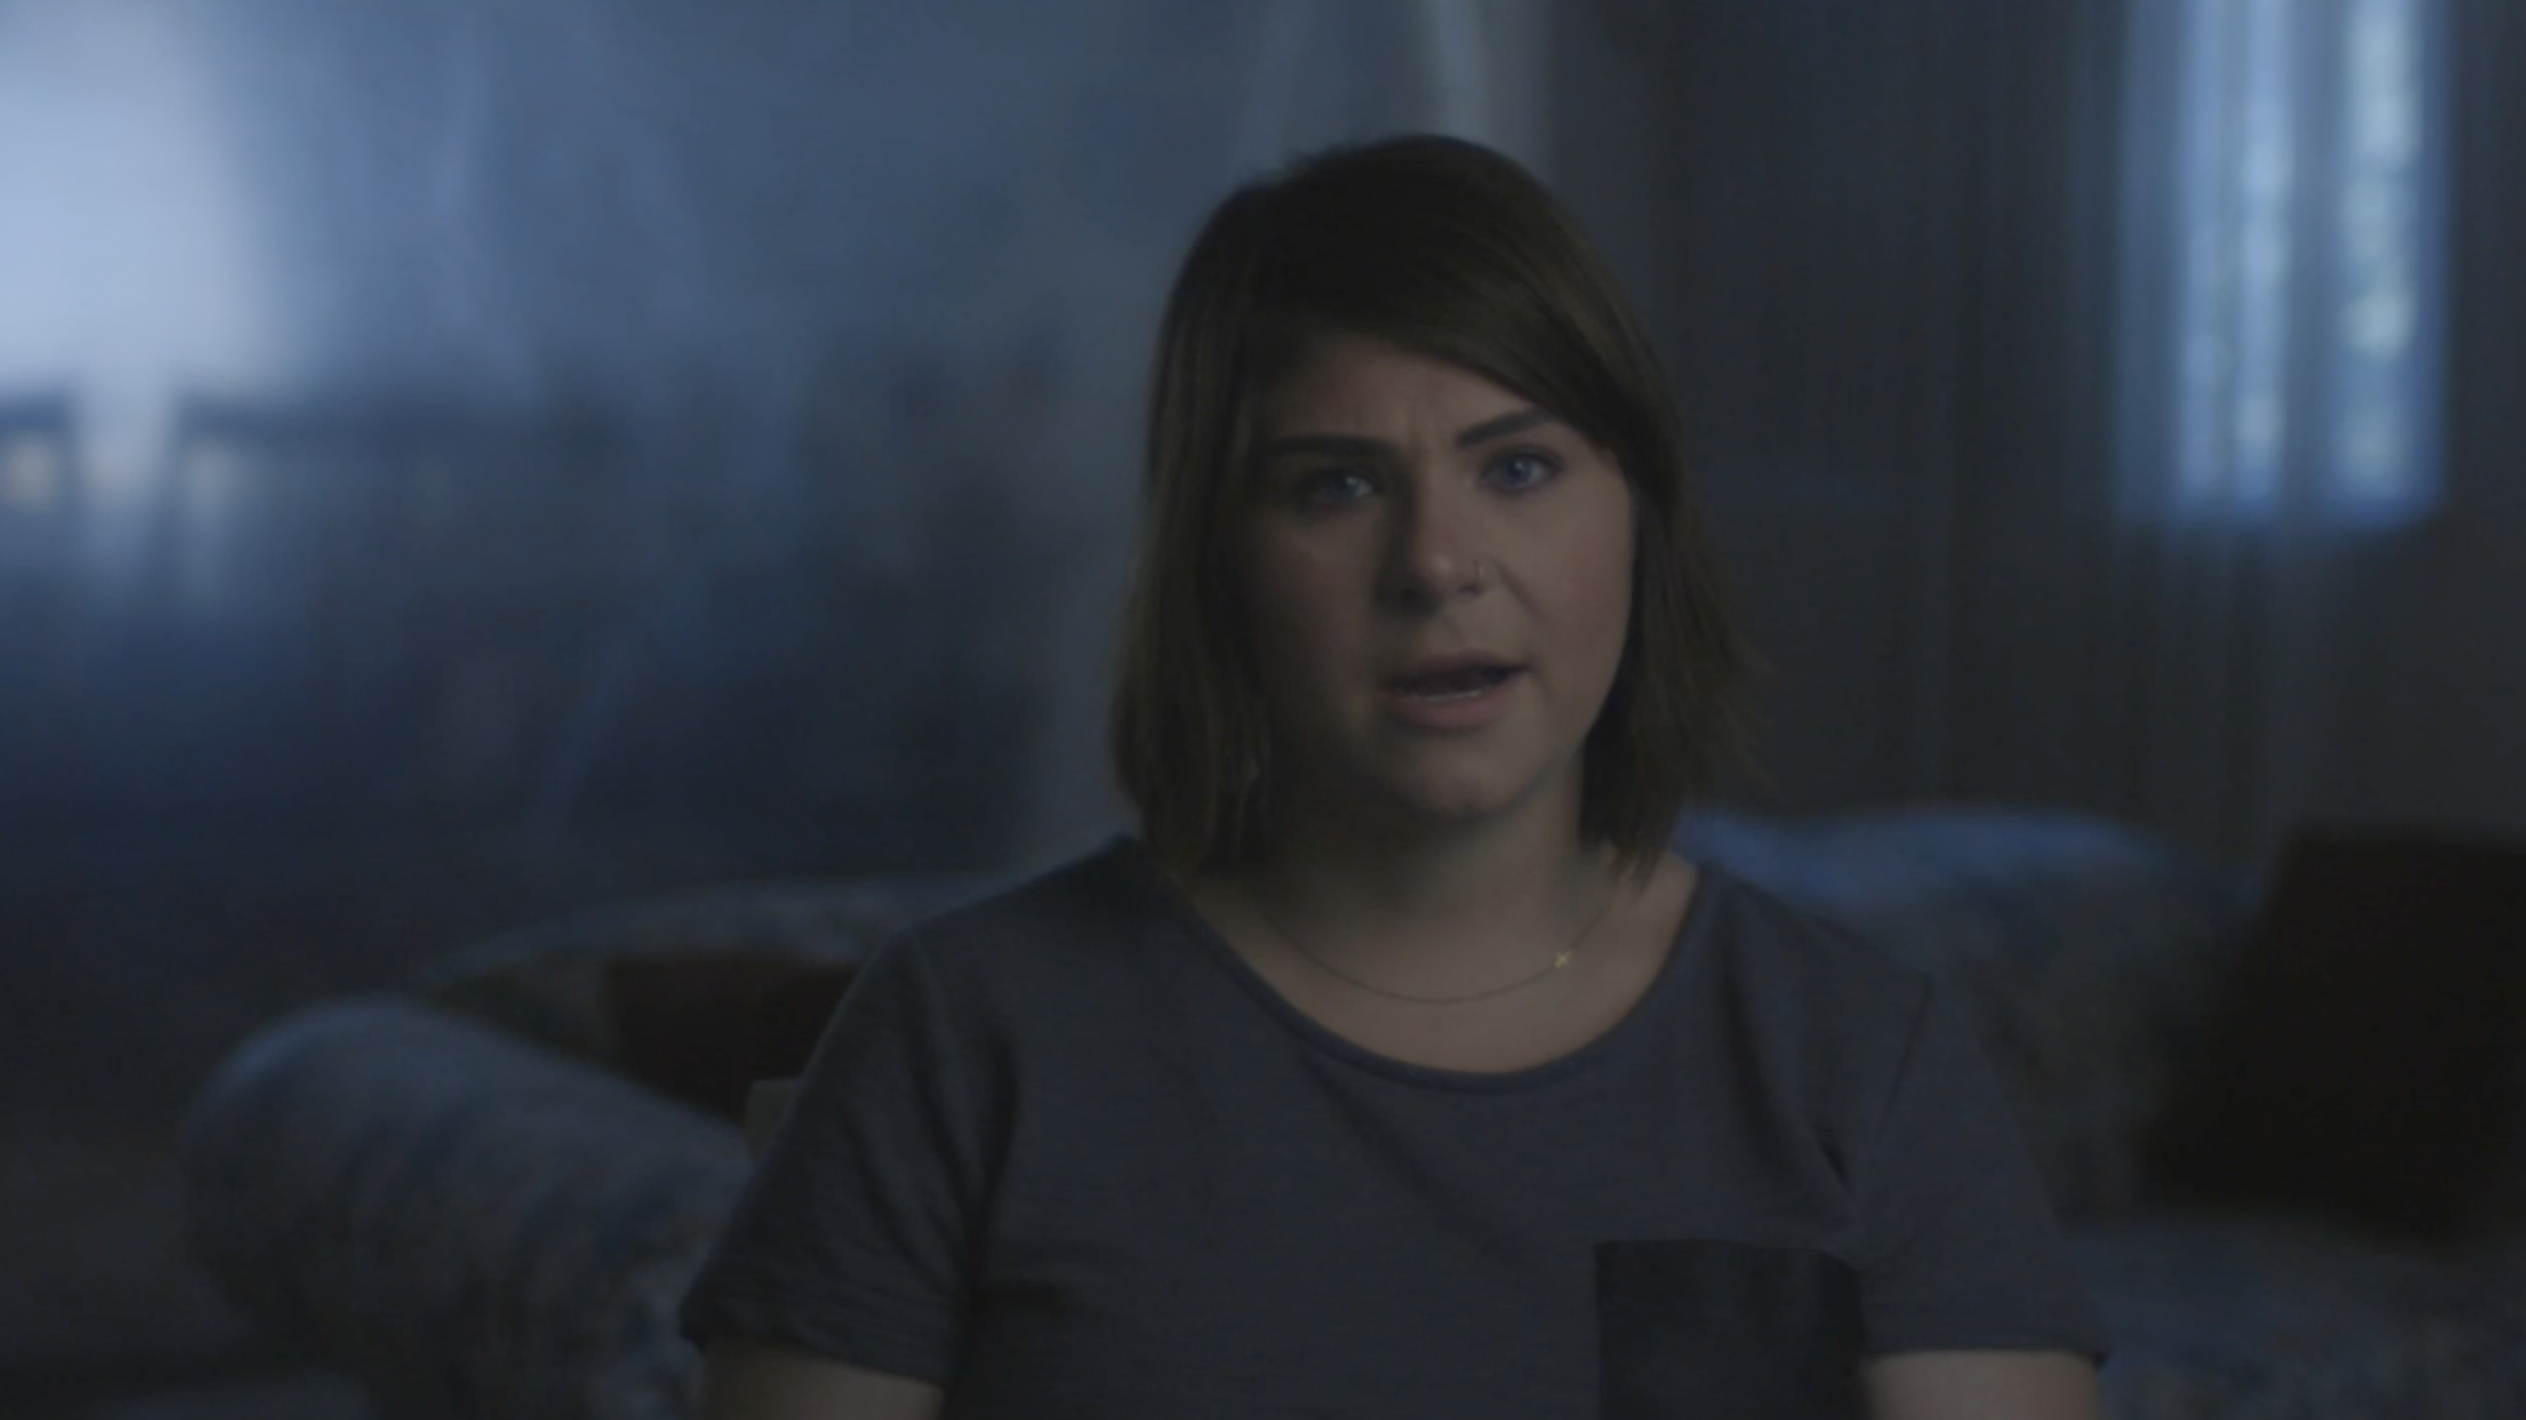
I set the white balance on the camera to tungsten and below (down to 2000K) to get the blue-green cast. I chose this color to represent her internal state after the accident.
Shot with Lensbaby
Lenses
Inspired by The Diving Bell and the Butterfly, I wanted to use distorted glass on this project to represent how it felt to be Megan. The Lensbaby Composer really does a wonderful job of throwing most everything in the frame out of focus, but preserves your ability to focus attention on one part of the frame. While I could have achieved something similar in post (and in fact the shot of Megan driving was tweaked this way) I like the control it gives you on the fly. And there’s something wonderful about committing to a shot in the moment.
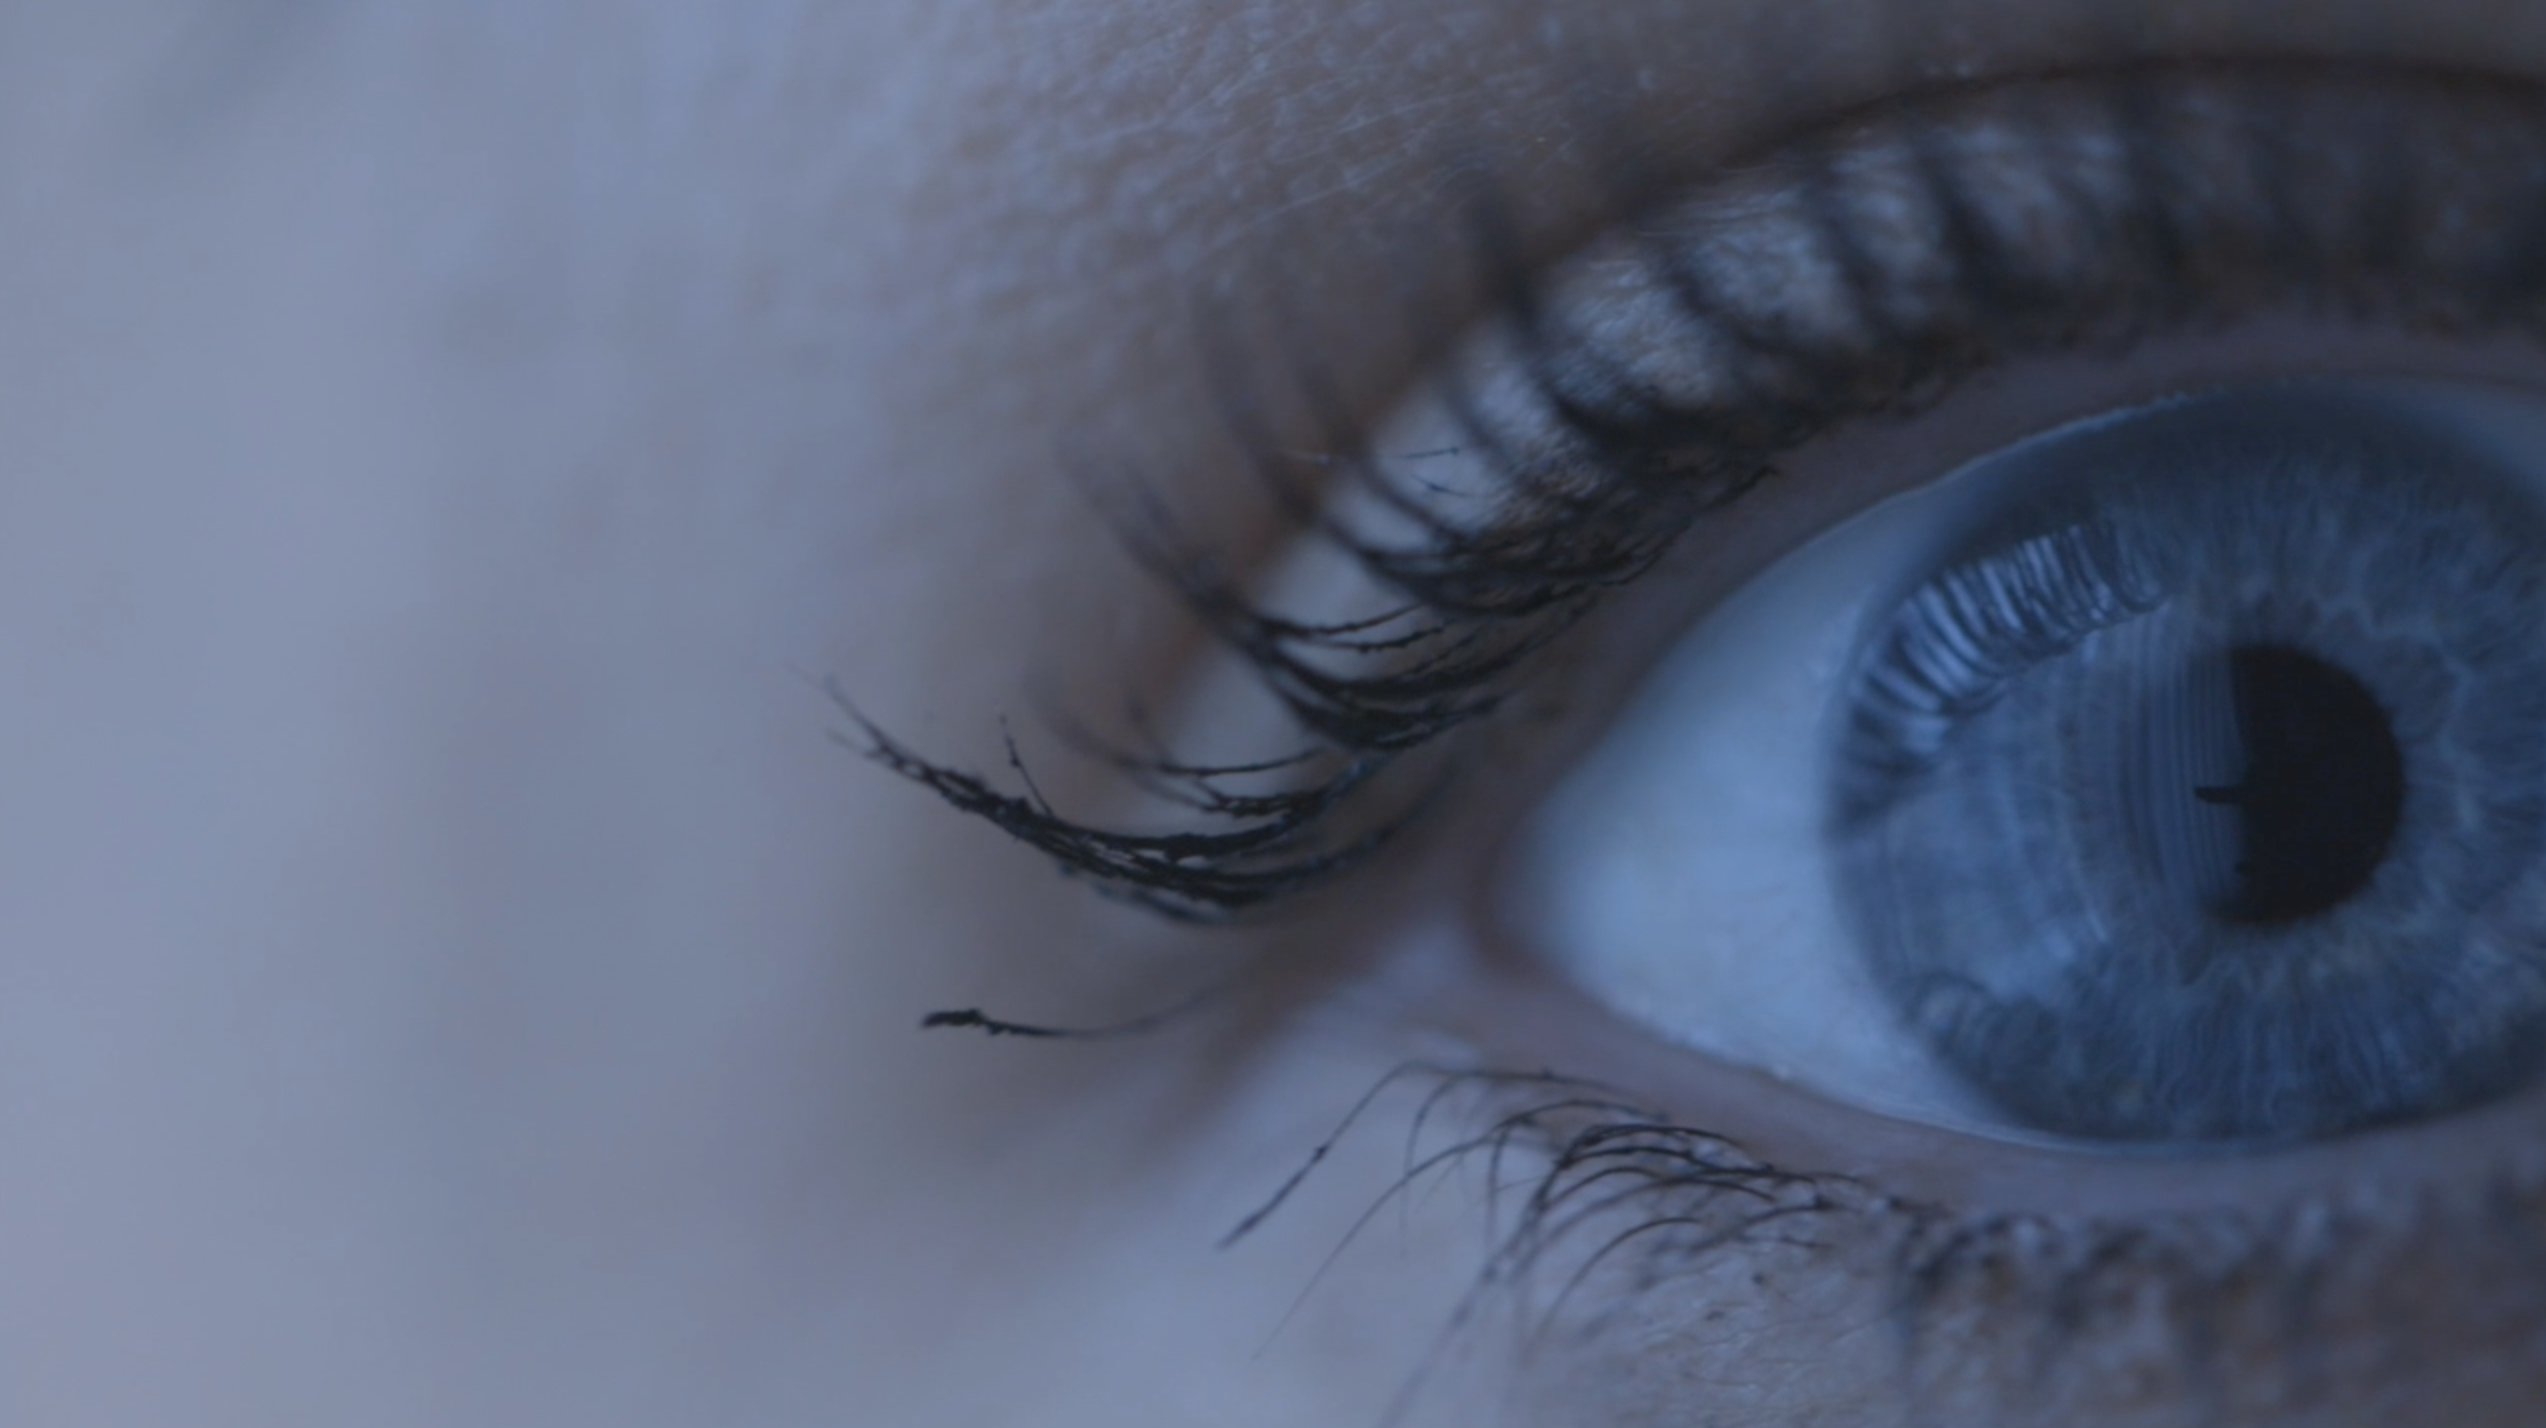
Macro shot with Canon L 100mm f/2.8 IS lens
I also used two other lenses on the film: a Canon EFS 17-55mm f/2.8 zoom, and Canon 100mm macro f/2.8.
Primary Camera
The C100mkii continues to be my go-to camera for so many reasons: It’s ergonomically awesome, great in low light, color grading is easy, and autofocus just works.
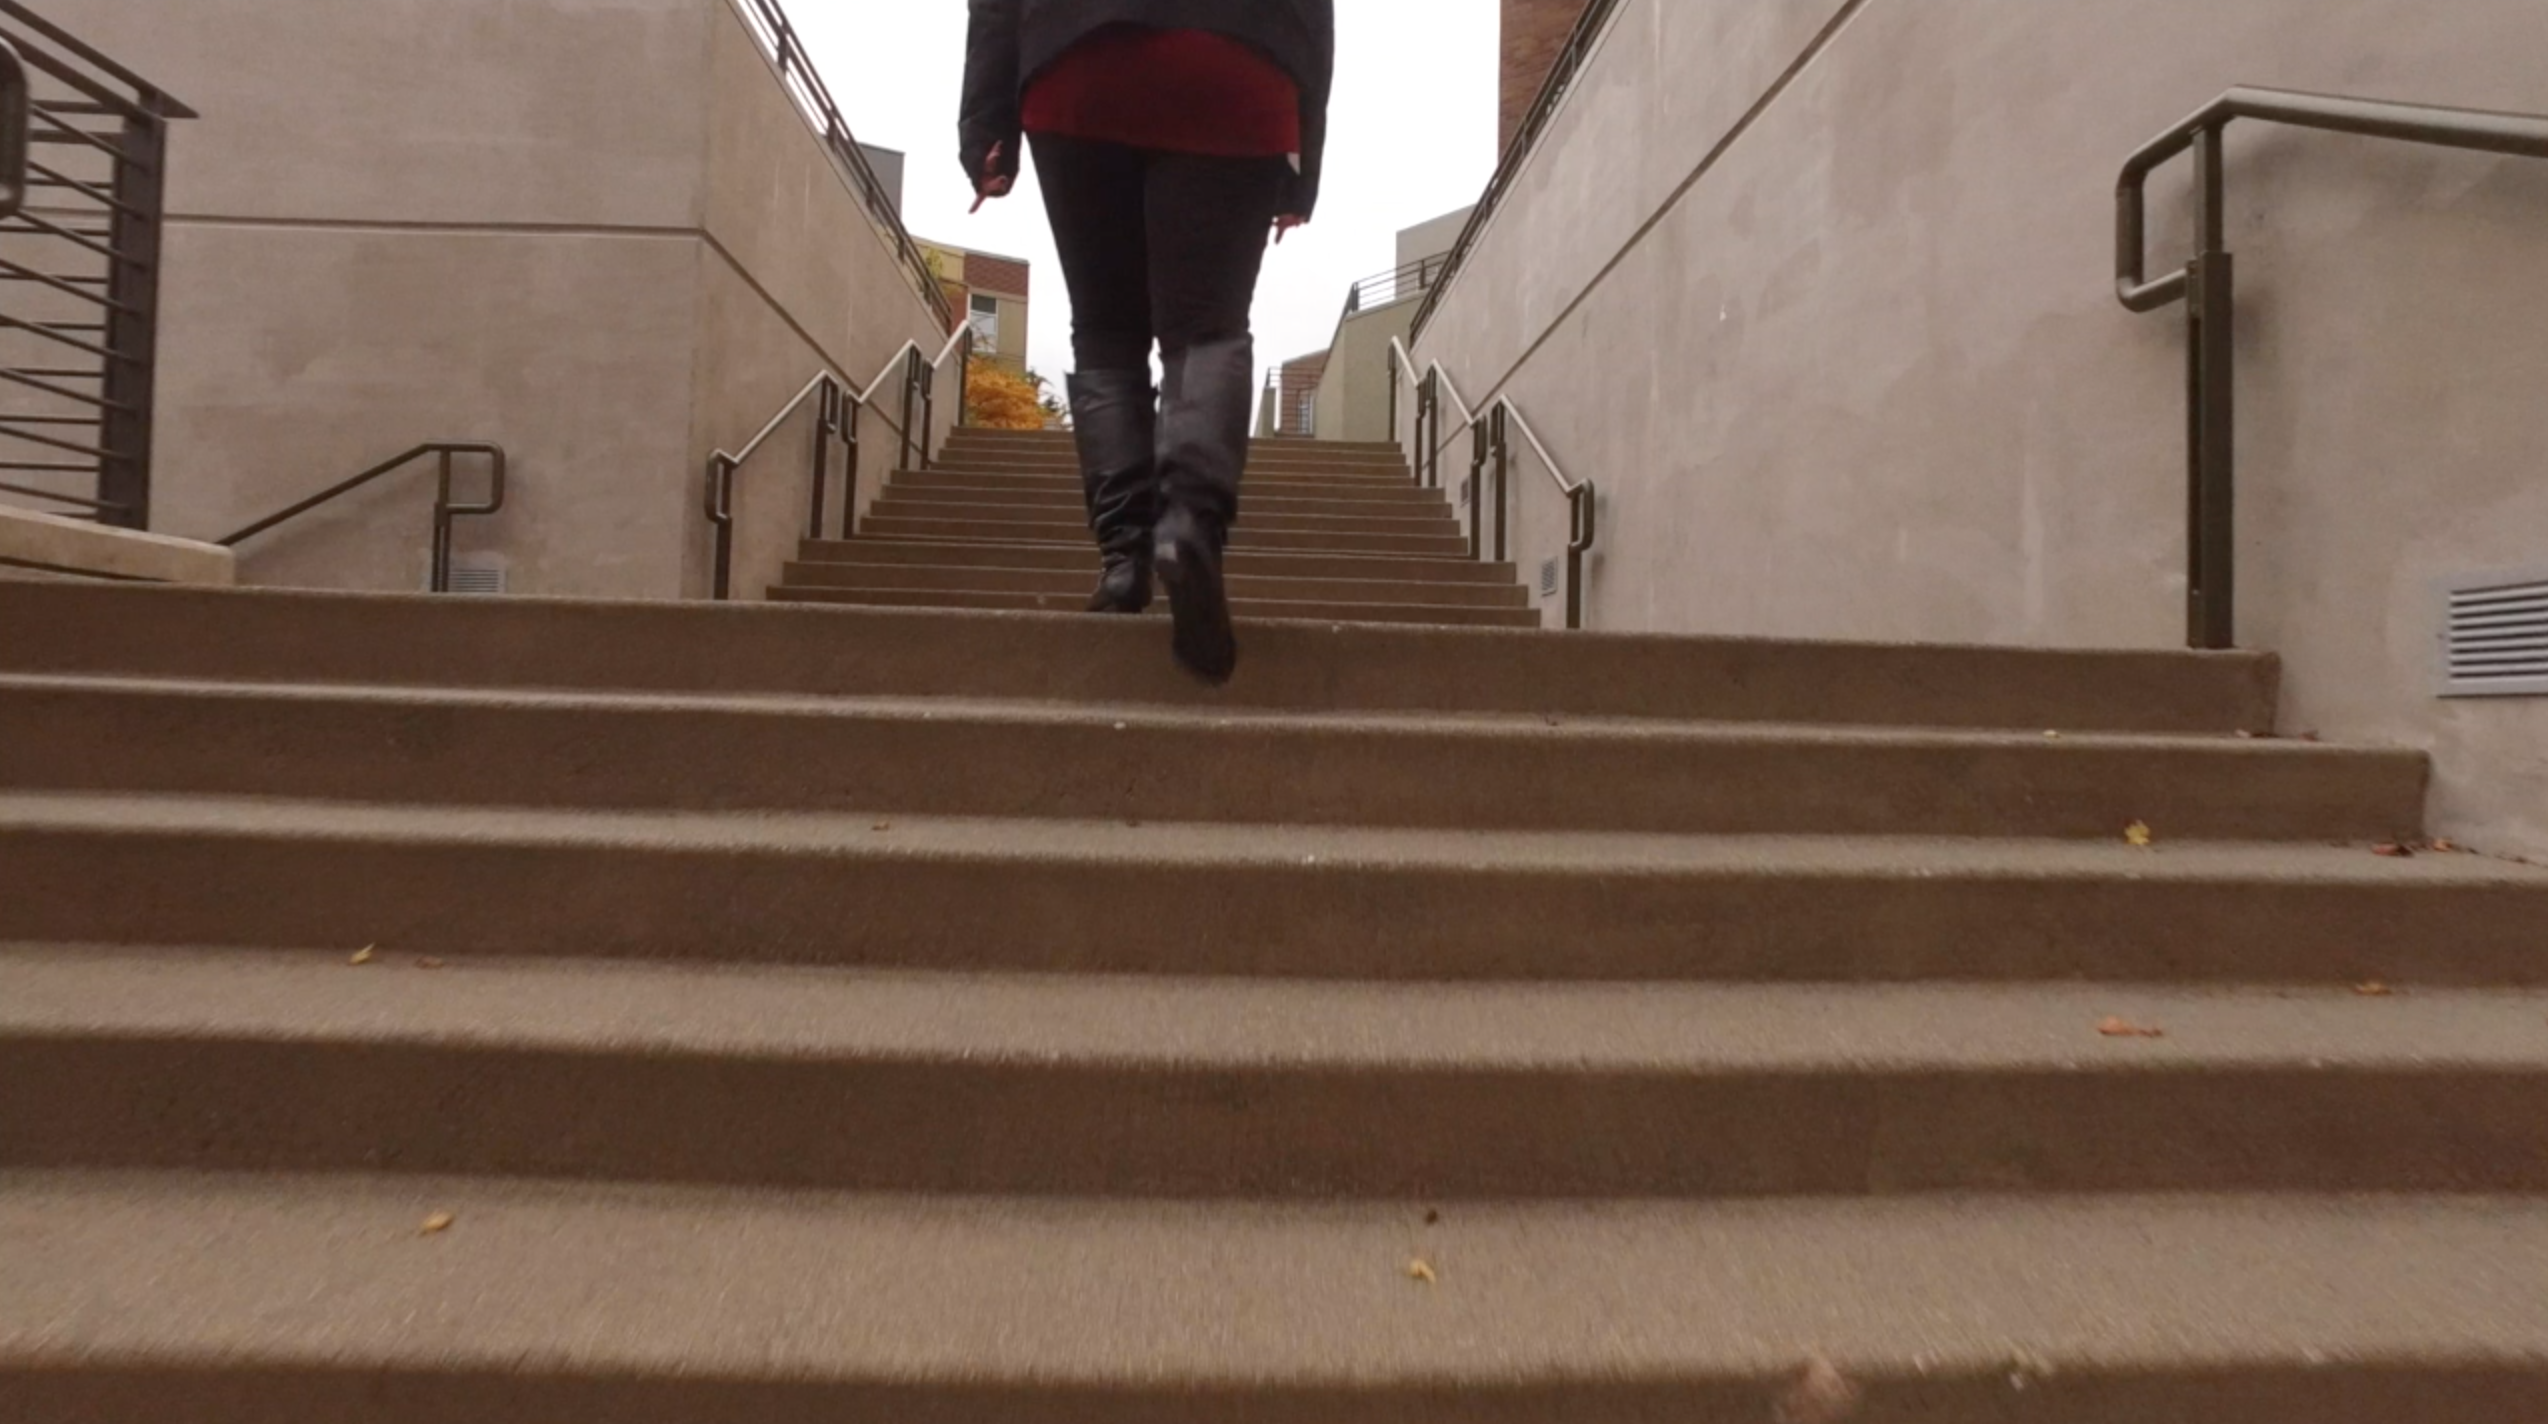
Osmo makes traveling shots easy
Introducing the DJI OSMO
This was my first opportunity to use the DJI Osmo. I’m really excited about this camera! Don’t let it’s cuteness fool you: it’s much more than a toy. It’s tiny, sets up fast, and slashes the distance between imagining a shot and getting it. And the fully manual options and rectilinear lens blow doors off GoPro. At present it’s got a major issue, though: the horizon drifts away from level. DJI provides a gimbal setting that allows you to manually level the horizon, but it requires constant fiddling. My solution was to shoot 4K and frame loose, and straighten the horizon in post. I hope this problem is fixable with a firmware update.
Another bummer about the Osmo is that the X3 lens is way too wide for shooting people up close. The traveling shot in which Megan flashes a smile as she approaches her desk is marred by the fact that her face is distorted by the wide angle (the equivalent of 20mm lens in full frame terms). The forthcoming X5 camera for Osmo will solve all of this, allowing the use of M43 lenses.

Rhino slider shot
Slider
I recently retired my dented Glidetrack Pro and picked up a Rhino EVO Carbon slider, after playing with the display model at Glazers Camera in Seattle. Moves are buttery smooth with the flywheel, an essential accessory. I have the 24″ model and am very impressed with it’s portability and consistently glacial moves. I’ll post a full review one of these days, but suffice to say I’m delighted with it.
Backligting courtesy of LiteGear’s LiteMat2
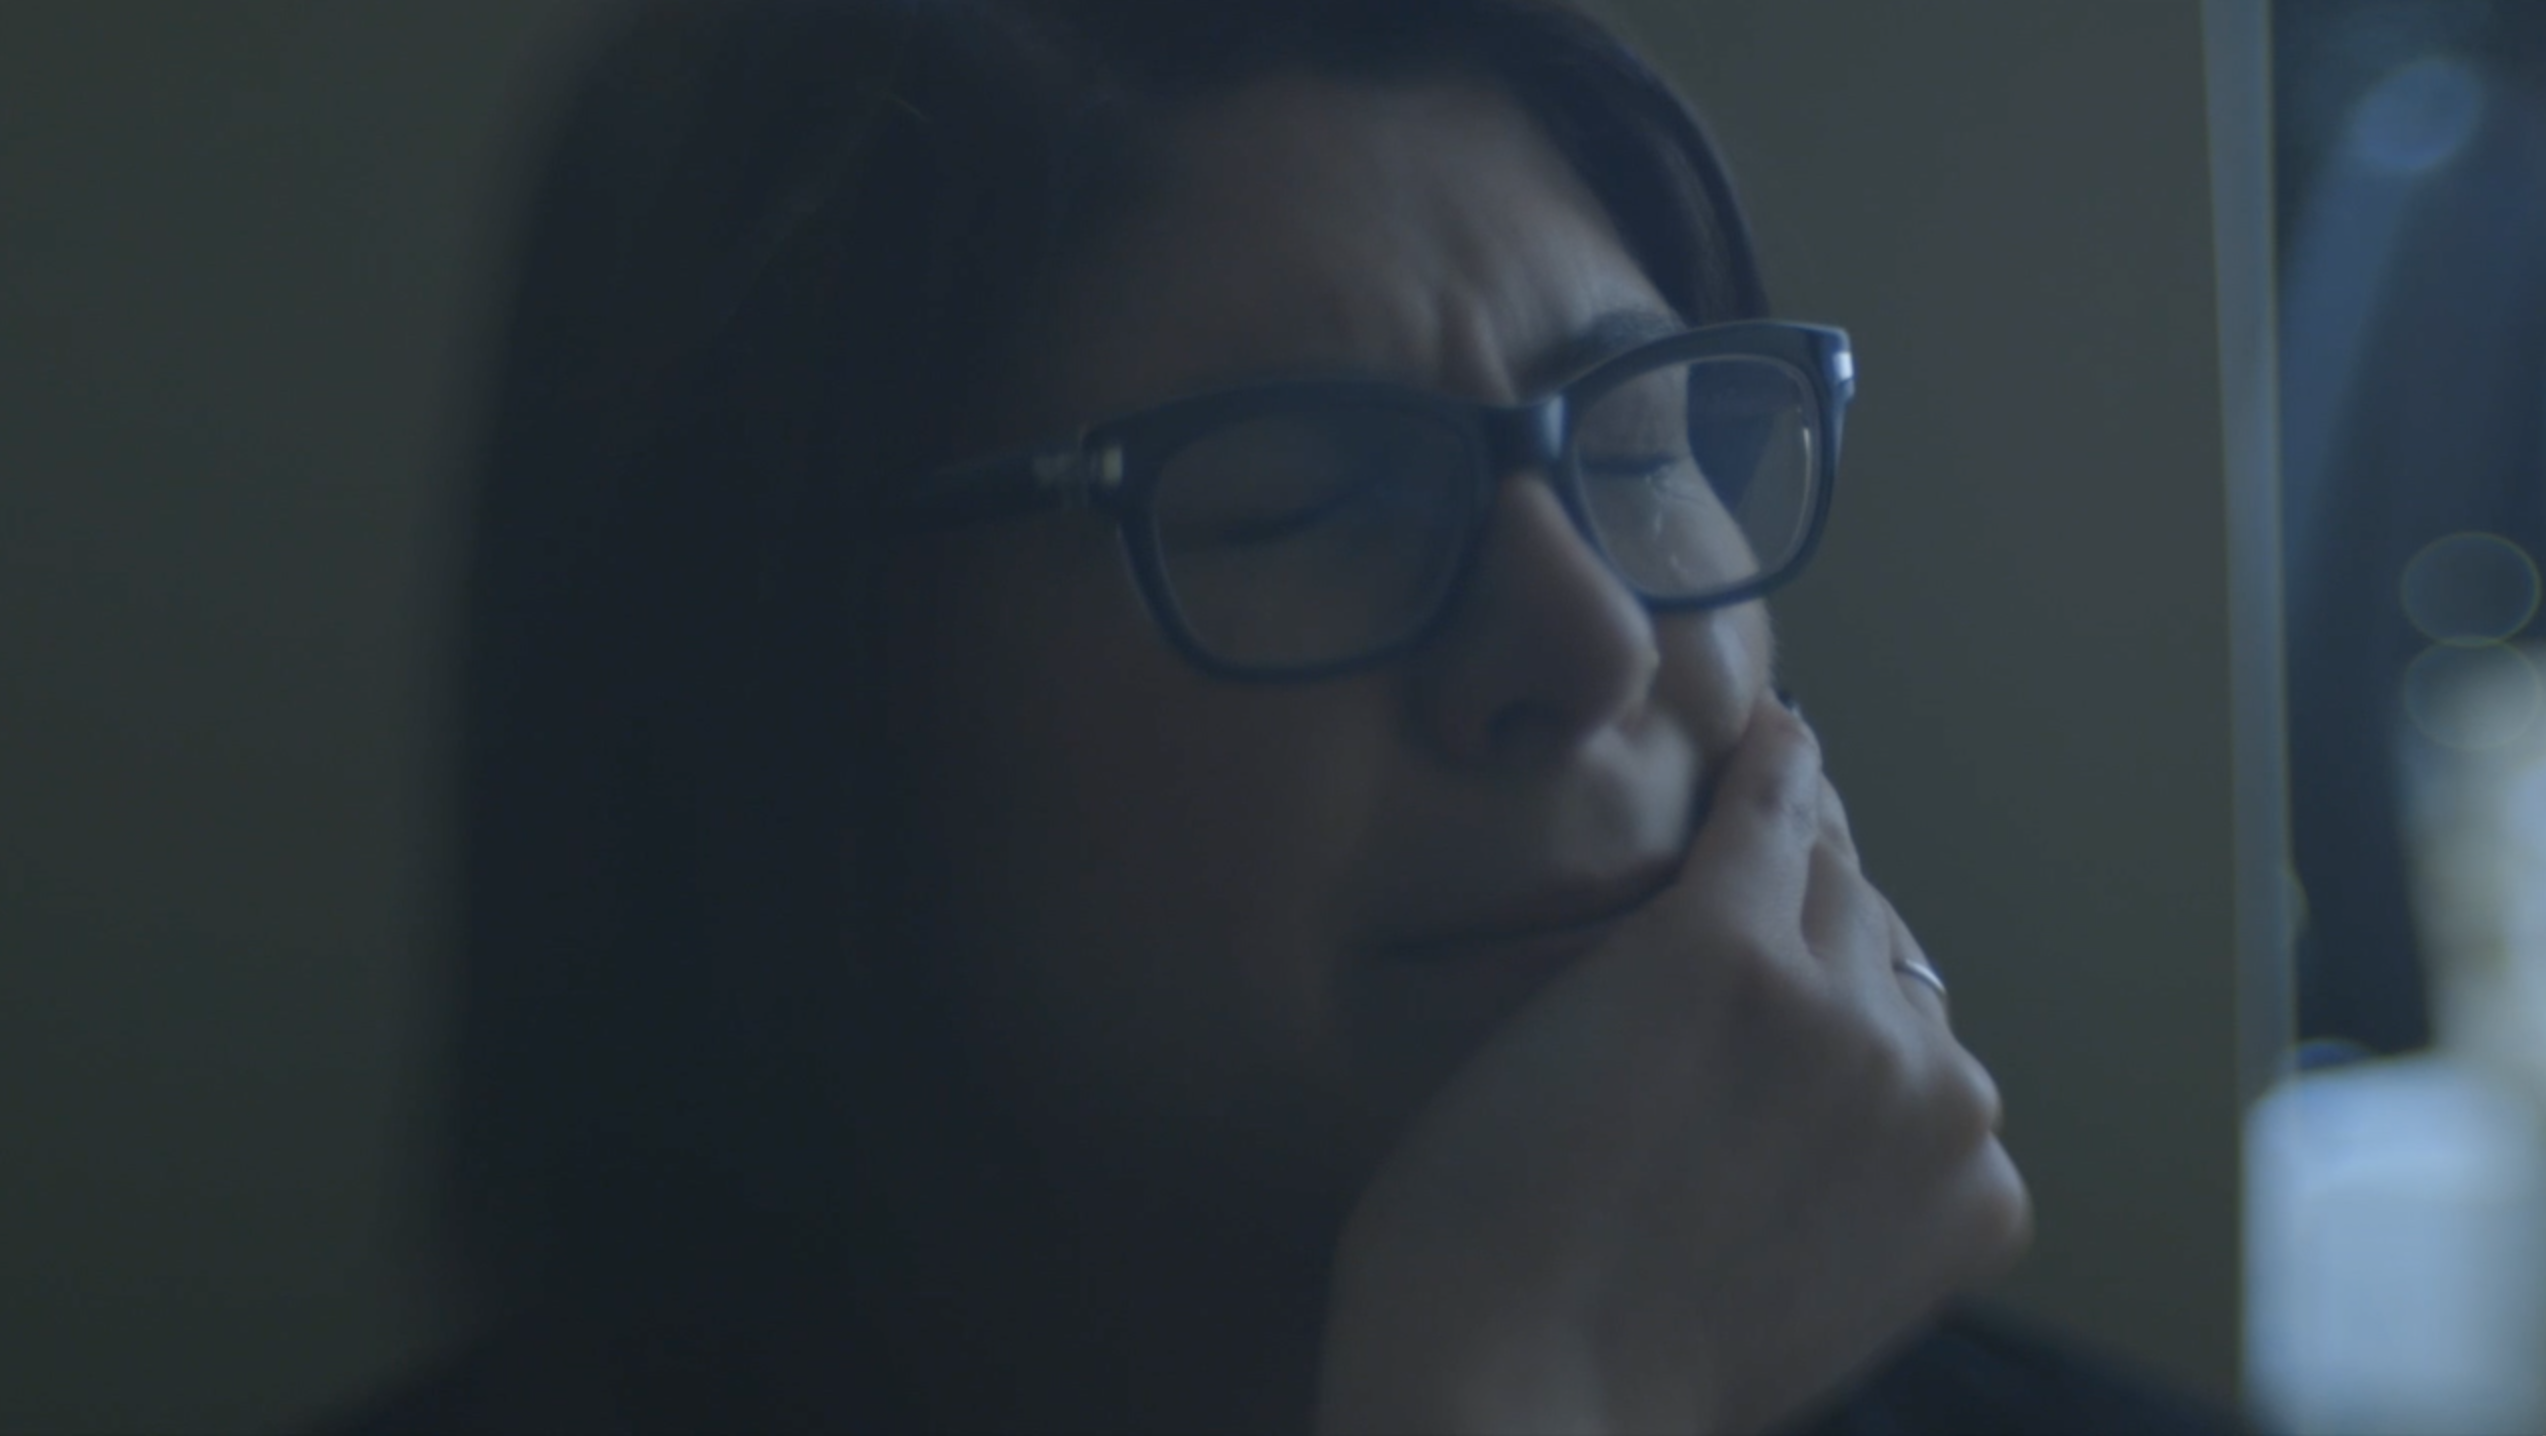
Lighting
Most of this film was shot with available light. I wanted a gritty feel so that was an intentional choice. In fact, I used only one light in just two scenes: the interview was keyed with my LiteMat2, and the shot in which Megan cries while contemplating suicide (above) is naturally backlit, with some help from LiteMat2.
Eye contact maintained using EyeDirect
EyeDirect
The EyeDirect device makes it easy to maintain eye contact with your subject during the interview. Your subject sees an image of you reflected in a mirror over the lens. This increases the intimacy of the interview. I rented mine from Victory Studios here in Seattle.
Improvised dolly shot using Multicart
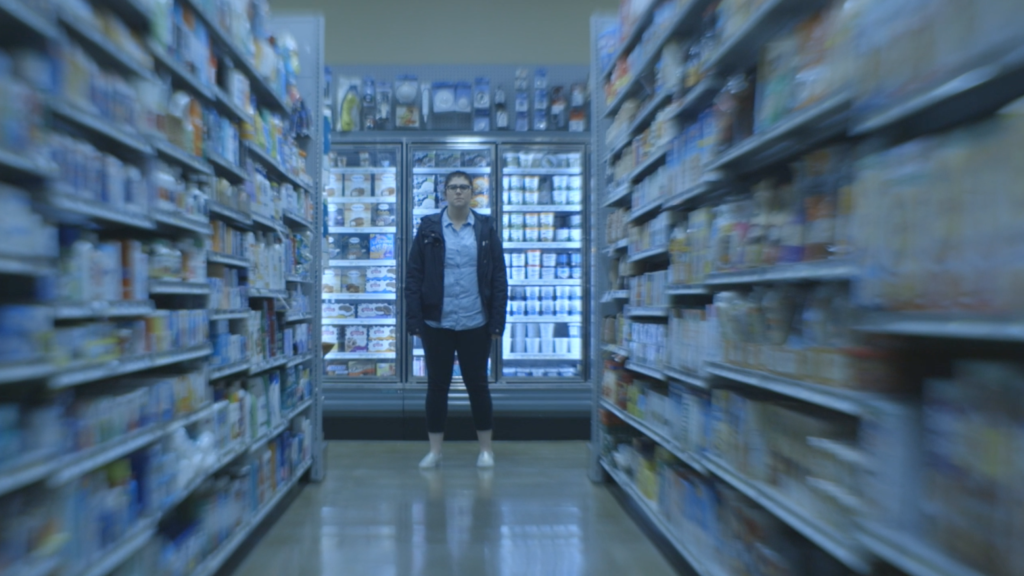
Multicart as dolly
My Multicart is indispensable. It does the hard work of transporting equipment, and, it doubles as a dolly. In the grocery store shot above, I’m perched on a couple of pelican cases stacked on the cart, camera in my lap on a bean bag, while my assistant Sean McGrath pulls the cart down the aisle. I could have shot this with the Osmo, but it wouldn’t have had the Lensbaby look. So I reserved all the Osmo shots for the last part of the film, where the crisp 4K image and deep depth of field was a good match for her emotional state.

Music: All of the tracks for this story were licensed through Audionetwork.com. They have a great deal – unlimited use of tracks in any one video for $395. I used 5 different tracks in this video.
One last thing worth mentioning: the opening shot was something I got a few years ago. I was on a flight and noticed the rare shadow outside my window seat as we decended to land, so I grabbed my point-and-shoot Sony and rolled on it. Even though the resolution isn’t very good, it’s still an amazing visual. And as Werner Herzog once said, “Good footage always cuts.”