When shooting on sticks with a DSLR and a field monitor, a little attention to detail can go a long way to helping you get smoother shots. Here’s a few things that help me get consistently good results.
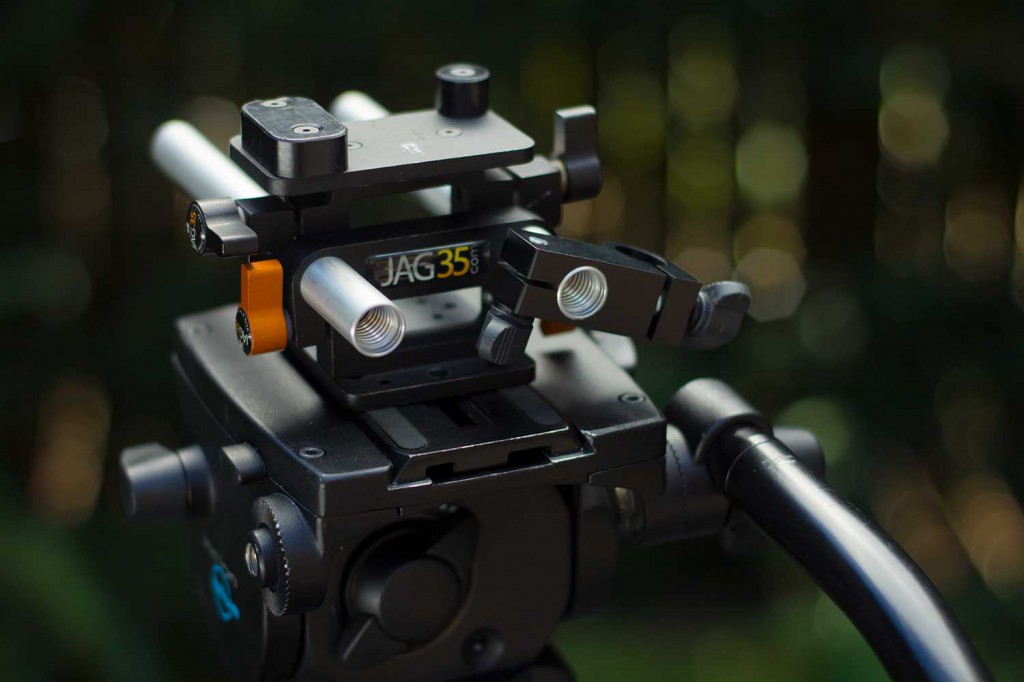
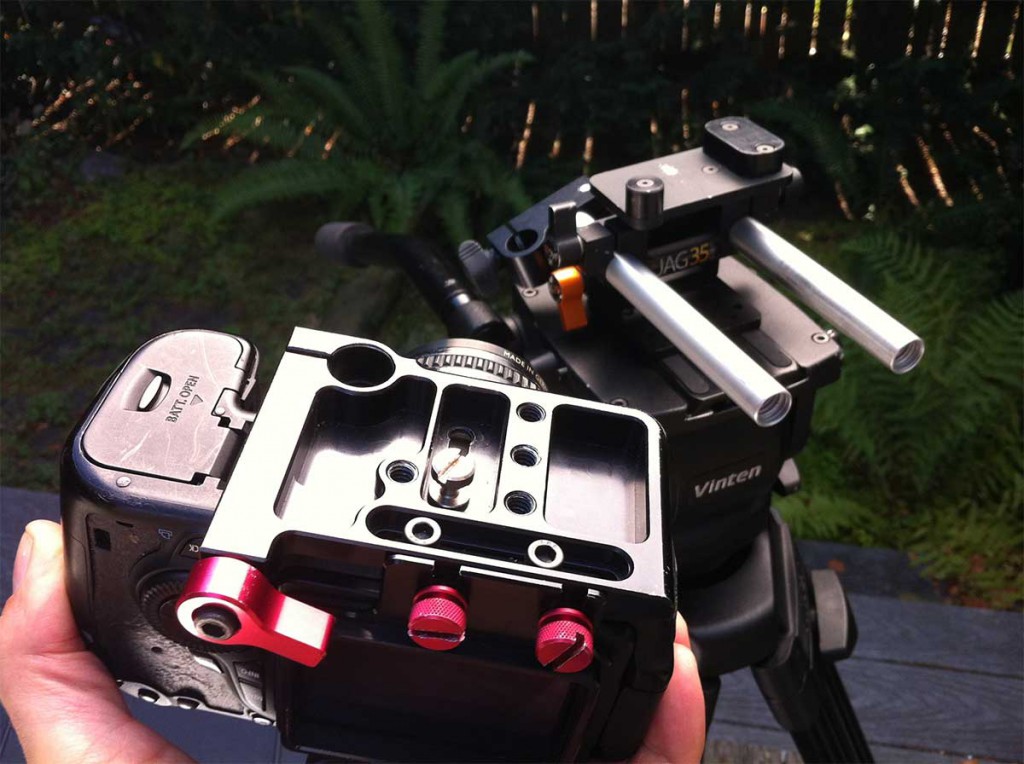
1. Use rails with a bomb-proof quick-release plate. My first rig was built around camera baseplate that required thumb tightening every time I wanted to get the camera on and off the rig. Not only was the connection less secure, but it was daunting and time-consuming to get the thing on and off. The screw-in mounts also won’t hold your camera tightly enough to consistently hit critical focus if you’re using a follow focus. My problems vanished when I upgraded to a Gorilla Stand combined with Zacuto quick-release Gorilla plate.
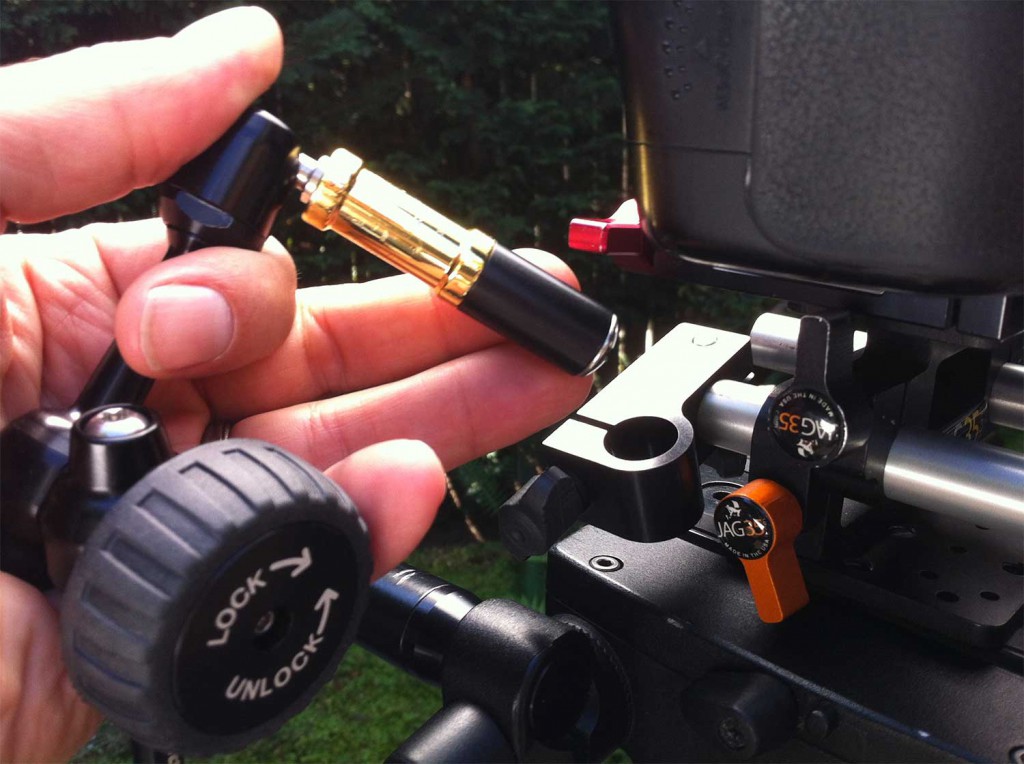
Above, the camera side of quick release. This Gorilla plate provides excellent stability as well as being instantly releasable from the rig.
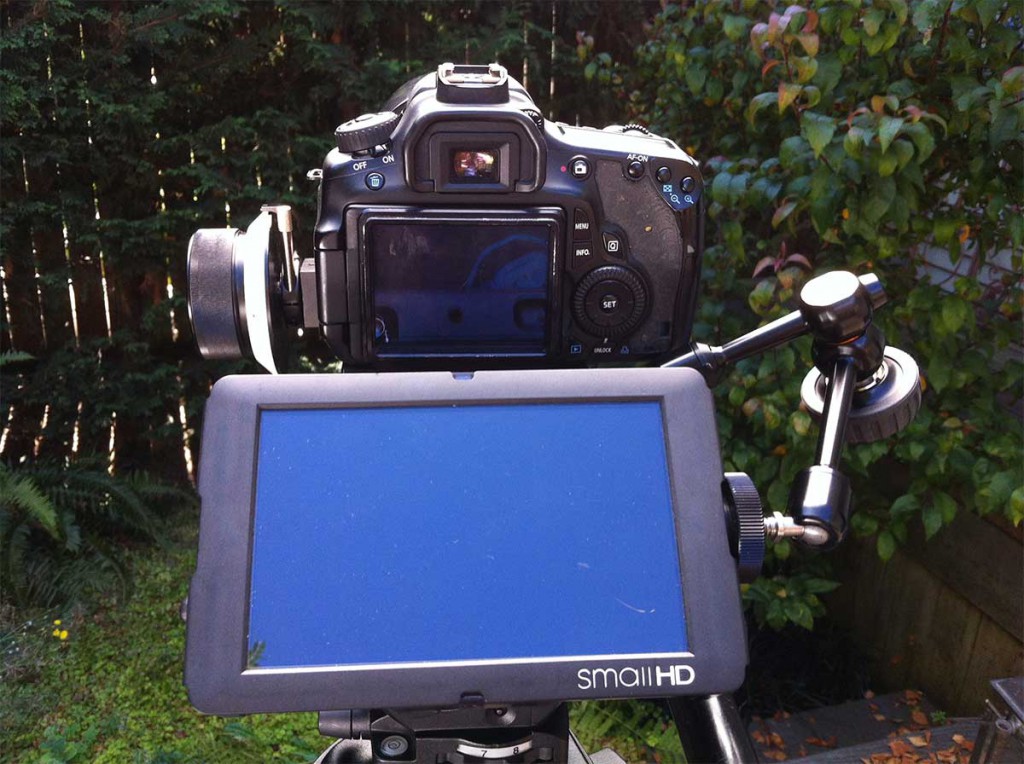
2. Don’t hang your monitor off the hot shoe. It destabilizes everything, so that even lightly touching your monitor (such as to punch up peaking) can introduce jello to your shot. DO find a mount point that keeps the center of gravity low, such as mounting off a rail block (see tip 4 below).
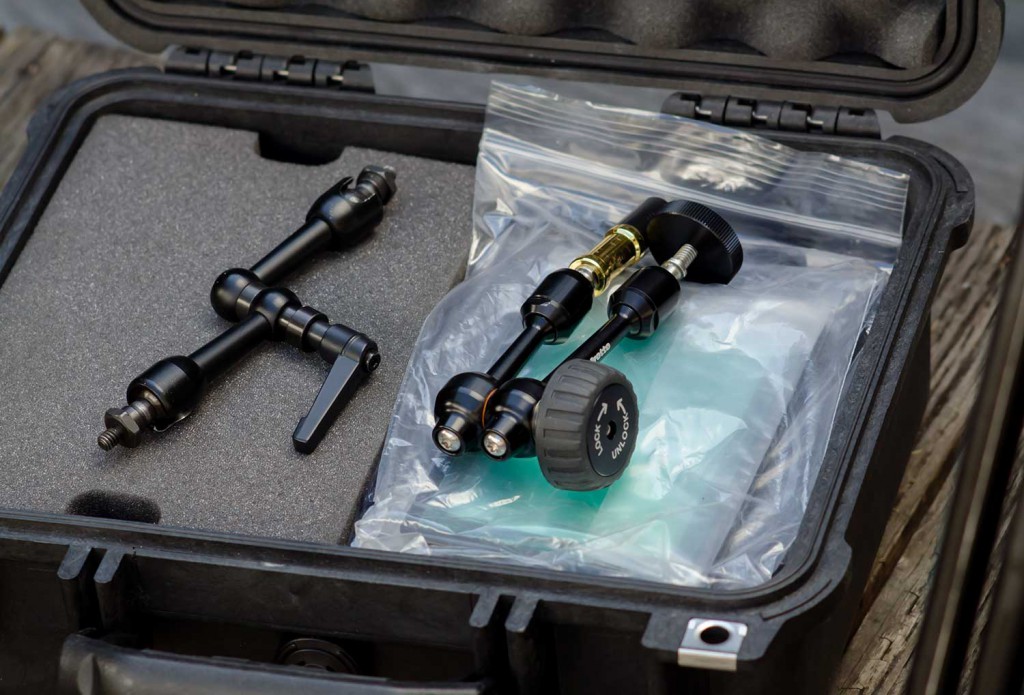
3. Use a good arm. I recently upgraded from the standard Israeli-style arm that I purchased with my DP-6, to a Manfrotto Hydrostatic 7″ arm. And it’s been a revelation the difference it makes. My previous arm needed to be cranked tight, that is, basically over tightening it to hold it in place. Often it would flop over halfway though shoots, and needed frequent re-tightening. My Manfrotto uses hydrostatic technology that makes for an iron grip with minimal tightening. The rubber wheel is a major ergonomic improvement too, making it easy to twist. My feeling now is that a good arm should be so easy to adjust that it practically invites you to fiddle with your monitor angle. Because that’s exactly what you’ll need to do when you’re shooting a variety of shots off sticks.
Above: Old arm, left; new arm, right.
4. Use a quick-relase rail block to connect your arm to your rig. I use a 90 degree accessory mount that I got from Express 35 for $20.29. Combined with the included 15mm to 1/4-20 stud, It does two things: gives you a couple extra inches of reach on your arm, and makes it a snap to get the whole thing on and off your rig. You’ll also noticed in the photo above that I have a brass 1/4″ to 3/8″ adapter that allows the connection between the 1/4″ stud and the 3/8″ arm.
5. In addition to a short 12″ cable, keep a 6-foot length of HDMI cable in your monitor case to give yourself options when shooting for long stretches. One comfortable position, I find, is looking down, rather than out. Yesterday I was shooting on a grassy hillside and simply put the monitor in my lap while sitting cross-legged. I also have rigged the monitor on a light stand beside and below me when I’m seated in a chair behind the camera for long interviews.
