A few months ago I had an opportunity to shoot some ingredients for a Sierra Nevada beer video using a probe lens. The results of the work are now public, and I’d like to share the process we used to make a few of the images with this unconventional optic.
Director Mark Bashore had most of the road trip footage for this spot already in the can, but he wanted some super sexy shots of the ingredients that go into the beer, and a beauty shot of the beer itself. So he convinced his wife that it would be a good idea to set up a studio in their living room for a few days and go crazy with lights, track, and cameras. Fun stuff!
Mark wanted shots that literally felt like flying through the ingredients, and he had the idea to use a probe lens. I’d never heard of a probe lens before. Turns out it’s a specialty lens, designed for special effects and tabletop photography. It’s basically a long telescope-like snout that optically allows the lens to sit on the tip, apart from the camera. This allows for otherwise physically impossible shots, such as driving the lens through openings that are too narrow for a camera body. Incidentally, this type of lens was used to shoot many of the special effects in the original Star Wars.
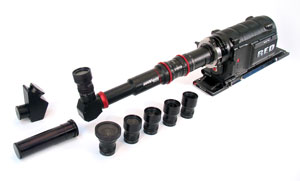 I went searching for a rental house that carried such a beast, and after researching the options, I picked Innovision Optics, an LA based company that helped pioneer the development of probe lenses in the 80s. They sent us their Probe II + package, which covers Super 35mm sensor cameras and comes in PL mount. I hooked it up with my Sony FS5 camera with PL adapter, and everything tested out great.
The kit comes with a full set of miniature lenses, that vary in focal length from 9mm up to 55mm. In testing I found you really want to be shooting wide when you’re doing tabletop shooting, because it’s the wide focal lengths that give you that immersive experience with the subject. I initially wasn’t overly confident that the tiny lenses could produce great results, but I was very impressed by what I was seeing on the monitor.
One of the nice features of separating the lens from the camera is that it allows you to get the lens dirty. The snout is designed to be waterproof (according to Innovision), so splashes of ingredients on the lens and lens housing could easily be wiped off between takes, while the camera stayed dry. However, I don’t think you’d want to fully immerse it in water.
I rigged the lens with a DJI Focus wireless follow focus, to allow focusing the lens during pushes without touching the rig. The prevented unwanted camera shake, and worked flawlessly. But one note of warning: if you’re renting the DJI Focus, be sure to allow plenty of time to familiarize yourself with the unit beforehand. It’s not immediately intuitive how to calibrate it and get it responding to pulls just the way you want.
So let’s take a look at a few of the shots:
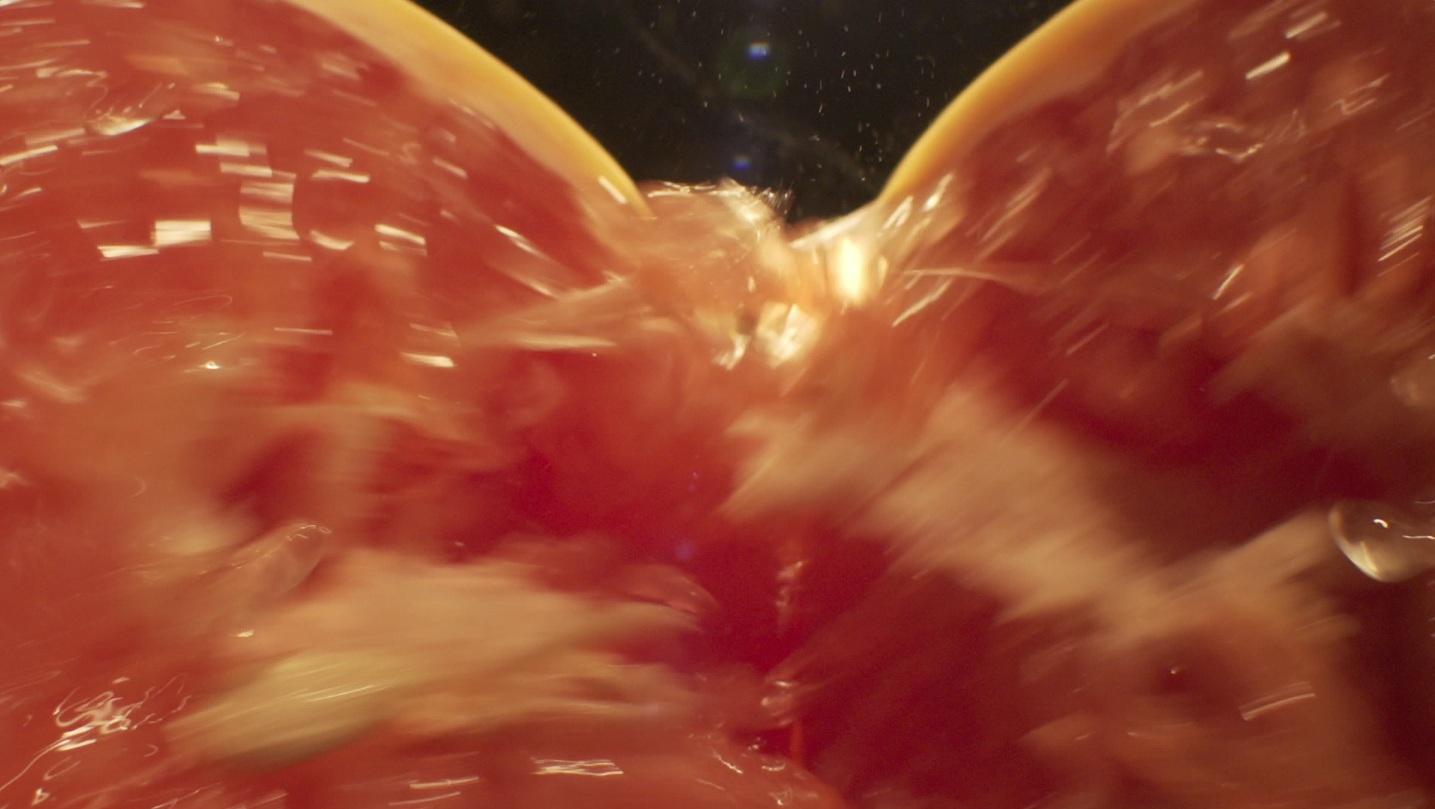
Grapefruit being ripped apart while probe lens pushes through the middle
Mmm. Isn’t that a mouthwatering shot? We had to do a lot of takes to get just the right energy, and we went through a lot of grapefruit in the process. The lens was seriously sticky by the time Mark moved on to the next shot. I placed a Arri 650 as the backlight (which you can almost see providing the rim light) and filled with a LiteGear LiteMat2 at 3200K. Notice the lovely flare the probe lens produces, and the tiny details. The grapefruit, from this perspective, becomes a monumental presence.
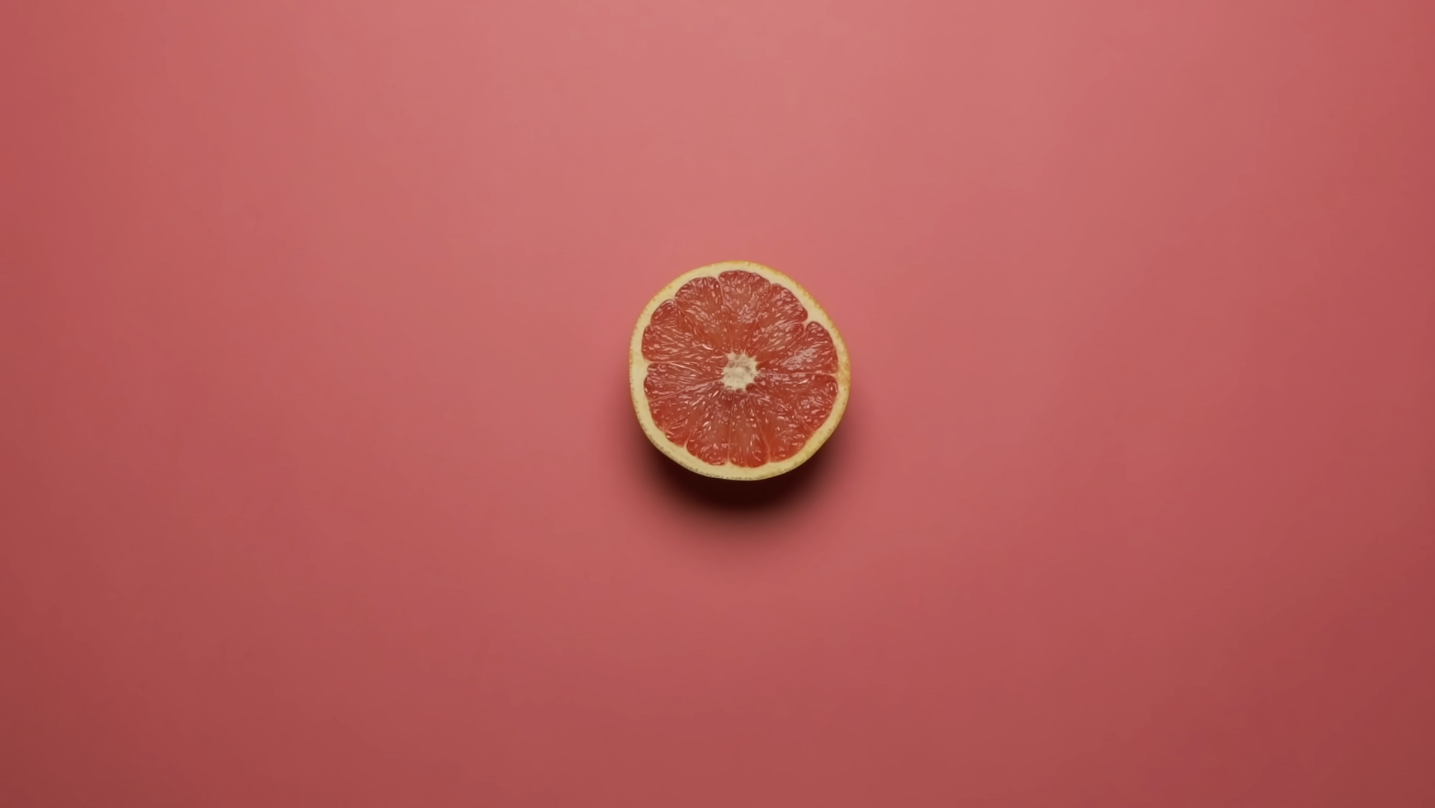
Grapefruit push in shot in 4K
For the pink grapefruit on pink background, I rigged the camera on an arm and rolled on it in 4K with the FS5. It’s lit from one side by an Arri 650 bounced into a 4×4 foam core, with bounce on the opposite side. The push was done in post. That 8-bit 4K works great as long as you expose correctly!
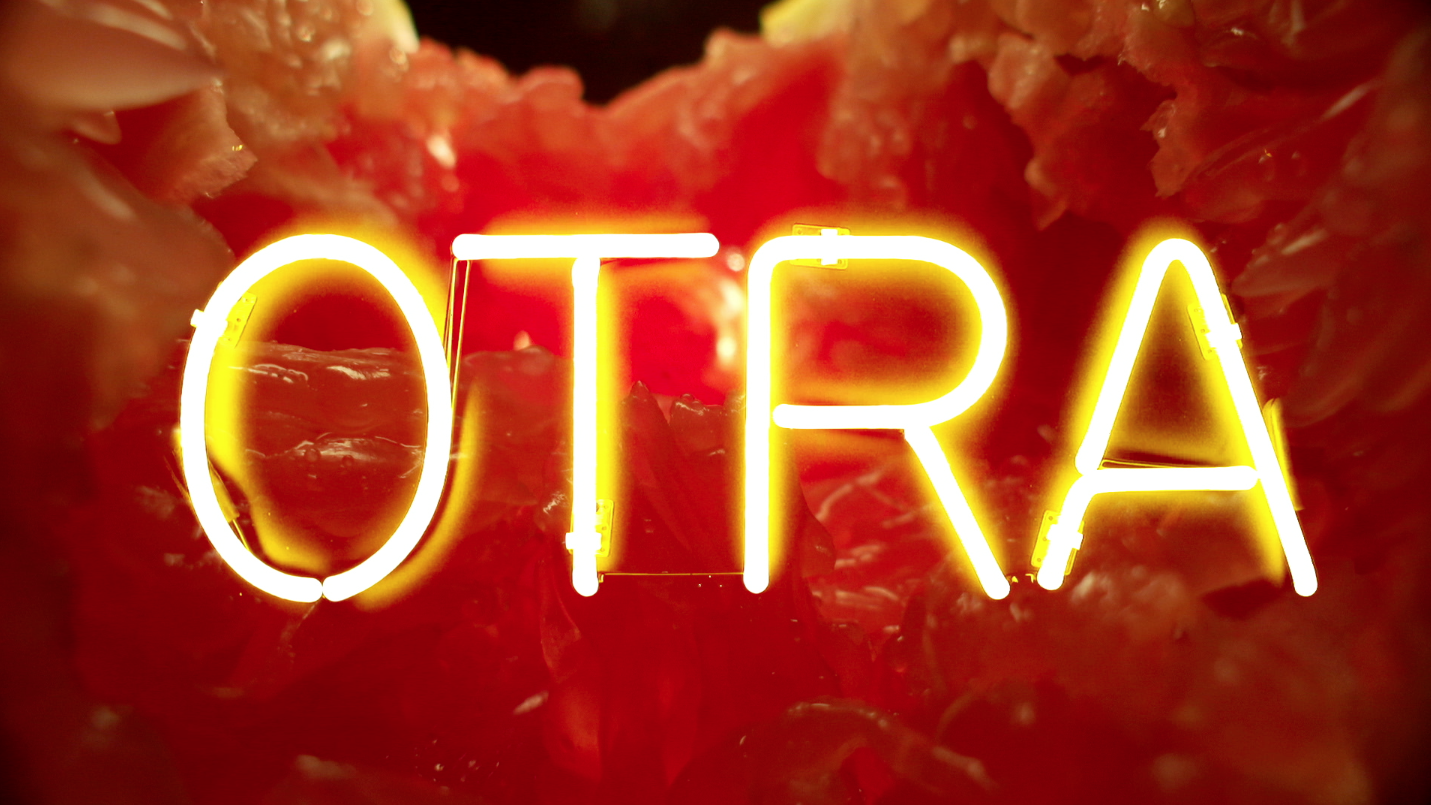
Composited grapefruit with neon sign
For the grapefruit in this composited shot, we used my Rhino Motion slider as a dolly for the grapefruit. It was easier to control the motion by moving the ingredients for shots like this than it was to move the camera. To create the platform, I mounted a Matthews laptop table on the Rhino slider’s 3/8″ spud using a ball head.
The neon sign is real, and was made specifically for the shoot. We shot it against black foam core. The compositing was a little painful for this, requiring each frame to be individually selected in Photoshop to clean up edge artifacts.
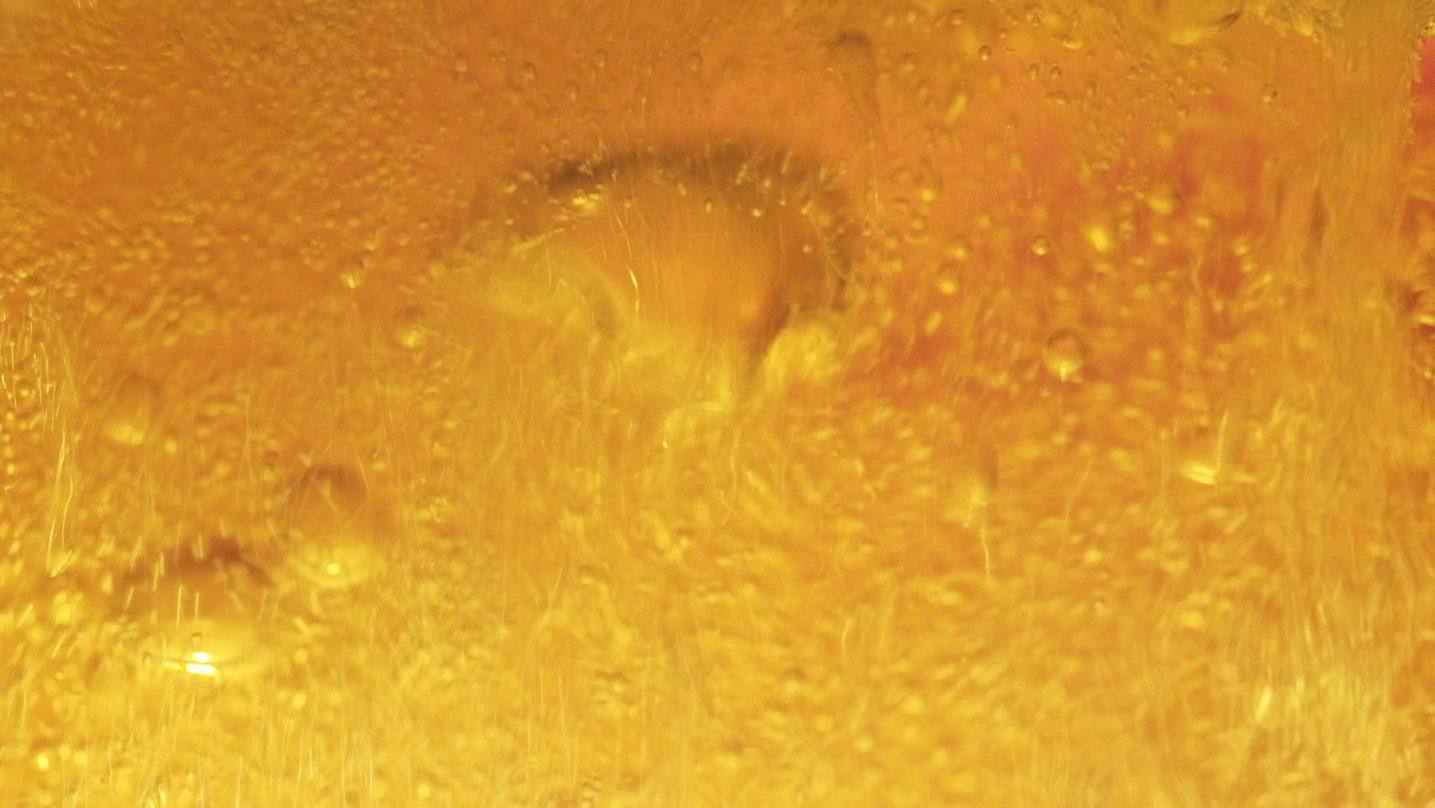
Beer shot in an aquarium
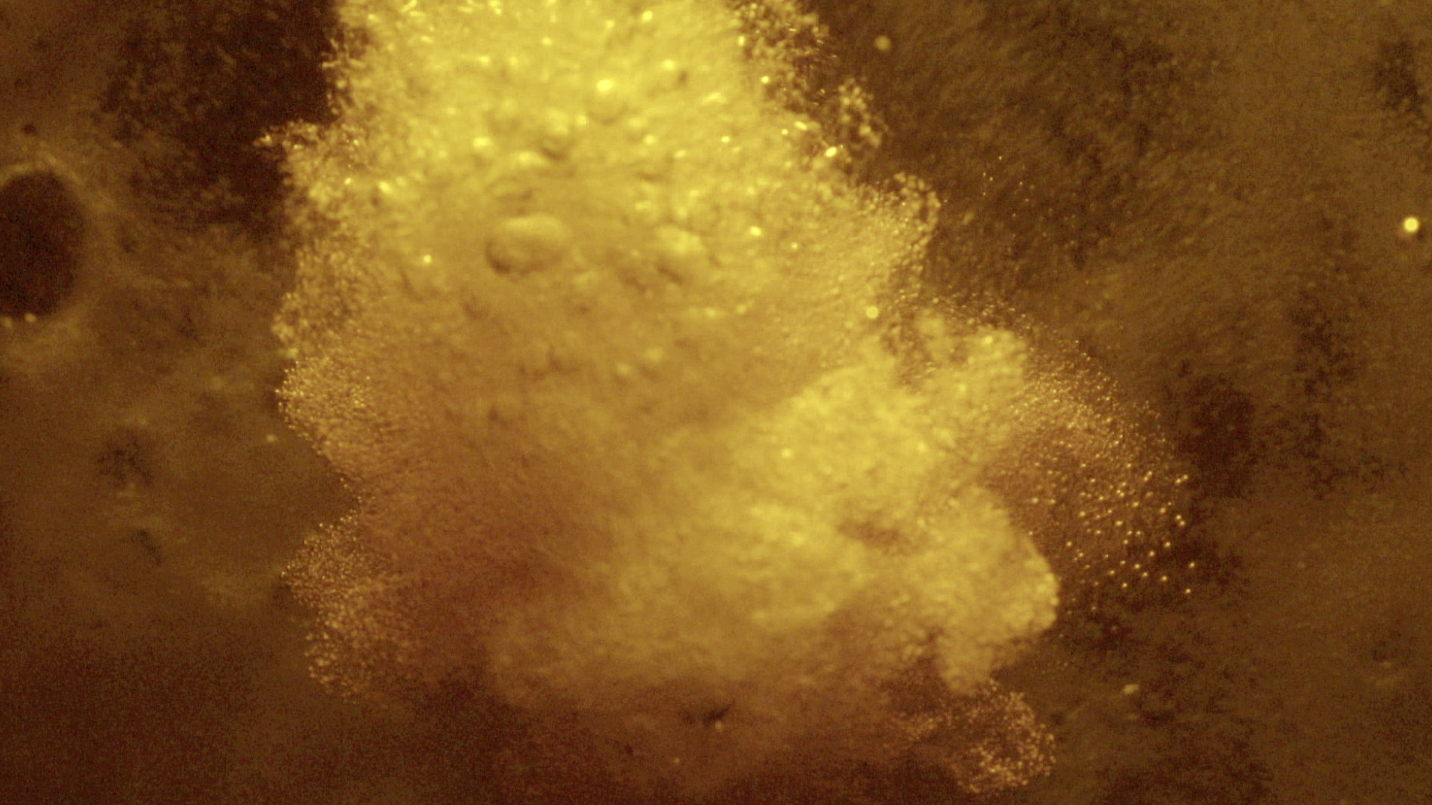
Beer poured into an aquarium
For the beer shots, we poured a lot of beer into an aquarium, and tried lighting it different ways. Most of these shots are played unnaturally – i.e., backwards, upside down, or sideways, which supports the larger than life vibe of the piece.
We shot most of these at 240 frames per second with the Sony FS5. I used CineGamma 3 for most of these shots, because we were pushing the limits with the light. I wanted as much depth of field as possible, so I was stopping down here to like f/11 and it was everything my pair of Arri 650s could do to push enough light. We were using the lights without any diffusion, just blasting at the tank from above, below and beside at different times.
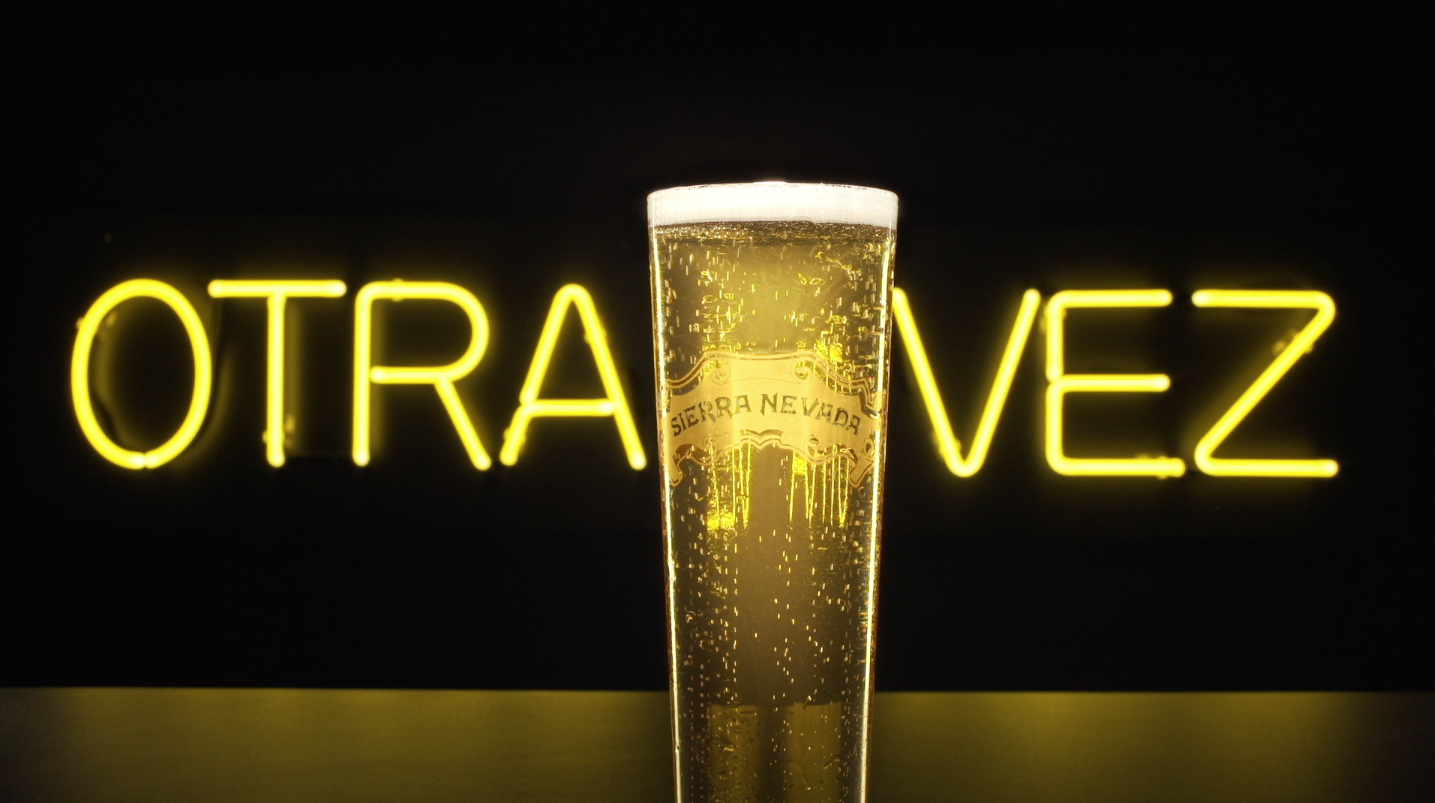
The Money Shot: a slow push into carefully lit glass of beer
We spent a LOT of time trying to get the lighting right for this shot. I had the camera on a Dana Dolly, with I think a 35mm Zeiss Contax prime lens on IV Metabones adapter. I was shooting at about f/11 or f/16 to get as much depth on the sign as possible. To get the lovely rim light down the side of each glass, I used a pair of Kino Flo single-lamp 4′ fixtures, which were very carefully flagged to be just out of frame on the right and left. It has to be almost visible to get that rim light. To get the beer to glow in the middle was the hardest part of all. It required backlighting, of course, but every angle we tried wasn’t working. The light was always hitting the black plastic counter and blowing it up. After about an hour of trying things, it hit me: cut a custom flag for the backlight, basically a notch in a piece of black foam core. Then the light would fall only on the glass and not on the counter. It worked.
Tabletop photography is an exercise in patience and repetition. It’s tedious as hell, and requires more light stands than I think I’ve ever used for any other project! Every imperfection becomes visible, and has to be taken care of. So tons of flagging, and very specific lighting throughout the frame. But the results can be very, well, refreshing! Luckily we had lots of Otra Vez beer on hand during the shoot, and no, we weren’t just shooting it!
Have you ever shot with a probe lens? How did you get the best results?